Install PIL
To display images on Tkinter GUI, we need its PIL module to be loaded in python along with its imagetk class. Therefore, we have been using the apt package of Ubuntu in the install instruction to set up PIL and imageTK as per the plugin names shown in the query below.
While setting up the PIL and imageTk module in Linux, we have been asked to confirm the installation. So, we have to enter “Y” upon the question asked as presented below.
Example 01
The module PhotoImage in Python Tkinter enables the viewing of pictures in the language by including the PhotoImage attribute in the image property of widgets like Label, Button, Frame, etc. The Python Tkinter constructed library called PhotoImage has a small selection of settings. But it’s an excellent place to start or for quick jobs when the app’s only goal is to display the picture. Furthermore, it only supports a few picture formats. We have been starting our first example with the utilization of the PhotoImage module to add an image to a Tkinter GUI. Therefore, we have created a new python file and imported all related classes of Tkinter and its “ttk” class via the “*” character.
We have been calling the Tk() function of the Tkinter module to save its object in a variable “t” first. The PhotoImage() function from the PhotoImage class has been used to read the image file “parrot.png” from the current working directory and save it to the variable “p”. The subsample() function has been applied to the image variable “p” to set the size for an image and save it to another variable, “pi”. In the very next line, we have created a button using the Button function with the text “Parrot”. This button would contain an Image on it that can be used for clicking.
After that, we have called the mainloop() function of the Tkinter module via the variable object “t” to execute the whole GUI code of widgets. Let’s save our code before the execution. The sample code for this example can be seen in the attached image.
The python3 module has been used to execute the python file “test.py” as shown.
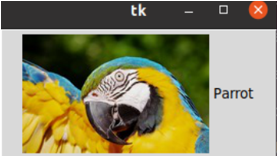
The output GUI has been generated at our Console screen. It shows the image with the title “parrot” on the GUI Tkinter that is also a button and can be clicked.
Just like we have used the button widget to add an image to it, we can also use the Label widget to add an image. Therefore, we have been using the very same code script of python with a little update to show an image on the GUI. For this, we have been using the Label() function of Tkinter to create a label on the GUI and add the same image to it. Let’s save this code now.
We have executed the update file “test.py” with the python3 executor instruction as below.
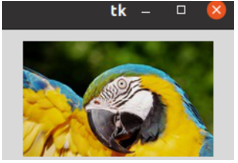
The output GUI window has been displaying the image of a parrot as a label on the screen.
Example 02
The Python Pillow (also known as PIL) library is used by Tkinter to process images. A Tkinter utility can show a photo notification as opposed to a text-based one while using Pillow. Additional advantages offered by the Python Tkinter Pillow package include the ability to read pictures with any extensions and scale the picture.
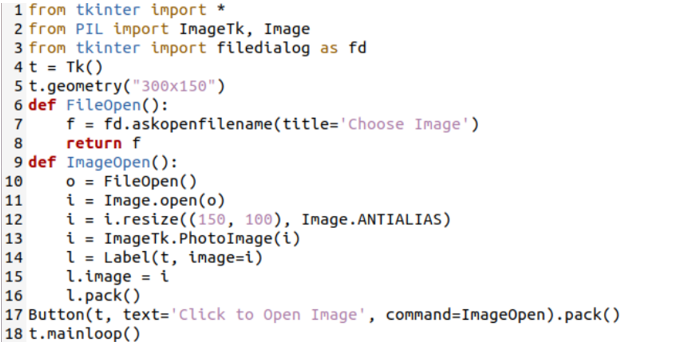
Within this example of python, we will be making use of the PIL module of python by importing its ImageTk and Image class to add images to a GUI screen. Therefore, we have imported all the sub-classes and functions from the Tkinter module first and then imported the ImageTk and Image class from the PIL library.
After that, we also imported the filedialog class from the Tkinter module to add an image as a file. The geometry function is called to set the size for a GUI window, and two functions FileOpen() and ImageOpen(), are used. The Button widget has been used to call the ImageOpen() function that has been calling the FileOpen() function to get an image file from the system as “f” via the askopenfilename() function of the filedialog class object “fd”.
The image file “f” returned to a variable “o” in the ImageOpen() function. This image will be opened using the open() function of the Image class in a variable “I” and resized using the resize() function. The PhotoImage() function of ImageTk() is here to convert it to an Image Photo and display it on the Label. The sample code for this illustration is included in the attached image.
We have executed this python code with the shown-below instruction.
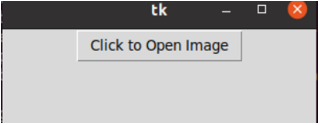
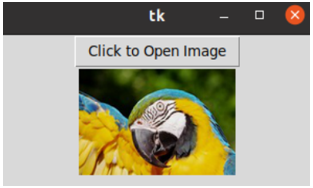
The GUI has been opened with a button. Click on it to select the Image file.
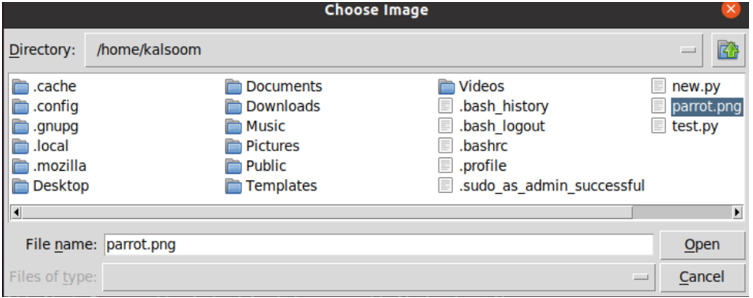
Another dialog appeared. We have selected the parrot.png file as shown.
The image appeared on the Tkinter GUI as presented below.
Conclusion
This article covers the demonstration of python’s Tkinter module to add an image to a GUI window. For this, we have covered two different and basic methods of python, i.e., using the PhotoImage and Pillow module. The examples explain the use of modules in the very easiest way to display images on the GUI screen in the Linux system.


