Tkinter Entry Method
The tkinter library provides very useful widgets to design a GUI application, and the entry() function is one of them. In this guide, we will explain what the entry() method of the tkinter library is and how you can use it in your python programs.
The entry() widget provided by the tkinter utility library is used to get the input from the user at run time. It allows the user to provide one line string in the text box. The entry widget should not be confused with the Text() and Label() widget. The Text() widget in the tkinter library is used to get a multi-line text from the user at run time. The provided text is editable. However, the Label() method is used to display multi-line text on the canvas, and it is not editable. Therefore, Text() and Label() serve completely different purposes for the GUI applications.
Syntax of entry() Function
The syntax of the entry() function provided by the tkinter library is as follows:

The “e” is the variable that holds the data and value of the entry() function. The “parent” parameter represents the parent window. The “option” represents the multiple options supported by the entry() function, i.e., bd, bg, font, relief, show, state, width, etc.
Example 1
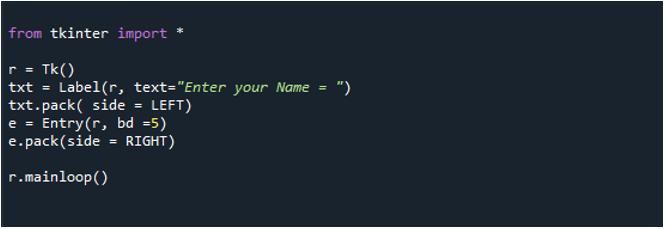
This is a simple example of how to design an entry widget in a python program. The code is given in the screenshot attached below.
Here, we imported the tkinter library first and then created a root directory to get the display environment to create the widgets with tkinter functions. After that, we defined the Label() for the widget with the text “Enter your Name =”, asking the user to enter their name at run time. The widget is placed on the LEFT side, as you can see in the pack(side =LEFT) statement. The entry() function is called to display an entry() widget where the user will be allowed to enter their names. And the entry() widget is placed to the left side by using pack( side = RIGHT) statement.
r = Tk()
txt = Label(r, text="Enter your Name = ")
txt.pack( side = LEFT)
e = Entry(r, bd =5)
e.pack(side = RIGHT)
r.mainloop()
Now, let us see the widget in the output window shown below:
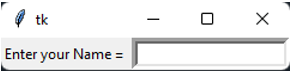
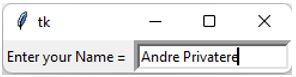
The widget on the right side indicates that the user can give the input. A one-line string input is allowed by the entry() widget, which may contain any number, letter, special character, or anything. Look at the output window below after giving the input from the keyboard at run time.
Example 2
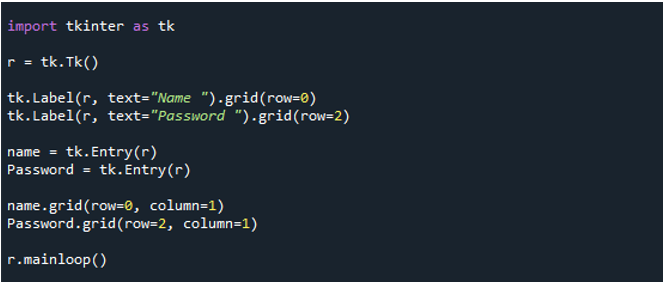
In this example, we will guide you on how to place two entry() widgets on the same campus at the same time. The canvas works on the index number defined by (row, col) number. So, when you need to place multiple widgets on the canvas, you need to know the row and column number to place your widget. Let us see how to define the row and column number to place the widget at the desired location on the canvas:
r = tk.Tk()
tk.Label(r, text="Name ").grid(row=0)
tk.Label(r, text="Password ").grid(row=5)
name = tk.Entry(r)
Password = tk.Entry(r)
name.grid(row=0, column=1)
Password.grid(row=5, column=1)
r.mainloop()
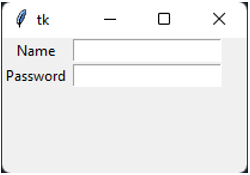
Here is the output widget created by the code given above. Here you can see that two text boxes are displayed in which the user will enter the name and the password.
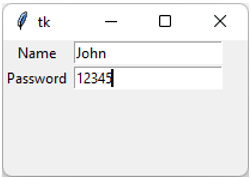
The input can be given like this. Here we have entered “John” in the first textbox and the password “12345” in the second textbox.
Example 3
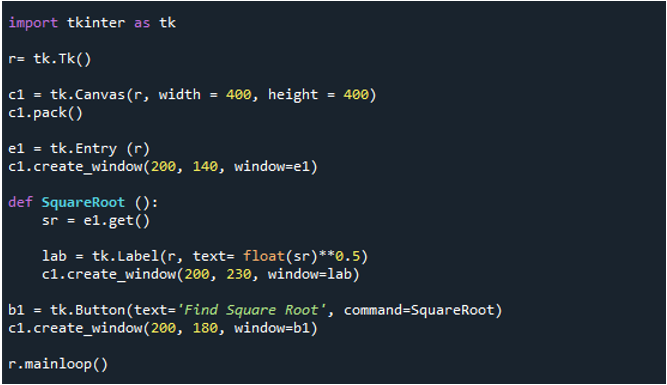
The previous examples were very simple. Let us design a bit more complex real-life application and use the command feature behind the button. In this example, we will ask the user to enter a number, and the program will return the square root of that number. Let’s explain the code now.
Here, we used a canvas() feature to make a canvas of size 400×400, on which we displayed an entry box with a button. The entry box is used to get an integer from the user at run time. The “command” feature is used behind the button so that when the user presses the button, the function behind the button will be called. In the code given above, we defined a function that will calculate the square root of the number entered by the user. The get() function is used to get the number entered in the entry() widget and pass it on to the square root function to calculate the square root. The “create_window” is used to display the result of the square root function on the canvas.
r= tk.Tk()
c1 = tk.Canvas(r, width = 400, height = 400)
c1.pack()
e1 = tk.Entry (r)
c1.create_window(200, 140, window=e1)
def SquareRoot ():
sr = e1.get()
lab = tk.Label(r, text= float(sr)**0.5)
c1.create_window(200, 230, window=lab)
b1 = tk.Button(text='Find Square Root', command=SquareRoot)
c1.create_window(200, 180, window=b1)
r.mainloop()
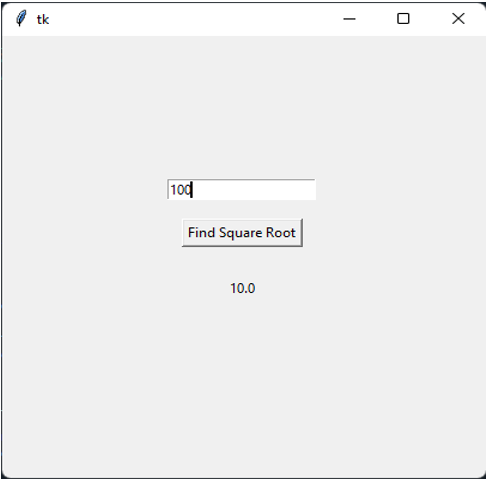
Now let us check out the output given below. Here you can see a button on which “Find Square Root” is written. When the user enters any number in the text and clicks on the button, it will return the square root of the entered number. As you can see, 100 is entered by the user, and the returned square root 10 is displayed on the canvas.
Conclusion
In this article, the entry() function provided by the tkinter library is discussed in detail. We have seen examples of how to place one or two entry() widgets on the canvas at the same time. We also defined a square root function to attach behind the button that will execute when the button is pressed.