In this article, I am going to show you how to install and use Synology Audio Station. I will also show you how to manage audio playlists and share audio publicly with Audio Station. So, let’s get started.
Table of Contents:
- Installing Synology Audio Station
- Basics of Synology Audio Station
- Managing Playlists
- Sharing Music Publicly
- Conclusion
- References
Installing Synology Audio Station:
To install Audio Station on your Synology NAS, open the Package Center app1, search for audio station2, and click on the Audio Station app from the search result3.

Click on Install.
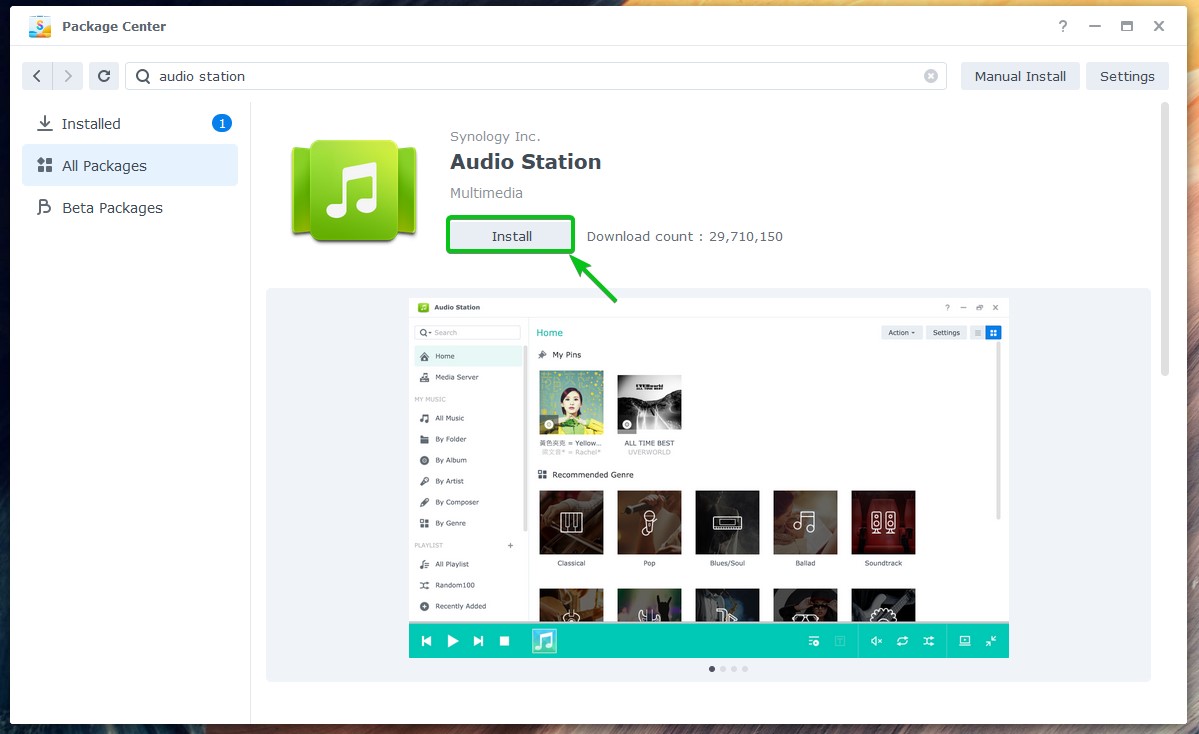
Audio Station should be installed.

Basics of Synology Audio Station:
Once Audio Station is installed, you can open it from the Application Menu ( ![]() ) of the DSM 7 operating system of your Synology NAS.
) of the DSM 7 operating system of your Synology NAS.

Click on the Audio Station icon.
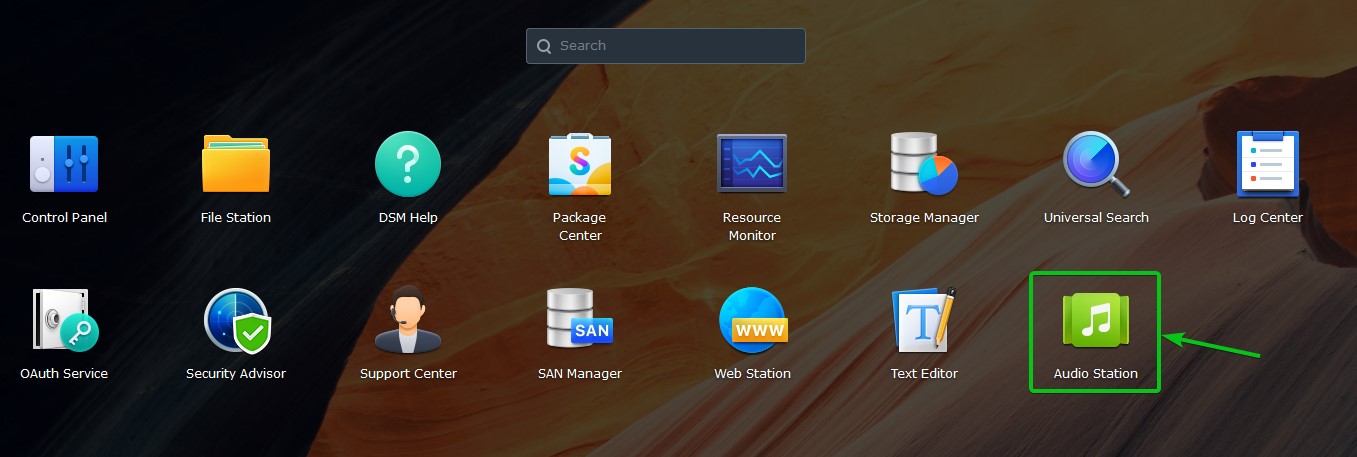
Audio Station should be opened.
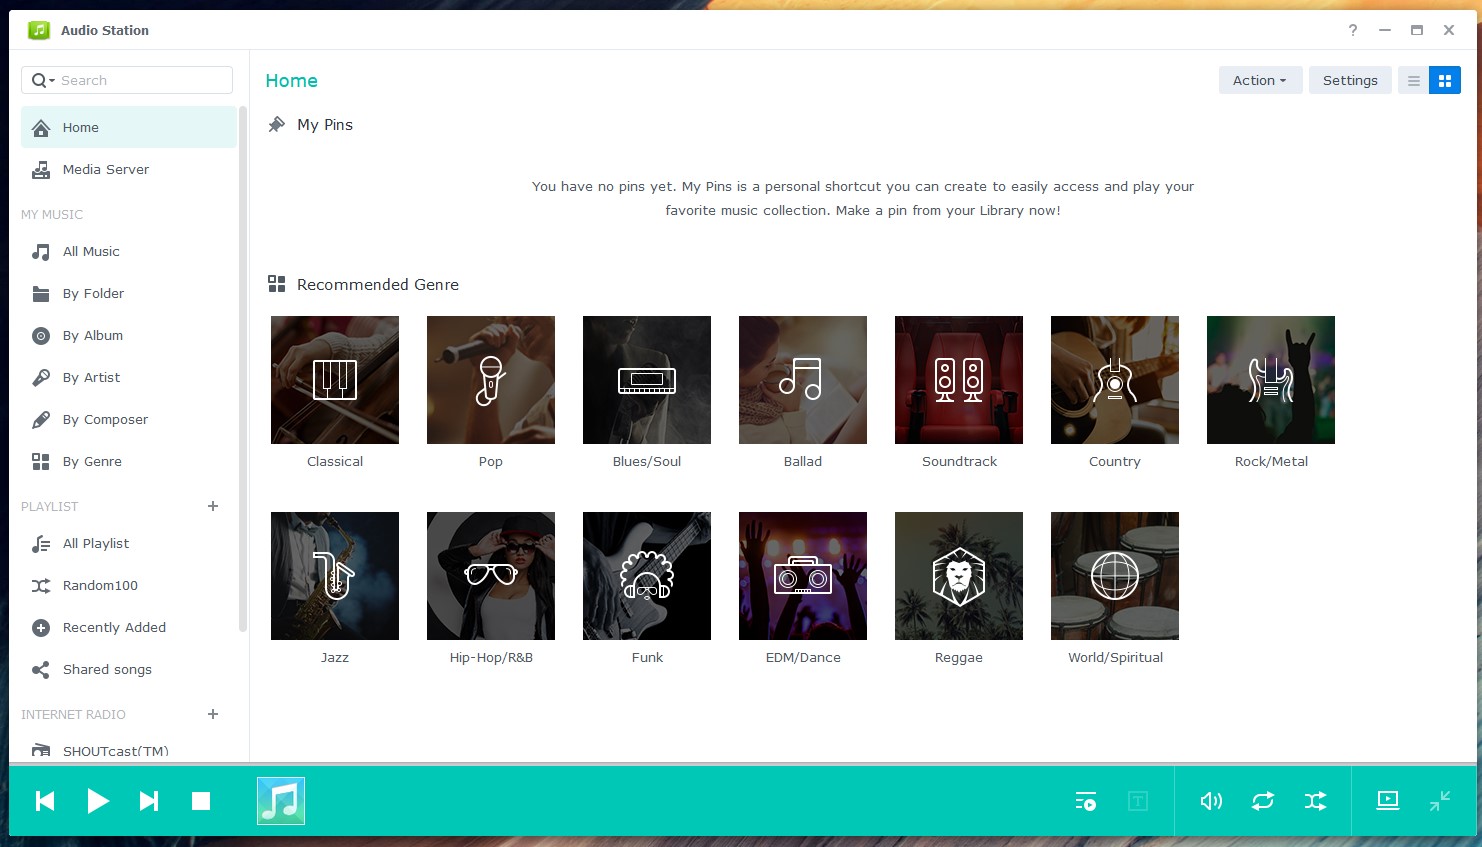
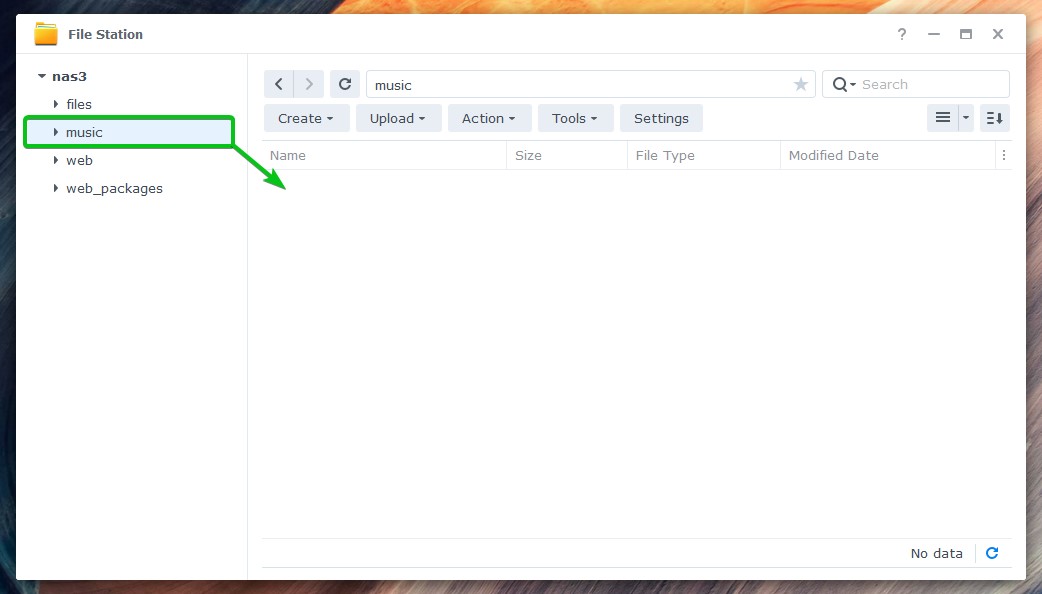
Once Audio Station is installed, a new shared folder music should be created. You can upload your music or audio files in this shared folder. The music or audio files uploaded to this shared folder will be automatically added to Audio Station.
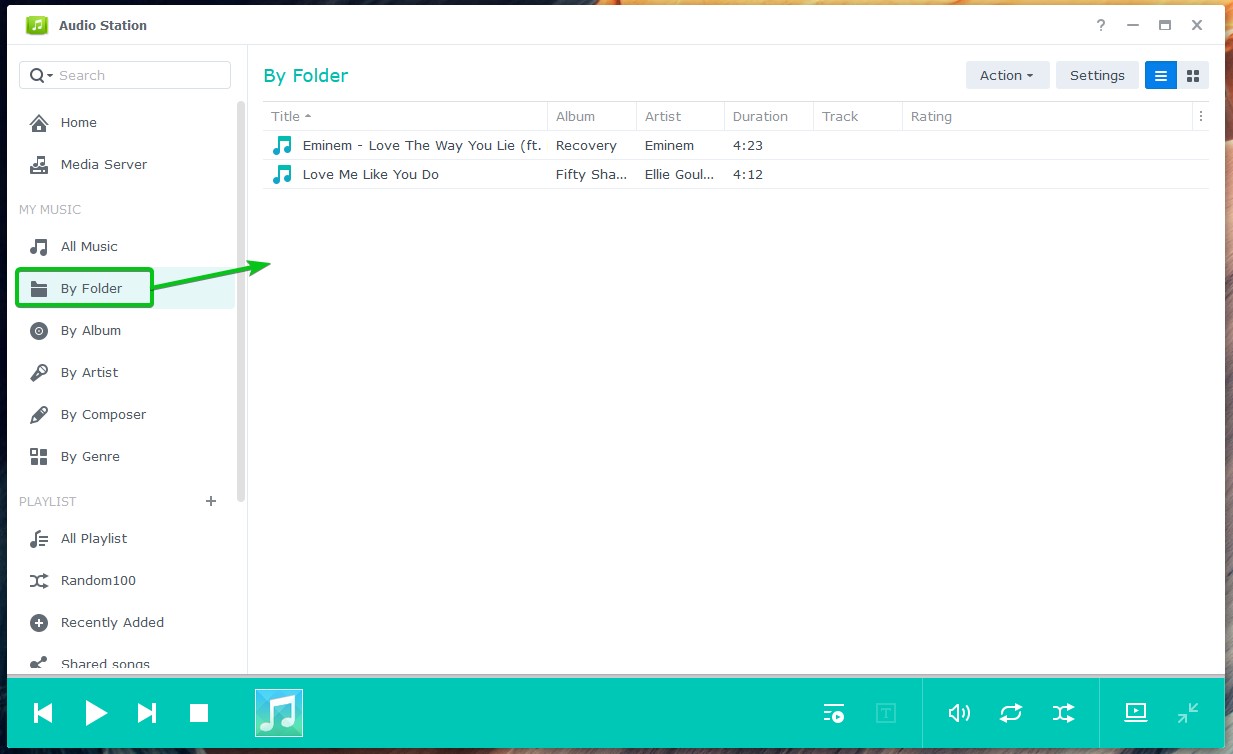
Once you upload music or audio files on the music shared folder, they will be displayed in the All Music section of the Audio Station app, as you can see in the following screenshot:

You can click on the By Folder section to browse music or audio files from the music shared folder by folder.
The music or audio files you’ve uploaded on the music shared folder will be organized in the following categories:
- By Album
- By Artist
- By Composer
- By Genre
Click on the By Album section to browse music by their album.
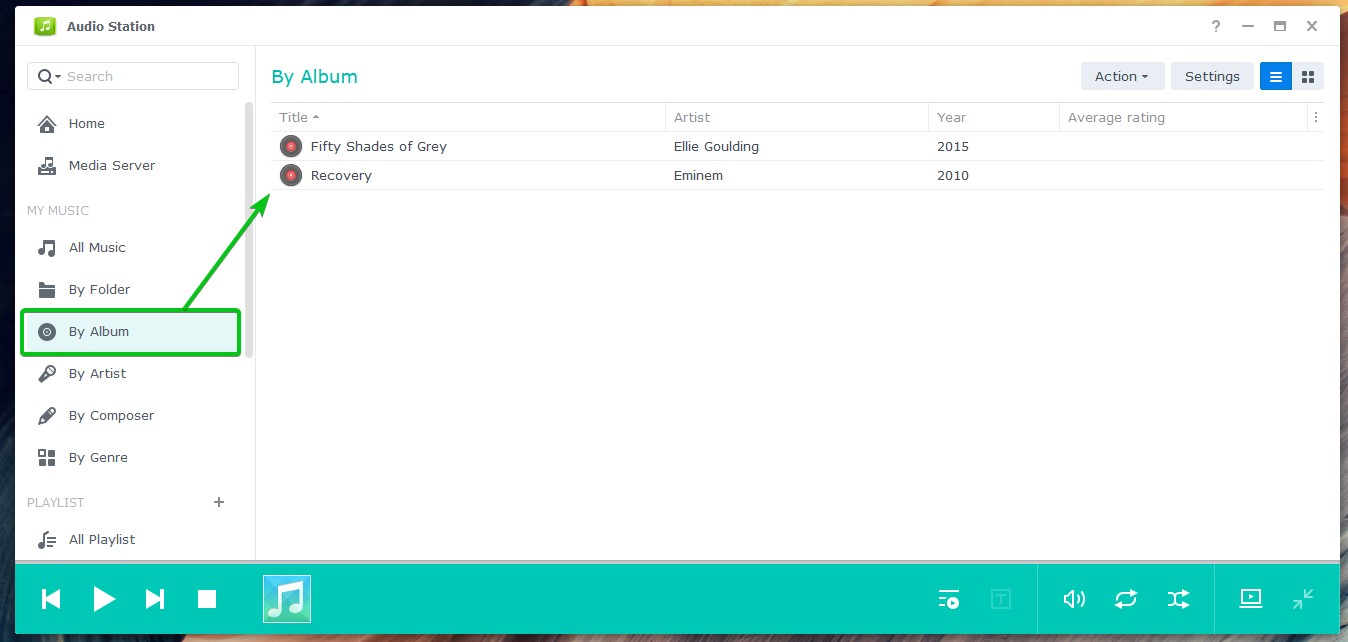
This is how it looks like when a music album is opened on Audio Station:

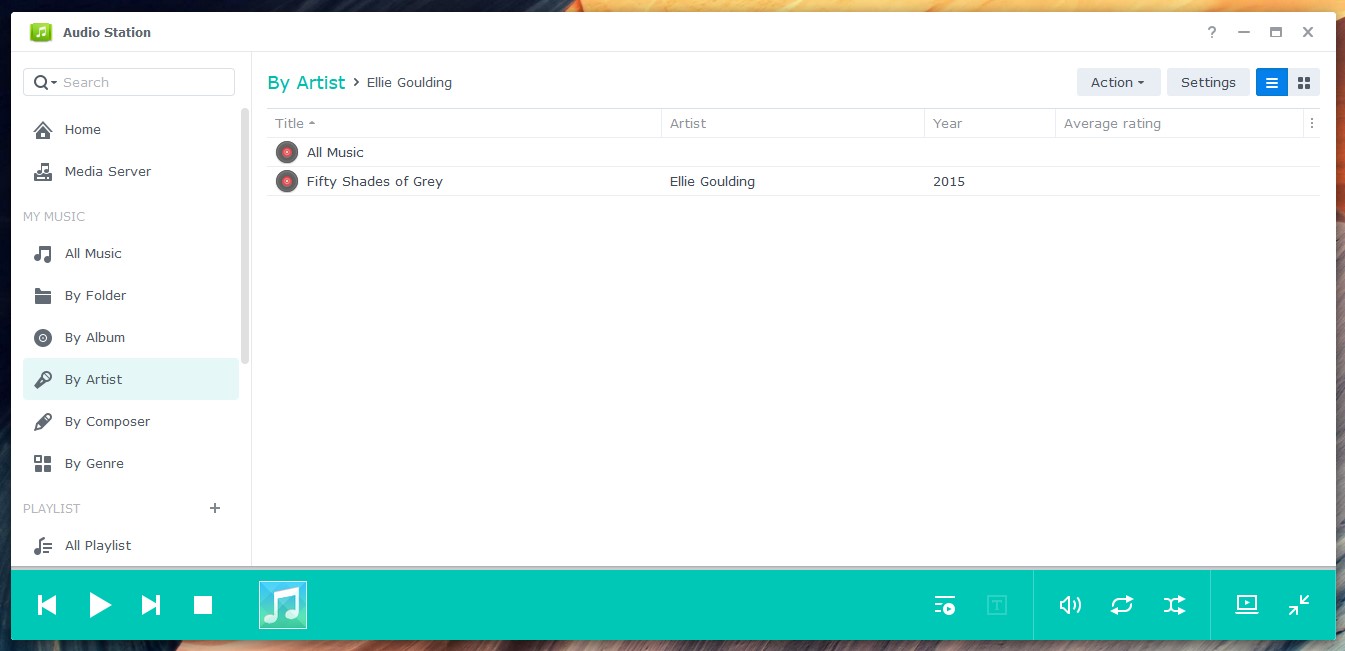
Click on the By Artist section to browse music by artist.
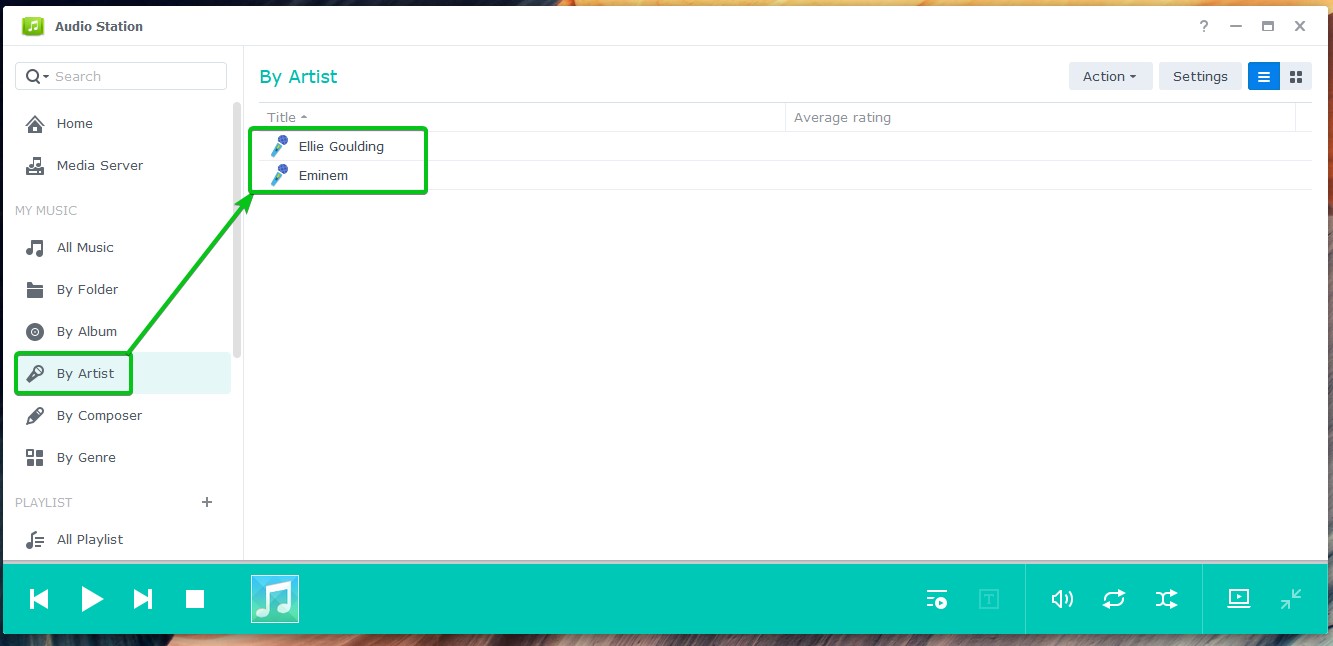
Once you click on an artist’s name, all the albums of that artist will be displayed.
Click on the By Genre section to browse music by genre.

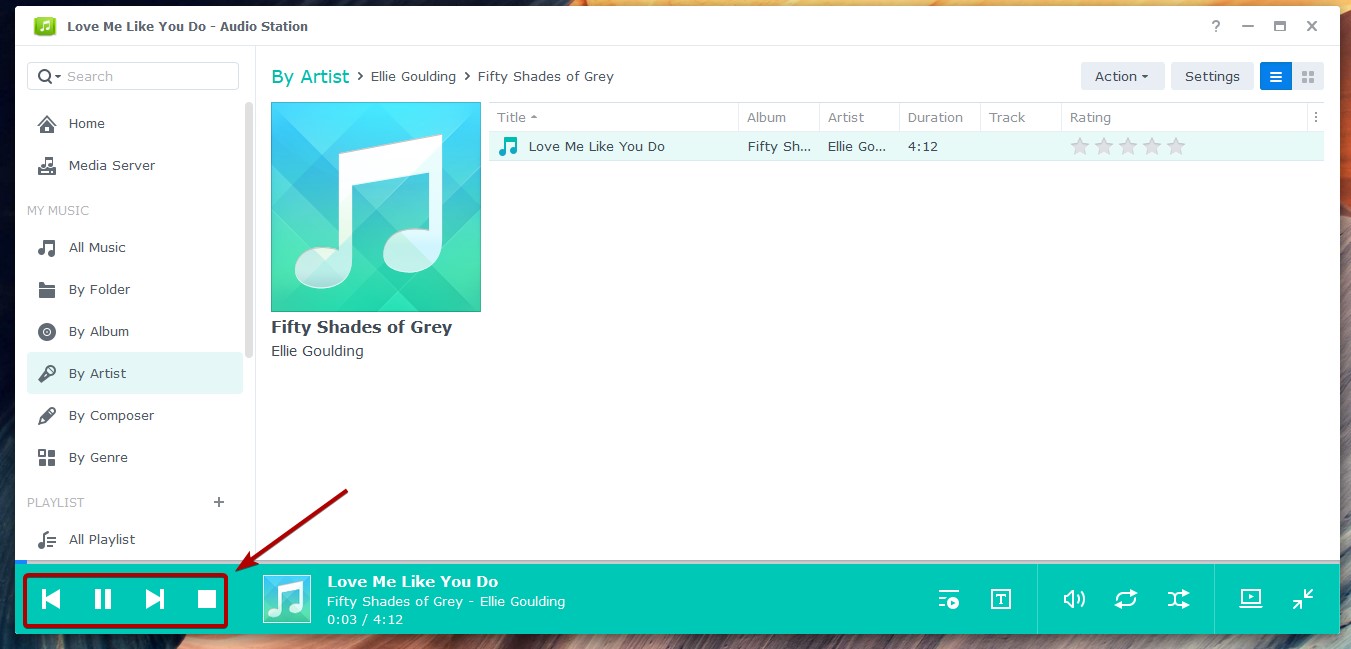
To play a music or audio file, double-click on your desired item from the Audio Station.
Once a music or audio file starts playing, you will see the following media playback controls on the bottom-left corner of the Audio Station:
Click on (![]() ) to play the previous music of your playlist.
) to play the previous music of your playlist.
Click on (![]() ) to play the next music on your playlist.
) to play the next music on your playlist.
Click on (![]() ) to pause the music that is being played.
) to pause the music that is being played.
Click on (![]() ) to play a paused music.
) to play a paused music.
Click on (![]() ) to stop the music that is being played.
) to stop the music that is being played.
You will also see the following media playback controls on the bottom-right corner of the Audio Station:
Click on (![]() ) to see the playing queue.
) to see the playing queue.
Click on (![]() ) to see the lyrics of the music being played.
) to see the lyrics of the music being played.
Click on (![]() ) to adjust the volume.
) to adjust the volume.
Click on (![]() ) to toggle between no repeat, repeat all, or repeat one.
) to toggle between no repeat, repeat all, or repeat one.
Click on (![]() ) to toggle between shuffle on or off.
) to toggle between shuffle on or off.
Click on (![]() ) to switch Audio Station to mini mode.
) to switch Audio Station to mini mode.

Once you’re in mini mode, you can click on to switch the Audio Station to full mode again.

Managing Playlists:
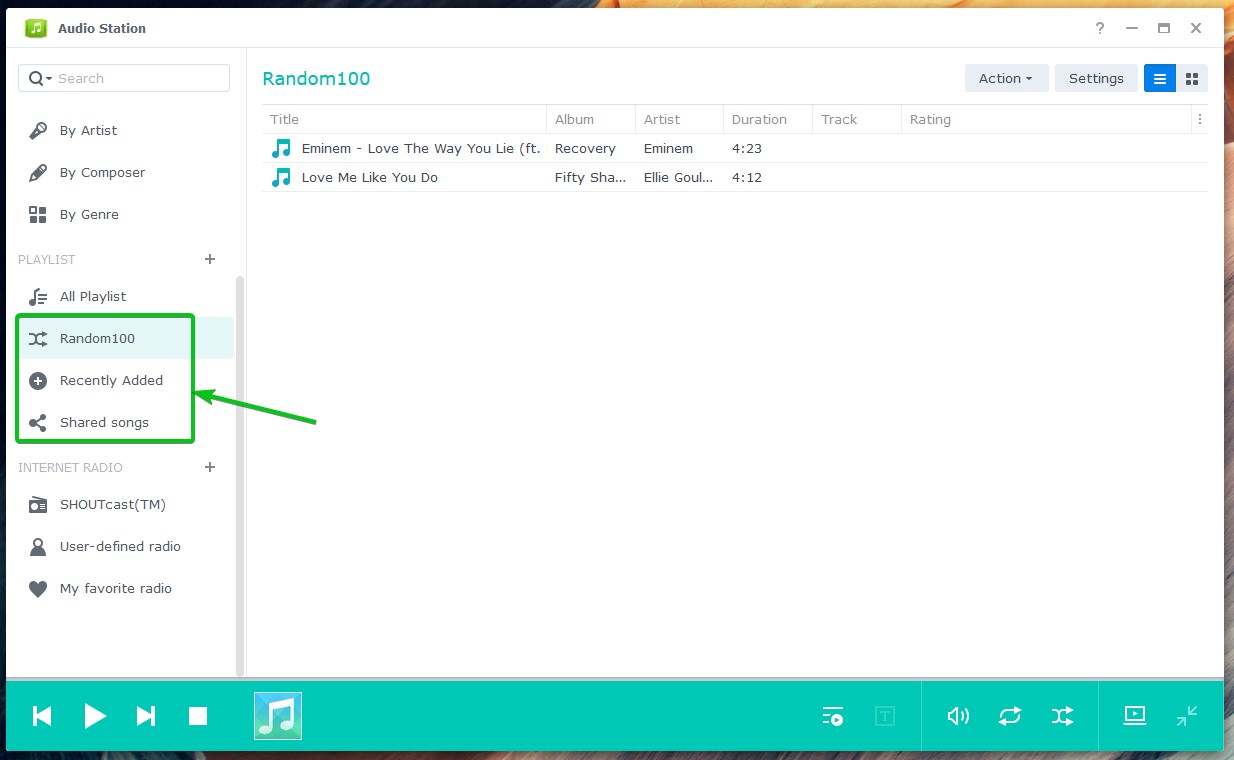
Audio Station has the following predefined playlists by default:
Random100: This playlist will randomly pick 100 music or audio files from the entire library.
Recently Added: This playlist will show recently added music or audio files.
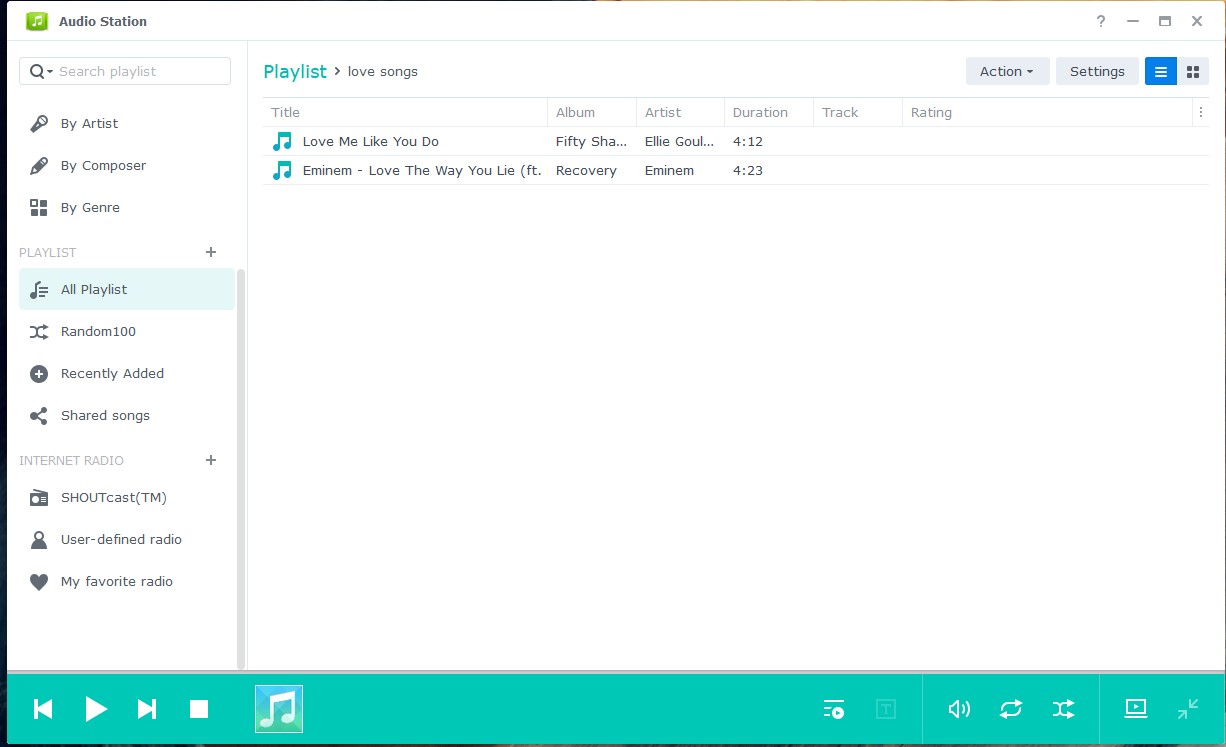
Shared songs: This playlist will show the music or audio files shared publicly.
You can also create custom playlists with Audio Station. Audio Station lets you create 3 types of custom playlists:
- Personal playlist: This playlist is only accessible to the Synology NAS user who created it.
- Group playlist: This playlist is accessible to all the Synology NAS users who have access to the Audio Station app.
- Smart playlist: Music or audio files are automatically added to this playlist depending on one or more rules.
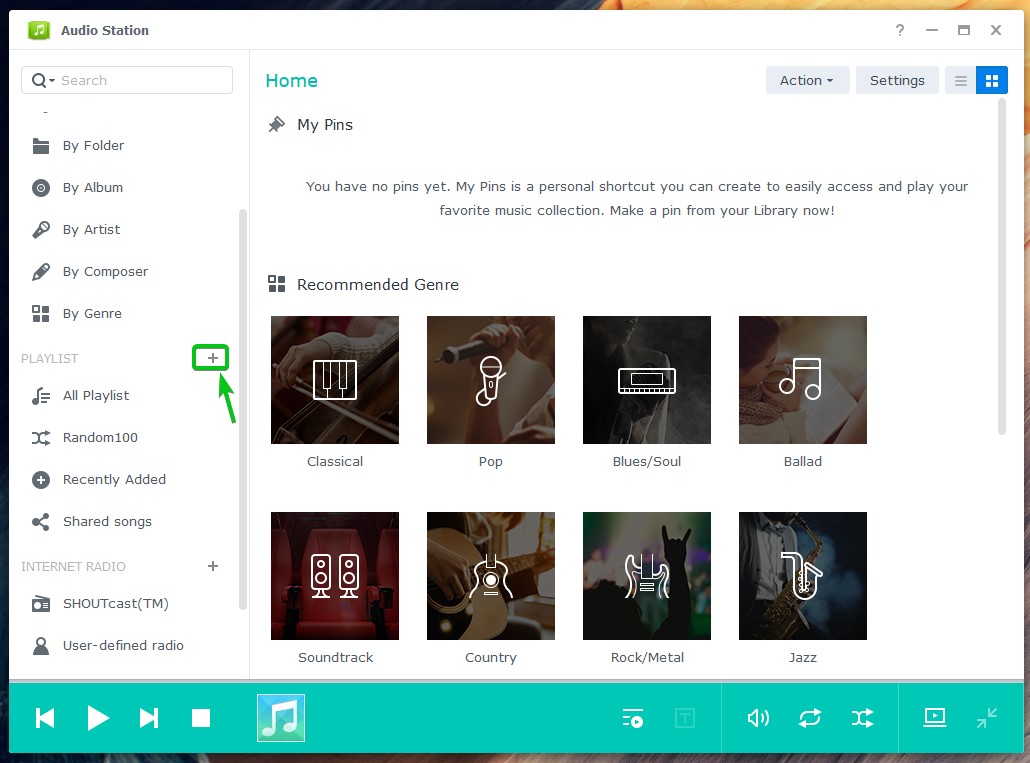
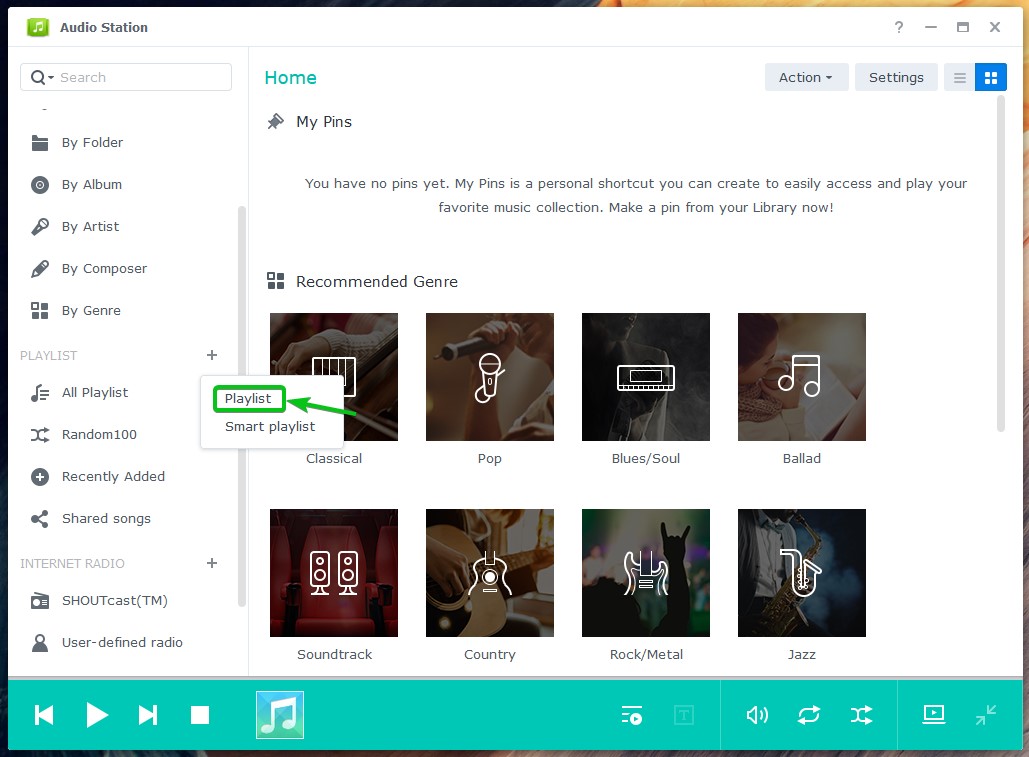
To create a Personal playlist, click on the marked + icon.
Click on Playlist.
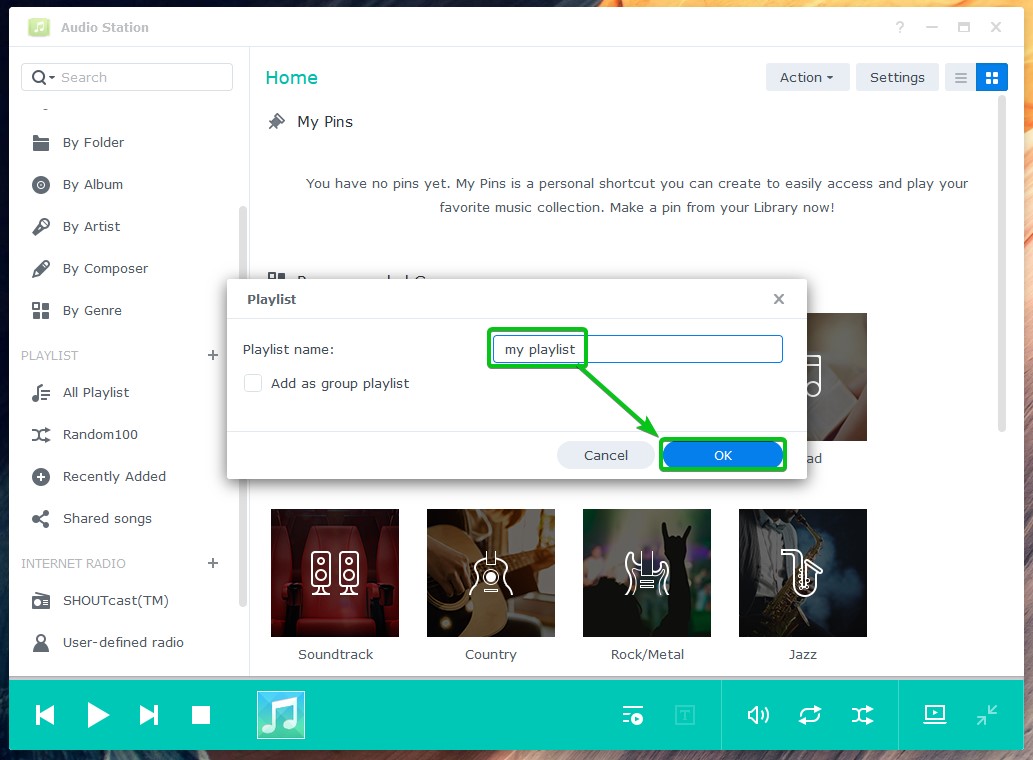
Type in your desired Playlist name and click on OK.
NOTE: If you want to create a Group playlist, don’t forget to check the Add as group playlist checkbox.
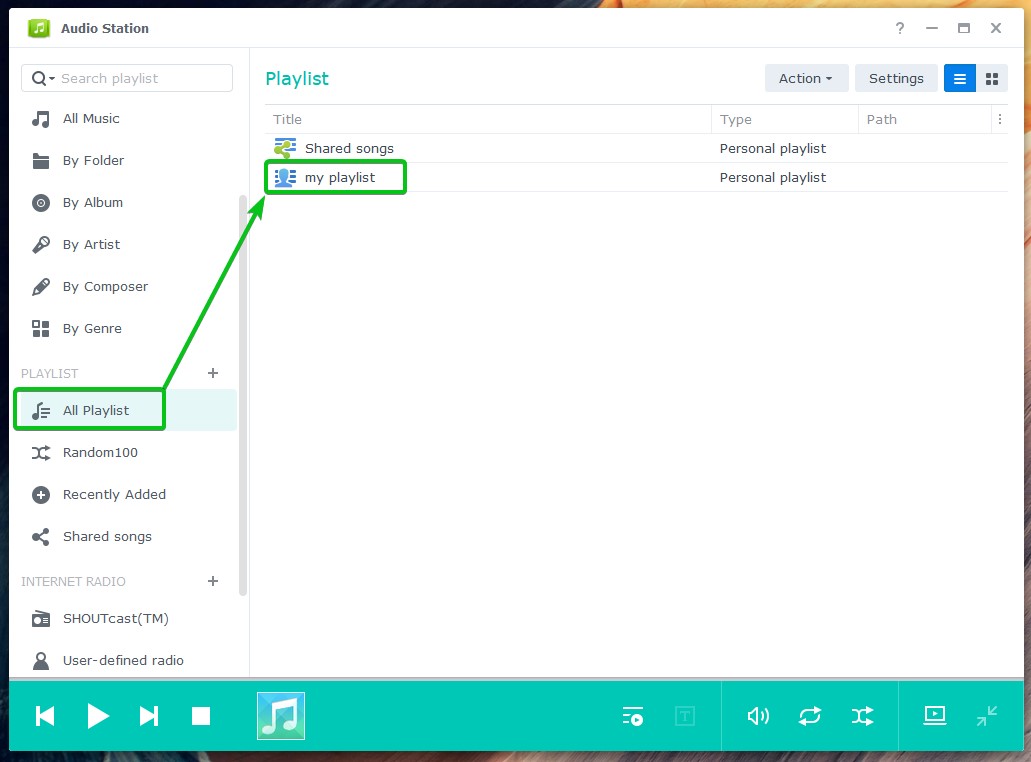
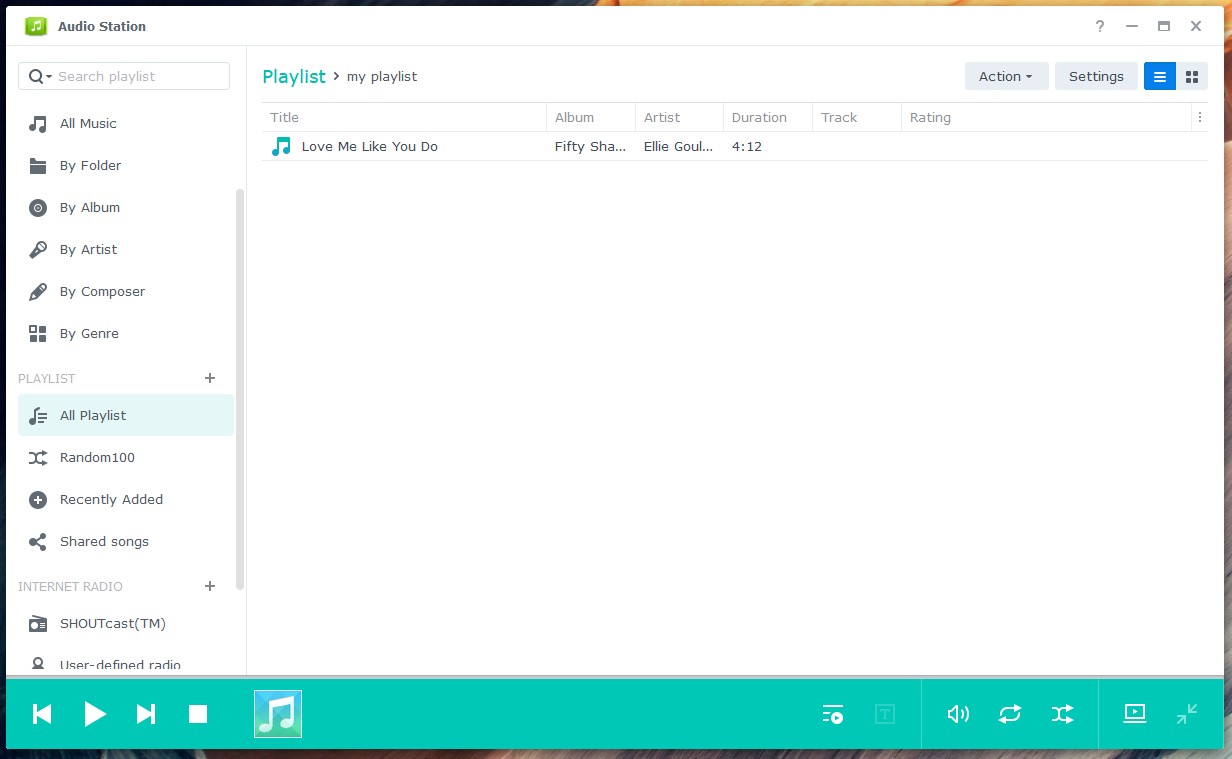
Click on All Playlists to see all the Audio Station playlists. The newly created playlist should be there as you can see in the following screenshot:
To add a music or audio file to your personal playlist, right-click (RMB) on it, and click on Save to personal playlist.
To add a music or audio file to your group playlist, right-click (RMB) on it, and click on Save to group playlist.
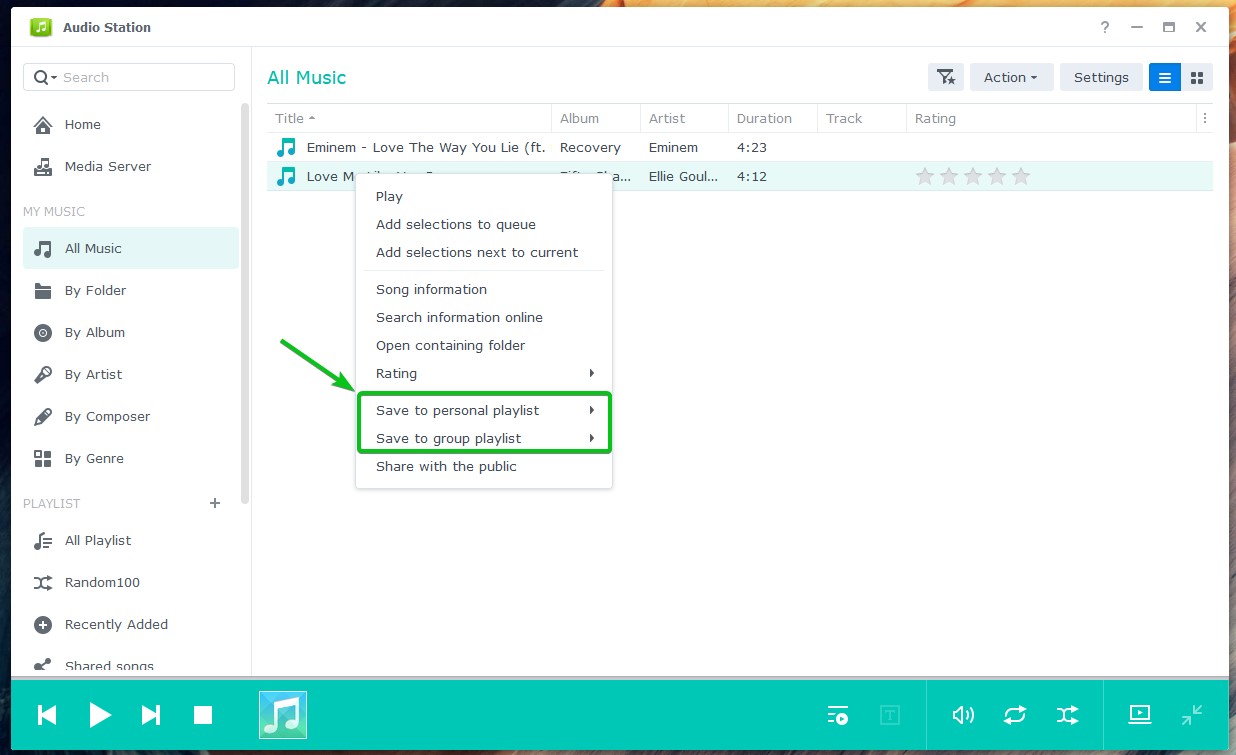
Then, click on the playlist where you want to add the music or audio file.
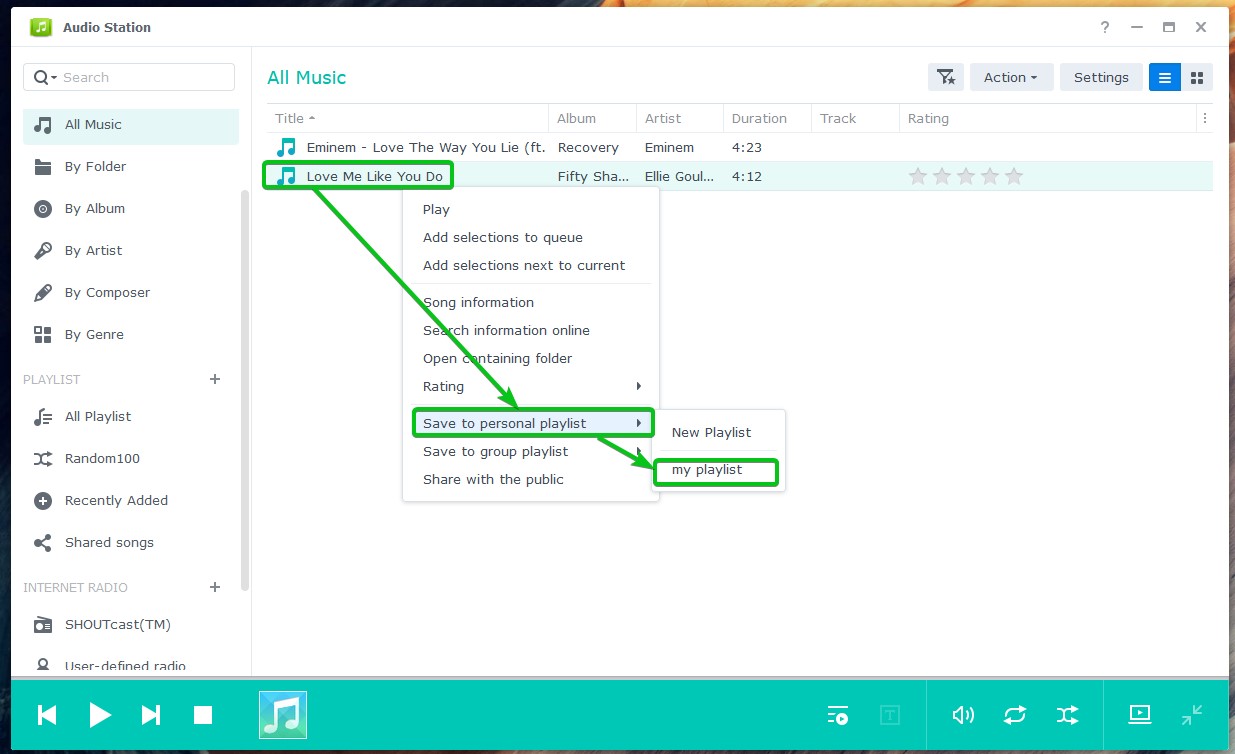
The music or audio file should be added to that playlist.
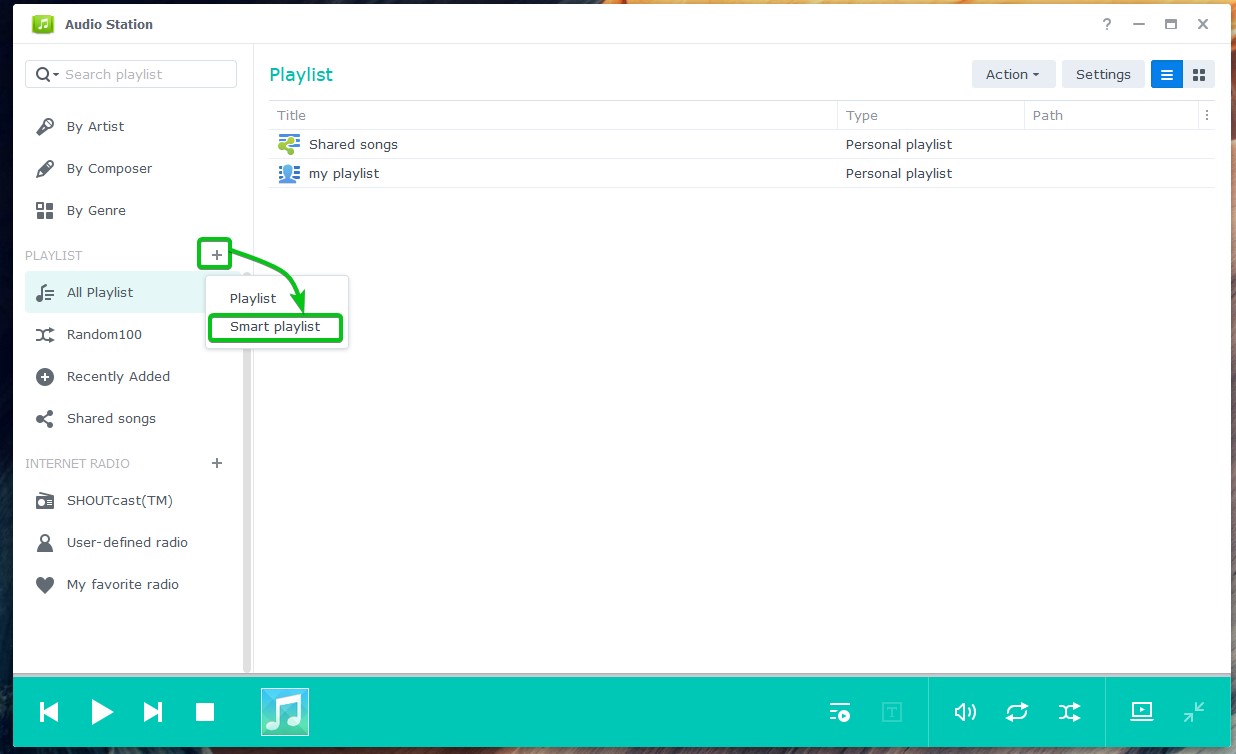
To create a smart playlist, click on the + icon and click the Smart playlist as marked in the following screenshot:
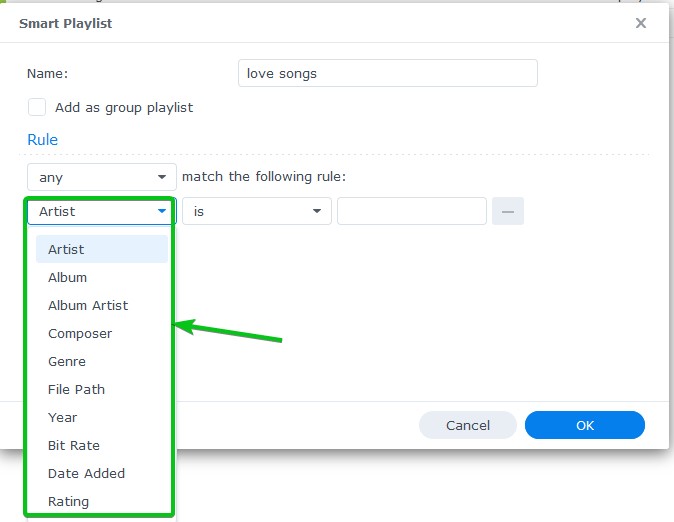
Type in a name for the smart playlist.

Now, you have to add one or more rules to match music or audio files.

First, select the type of information you would like to match from the marked drop-down menu.
Then, select the matching condition from the marked drop-down menu.
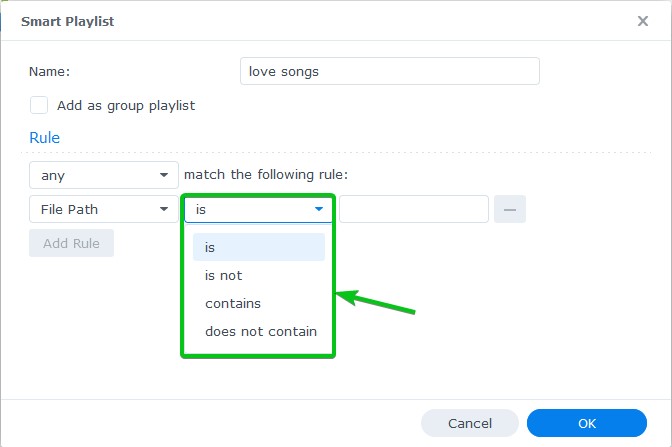
Then, type in the keyword to match as marked in the following screenshot:
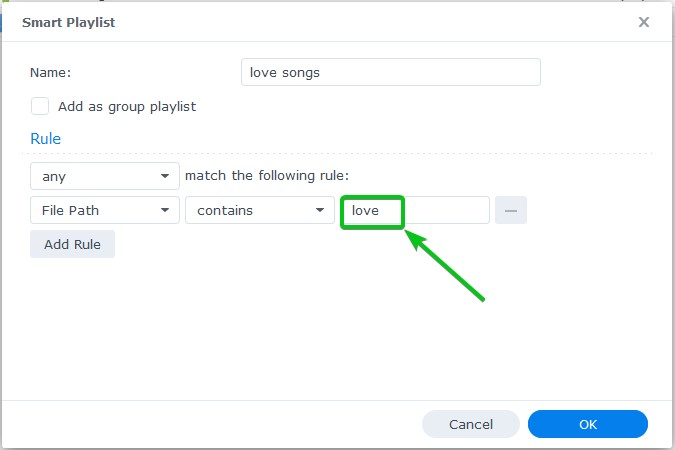
If you want to add another matching rule, click on Add Rule.

A new empty rule should be added.
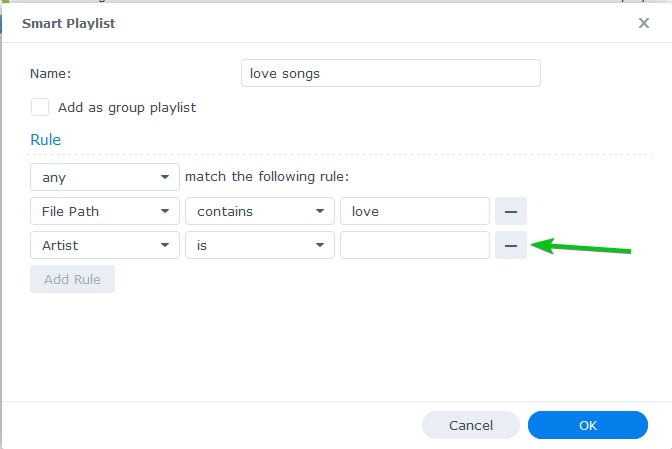
If you have multiple rules added to the smart playlist, you can select one of the marked options:
all – to add music or audio files if all the rules match.
any – to add music or audio files if any of the rules matches.

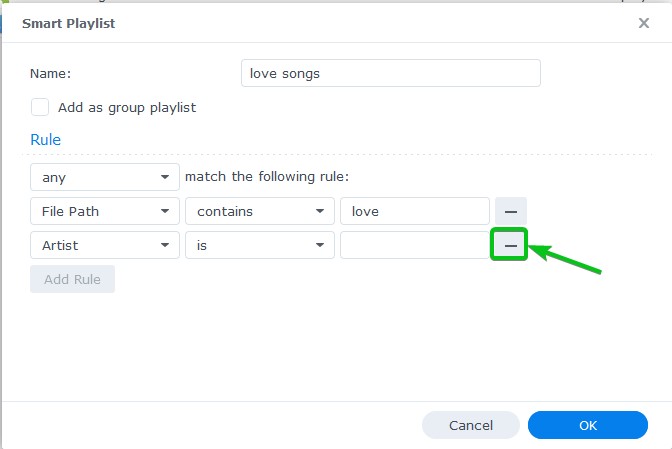
If you want to remove a rule, click on the – icon as marked in the following screenshot:
To make a group smart playlist, check the Add as group playlist checkbox as marked in the following screenshot:

Once you’re done configuring the smart playlist, click on OK.

A new smart playlist should be created as you can see in the following screenshot:

As you can see, music or audio files that match the smart playlist rules are added to the smart playlist.
Sharing Music Publicly:
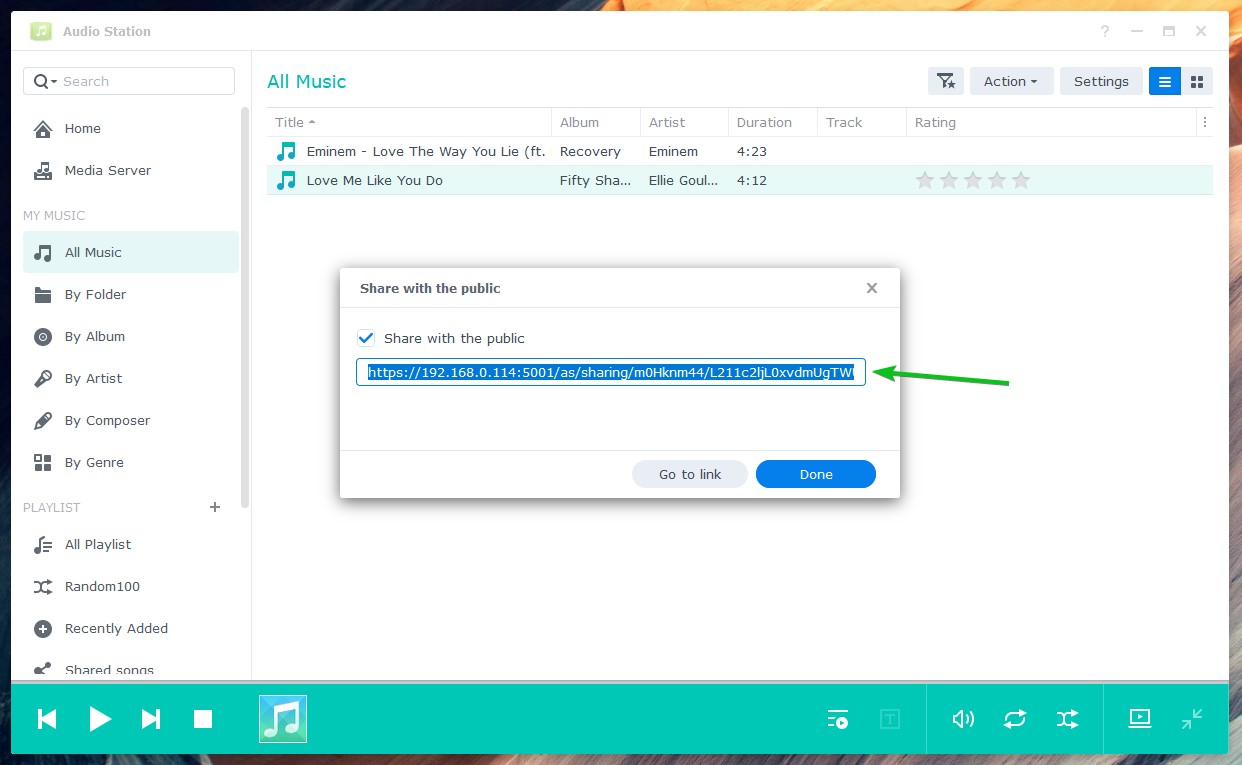
To share a music or audio file publicly, right-click on it and click on Share with the public as marked in the following screenshot:

Check the Share with the public checkbox as marked in the following screenshot:

A sharing link should be generated. You can copy the link and share it with your friends.
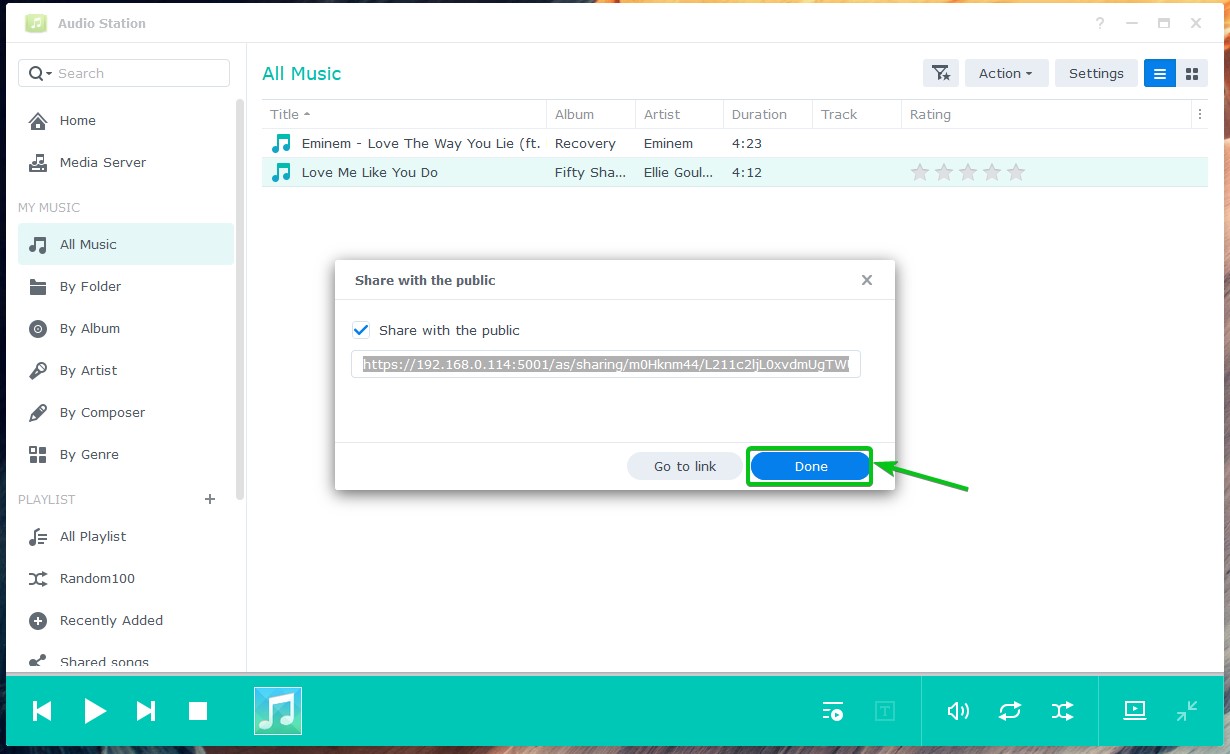
Click Done.
You can find all the music of audio files that you’ve shared in the Shared songs section as marked in the screenshot below. The music or audio file that you’ve shared should be here:
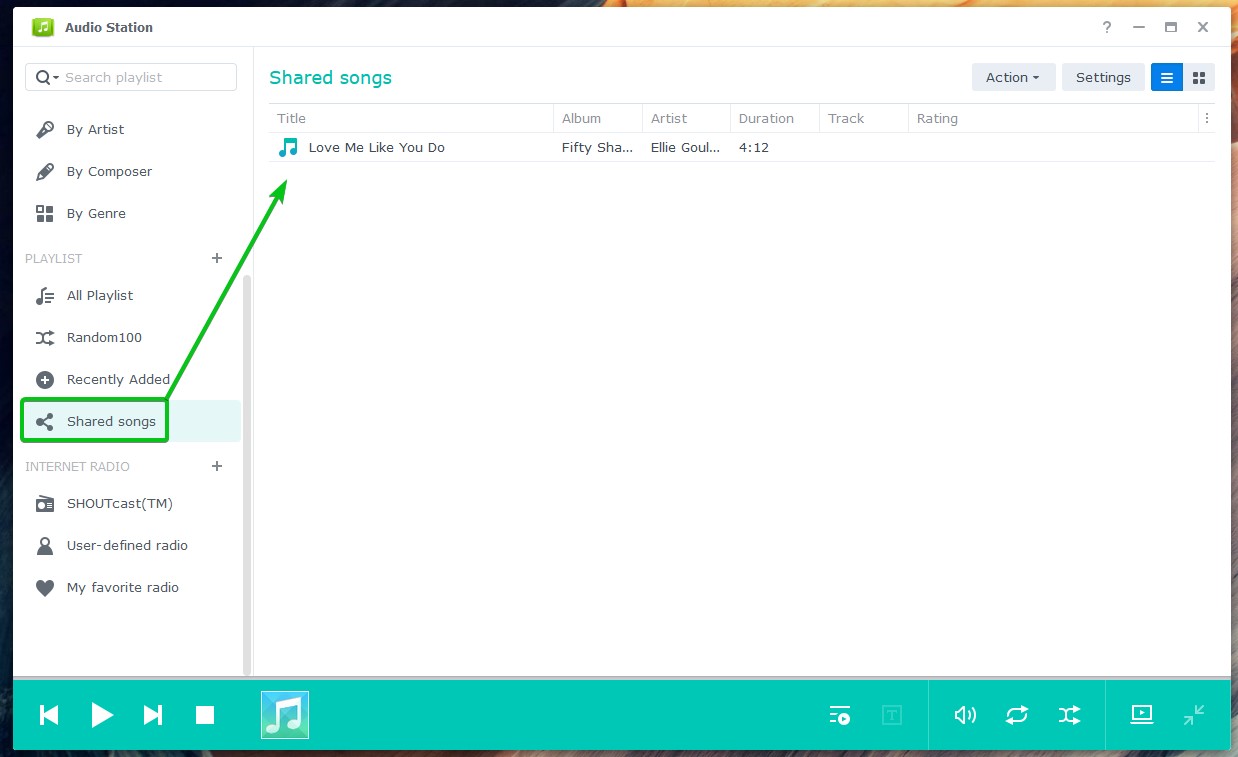
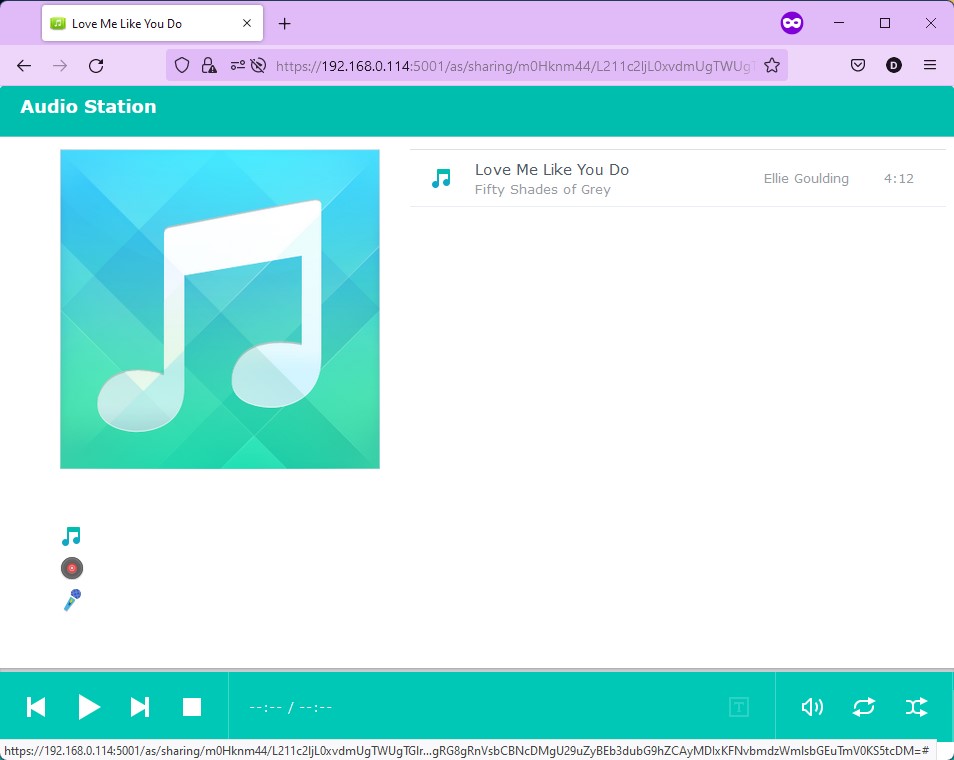
Once anyone visits the sharing link, the music or audio file can be played with Audio Station.
Conclusion:
This article discussed how to install and use Synology Audio Station. I have also shown you how to manage the audio playlists and share audio publicly with Audio Station. We hope you found this article helpful. Check out other Linux Hint articles for more tips and tutorials.