MongoDB is a NoSQL database management system. The community server of MongoDB is freely available and open source while professional or Enterprise servers are paid. MongoDB can be used via the MongoDB server and a MongoDB client. The MongoDB server can be downloaded from its official website, and the MongoDB community offers multiple variants of the Mongo server. MongoDB is used to develop and scale applications easily. It uses APIs support to perform CRUD operations on the database and can import data from JSON or CSV files.
In this blog, we will elaborate on the technique to start the MongoDB server in Windows. The content of this post is provided below:
- Prerequisite: Install MongoDB Server on Windows
- How to Start MongoDB Server on Windows
- Bonus-Tip: How to Install MongoDB Shell on Windows
Prerequisite: Install MongoDB Server on Windows
MongoDB is NoSQL DBMS used to develop an application or to maintain and manipulate user records using APIs. To start the MongoDB server, we need to first install it first on Windows. The below-mentioned steps are carried out to install the MongoDB server on windows:
Step 1: Download MongoDB Server Installer
The below provided link will lead you to the MongoDB community server download link:
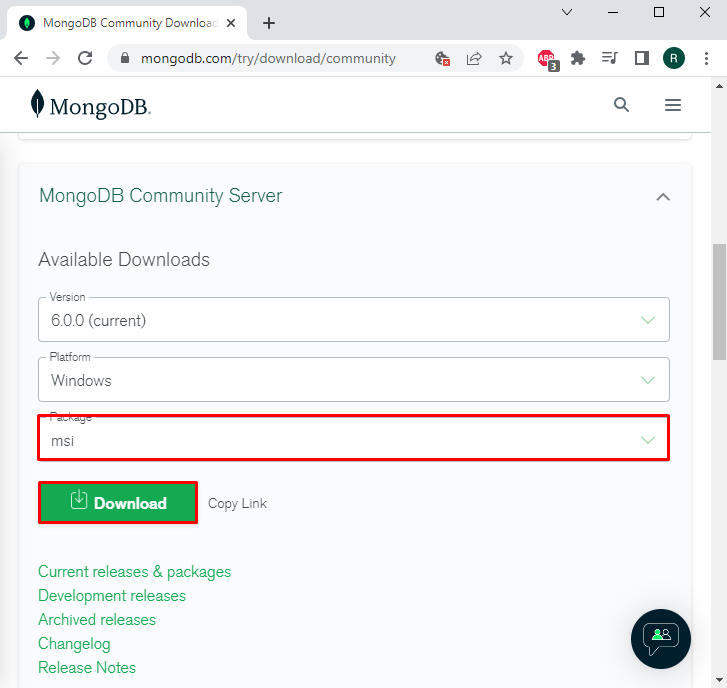
Choose the “msi” setup from the “Package” drop-down menu and click on the “Download” button:
Step 2: Run MongoDB Installer
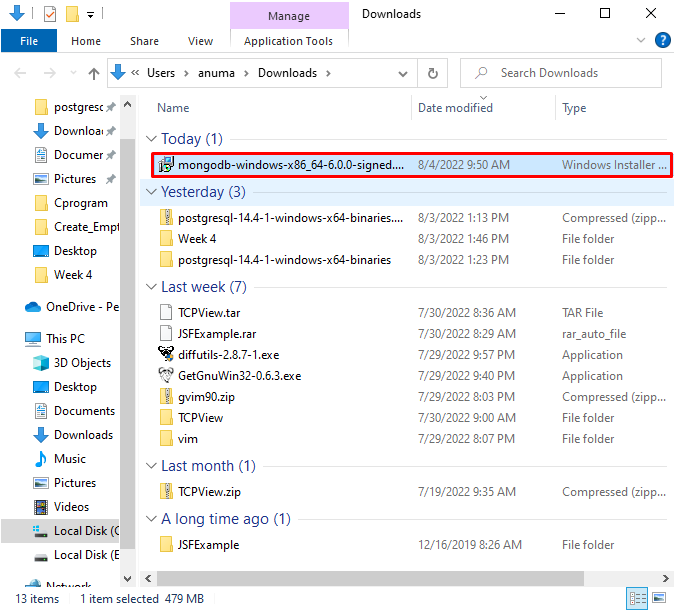
Next, open the “Downloads” folder. Double click on the MongoDB installer to install the MongoDB server on Windows:
Step 3: Install MongoDB
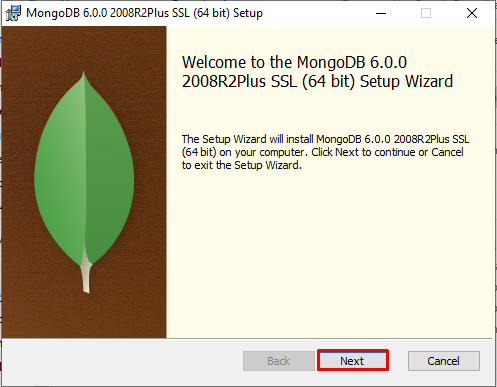
The MongoDB wizard will appear on the screen, click on the “Next” button to proceed further:
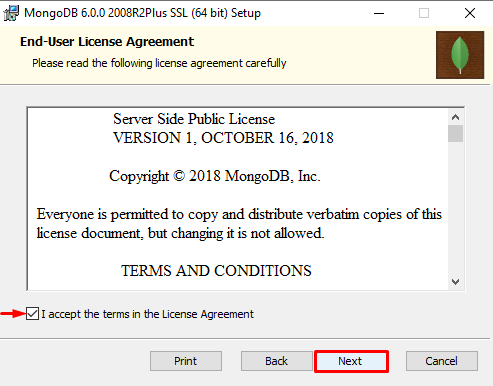
Mark the displayed checkbox to accept all the “End-User License Agreement” and hit the “Next” button:
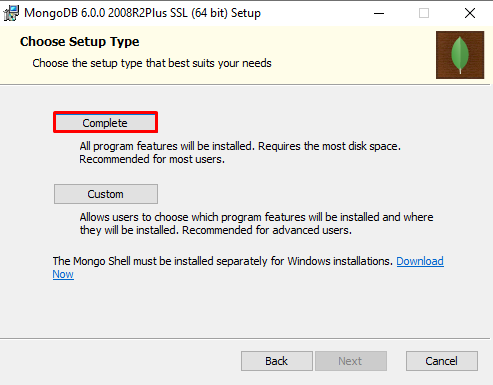
Choose the “Setup Type” as we have selected “Complete” and press the “Next” button:
Next, mark the checkbox “Install MongoD as a Service” from the “Service Configuration” wizard and click on “Next”:
If you want to install MongoDB Compass which is the graphical user interface of MongoDB, then mark the “Install MongoDB compass” checkbox. Then, click on the “Next” button:
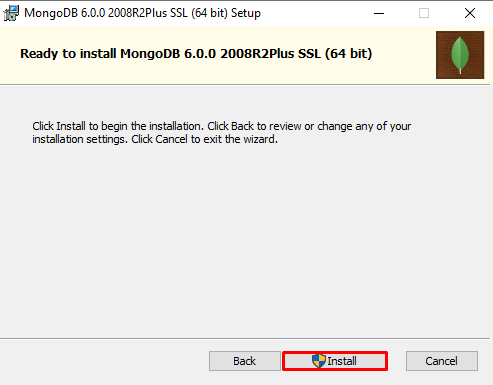
After completing all required steps, hit the “Install” button to start the installation of the MongoDB server on Windows:
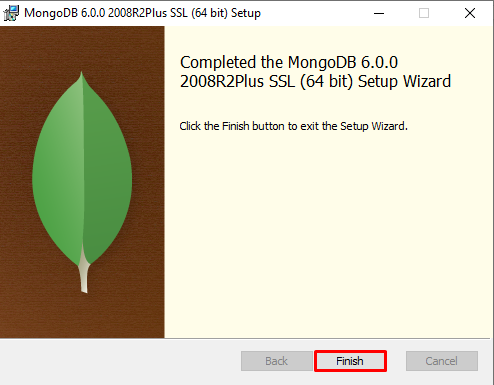
We have completed the MongoDB installation. Now, press the “Finish” button:
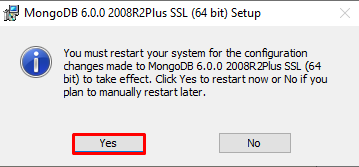
After completing the MongoDB installation, press the “Yes” button to restart the system to save changes:
Step 4: Verify MongoDB Installation
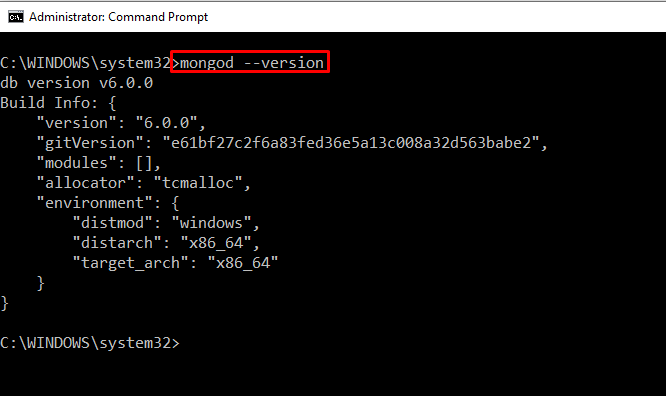
Open the Command Prompt from the Startup menu and check the MongoDB version to verify its installation:
The below-given output verify that we have installed MongoDB version “v6.0.0” on Windows:
How to Start MongoDB Server in Windows?
MongoDB server is the key player that enables the exercise of various functionalities such as creating and storing databases. Let’s check out the procedure to start the MongoDB service and MongoDB server on Windows:
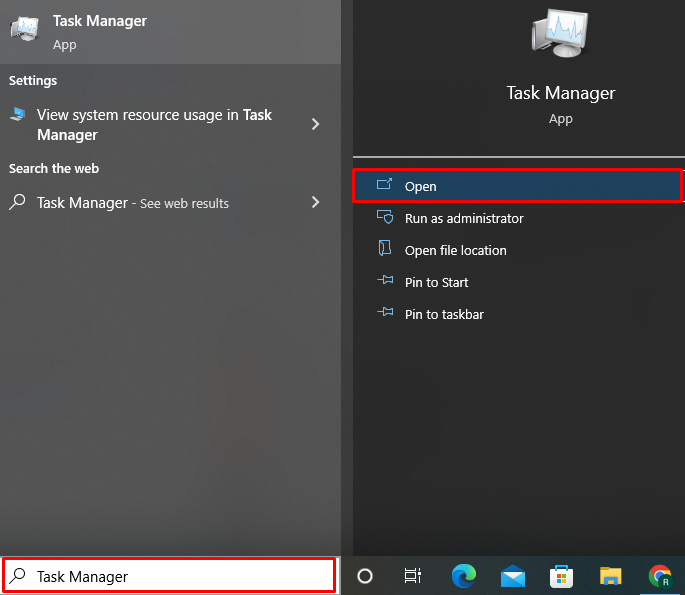
Step 1: Open Task Manager
Firstly, search for “Task Manager” in the “Startup” menu and open the Task Manager tool from the displayed results:
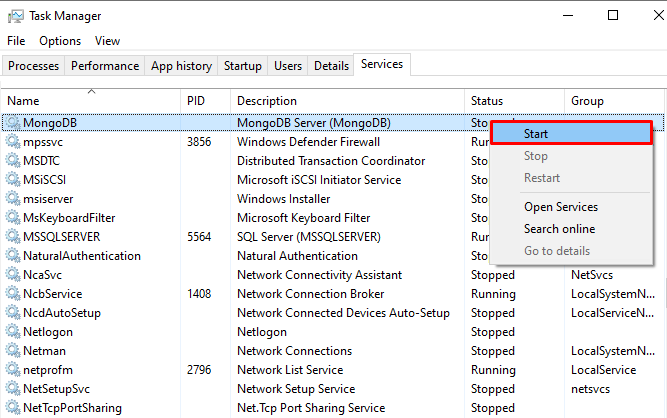
Step 2: Start Service of MongoDB Server
Open the “Services” menu from the “Task Manager” Window and start the MongoDB server service. For this purpose, find and right-click on the “MongoDB Server” and choose the “Start” option to start the MongoDB server service:
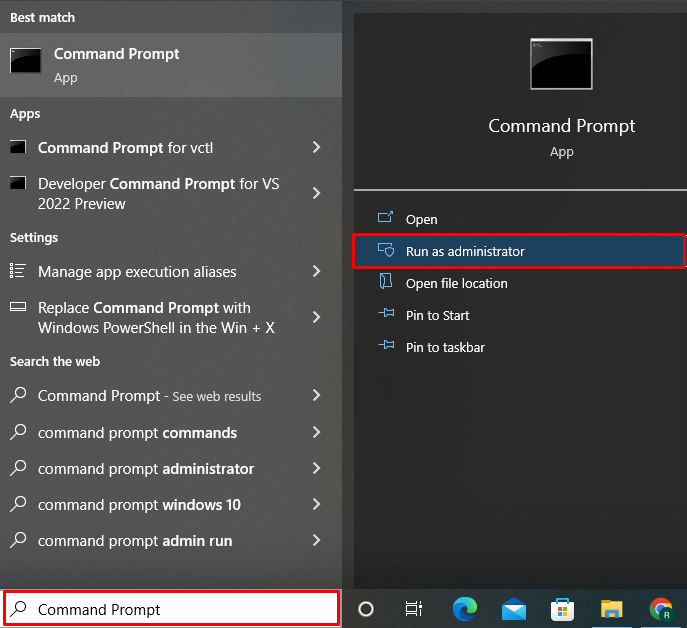
Step 3: Open Command Prompt
After starting the service, open the Command Prompt as an admin user from the “Startup” menu:
Step 4: Make Data Directory
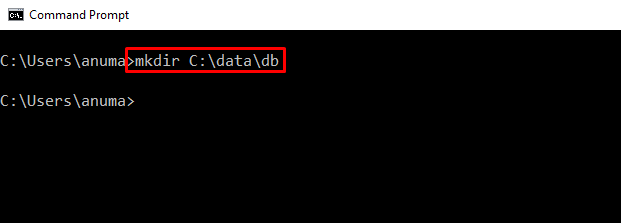
Next make a new “data\db” directory. It is a default directory and is used during MongoDB configuration. If it does not exist, it may cause an error such as “C:\data\db not found” and your server may not start properly:
Step 5: Start MongoDB Server
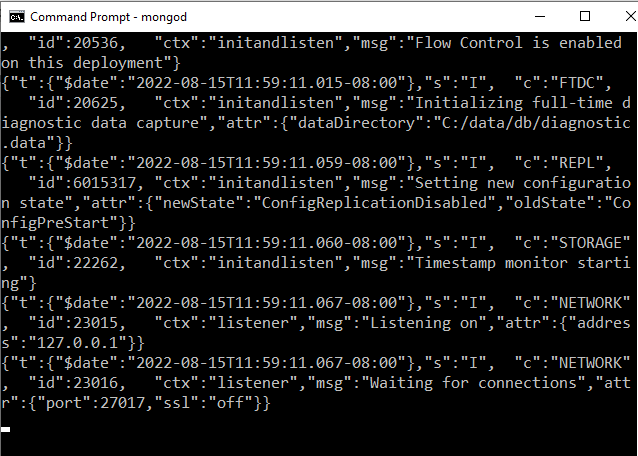
Lastly, execute the “mongod” command to run the MongoDB server on Windows:
Now, you can see that from the below-given output, we have successfully started the MongoDB server on Windows:
Note: Unfortunately, Mongo Shell will not install by default while the installation of MongoDB version V6.0.0. Therefore, users are required to install it manually. For this purpose, move ahead toward the next section.
Bonus-Tip: How to Install MongoDB Shell in Windows?
MongoDB shell is a JavaScript interface that is used to interact with the MongoDB server through the command line. In the earlier version of the MongoDB server, the Mongo shell came by default with the server. However, the MongoDB server 6 and above are not equipped with a Mongo shell. Therefore, you need to install the Mongo shell separately. To install MongoDB Shell in Windows, follow the mentioned procedure:
Step 1: Download MongoDB Shell Installer
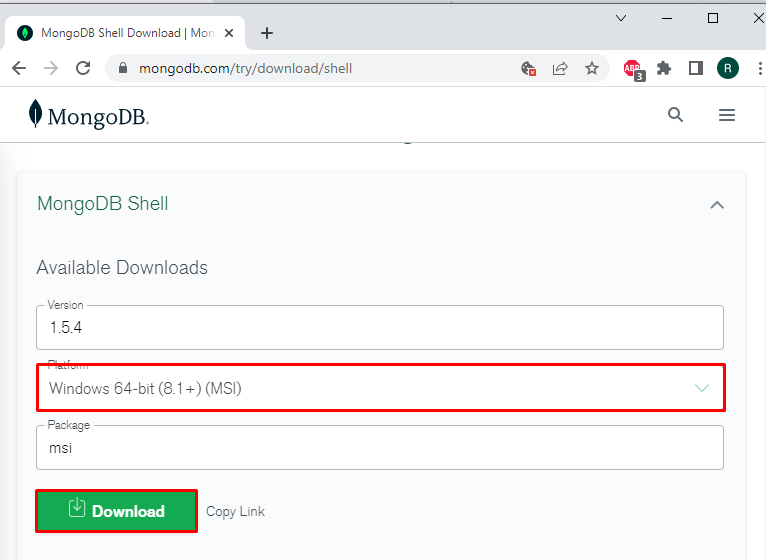
Navigate the below-given link to download the MongoDB shell installer:
Select the desired “MSI” file according to system specification and click the “Download” button:
Step 2: Execute MongoDB Shell Installer
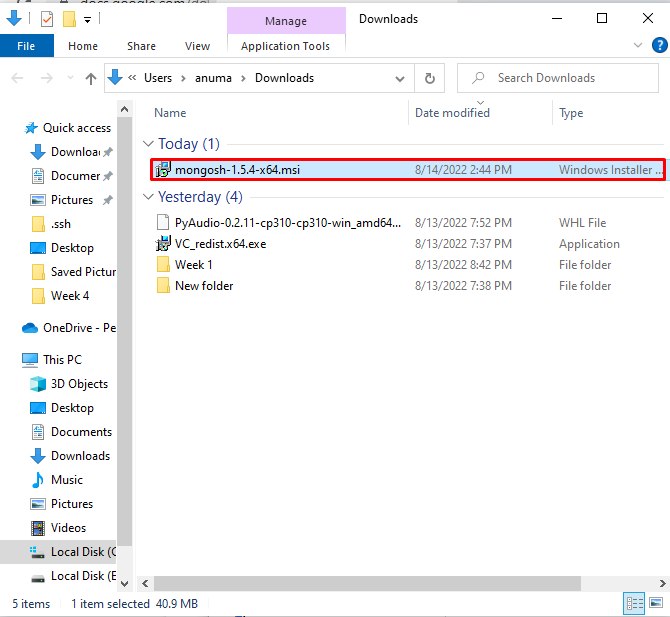
Open the “Downloads” folder and execute the MongoDB Shell Installer:
Step 3: Install MongoDB Shell
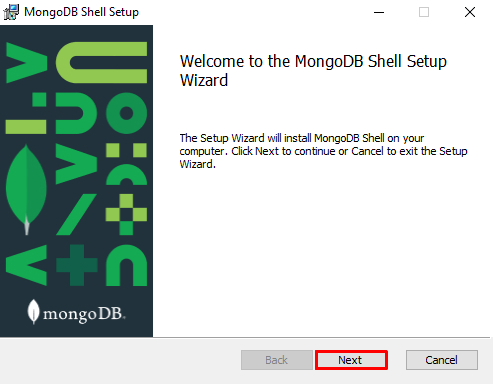
The MongoDB shell setup wizard will display on the screen. Press the “Next” button to start the installation of the MongoDB shell:
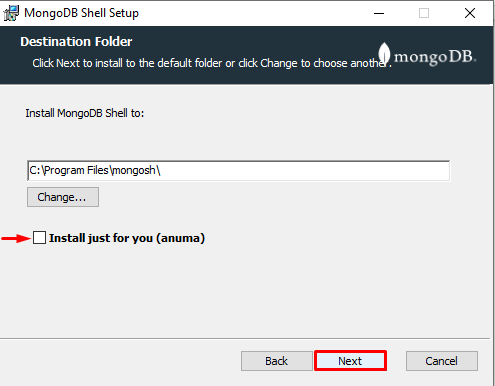
After that, set the location where you want to install MongoDB Shell. To install the MongoDB shell for all users, uncheck the checkbox and click on the “Next” button:
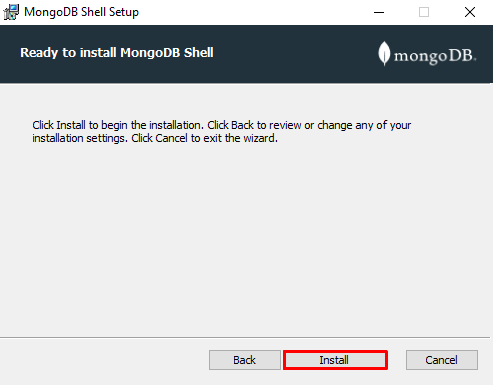
Lastly, hit the “Install” button to start MongoDB shell installation:
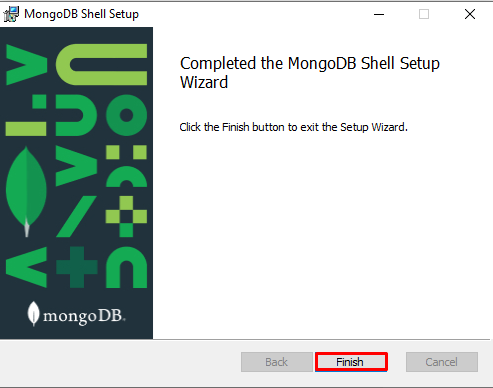
Click on the “Finish” button after completion of the MongoDB Shell installation:
Step 4: Start MongoDB Shell
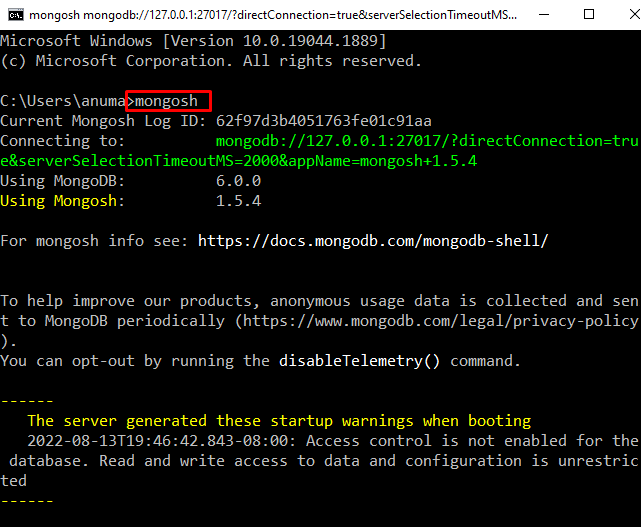
Open the Command Prompt and execute the “mongosh” command to start and access MongoDB Shell command line interface:
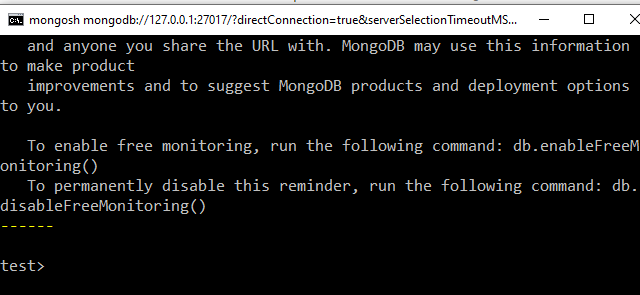
Now, you can see that we have successfully started MongoDB shell on Windows:
We have offered the method to install and start the MongoDB server as well as the MongoDB shell on Windows.
Conclusion
MongoDB Server and MongoDB client are the key players in using the MongoDB Database Management System. You need to install the MongoDB prior to starting the MongoDB server on windows. After that, you can use the “mongod” command to start the MongoDB server. You have learned to install as well as start the MongoDB server. Moreover, we have also provided the method to install the Mongo shell on windows which interact with the MongoDB server to carry out Mongo based operations.

