Microsoft Windows targets all classes of people, leading to this motive, offering a built a screen-reading tool called Narrator. The Narrator is specially designed for the blind or a person having visual issues while using the computer. It reads aloud things on the screen, like text, and interface elements and, it also provides the detail of the image on the screen.
This article will provide you the guide to set up and open the Windows Narrator in Windows.
How to Setup and Open the Windows Narrator?
To set up the Windows Narrator, follow the below step-by-step instructions:
Step 1: Open the Narrator Settings
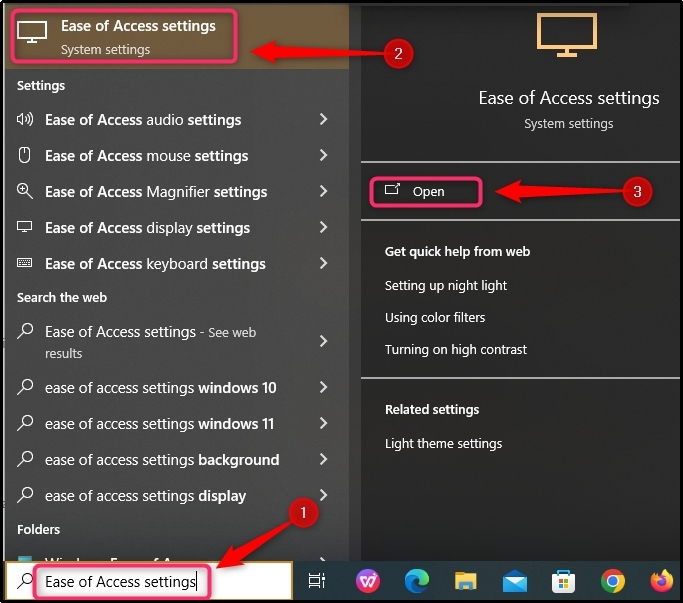
Open the Start Menu, type Ease of Access settings in the search bar, and click on the Open button to open it.
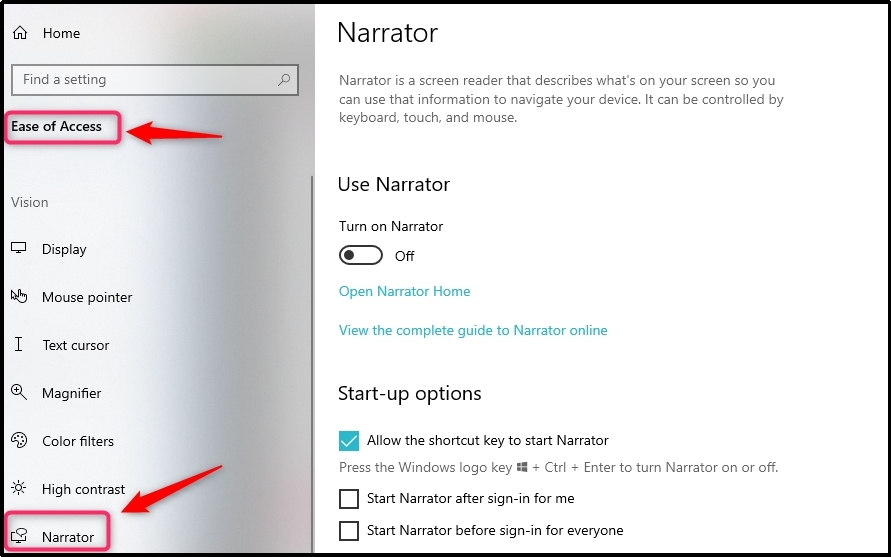
Under the Ease of Access settings window, select Narrator.
Step 2: Setup the Settings
There are multiple Settings options through which you can customize the Narrator, which are given below:
1: Start Up Settings
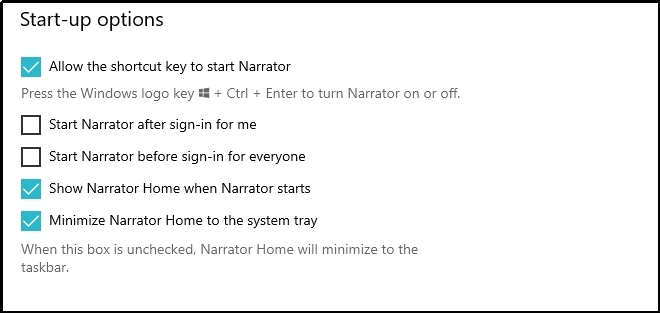
The first on the list is the Start-up options where you will find options like creating a shortcut, starting Narrator after sign-in and before sign-in, showing Narrator at the start, and minimising Narrator Home to the system tray. You can enable these options according to your choice by check boxing each desired option.
2: Personalize Narrator Voice
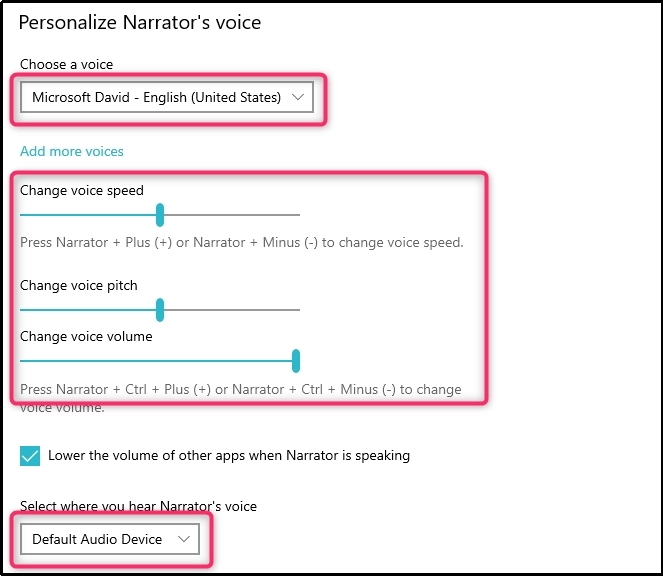
Another option in the list is the Narrator Voice which allows you to change the voice that the Narrator uses to read aloud text. This feature:
- Allows you to select the voice language according to your choice.
- Will provide you the option to change the voice pitch, speed, and volume.
- Provides different sound options to hear the Narrator’s voice.
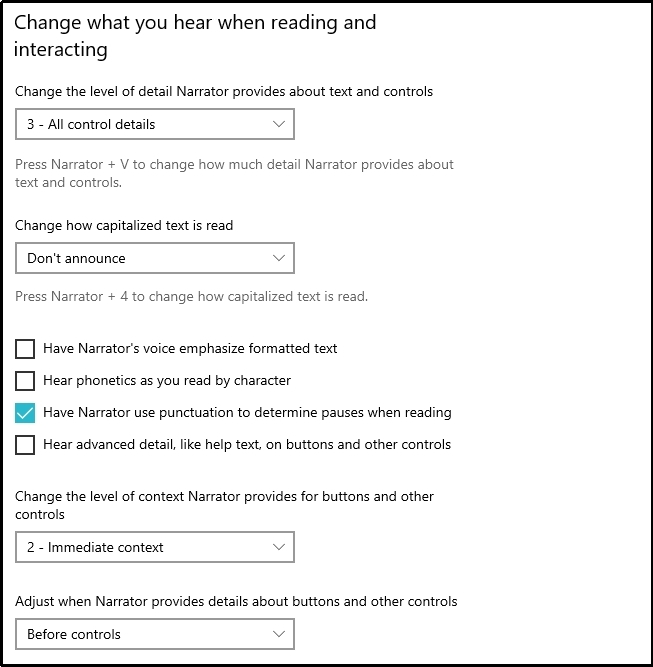
3: Reading and Interacting Options
The Reading and Interacting option are another useful option in the Narrator’s list that allows you to customise how the Narrator reads aloud text and interacts with the screen. With this option, you will be able to do things like:
- Setting the trigger identification on the capitalization.
- Changing the level of the context the narrator provided for the buttons.
- Adjusting the details for the button.
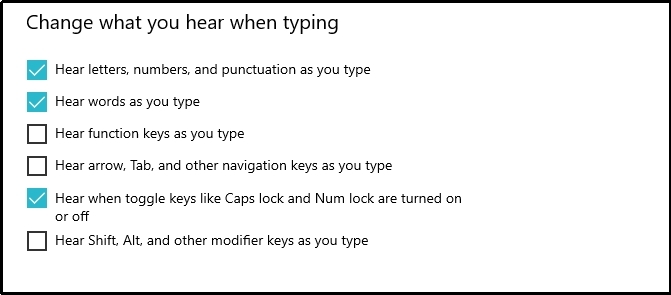
4: Change What You Are Hearing While Typing
You can also customise the hear settings while you are typing according to your best understanding. These options include Hearing letters, numbers, punctuation, words, function keys, arrows, tabs, and many other keys.
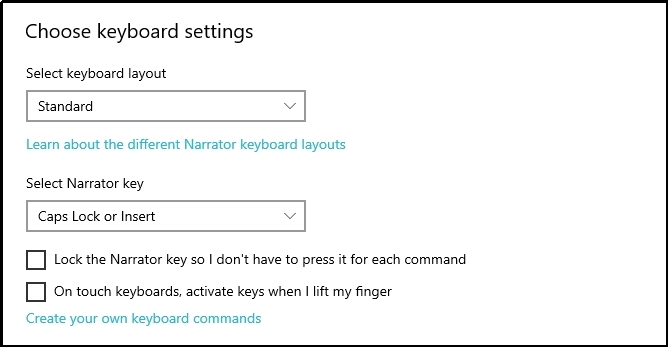
5: Change the Keyboard Settings
You can also change the keyboard settings in the Narrator, such as changing the layout for the narrator, choosing the Narrator key, and more.
6: Narrator Cursor
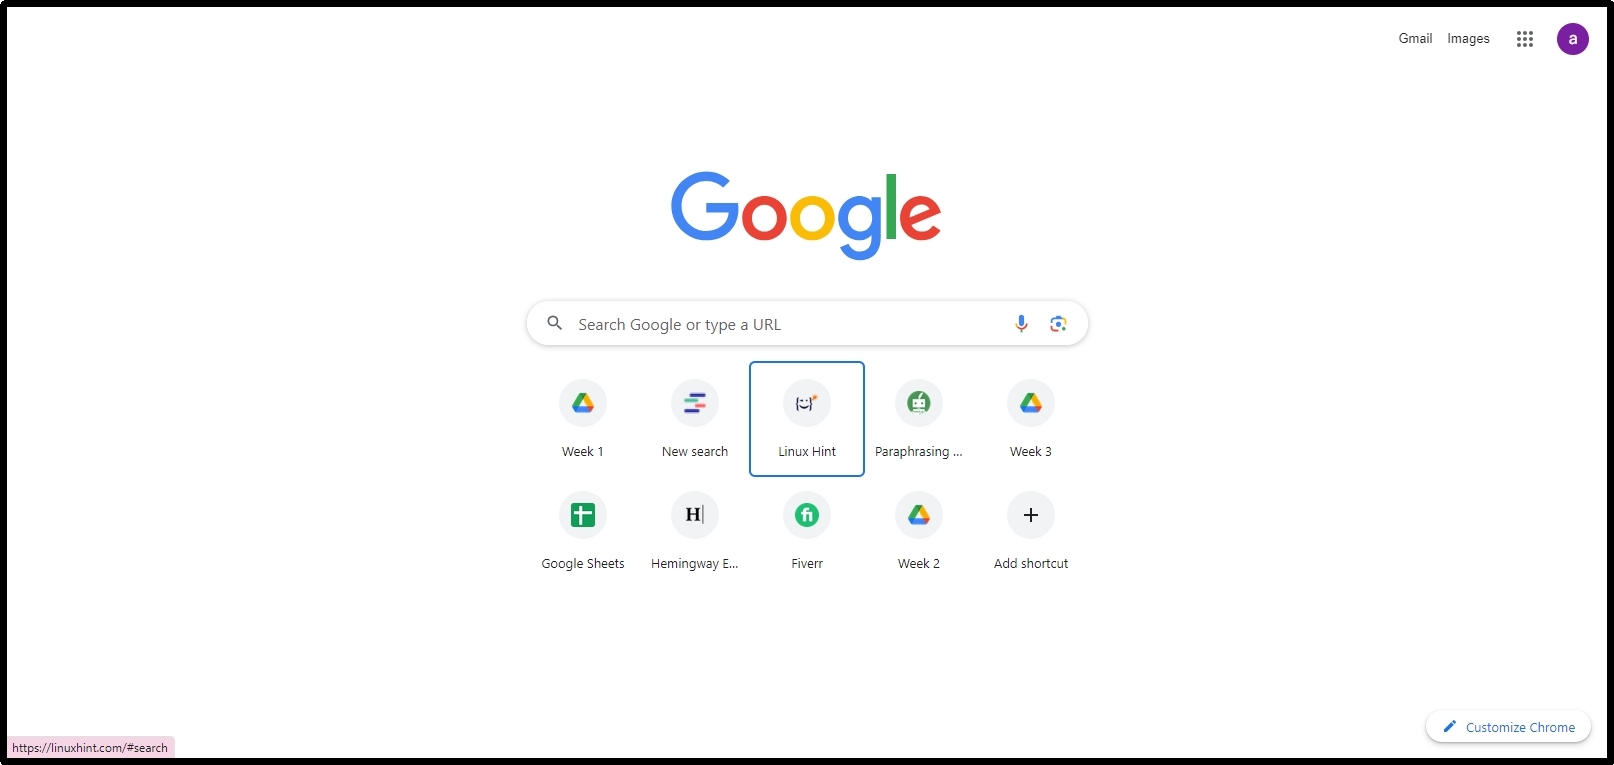
The Narrator’s cursor is a blue rectangle, which helps the user to identify the Narrator’s position and follow the Narrator’s narration. To enable this option, you can check the box Show the Narrator Cursor option.
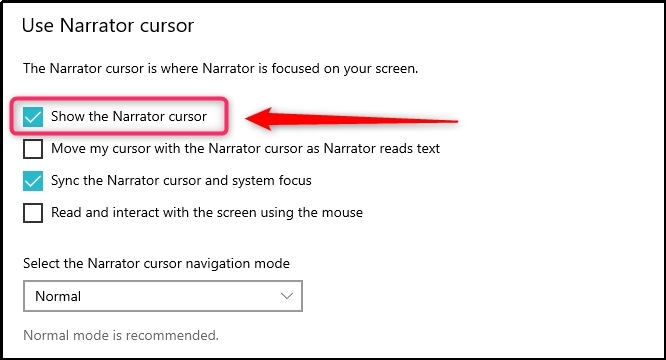
After enabling the Narrator’s cursor option, the narrator cursor will be visible whenever the Narrator is turned on. The cursor will move around the screen as you navigate, and it will be highlighted in blue.
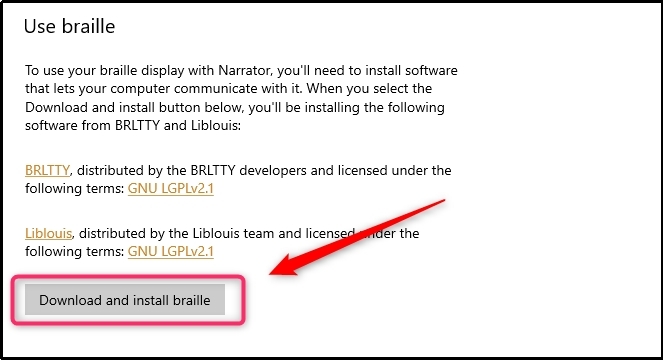
7: Use Braille Display
A Braille display is a hardware that converts the screen text into the Braille. Actually, Braille is a form of written language for blind people. To use Braille, you need to install a third-party application that communicates with the Braille display and with the system, and for this, click on the Download and Install braille button.
Once you have installed the Braille display application, you can start using it to read text on the screen. To do this, you have to need to learn the Braille code. There are many resources available to help you learn Braille, including books, websites, and apps.
How to Open a Narrator on Windows?
After making changes in the settings according to your comfort, you can now open the Windows Narrator using any of the following three methods:
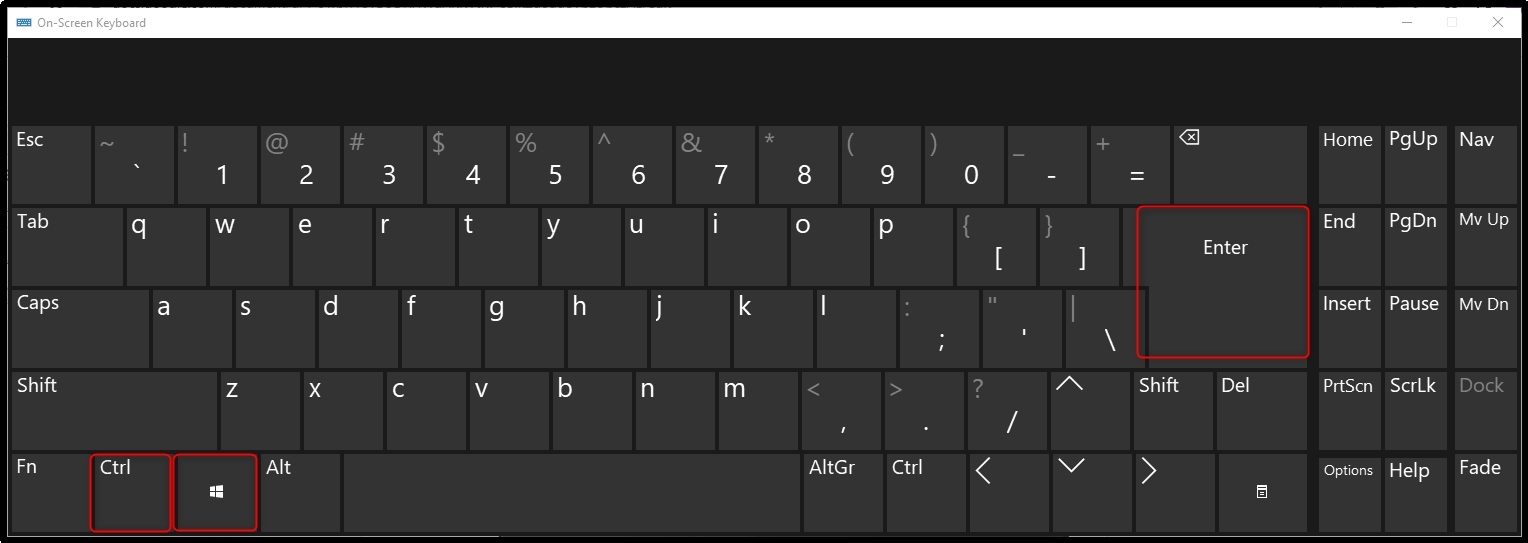
Option 1: Using the Shortcut Key
The first way to open Windows Narrator is to use the shortcut key Windows key+Ctrl+Enter.

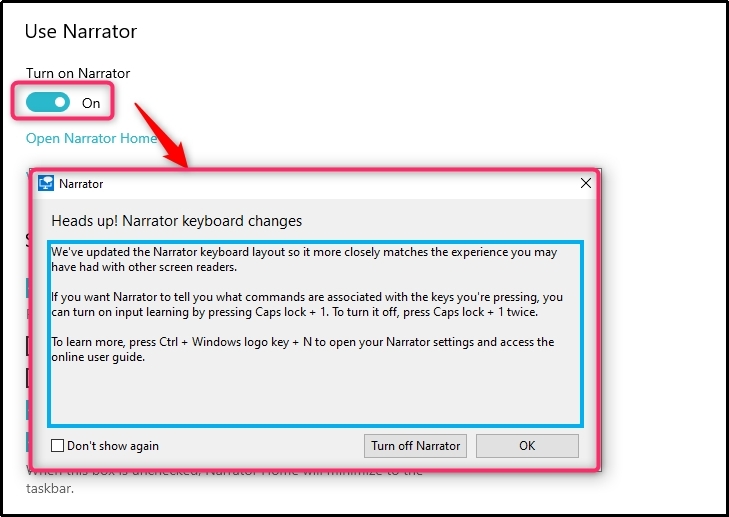
Option 2: Open from the Settings
You can also follow the path Settings>>Ease of Access>>Narrator and toggle the button to the right to open the Windows Narrator on your system.
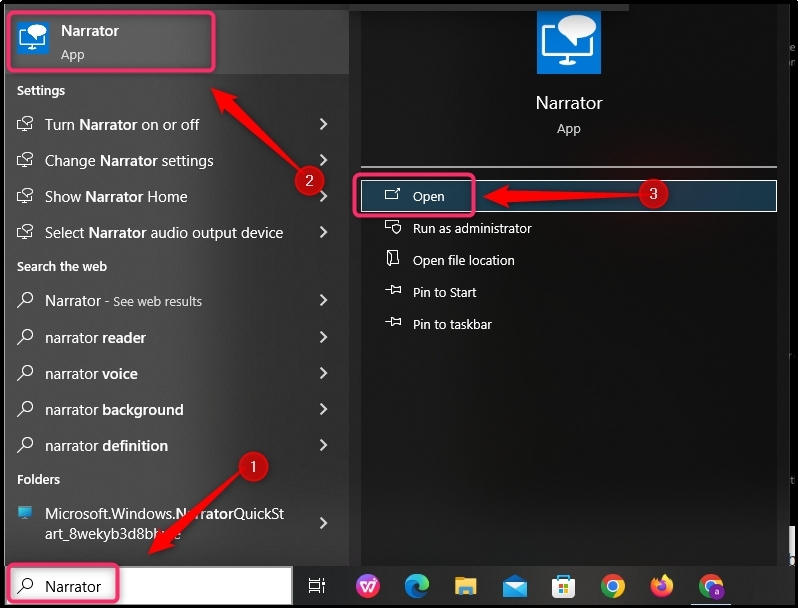
Option 3: Using Start Menu
You can also search Narrator from the Start menu and open it by selecting the Open button or Run as administrator.
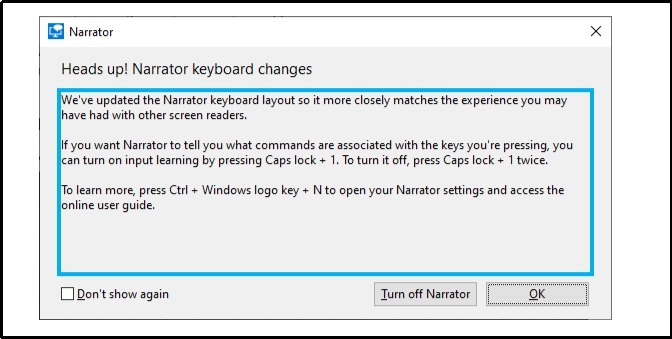
You can see Narrator is opened successfully.
How to Use Windows Narrator?
There are different ways to use Windows Narrator, some of them are given below:
1: Use Tab Arrow and Enter Key with Windows Narrator
These keys help the user to move the cursor between the apps, windows, links, and buttons. Each of the keys is described below:
- Tab: Tab is used to move the cursor between the tabs and the links.
- Arrow Key: Arrow keys are used to pronounce each alphabet written on the screen.
- Enter Key: Enter key is used to Confirm the action.
2: Narrator key
Windows comes with Caps lock and Insert keys as the Narrator key by default; you can use any of these keys in any command that uses the Narrator key.
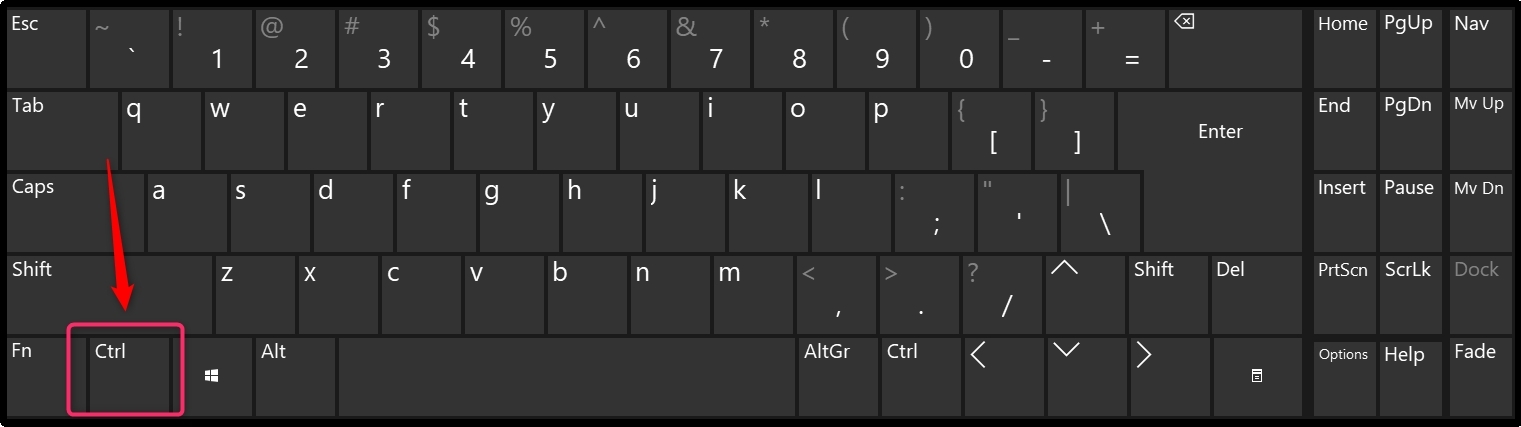
3: Stop the Narrator from the Reading
To stop the Narrator from reading, simply press the Control key.
4: Change the Narrator’s Volume
- To raise the volume, press Narrator + Ctrl + Plus sign (+) or Narrator + Ctrl + Add.
- To lower the volume, press Narrator + Ctrl + Minus sign (-) or Narrator + Ctrl + Subtract.
The details about the usage of Windows Narrator, you can follow
here.
Conclusion
Before turning on Narrator, customize its settings to fit your needs. To do this, set the start-up option, modify the language, set the voice settings, choose to customize the keyboard settings, make sure the cursor is turned on, and download the third-party app to use the Braille Display. Finally, turn on the Narrator and use it on your Windows system by getting help from the official guide.