This post will demonstrate the method to set up a new cron job on Windows.
How to Set Up a cron Job in Windows?
Follow up on the below-listed steps to create and set up a cron job in Windows.
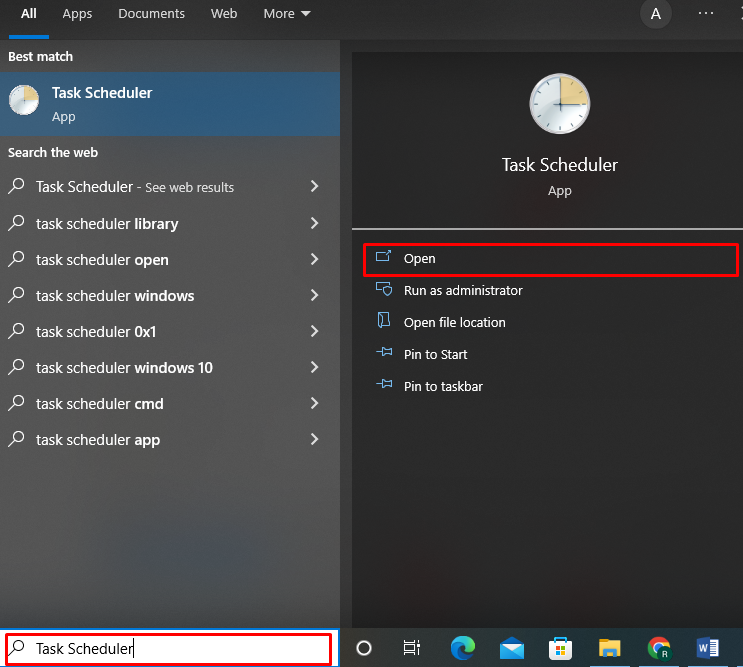
Step 1: Open Task Scheduler
First, search for “Task Scheduler” in the “Startup” menu and open the Task Scheduler application:
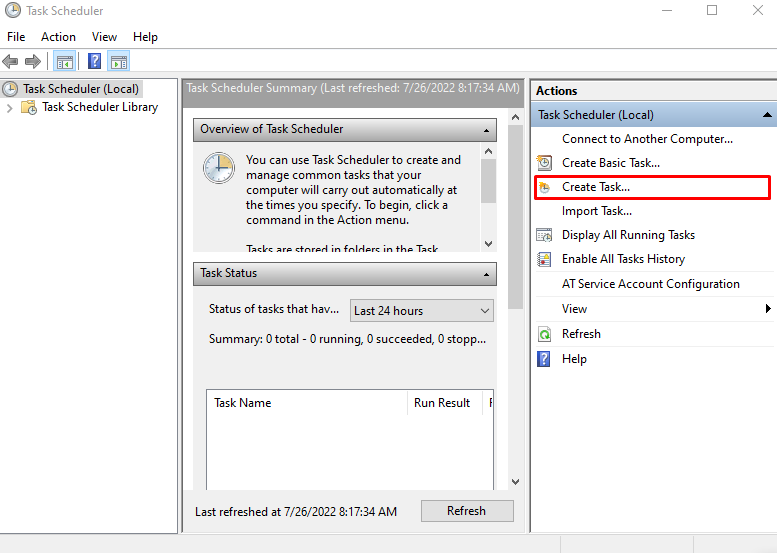
Step 2: Create cron Job
From the “Actions” panel, select the “Create Basic Task” or “Create Task” option to create a new cron Job:
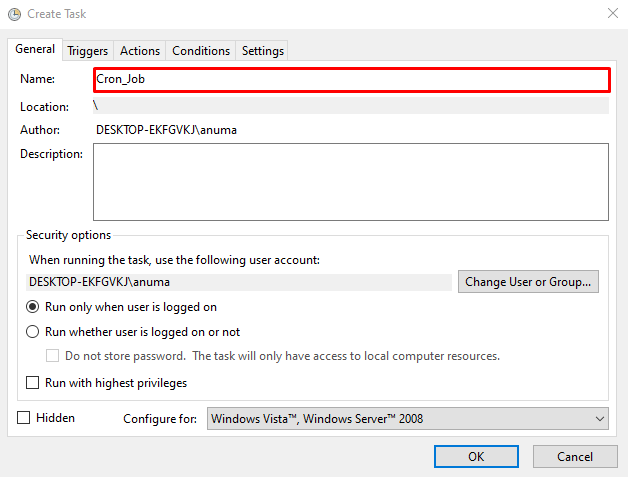
Step 3: Setup cron Job
The “Create Task” Windows will now appear on your screen. Set the cron task name from the General tab as we have set “Cron_job”:
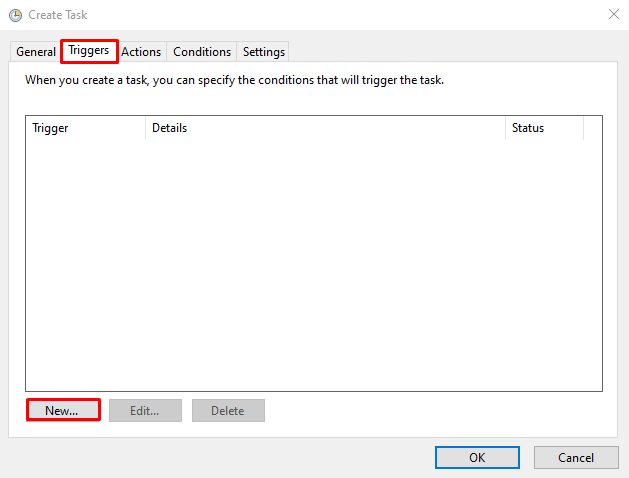
Then, click on the “Triggers” tab and press the “New” button:
Set an event on the created job from the “Begin the task” drop-down menu. Then, specify the date and time for the cron job execution and hit the “OK” button:
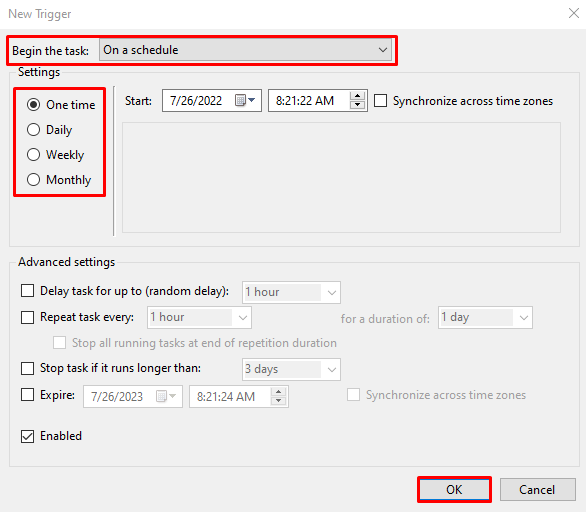
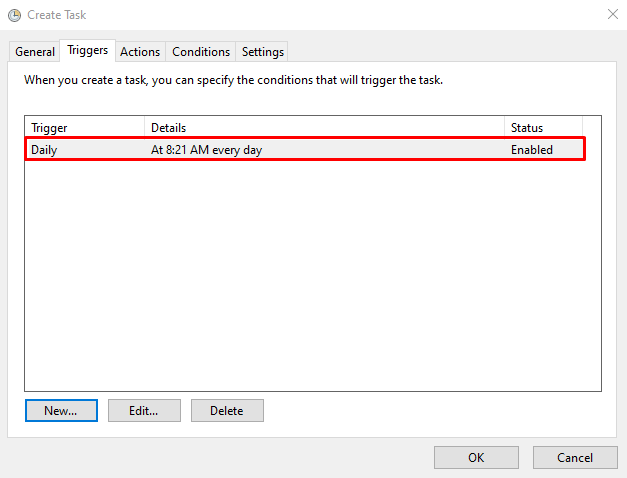
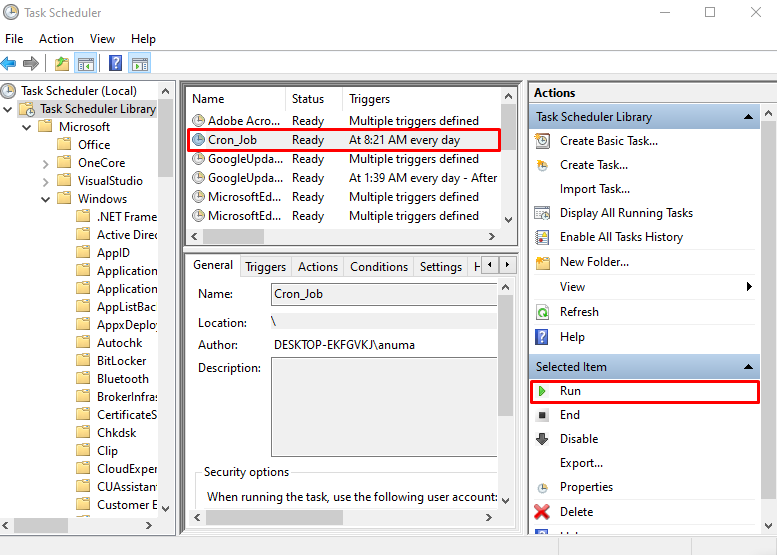
You can see that we have set a daily routine to execute the created “Cron_Job” at “8:21 AM”:
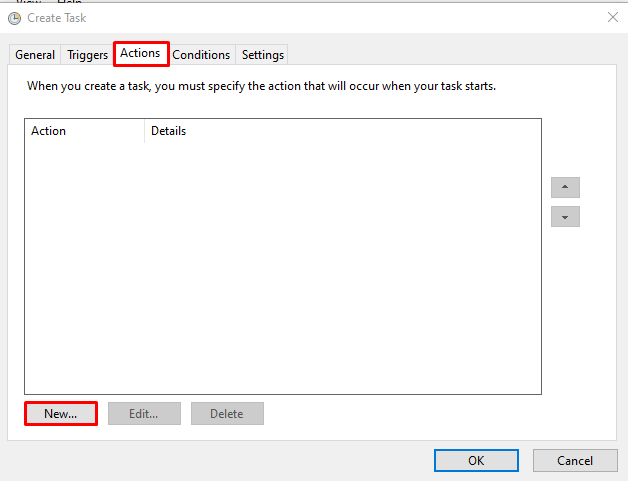
Go to the “Actions” panel and hit the “New” button:
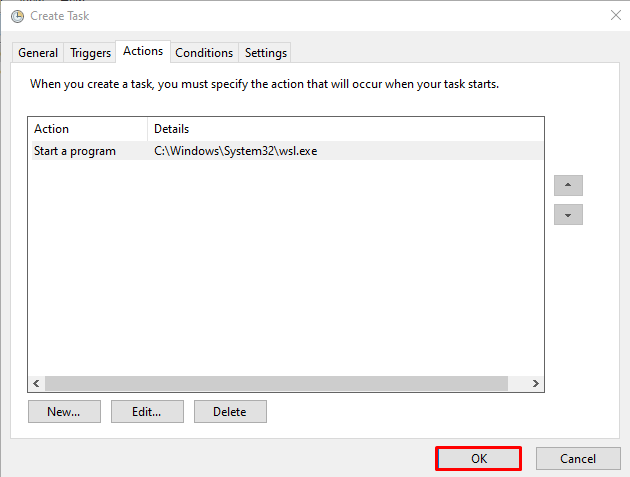
Select the program or script that will execute as a cron job and click on the “OK” button:
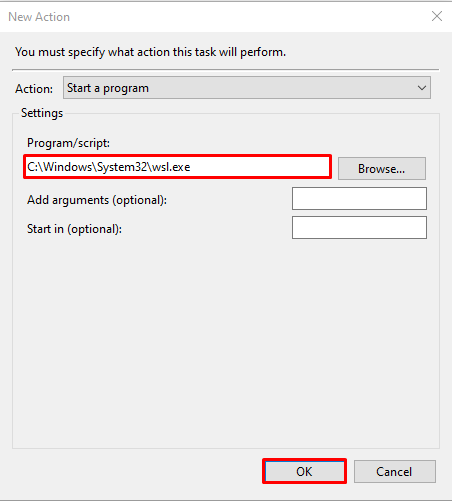
We have scheduled “Wsl (Windows Subsystem for Linux)” as a cron job. Next, press the “OK” button:
Step 3: Run cron Job
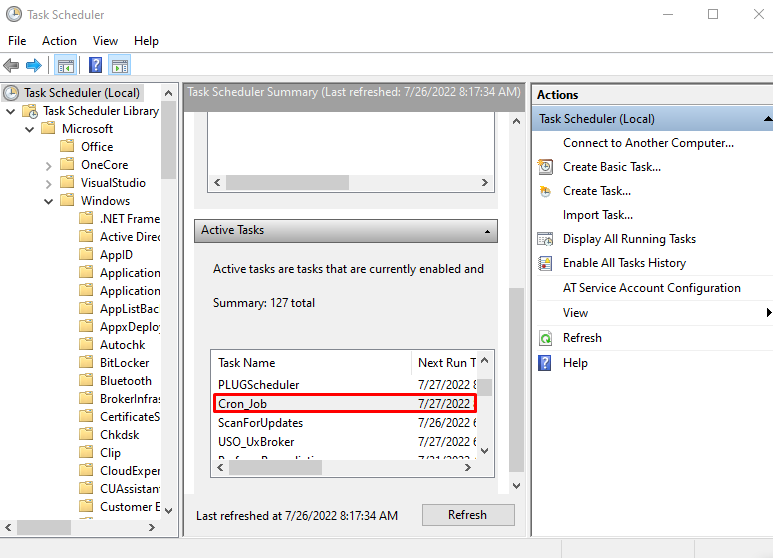
From the “Task Scheduler” Window, select and double click on the newly created job:
From the “Selected Item” panel, click on the “Run” option to run the created cron Job:
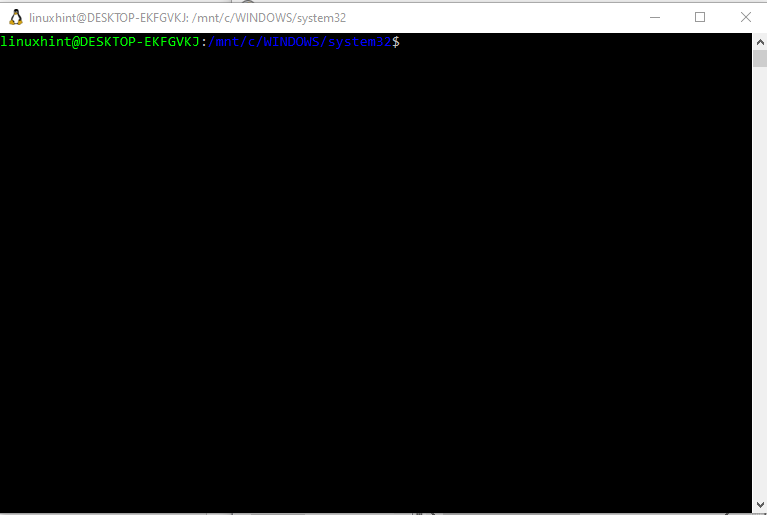
From the below-given output, you can see that we have successfully set up and executed the cron Job on Windows:
Let’s move ahead to delete the cron job from Windows.
How to Delete cron Job From Windows?
In order to delete the cron job from Windows, follow the mentioned steps.
Step 1: Open Task Scheduler
First, type “Task Scheduler” in the “Startup” menu and open it from the displayed results:

Step 2: Select cron Job
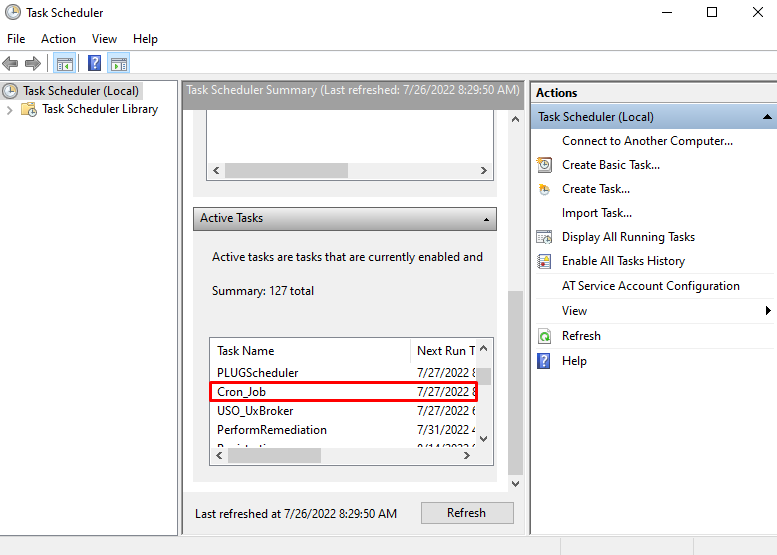
Select the cron Job you want to delete from the “Active Tasks” Window:
Step 3: Delete cron Job
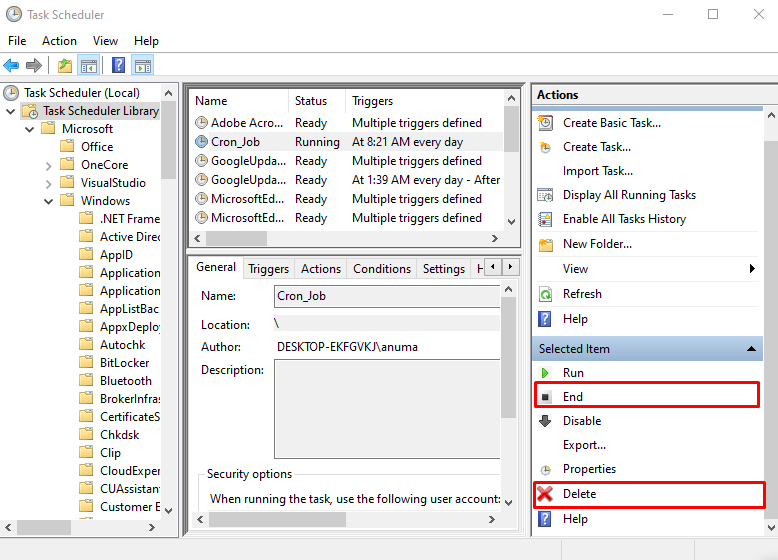
From the “Selected Item” panel, choose the “End” option to end the running task. Then, click on the “Delete” option to delete the selected cron job:
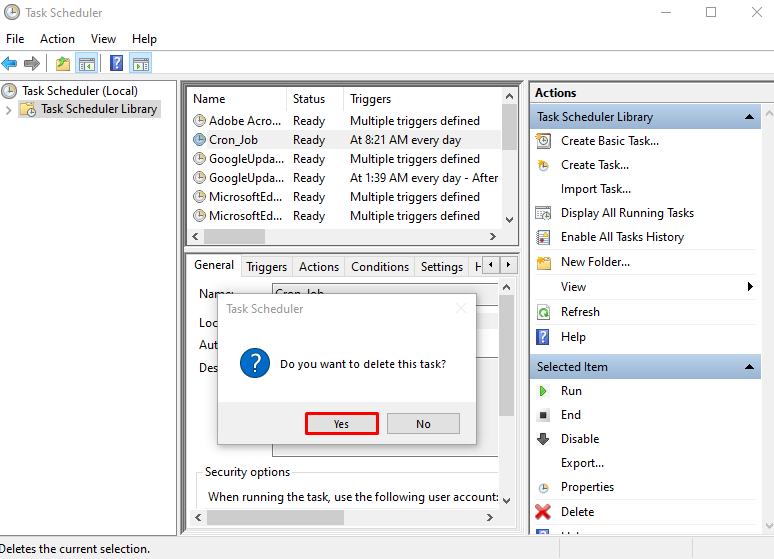
An alert message will appear on the screen. Press the “Yes” button for the confirmation and delete the selected cron job:
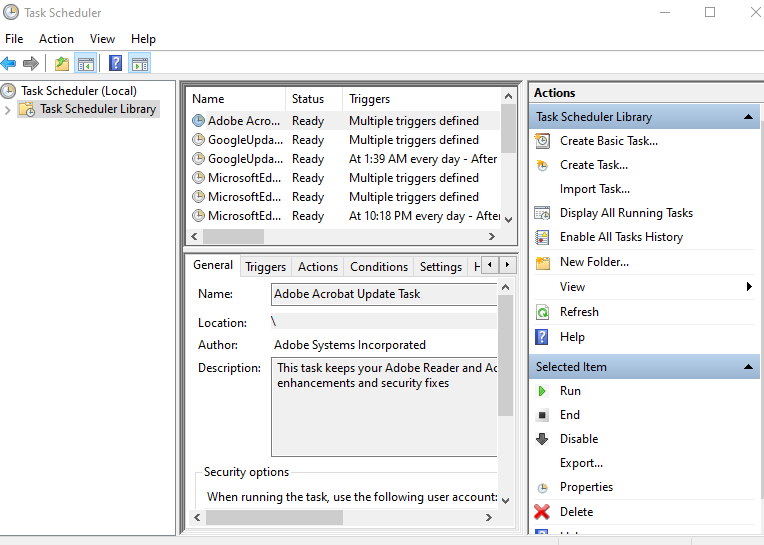
You can see that we have successfully deleted cron Job from Windows:
We have effectively compiled the approach to create, set up, and delete cron Jobs on Windows.
Conclusion
To set up the cron job, first, open the Task Scheduler. Then, from the “Actions” pane,l select the “create task” option to create the job. In the “General” menu, set the job title, and configure the scheduling details from the “Trigger” menu Then, specify the program or script you want to run as a cron job. We have completely explained the necessary instructions to create, set up, and delete cron Jobs in Windows.