
For the busiest websites on the internet, Nginx optimizes content and application delivery, increases security, and facilitates availability and scalability. It is also an ideal web server for serving your static website files or files generated by static site generators. In this post, we will set up a server and show you how to serve the index.html file with Nginx. Let’s start!
How to install Nginx in CentOS
If you do not have Nginx, then first install it on your system by following the given procedure:
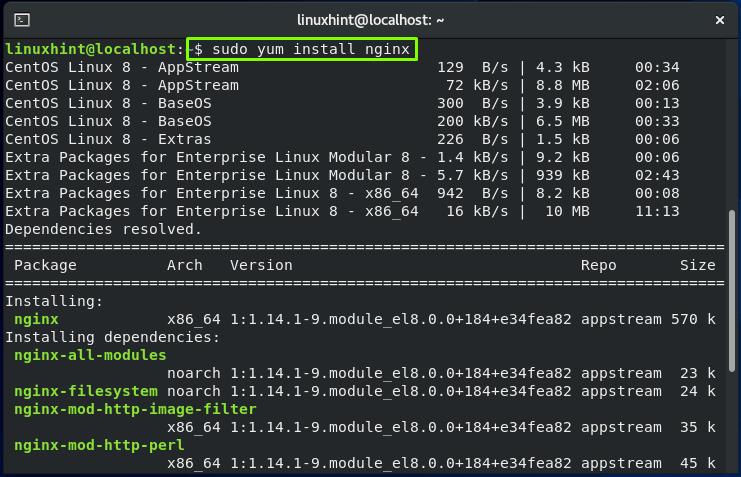
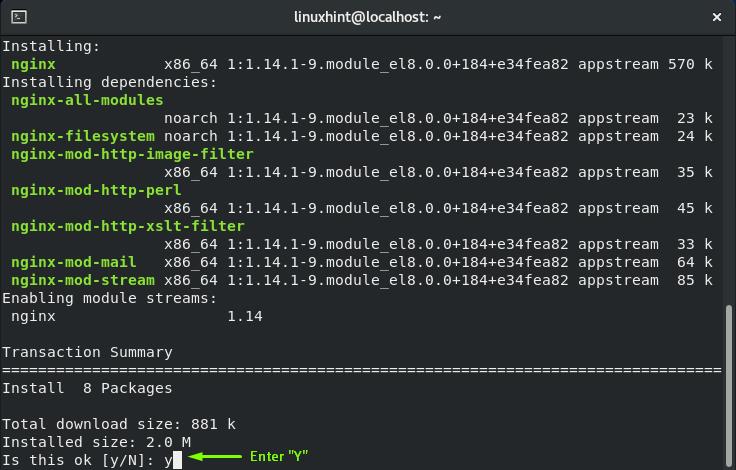
In the first step, open up your CentOS terminal by pressing “CTRL+ALT+T” and then write out the below-given command:
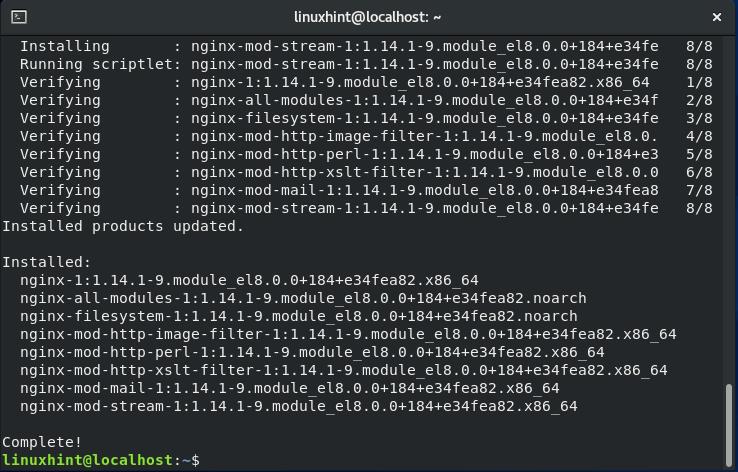
The error-free output declares that Nginx is successfully installed on your system.
How to enable Nginx in CentOS
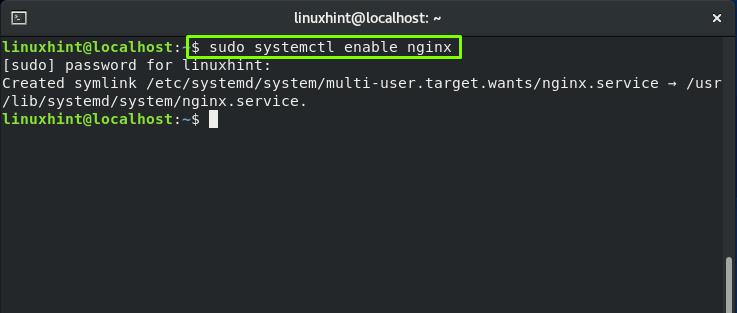
Now, utilize the below-given command for enabling Nginx on the CentOS system:
After that, start the Nginx service:
How to set firewall rules for Nginx in CentOS
The next thing we are going to do is set the firewall settings to permit the external connections for the Nginx, running on port 80 by default. The firewall-cmd is the command that is utilized for managing permanent and runtime firewalld configuration.
For permanently enabling the HTTP connections on port 80, write out the below-given command in your CentOS terminal:

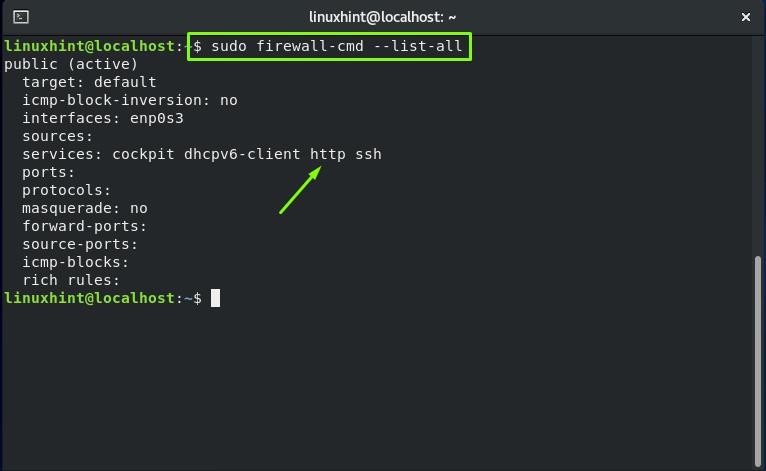
To verify if the HTTP firewall service was correctly added to the system, execute this command:
Now, reload the firewall service:
All done!
How to serve index.html file with Nginx
To follow the procedure of serving HTML files, we will create a “www” directory using the “mkdir” command. The “mkdir” command is utilized in Linux-based systems such as CentOS for creating one or more directories.
Execute the below-given command in your terminal for creating a “www” in the current working directory:
Next, we create a sample “index.html” file within our “www” directory:
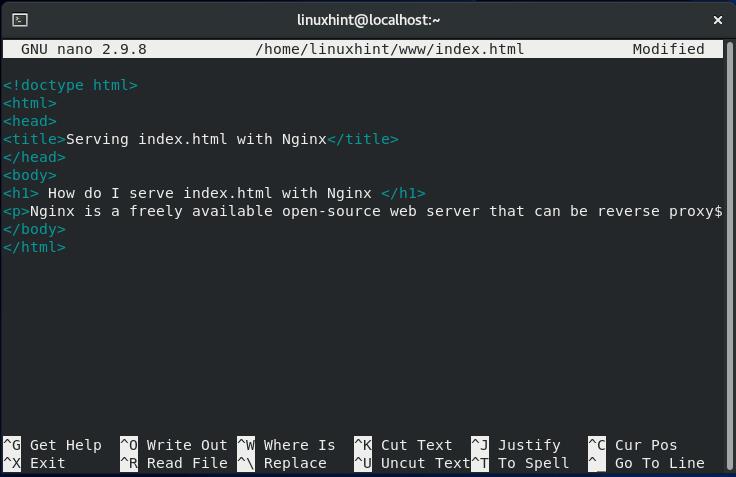
Add anything in the “index.html,” according to your requirement. However, we will add the following test content in our “index.html” file:
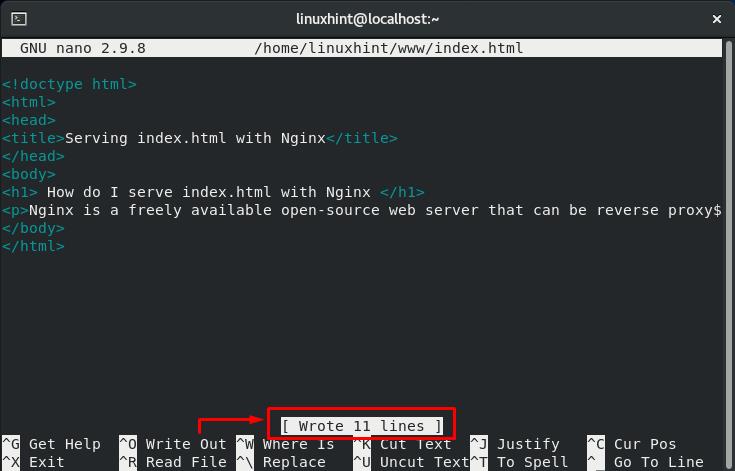
Now, press “CTRL+O” to save the content we have added in the “index.html” file present in the “www” directory:
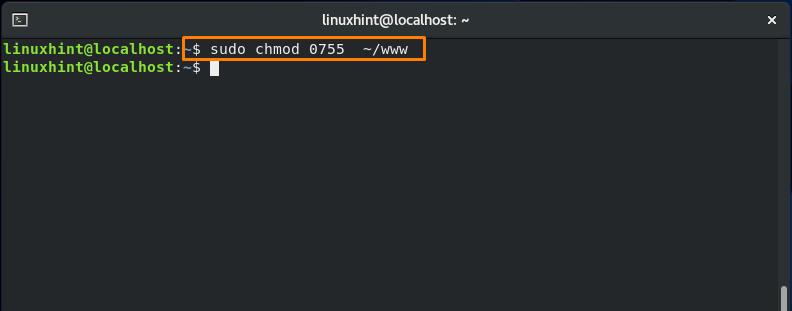
After that, we will change the permissions of the “www” directory using the “chmod” command. The “chmod” which stands for “change mode“, is a command that Linux users utilize for changing the file permissions.
Here in the below-given command, we will attempt to assign, read, write, and execute permissions to everyone who is going to use the “www” directory:
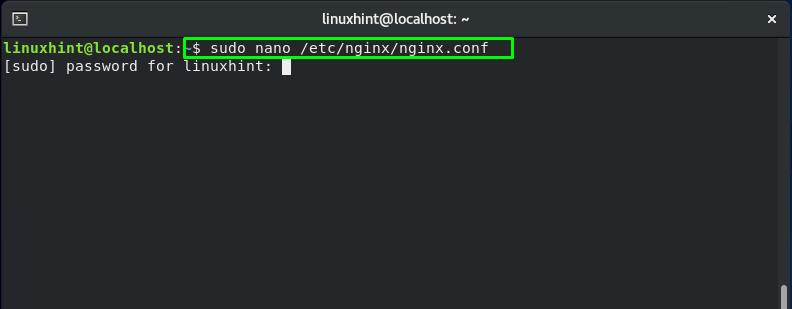
Now, open up the Nginx configuration file “/etc/nginx/nginx.conf” in the nano editor:
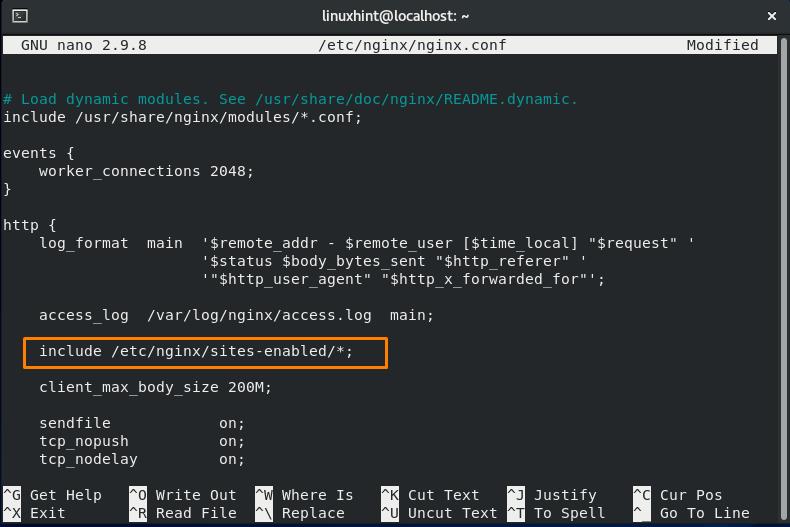
The “/etc/nginx/nginx.conf” file has different blocks such as http, server, and location for the Nginx configuration. Look for the following line in the file:
The above line declares that the configuration file present in the “site-available” is considered as a part of Nginx configuration:
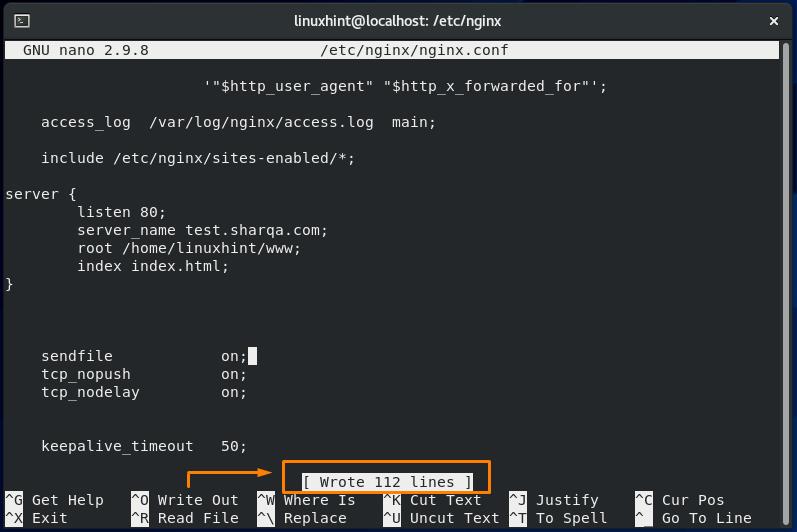
Now, add the following server block in the Nginx configuration file:
listen 80;
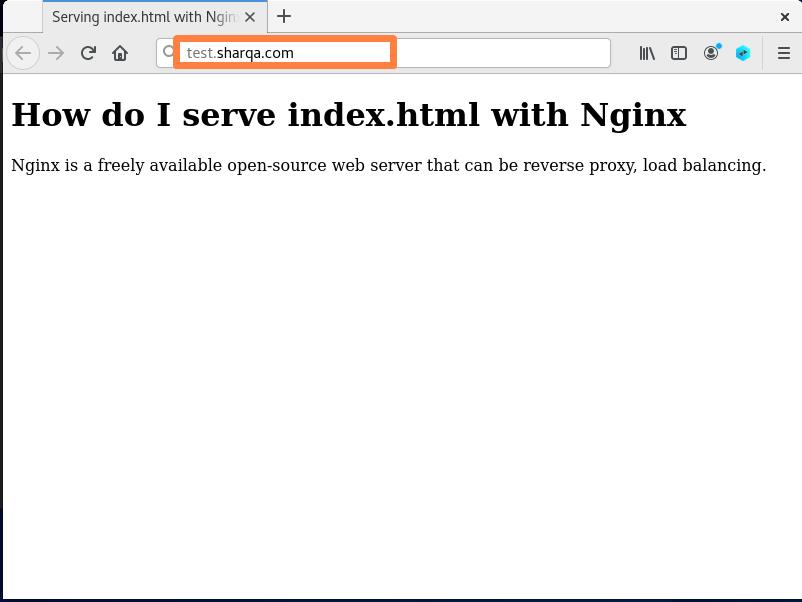
server_name test.sharqa.com;
root /home/linuxhint/www;
index index.html;
}
This server block specifies that for all connections, Nginx will listen at port “80”, our server name is “test.sharqa.com”, index file to serve with Nginx is “index.html” file, and all files related to the server are present in the “/home/linuxhint/www” directory:

Press “CTRL+O” to save the changes we have made into the opened file:
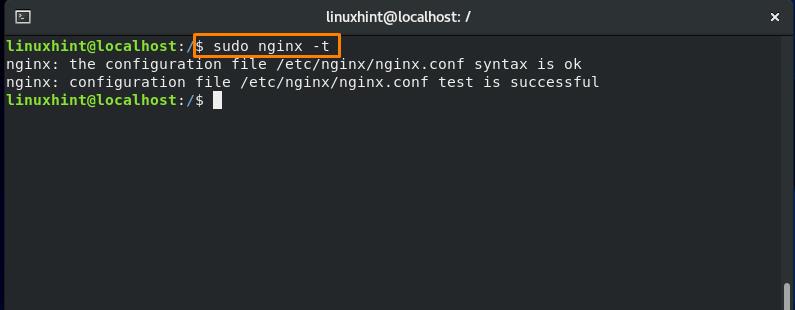
Execute the “nginx” command with the “-t” option to test the configuration file and its syntax:
Now, restart the Nginx service on your system:
After restarting the Nginx service, visit your domain which you have added in the ”server_name”. As a result of this, your index.html web page will be served:
Conclusion
Nginx was designed to provide excellent performance as a web server, especially when there are many simultaneous connections or static content to handle. That’s why it is highly optimized for serving static files. You have seen the Nginx installation method and how I serve the index.html with Nginx on my system in this post.