
Synology Mail Server is a free email server for Synology NAS. You can use it to turn your NAS into an email server and use the Mail Station web client to access it from any web browser.
In this article, I am going to show you how to install and configure the Synology Mail Server. I will also show you how to install and use the Mail Station web client to send and read emails from the browser. So, let’s get started.
Table of Contents:
- Enabling User Home Service
- Installing Synology Mail Server
- Configuring Synology Mail Server
- Configuring SMTP Settings
- Installing Mail Station
- Creating a New Mail User
- Using Mail Station
- Configuring SMTP Relay
- Configuring IMAP/POP Settings
- Configuring Security Settings
- Configuring Alias
- Configuring Auto BCC
- Configuring Daily Report
- Configuring Auto Forwarding and Auto Reply
- Checking Mail Queue
- Checking Mail Log
- Conclusion
- References
Enabling User Home Service:
Before you install the Synology Mail Server on your NAS, you need to enable the user home service.
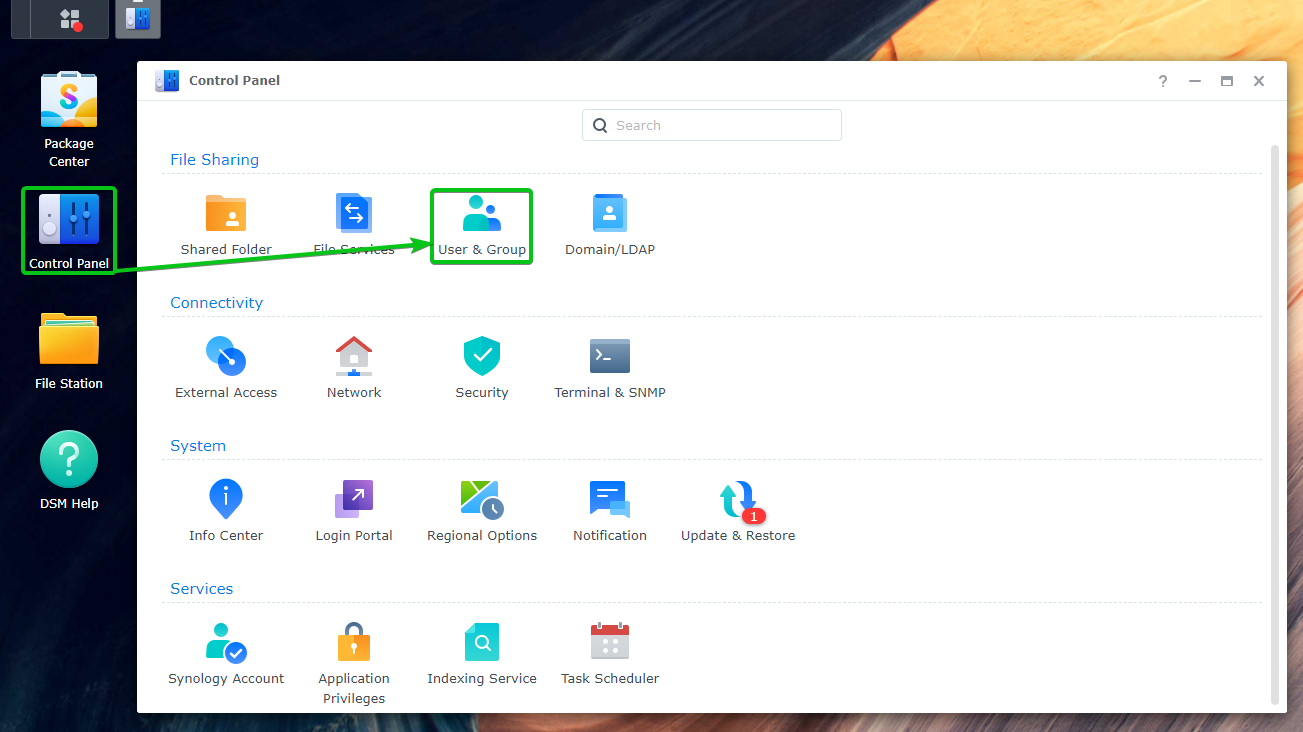
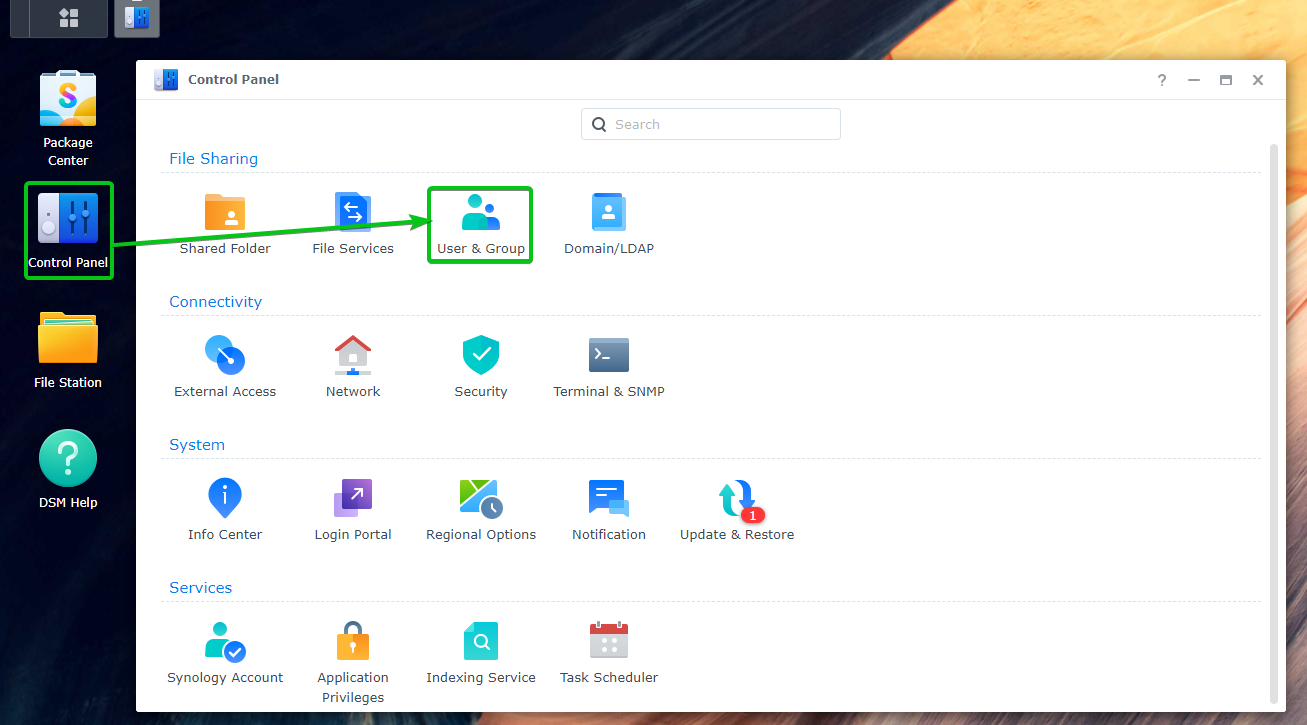
To accomplish this, navigate to Control Panel > User & Group.
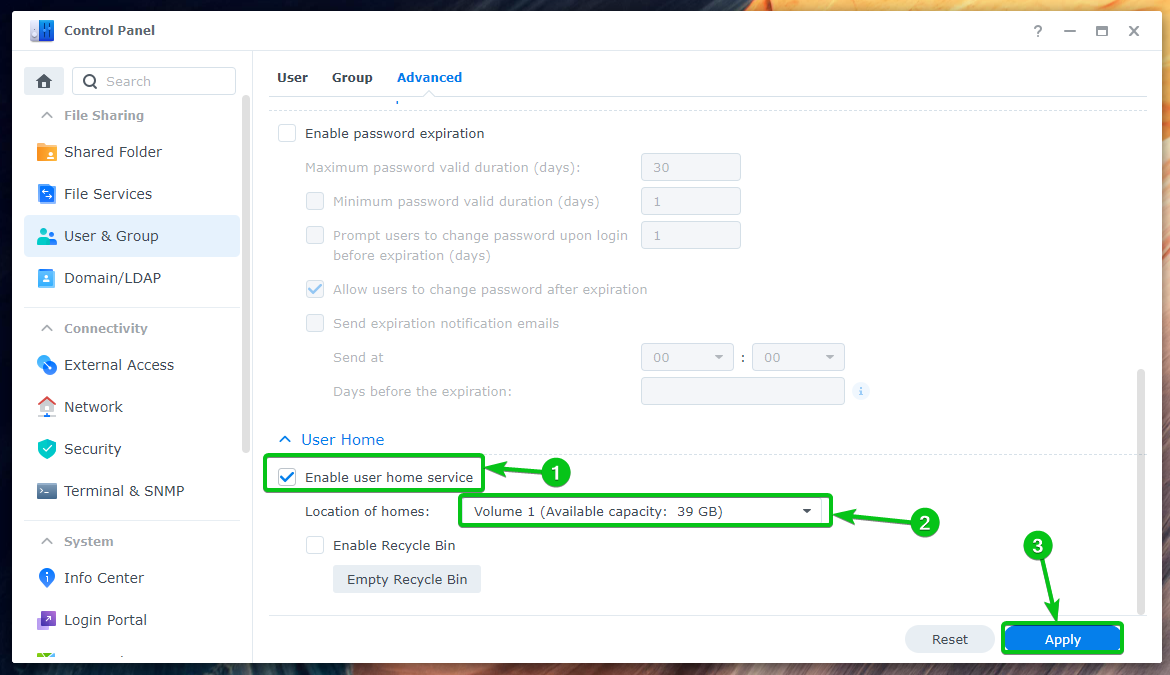
From the User Home section of the Advanced tab, check the Enable user home service¹. You can also set a volume where the user data will be stored from the Location of homes dropdown menu².
Once you’re done, click Apply³.
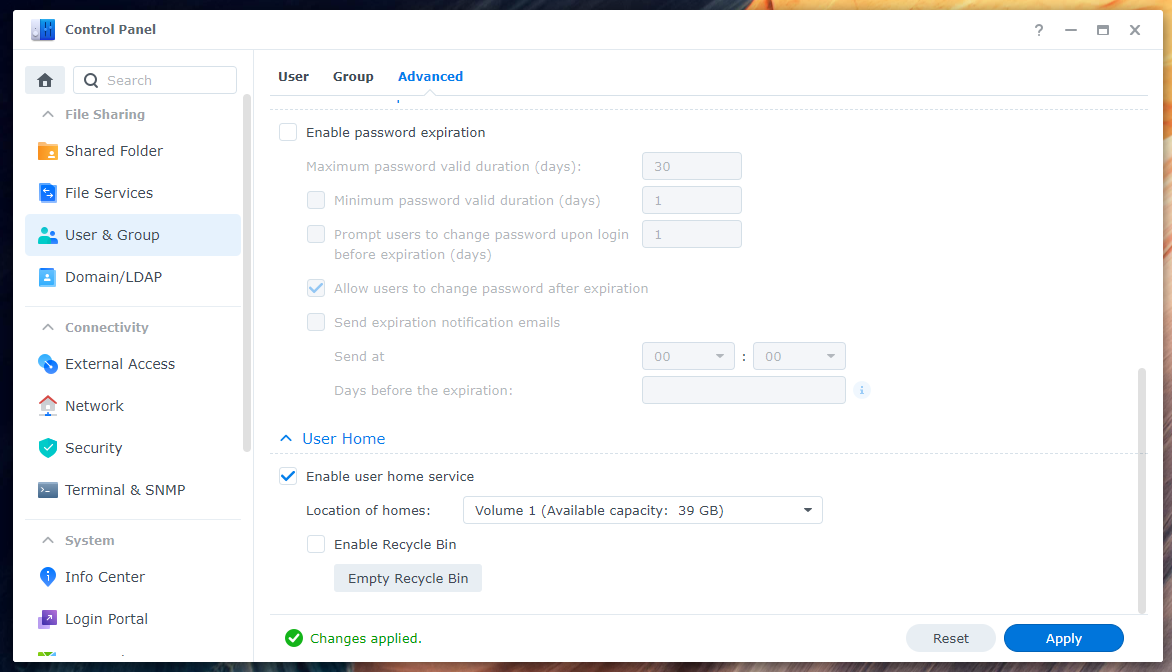
The User home service should be enabled.
Installing Synology Mail Server:
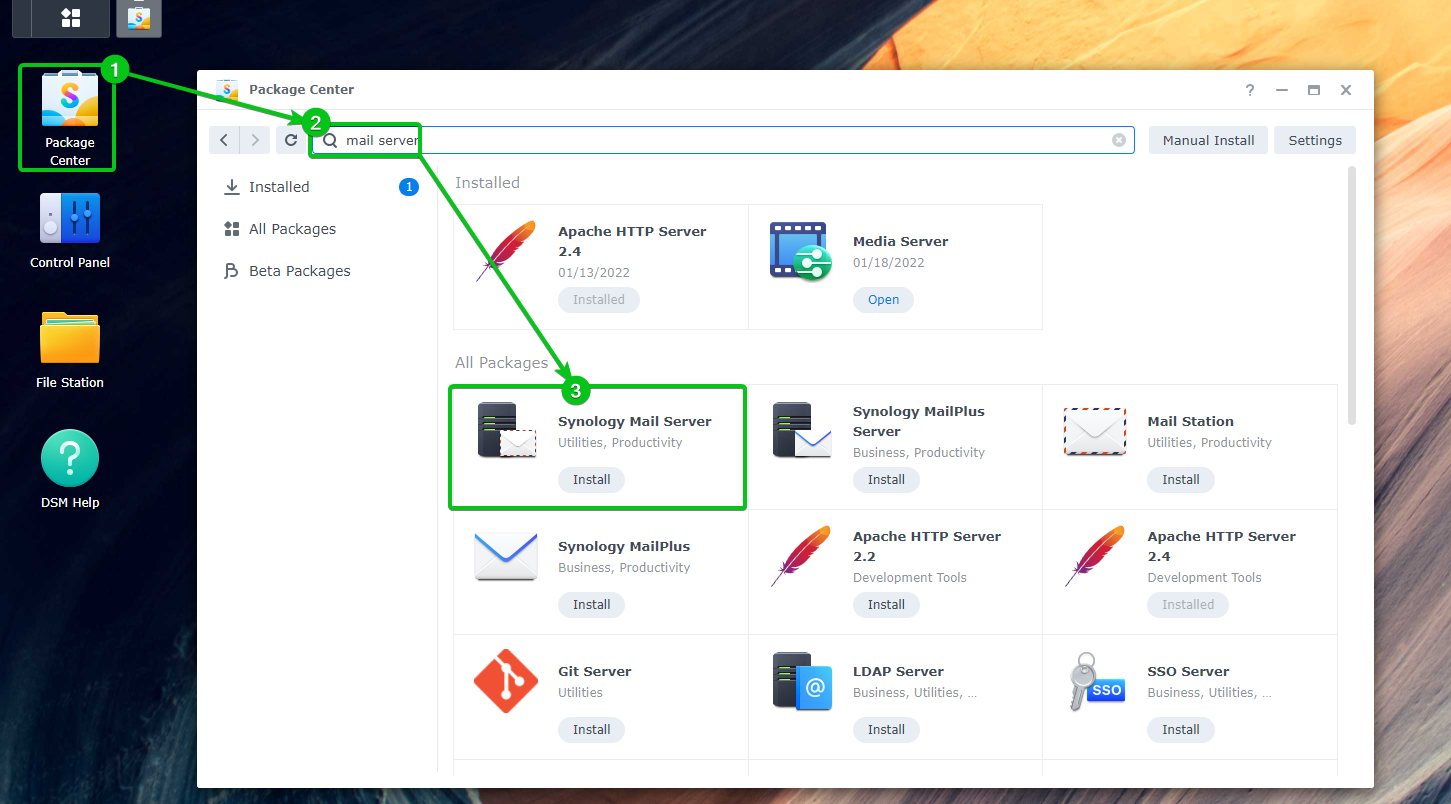
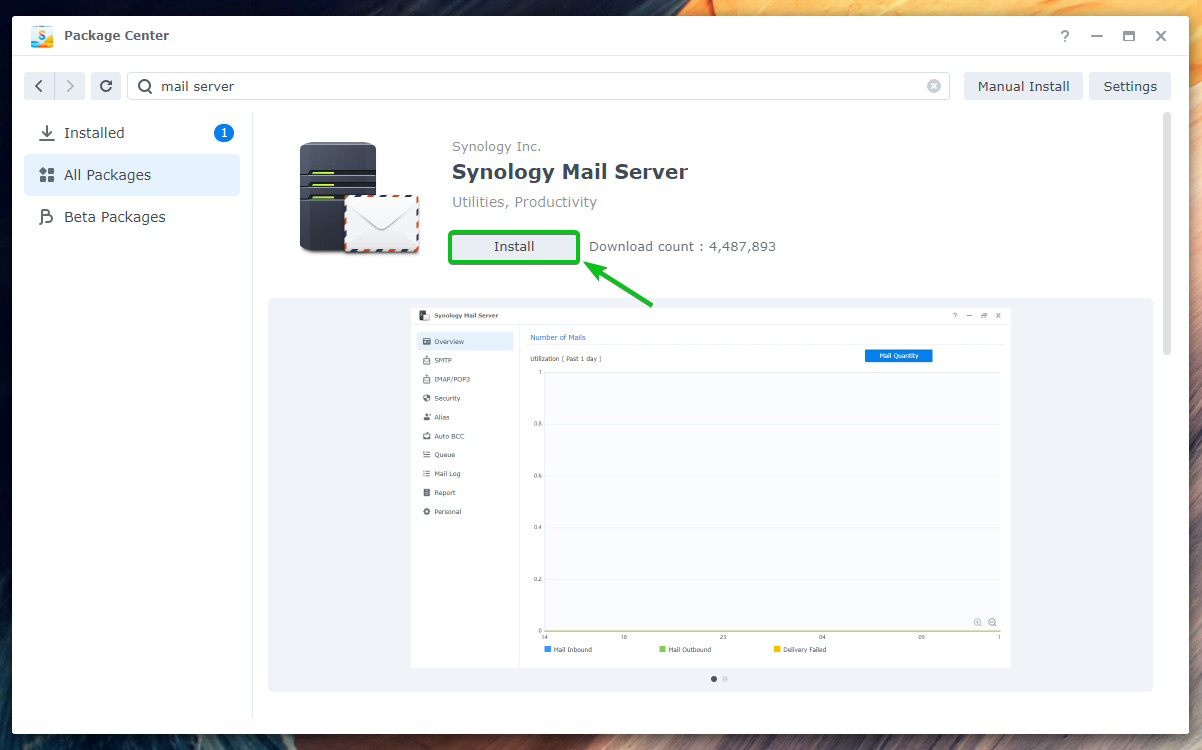
To install the Synology Mail Server, open the Package Center app¹, search for mail server², and click Synology Mail Server³ as marked in the screenshot, as shown below:
Click Install.
Click Yes.

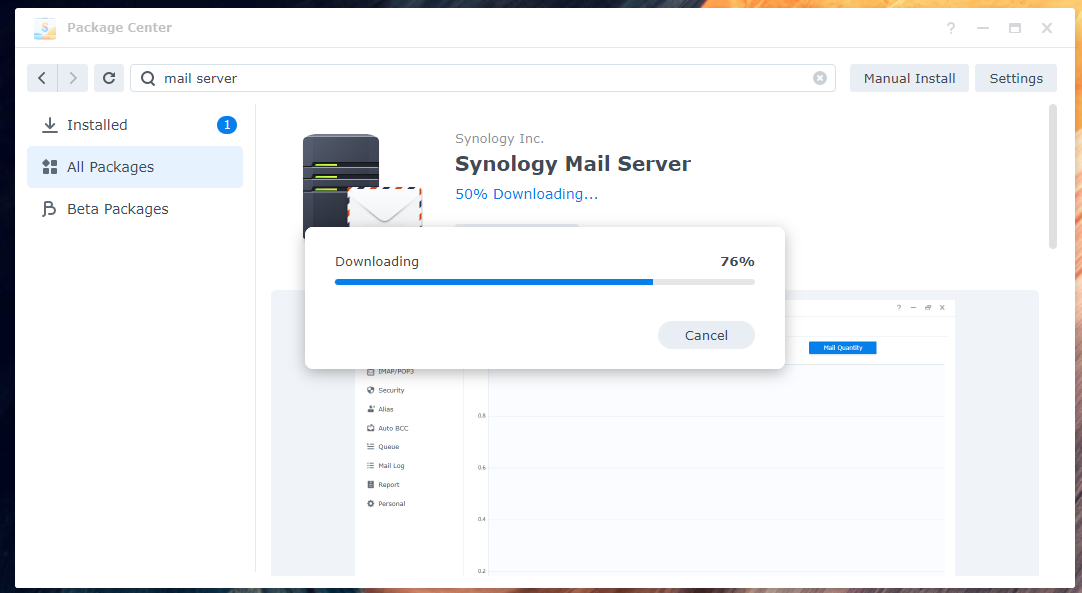
The Synology Mail Server and all the required dependencies will be downloaded. It will take a few seconds to complete.
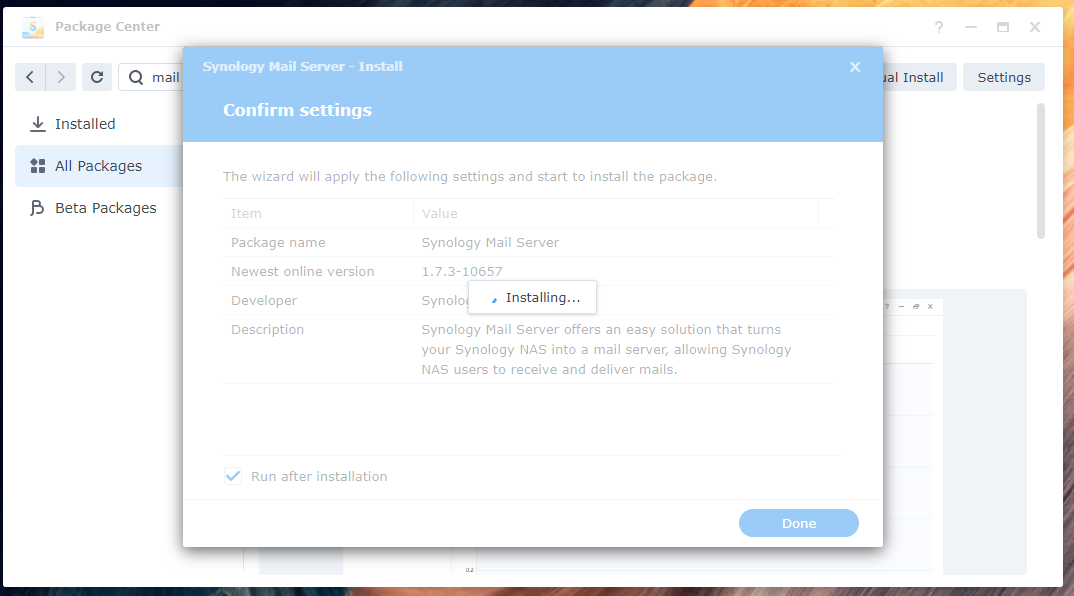
Once the Synology Mail Server and all the required dependencies are downloaded, the Package Center will install them one by one. It will take a few seconds to complete.
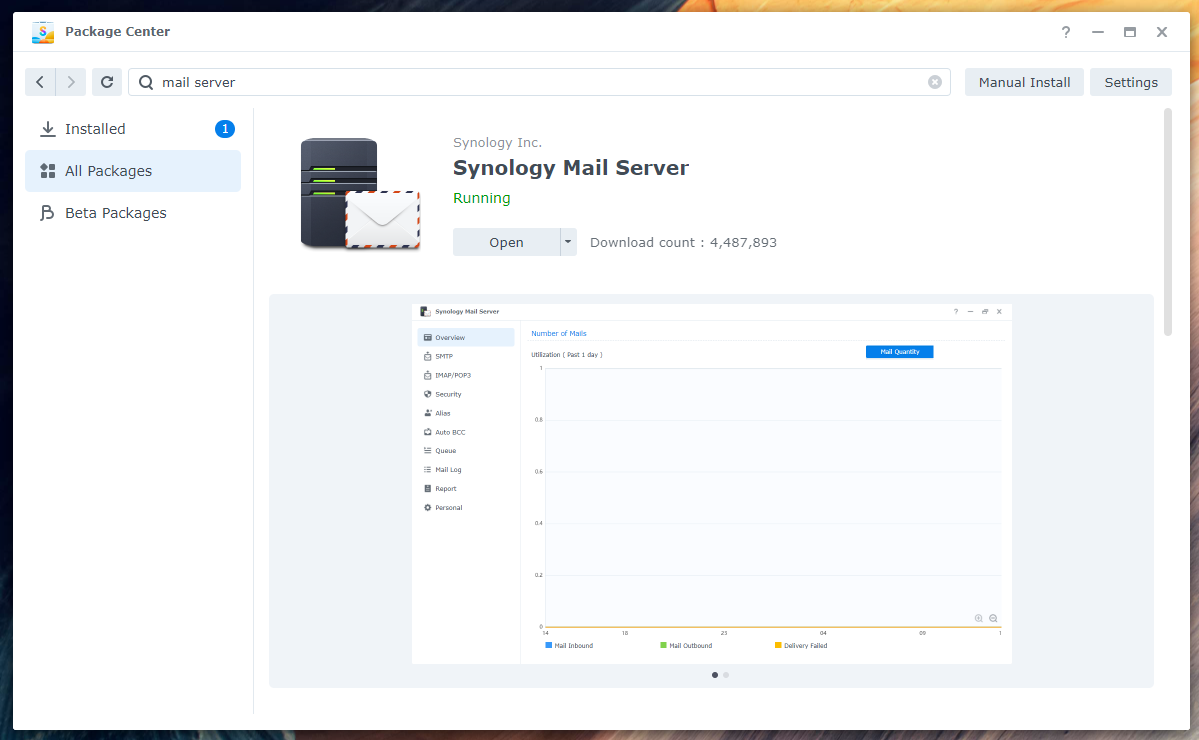
Synology Mail Server should be installed.
Configuring Synology Mail Server:
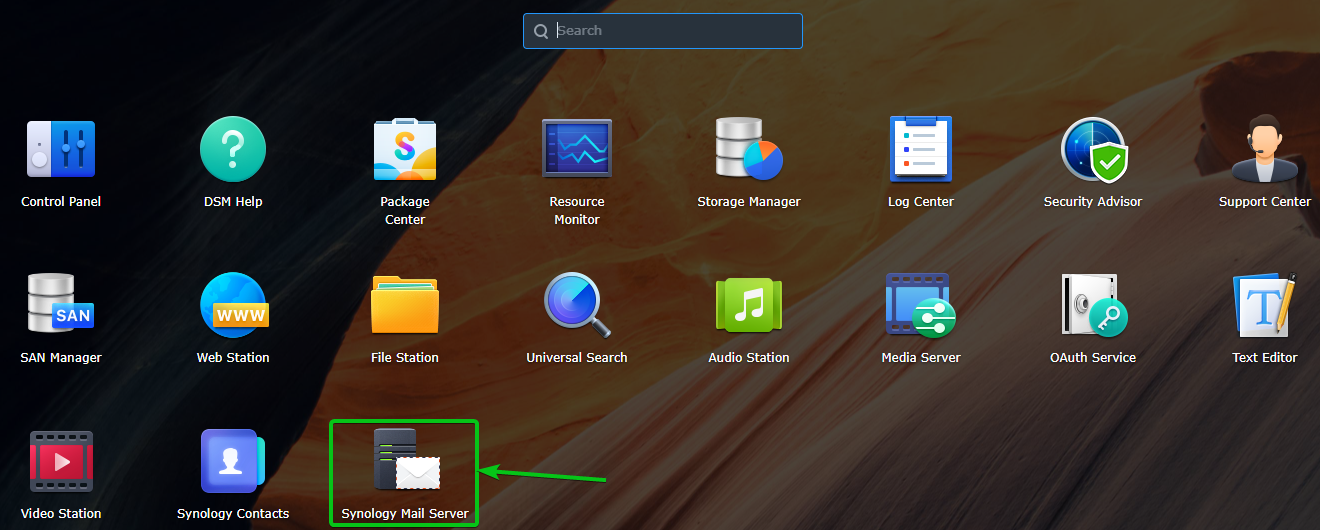
Once the Synology Mail Server is installed, you can click on the Synology Mail Server app icon from the Application Menu, as shown below:
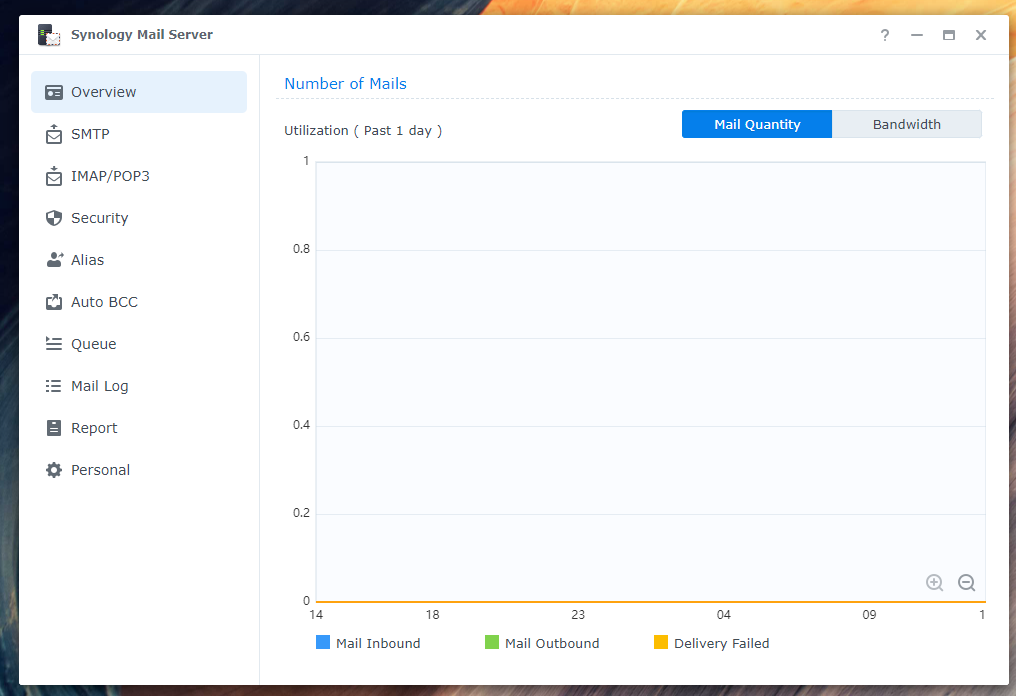
Open the Synology Mail Server app. You can configure the mail server from here.
Configuring SMTP Settings:
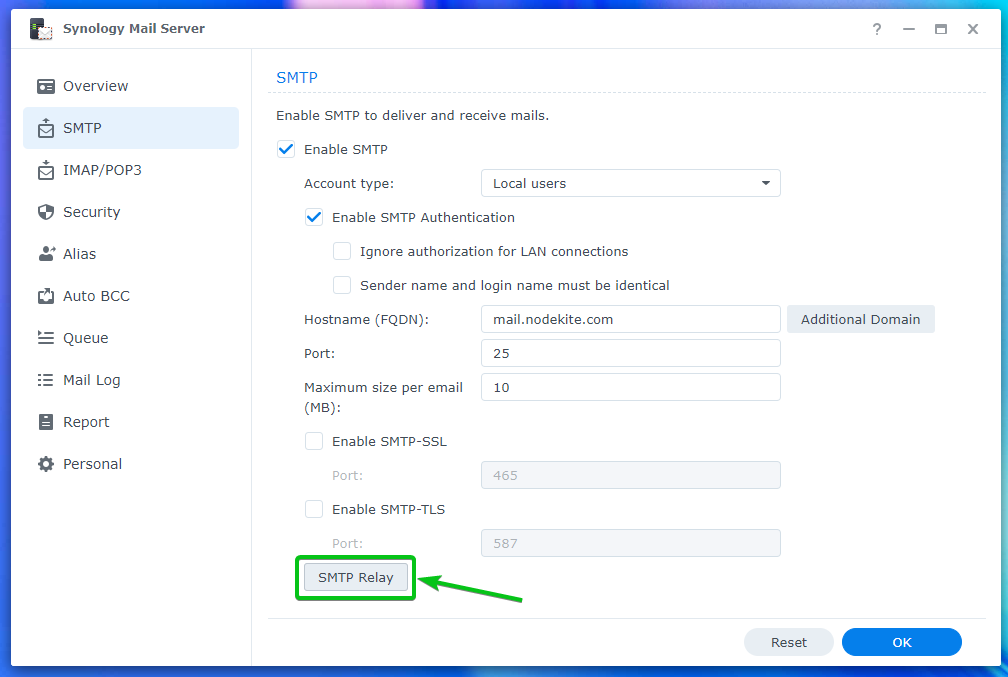
To use the mail server, you must enable SMTP (check the Enable SMTP checkbox¹) from the SMTP section of the Synology Mail Server app and set a hostname (FQDN – Fully Qualified Domain Name) for the email server².
Once you’re done, click on OK for the changes to take effect³.
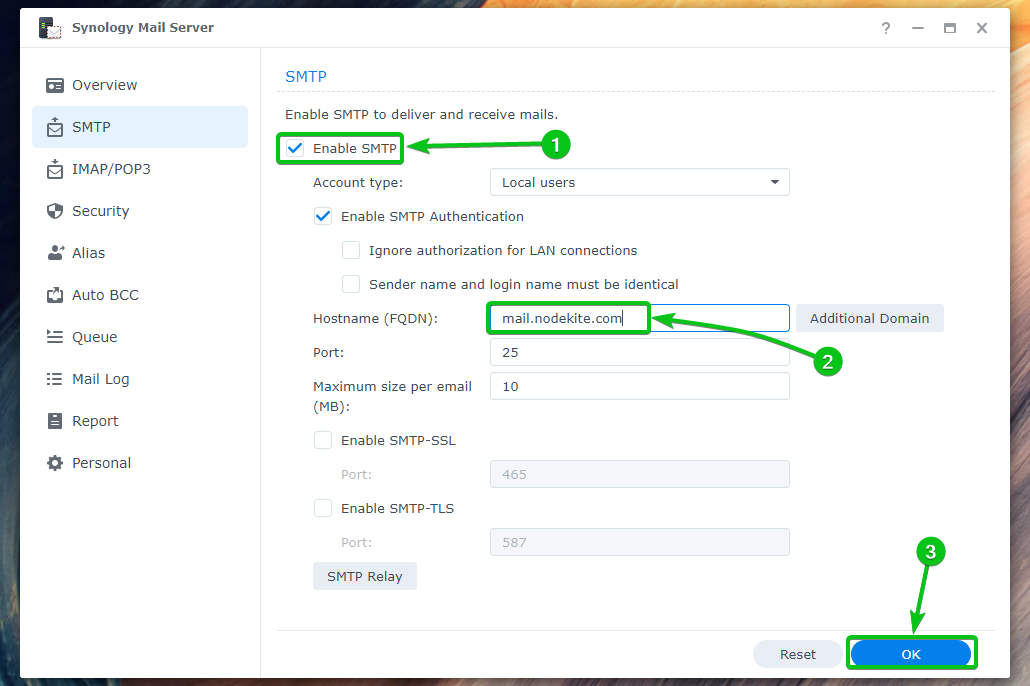
SMTP should be enabled, and a hostname should be set for your email server.

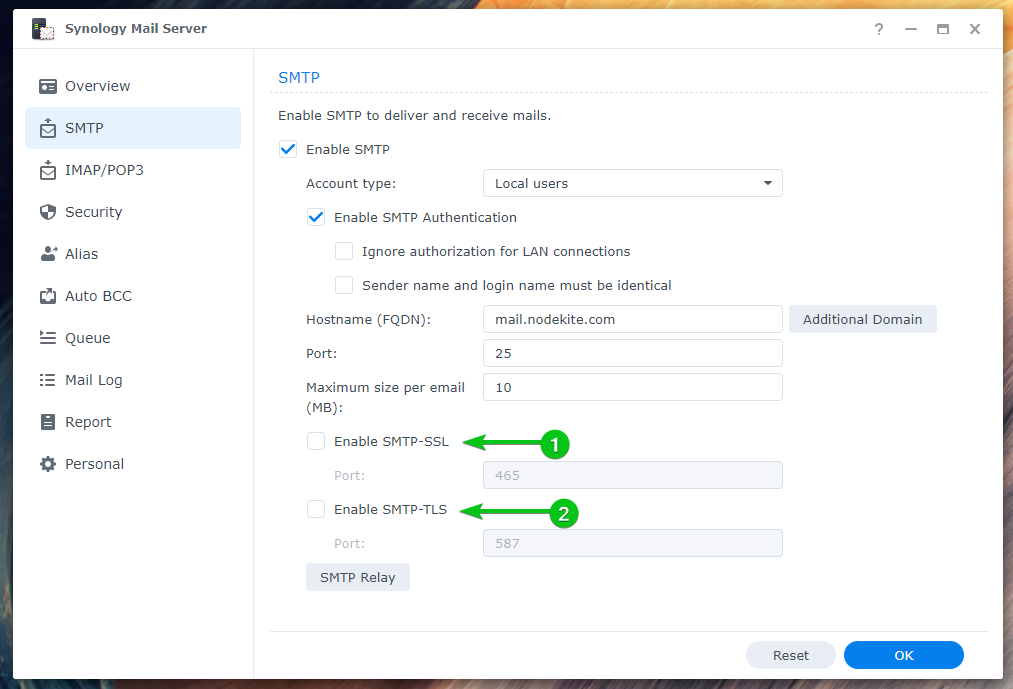
You can check Enable SMTP-SSL to enable SSL encryption for the SMTP protocol¹.
You can check Enable SMTP-TLS to enable TLS encryption for the SMTP protocol².
Installing Mail Station:
Once you have the Synology Mail Server installed and SMTP enabled, you will have to install the Mail Station email client from the Package Center app.
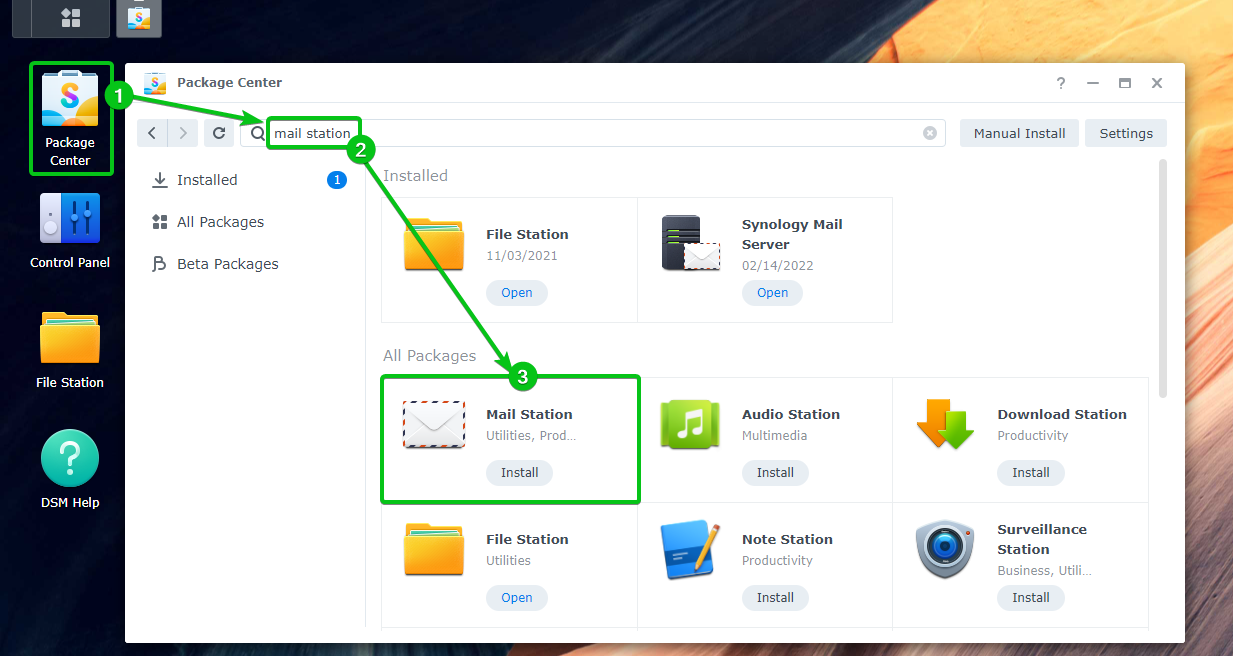
Open the Package Center app¹, search for mail station², and click on Mail Station³ as marked in the screenshot, as shown below:
Click Install.

Click Yes.

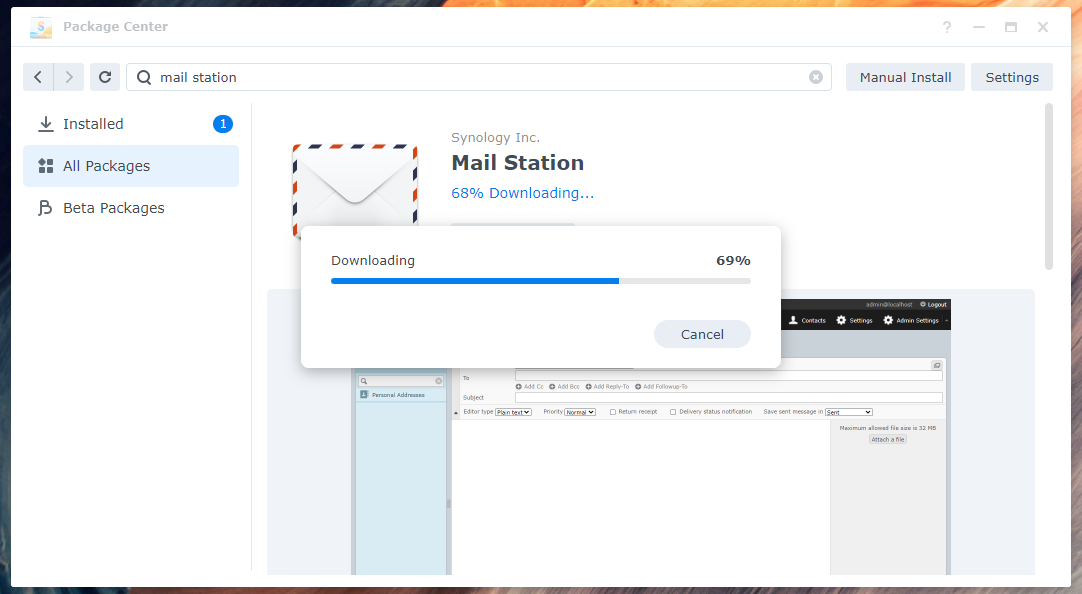
Mail Station and all the required dependencies will be downloaded. It will take a few seconds to complete.
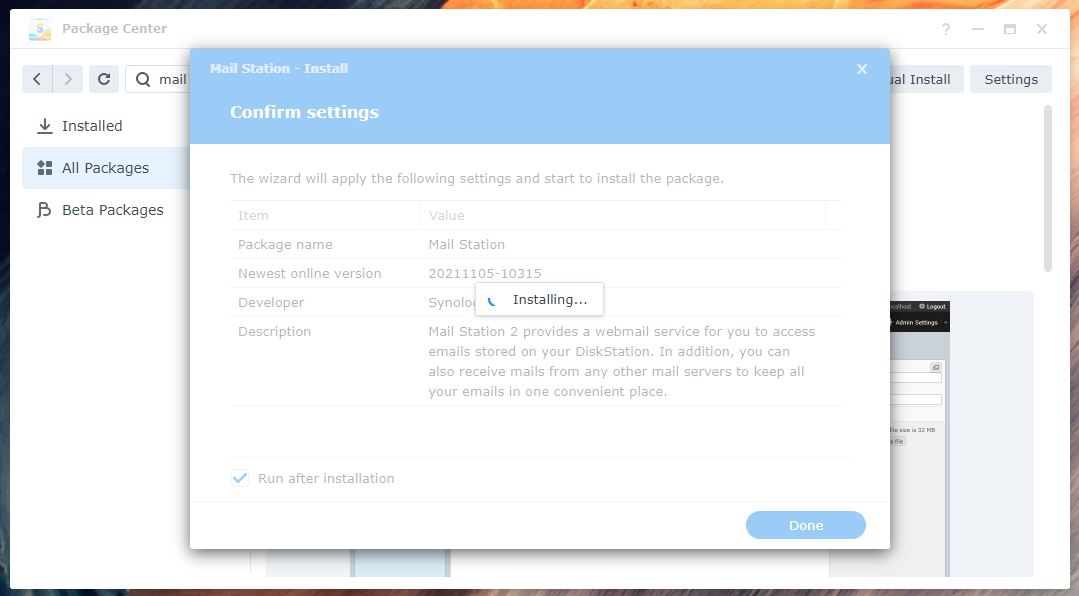
Once the Mail Station and all the required dependencies are downloaded, the Package Center will install them one by one. It will take a few seconds to complete.
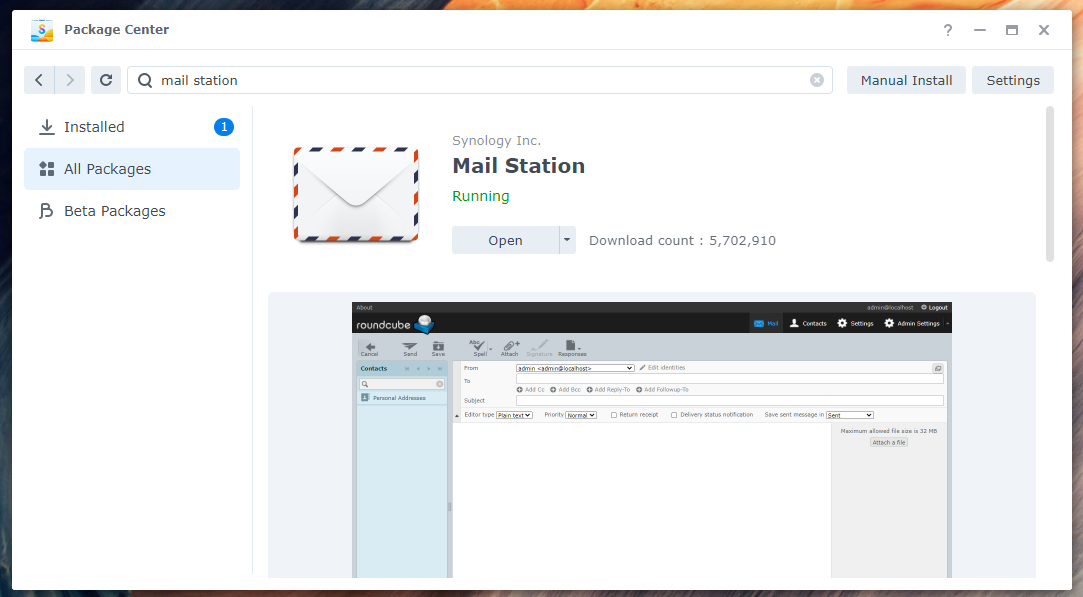
Mail Station should be installed.
Creating a New Mail User:
The users of your Synology NAS will be able to send and receive emails. So, you will have to create new users if you need to create new mail users.
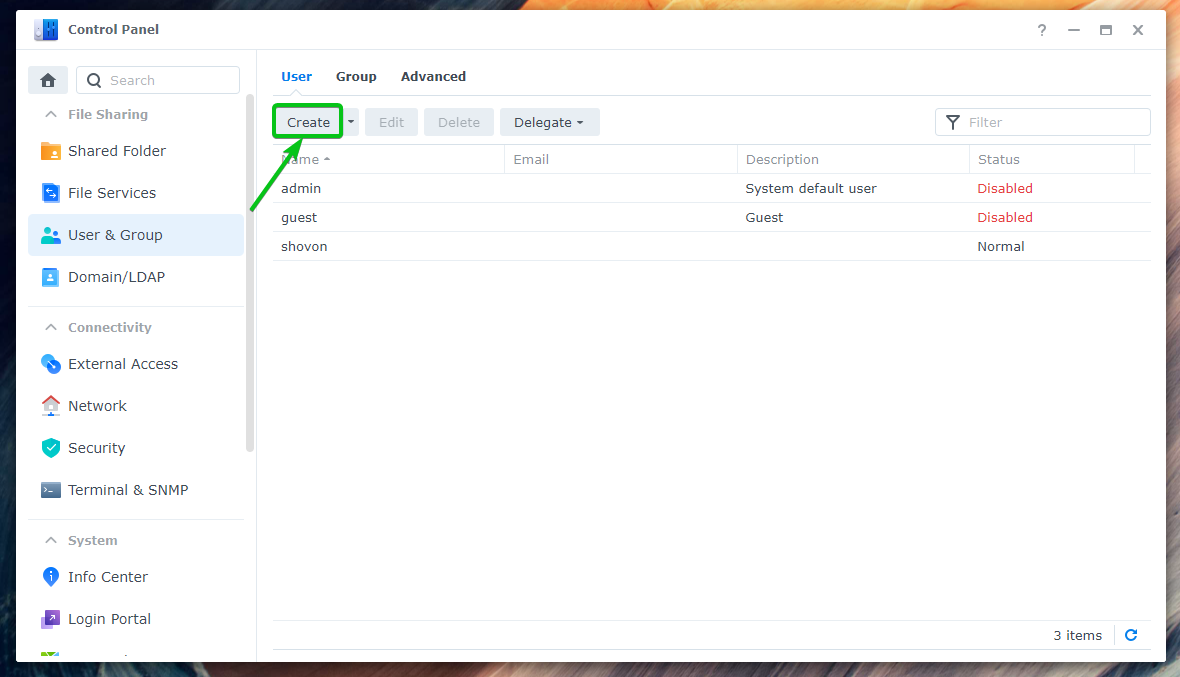
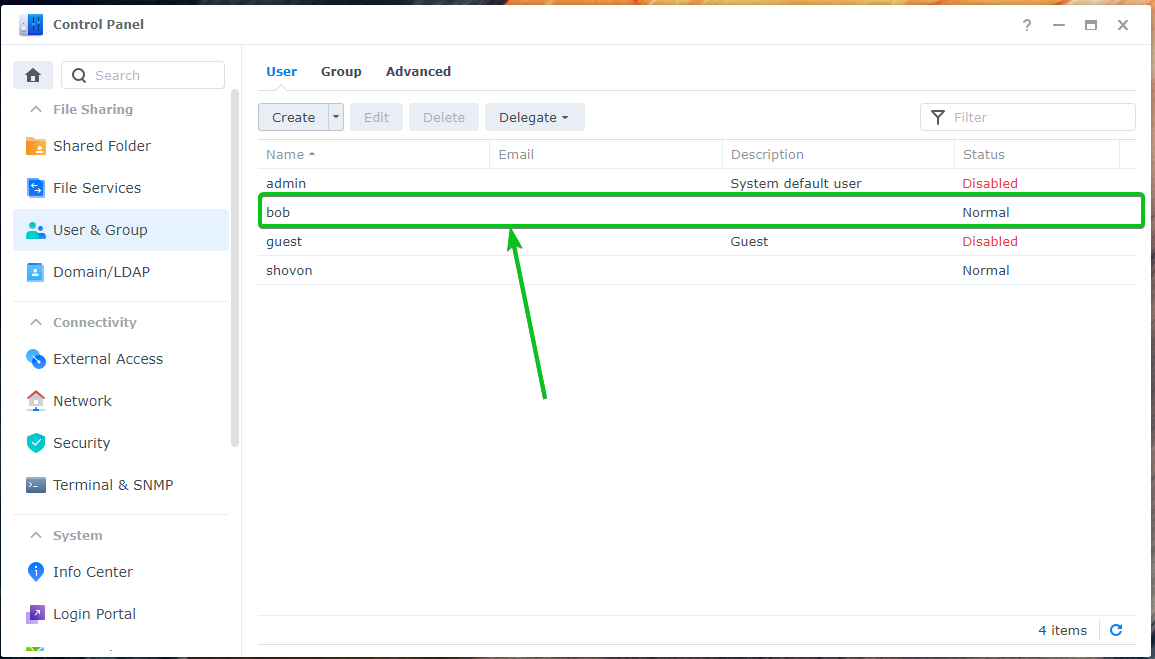
Navigate to the Control Panel > User & Group to create a new mail user.
Click Create.
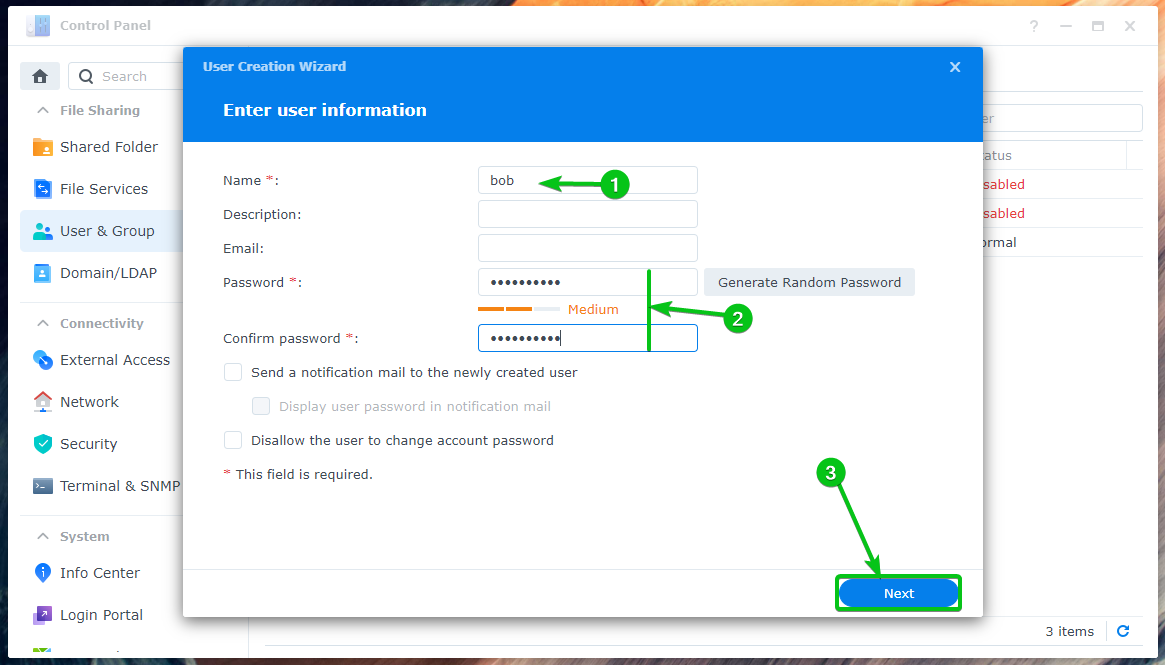
Type in your desired user Name¹ and Password² and click on Next³.
NOTE: For this demonstration, I will create a new user bob.
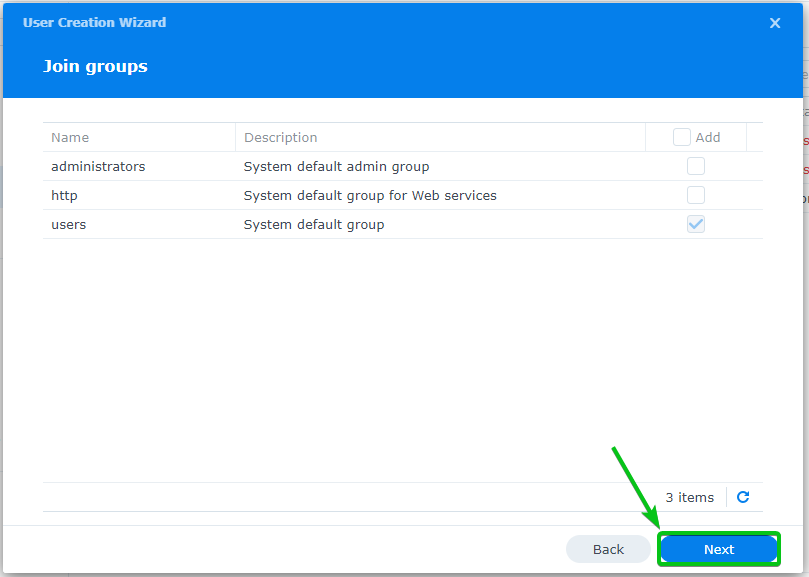
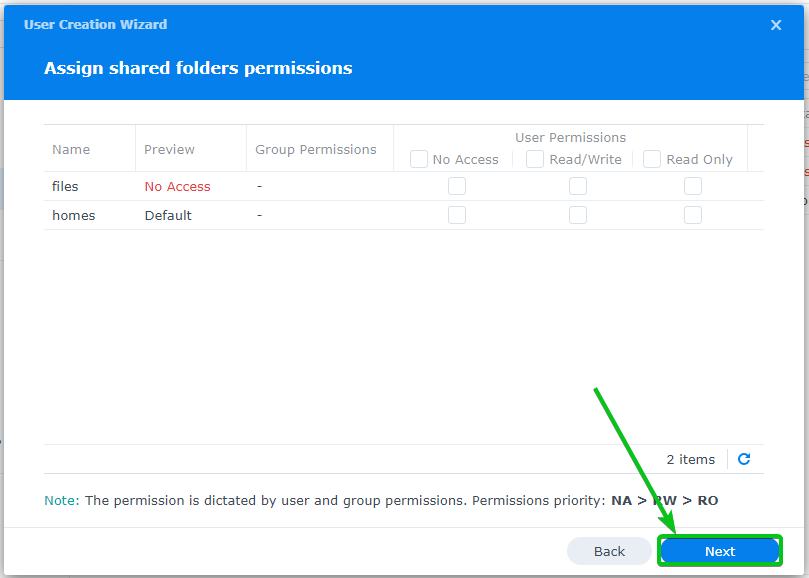
Click Next.
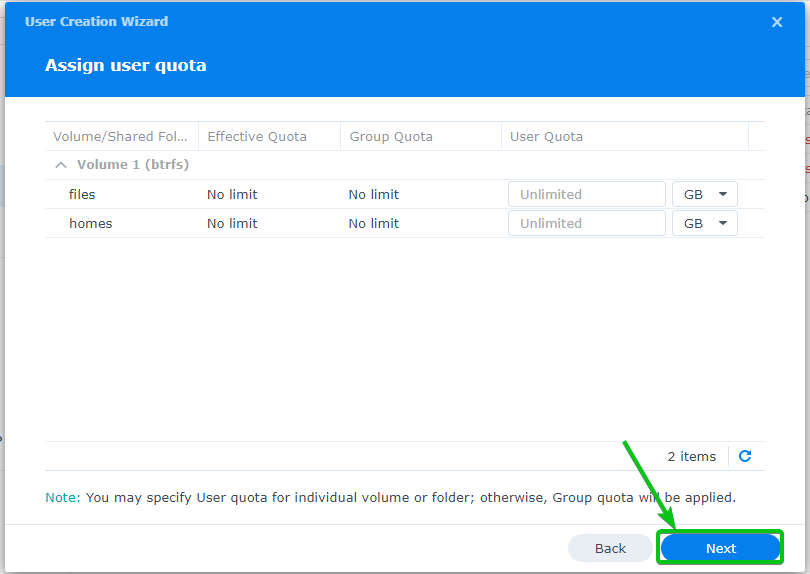
Click Next.
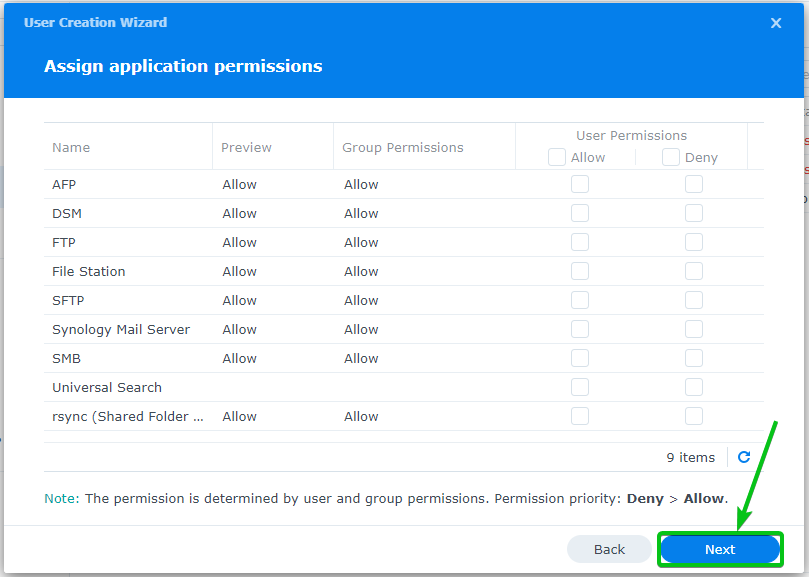
Click Next.
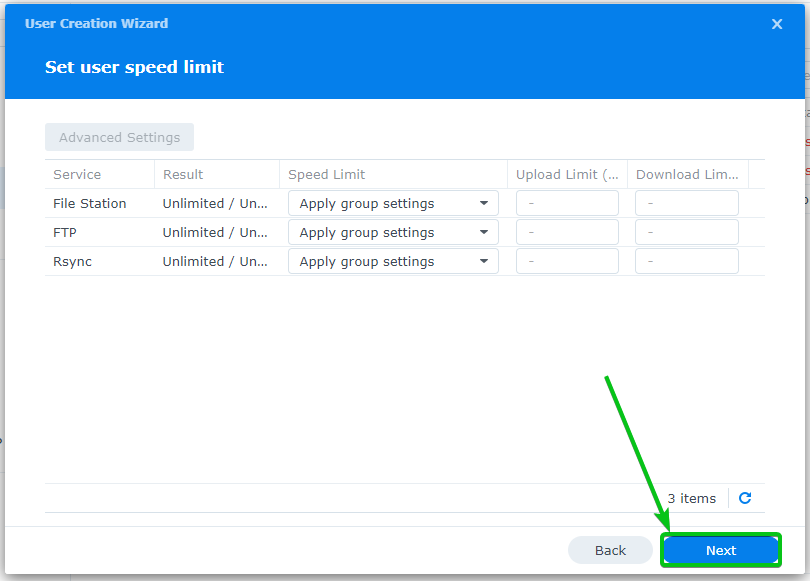
Click Next.
Click Next.
Click Done.
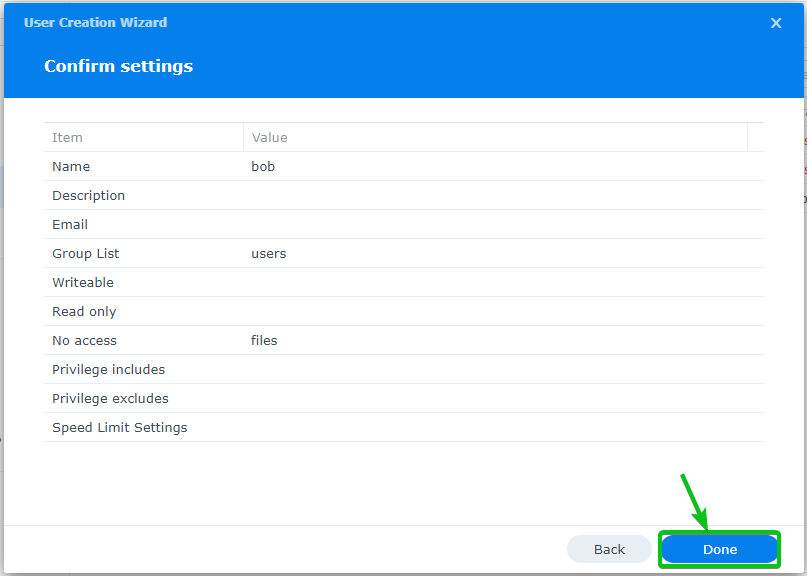
A new email user should be created.
Using Mail Station:
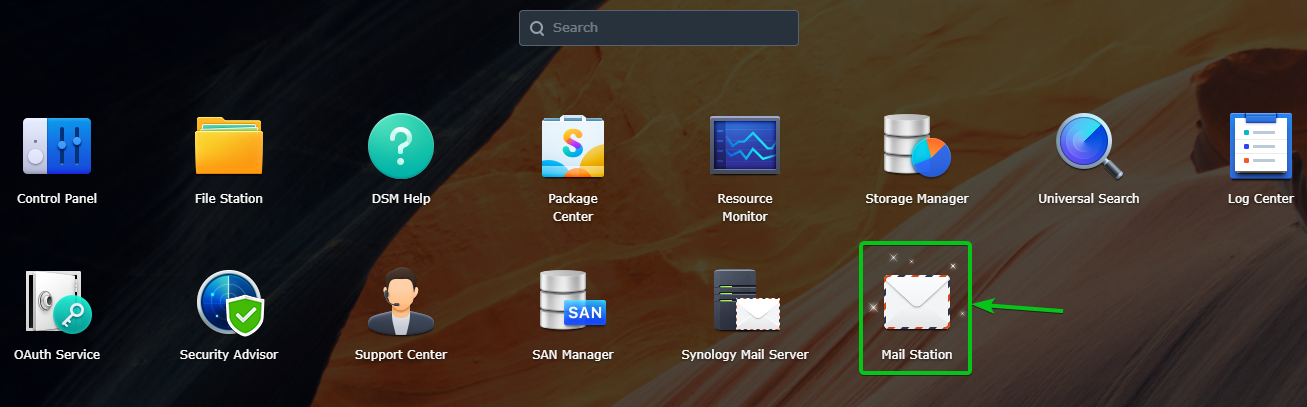
To log in to the Synology Mail Server, click on the Mail Station icon from the Application Menu.
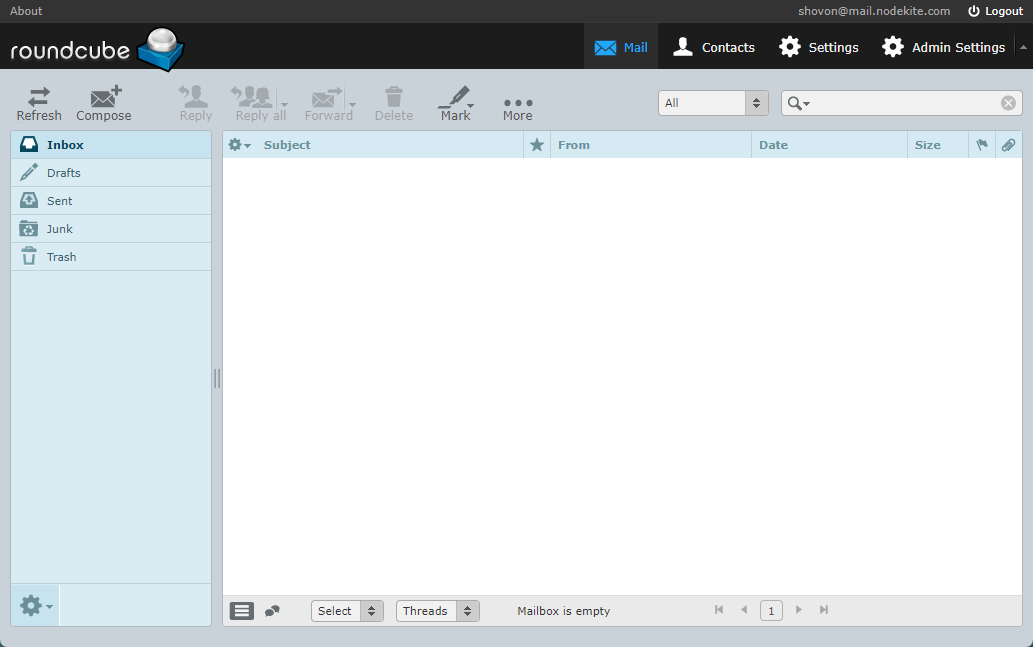
A new browser tab should open the Roundcube Webmail Client.
Type in your desired Synology username and password and click Login, as shown below:
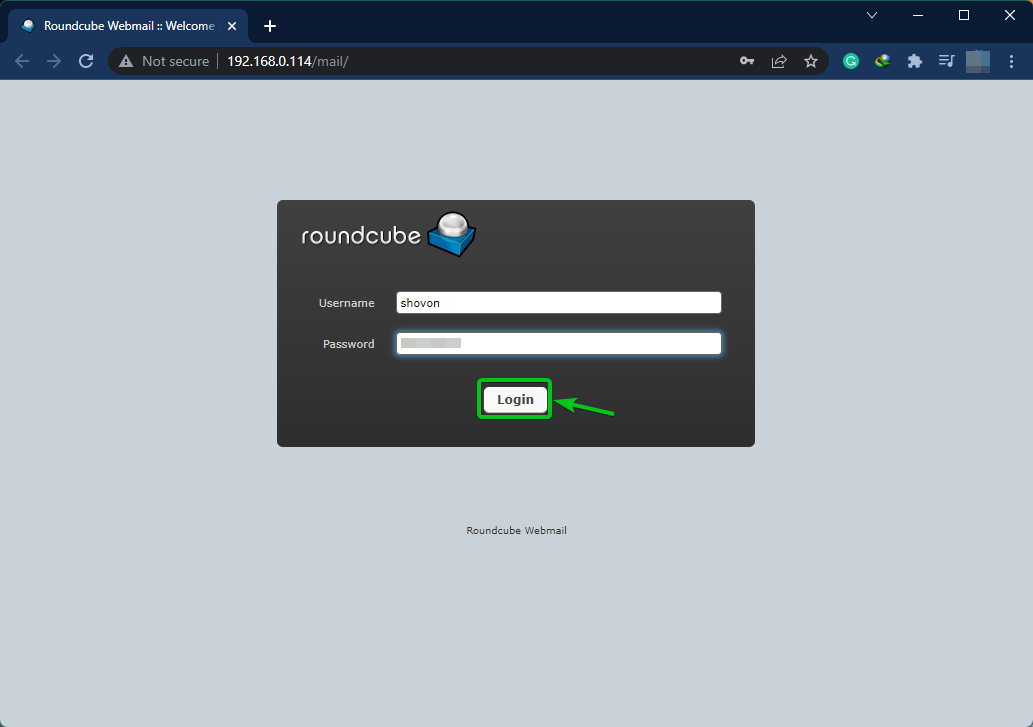
You will be logged in to the Synology Mail Server with the Roundcube Webmail Client.
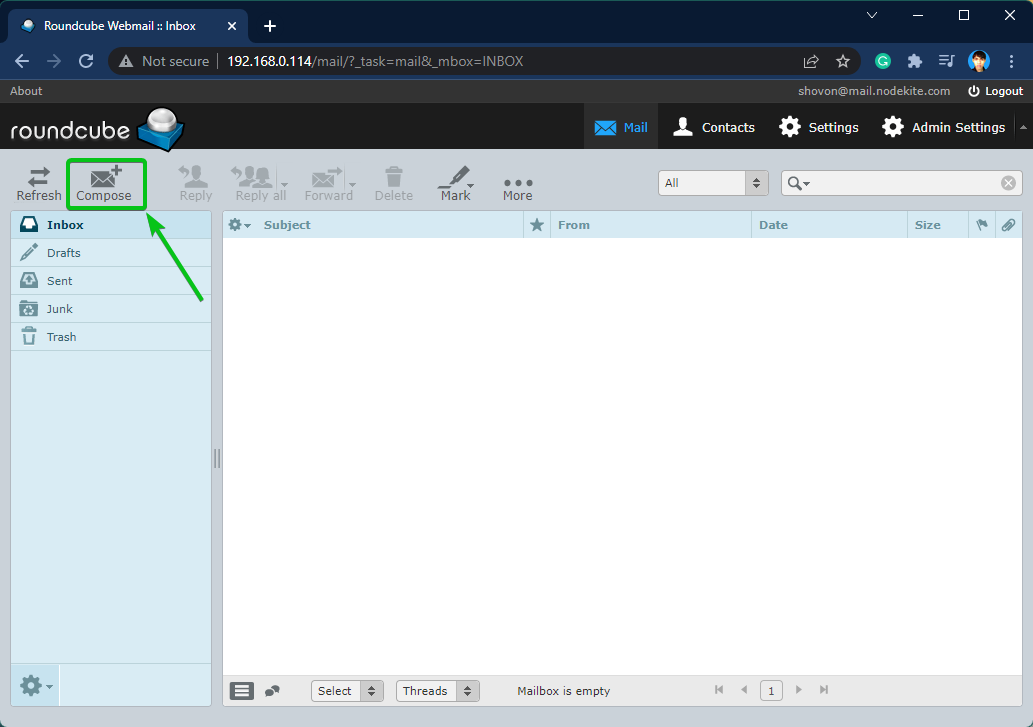
To test whether you can send emails to other Synology users, click Compose as marked on the screenshot below:
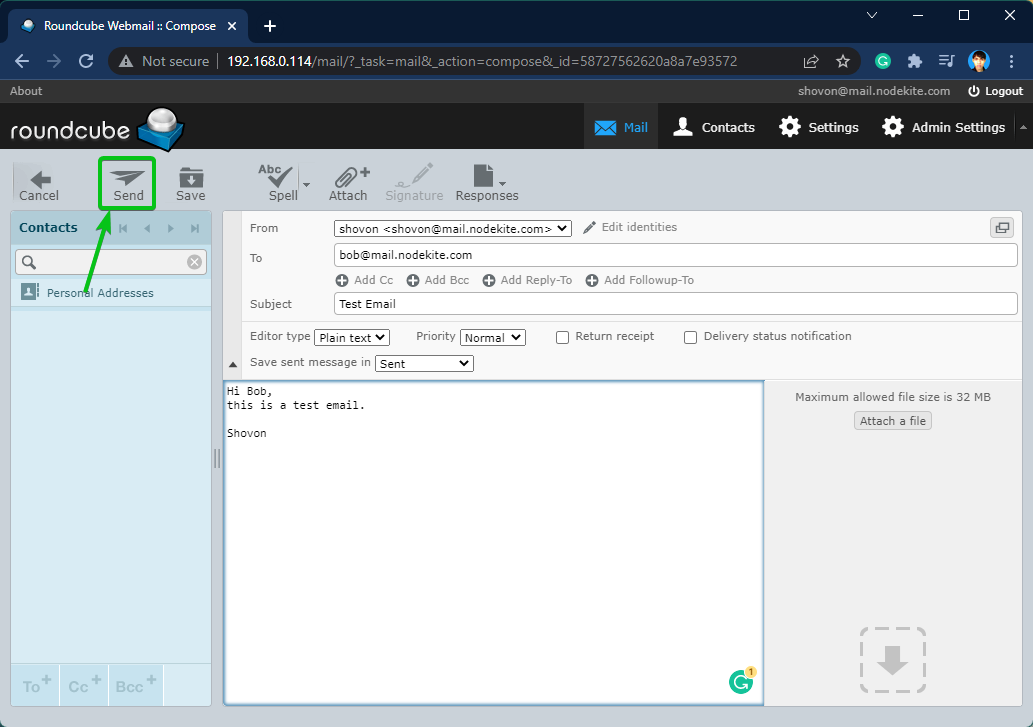
Type in your email and click Send as marked in the screenshot below.
In this case, I am sending an email to bob. As I have used mail.nodekite.com as the Domain (FQDN) of the Synology Mail Server, the email address of bob will be [email protected]. It will be different for you. So, make sure to replace the username and Domain (FQDN) with your own.
As you can see in the following image, bob received the email just fine:
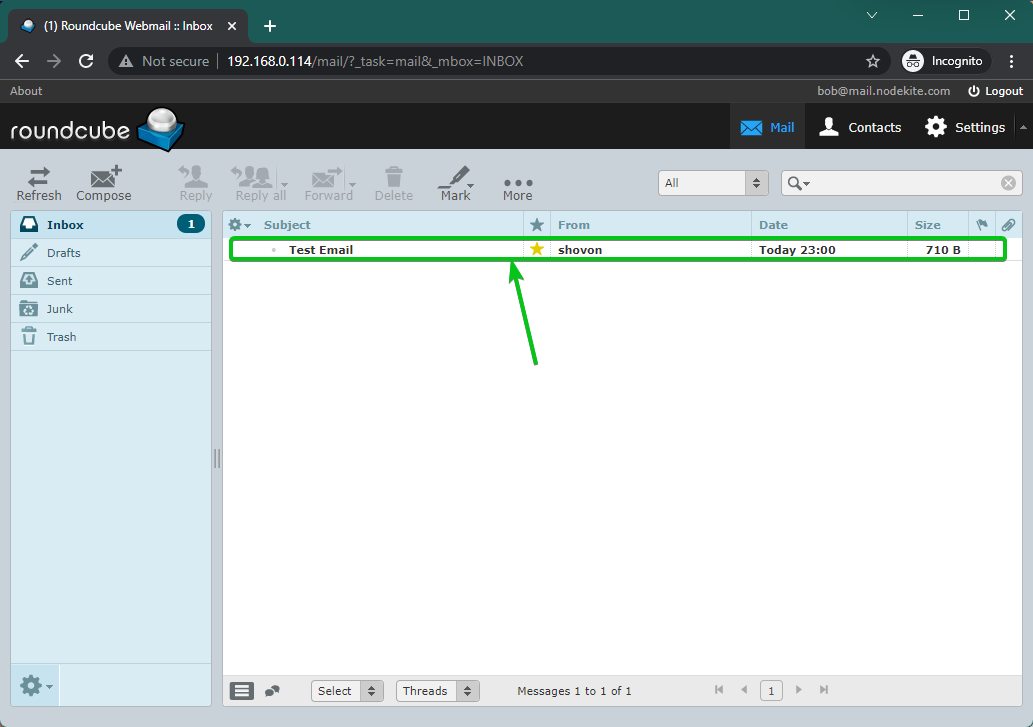
[email protected] received an email sent by [email protected] from the Roundcube Webmail Client using the Synology Mail Server.

Configuring SMTP Relay:
You can relay emails with Synology Mail Server.
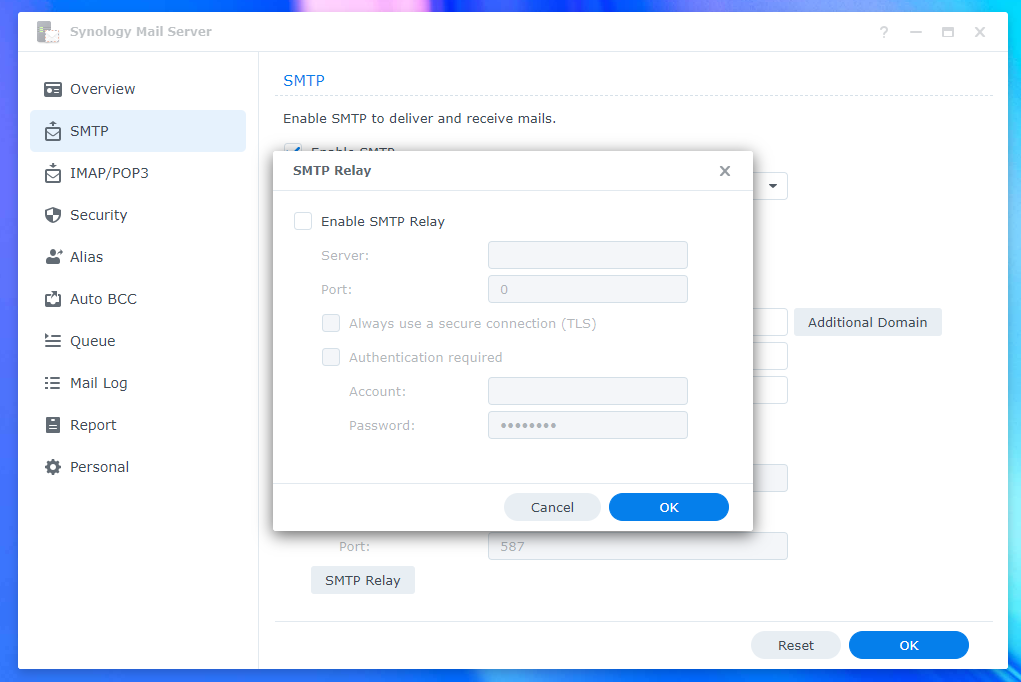
To configure the SMTP relay, open the Synology Mail Server app and click SMTP Relay from the SMTP tab as marked in the screenshot below:
Check the Enable SMTP Relay checkbox and type in your desired relay server information.
Once you’re done, click OK.
Configuring IMAP/POP Settings:
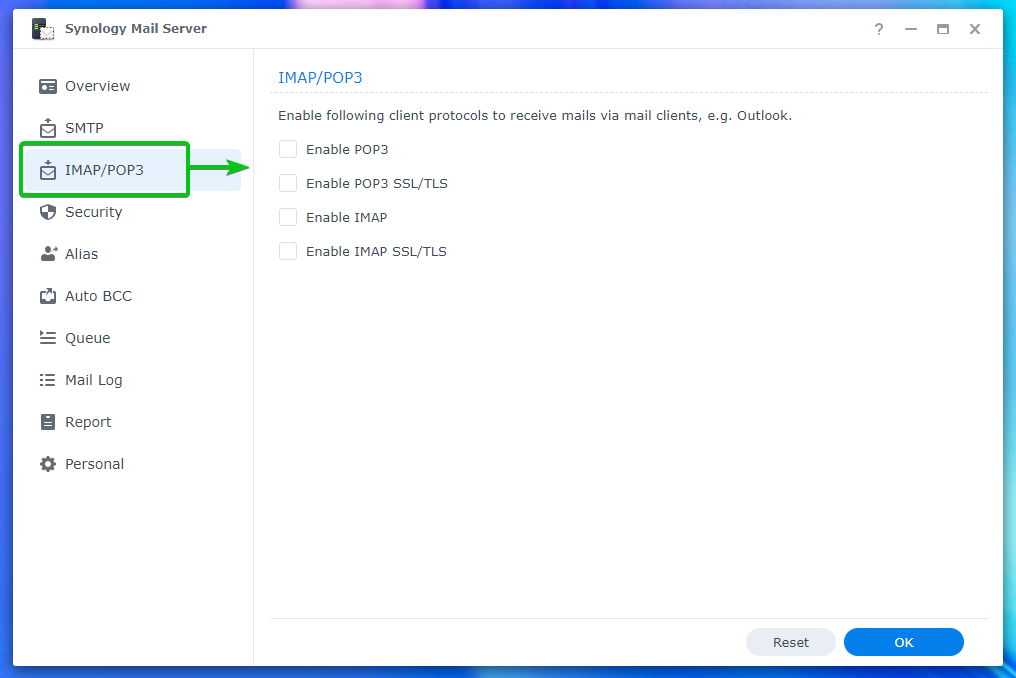
If you want to use third-party email clients, such as Mozilla Thunderbird and Microsoft Outlook, you must enable either the POP3 or IMAP protocol.
You can enable POP3 or IMAP from the IMAP/POP3 tab of the Synology Mail Server app.
Configuring Security Settings:
You can configure spam, antivirus, black list (blocklist), white list, content scan, and authentication settings from the Security section of the Synology Mail Server.
To configure spam, navigate to Security > Spam¹.
From here, you can set the number of days after which you want to delete emails marked as spam². You can also Enable SpamAssassin filter engine and configure it³. You can Enable DNS-based Blackhole List filter (DNSBL) and configure DNSBL servers, as well⁴.
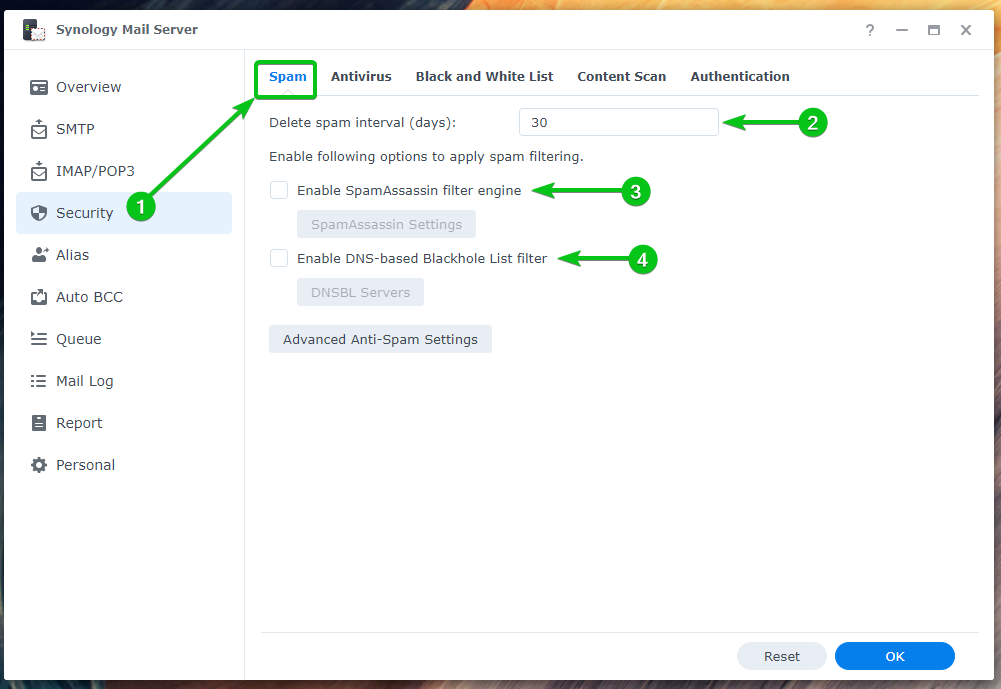
To configure the advanced anti-spam settings, click Advanced Anti-Spam Settings.
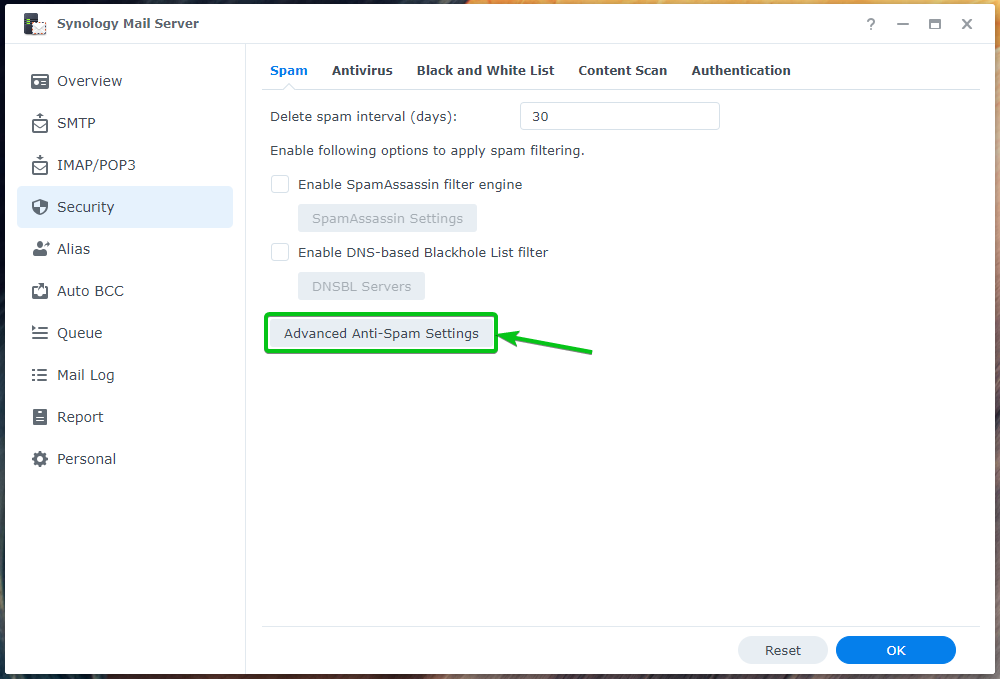
You will see a lot of options. You can configure the advanced anti-spam settings from here:

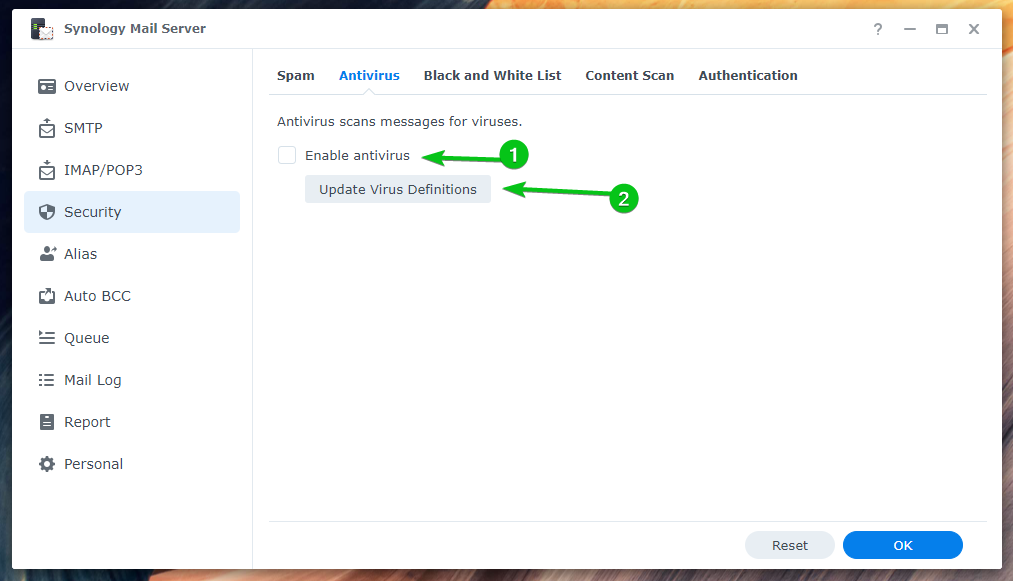
You can scan inbound and outbound emails for viruses using an Antivirus. You can configure Antivirus settings from the Security > Antivirus section of the Synology Mail Server app.
To enable Antivirus, check the Enable antivirus checkbox¹.
To update the Antivirus database so that it can detect newer viruses, click the Update Virus Definitions button².
To configure black lists and white lists, click the Black and White List from the Black and White List tab¹.
To configure the number of emails you want to send per day, check the Enable daily sending quota² and type in your desired daily quota.
You can click Attachment Filter³ and create the necessary rules to reject emails with certain types of attachments.

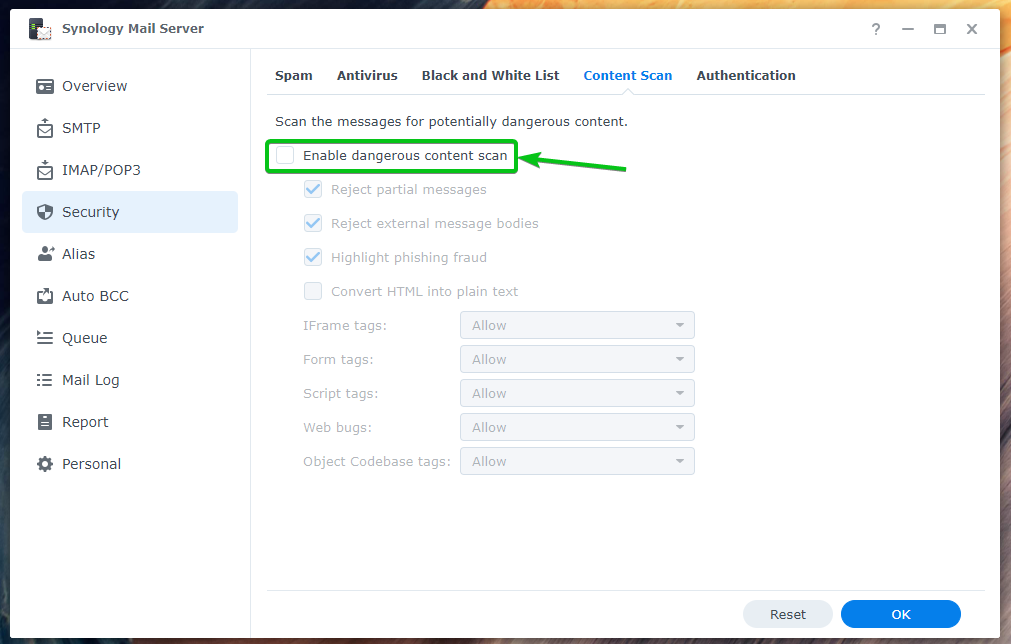
If you want to scan messages for dangerous content and reject them, check the Enable dangerous content scan checkbox from the Content Scan tab.
Once you enable it, you can configure content scan settings from here.
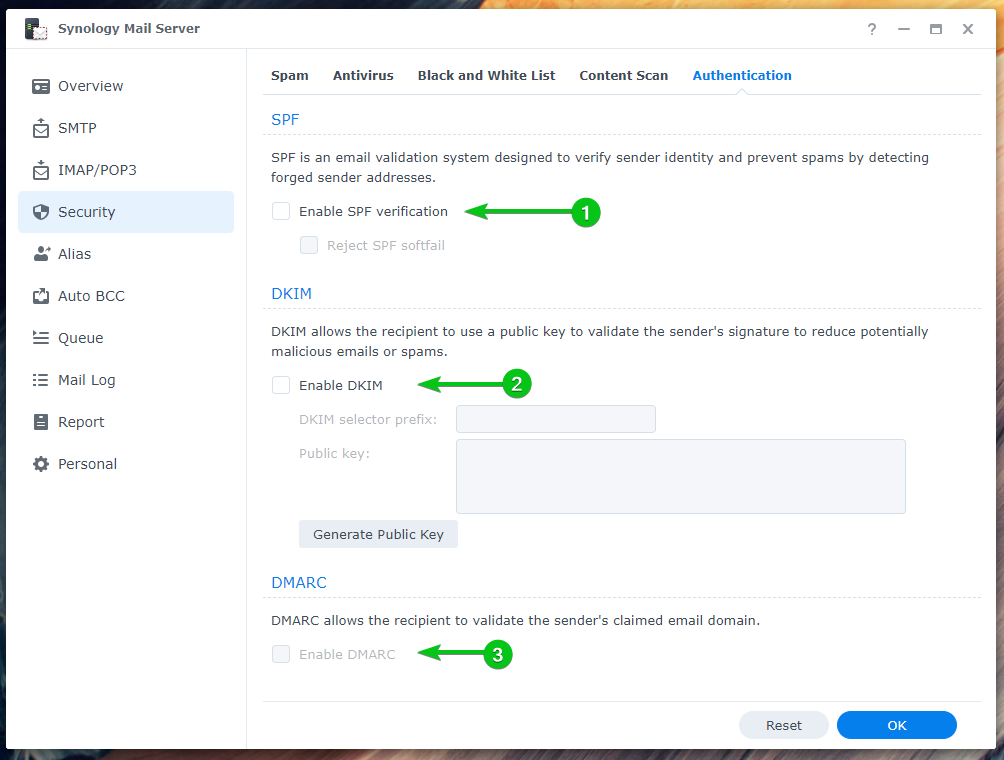
There are many inbound message validation methods that you can enable from the Authentication tab to reduce spam:
- SPF is used to verify the email sender so that it’s not forged¹.
- DKIM is used to validate the email sender using a public key to reduce potential spam emails².
- DMARC is used to validate the domain name of the sender of the email³.
Configuring Alias:
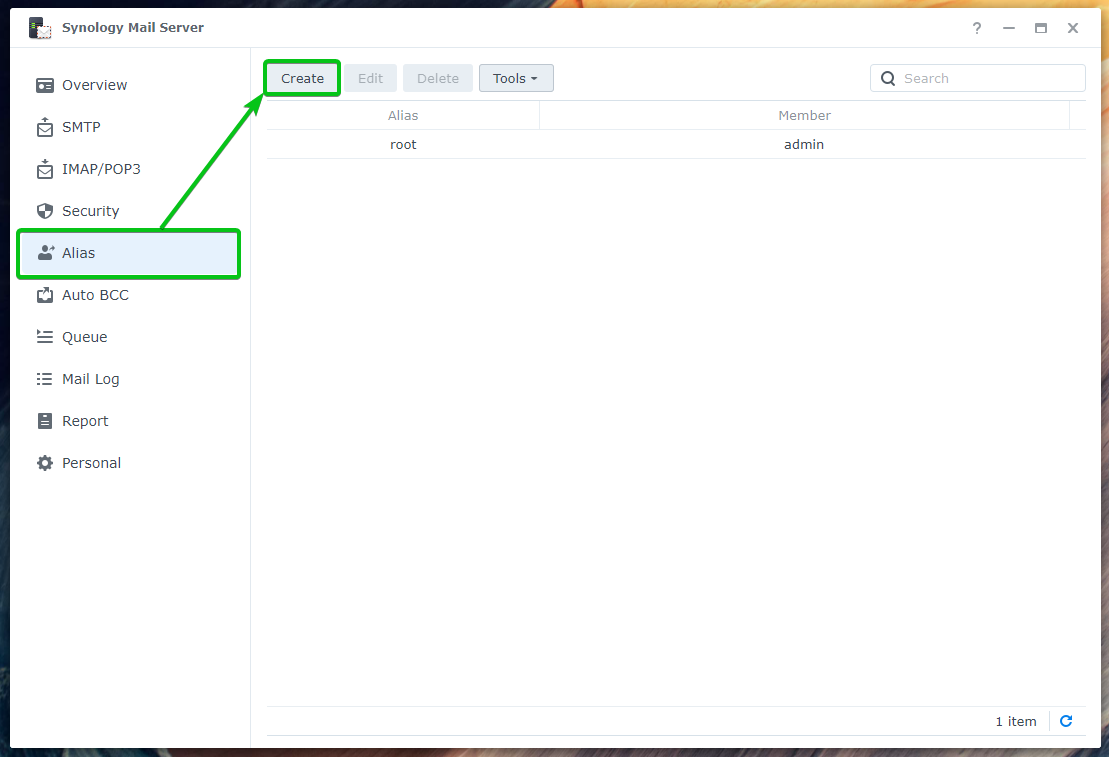
You can configure email aliases from the Alias section of the Synology Mail Server app.
To create a new email alias, click Create.
Type in your email alias in the Alias name section¹, select the type of alias (User or Group) you want to create from the dropdown menu², select the user or group from the list that you want to use for the alias³, and click OK⁴.
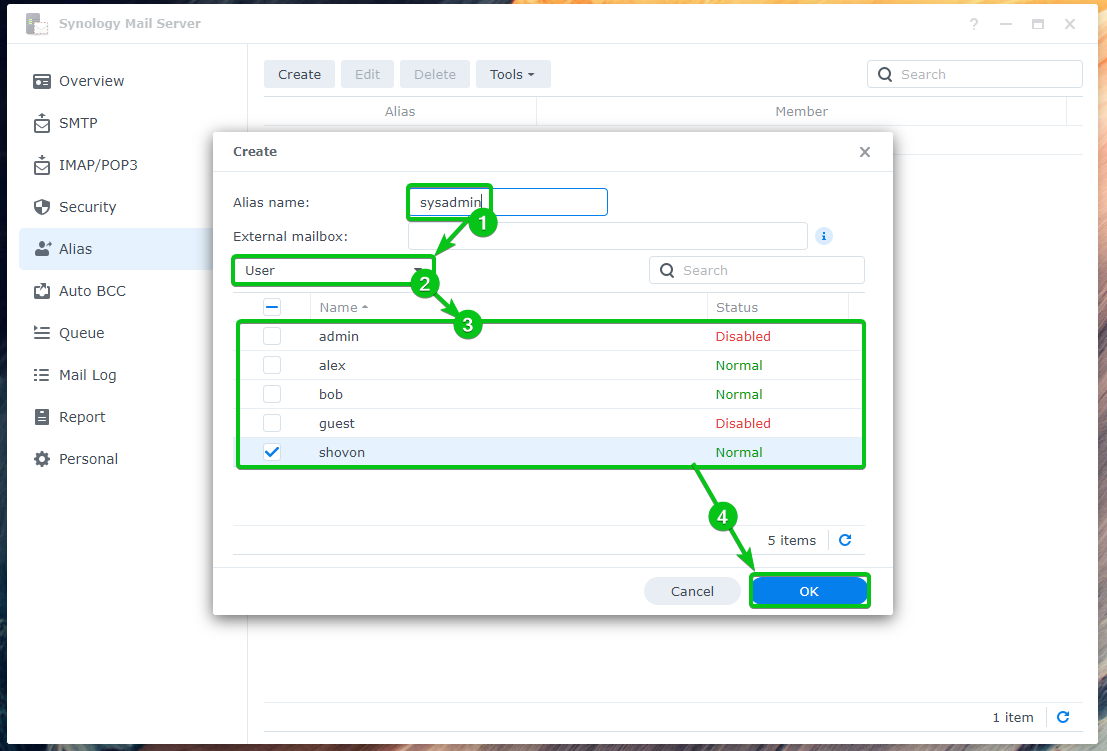
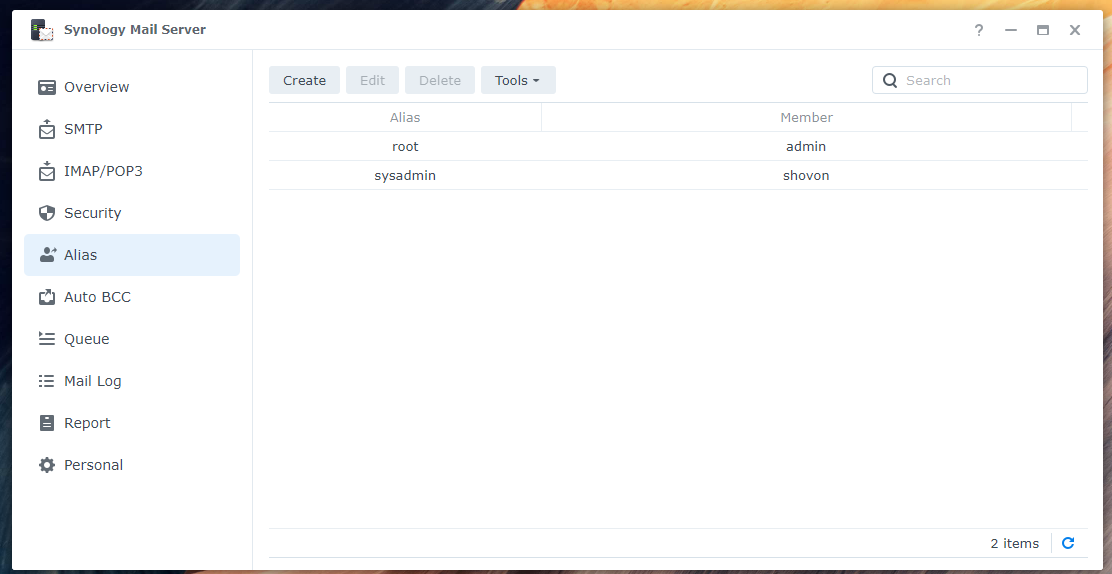
An email alias should be created.
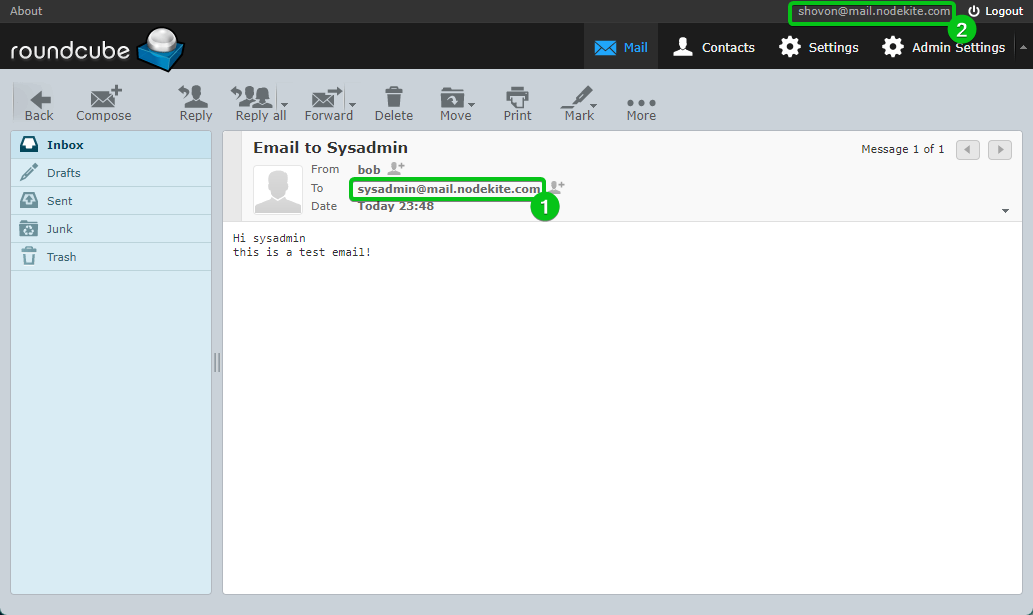
As you can see, bob sent an email to [email protected]¹. As sysadmin is an alias for the user shovon, the email is sent to the address [email protected] instead².
Configuring Auto BCC:
The complete form of BCC is Blind Carbon Copy. Like CC (Carbon Copy), it is used to send copies of the email to other people. However, you won’t be able to see the BCC recipients of the emails.
You can configure the Synology Mail Server to automatically BCC emails.
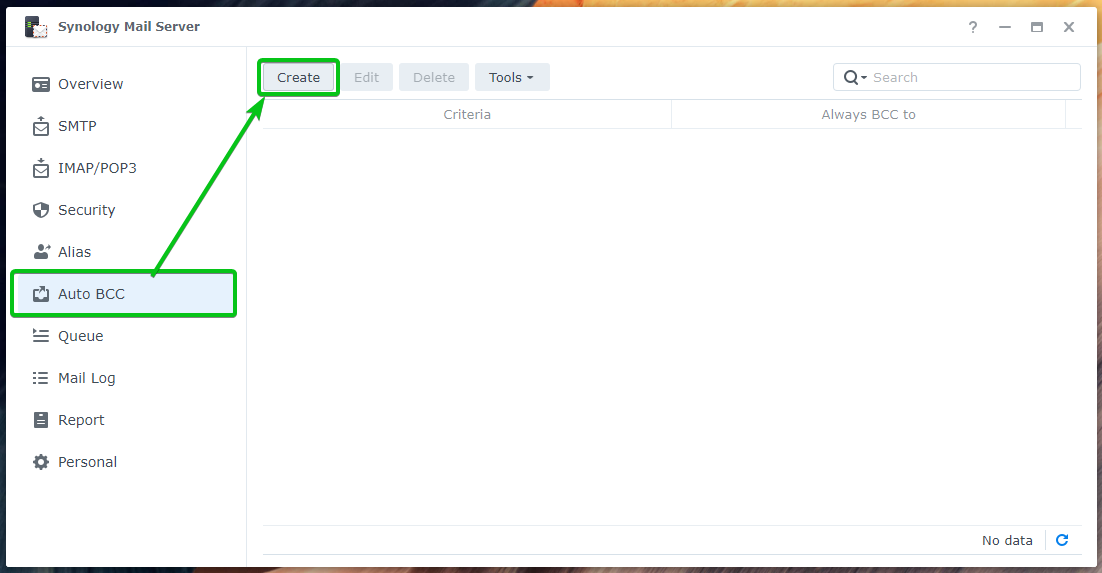
To do that, click Create from the Auto BCC section as marked in the screenshot below:
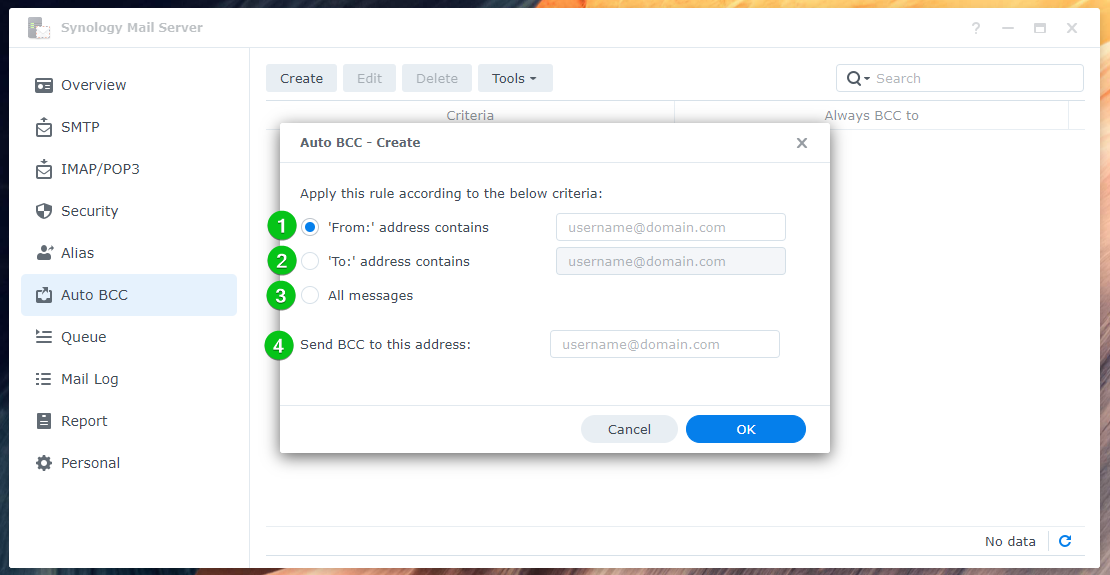
You can auto BCC emails based on the From¹ and To² addresses of the email. You can also auto BCC all the emails³.
Select your desired auto BCC rule and type in your preferred email address in the Send BCC to this address section⁴, as shown below:
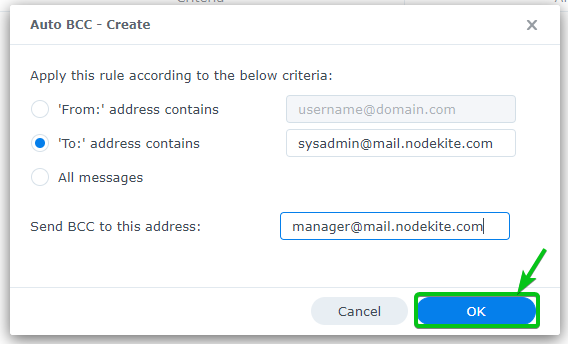
For example, I am auto BCCing all the emails sent to [email protected] to [email protected].
Once you’re done, click OK.
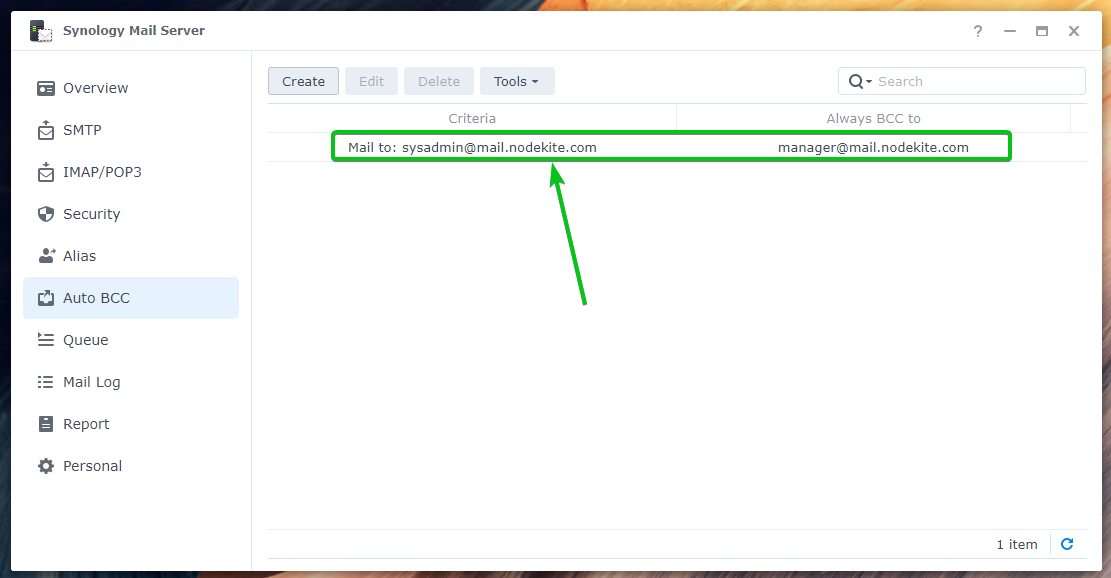
A new auto BCC rule should be created.
Now, send an email to [email protected] from the Roundcube Webmail Client.
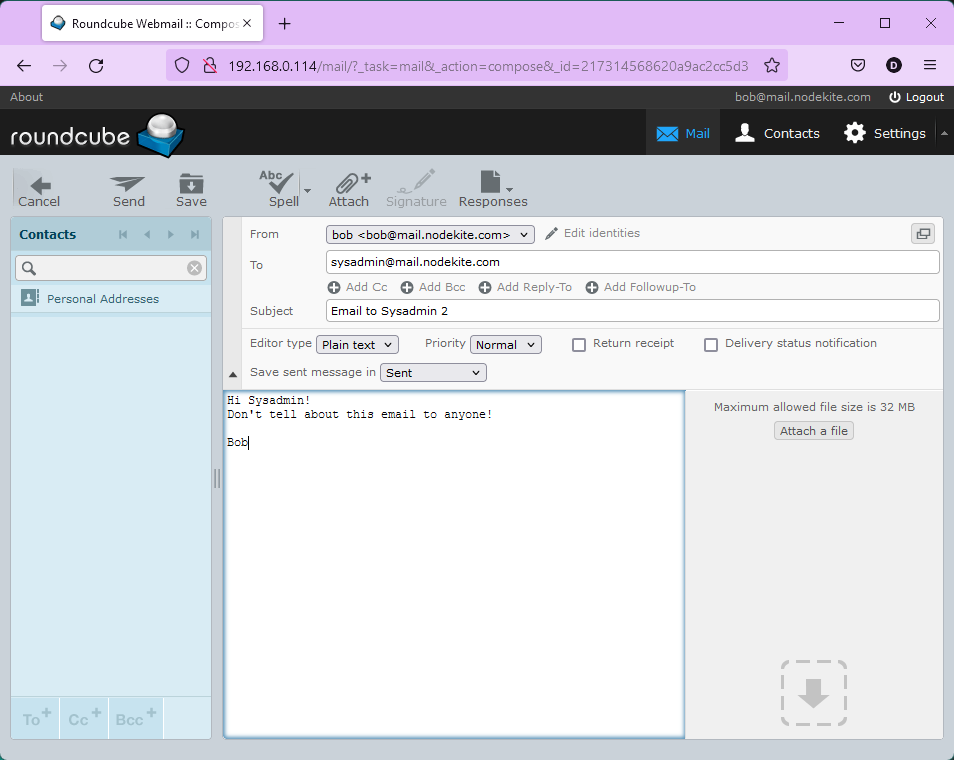
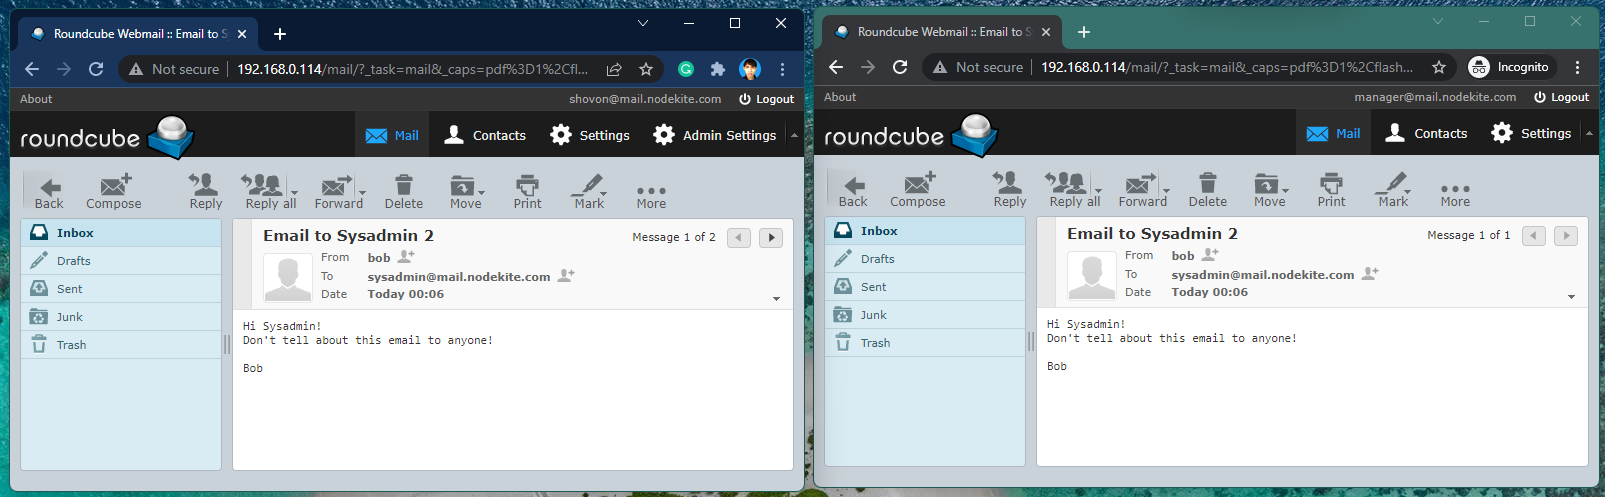
As you can see, [email protected] (alias for [email protected])¹ and [email protected]² received the same email.
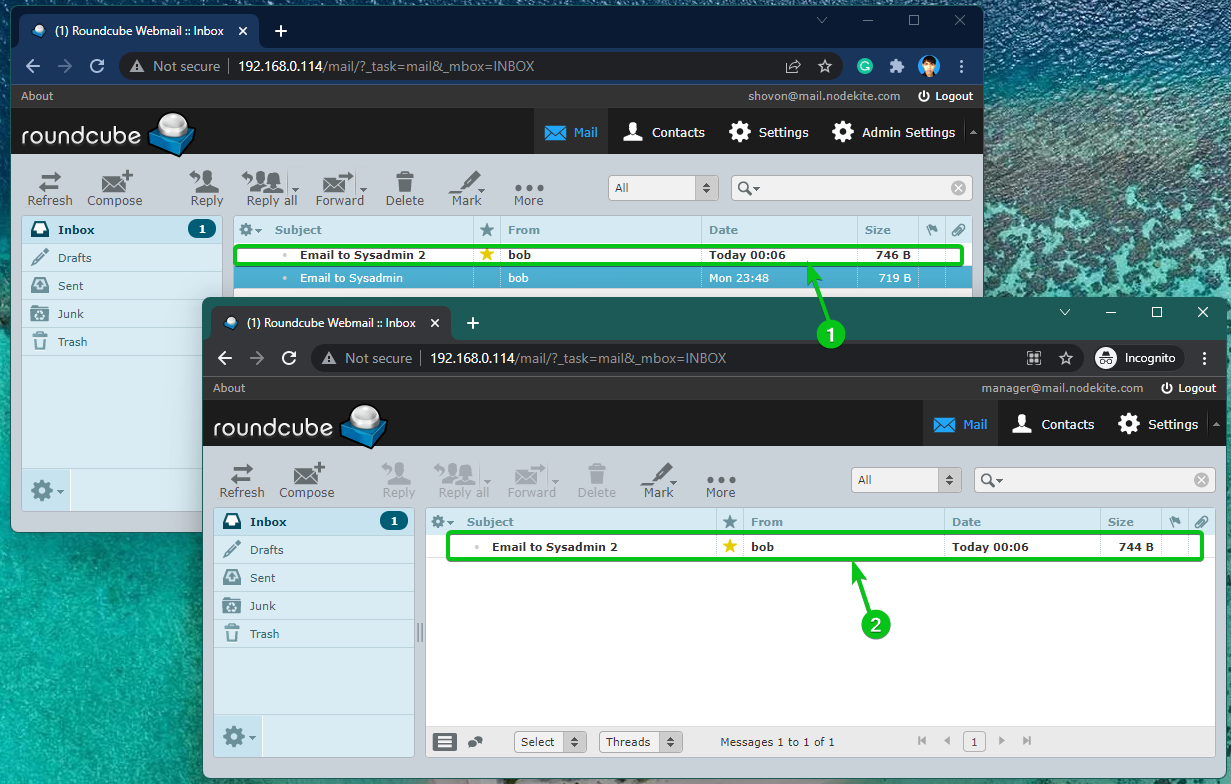
The BCC recipient [email protected] is not displayed in the email, as you can see in the screenshot, as shown below:
Configuring Daily Report:
You can configure the Synology Mail Server to send status reports of the mail server every day to a specific email address.
The report will include:
- Summary of the hourly traffic
- The number of sent/received emails
- The number of deferred/rejected emails
- SMTP delivery failures
- Synology Mail Server warnings
- The number of senders and recipients
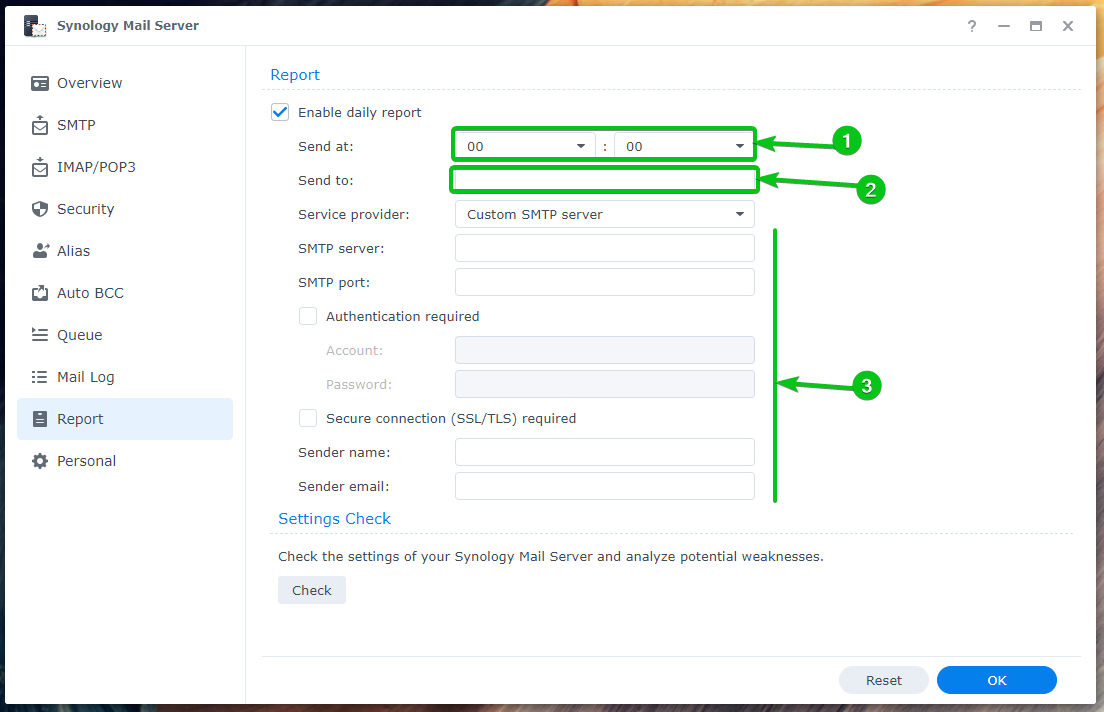
To enable daily reports, check the Enable daily report checkbox in the Report section of the Synology Mail Server.
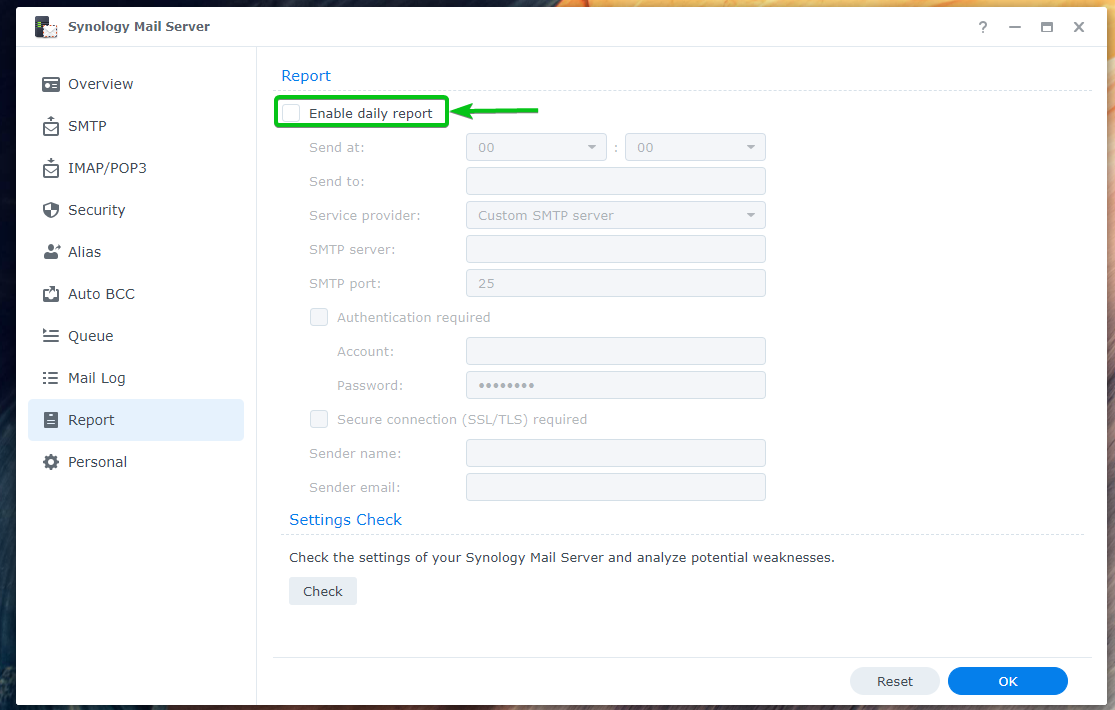
Set the time when you want Synology Mail Server to send the daily report¹, type in the email address where you want to send the report², and fill in the required SMTP server details³.
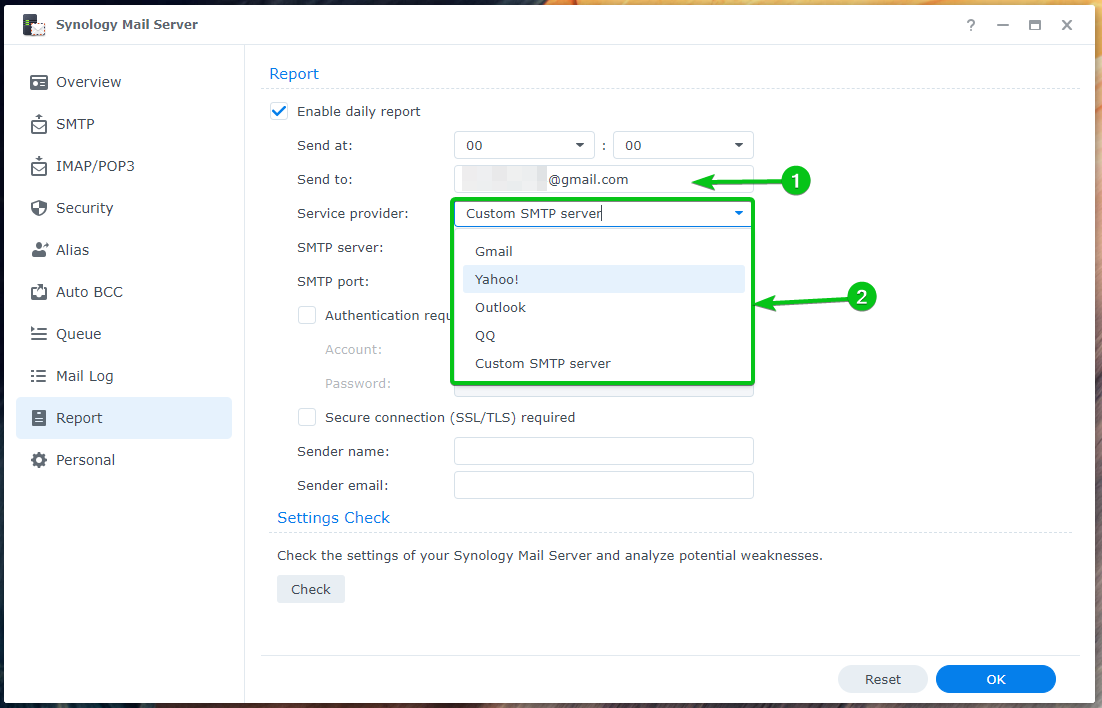
You can also use the SMTP server of Gmail, Yahoo!, Outlook, or QQ to receive the daily reports of the Synology Mail Server.
Type in your email address in the Send to section¹ and select your Service provider from the dropdown menu².
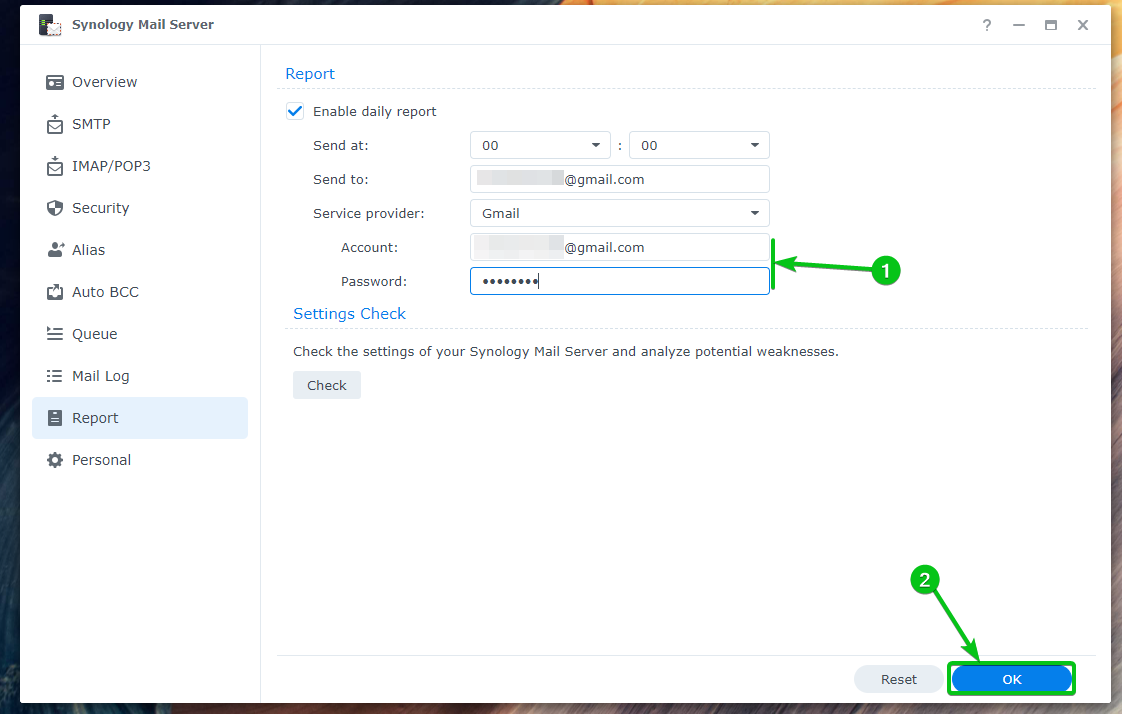
Then, type in your login information¹ and click OK².
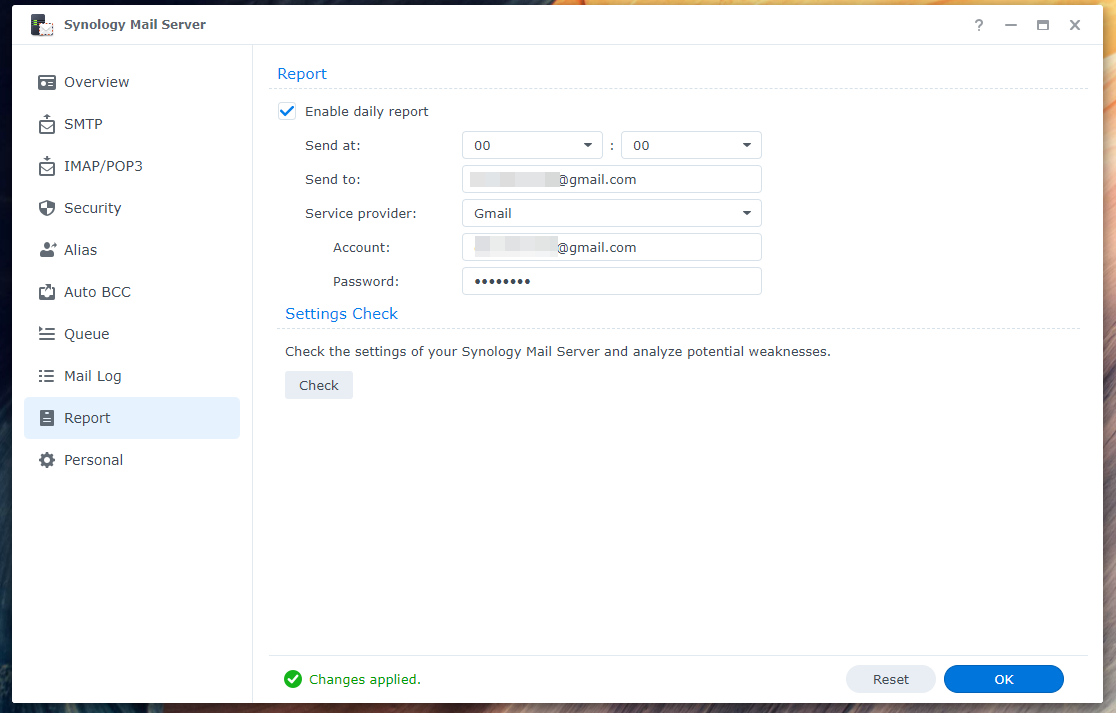
Daily reports should be enabled.
Configuring Auto Forwarding and Auto Reply:
You can configure auto-forwarding and auto-reply for the emails sent to your personal (the user you’re logged in to the Synology NAS as) email address. Every Synology user can configure it as they wish from the Synology Mail Server app.
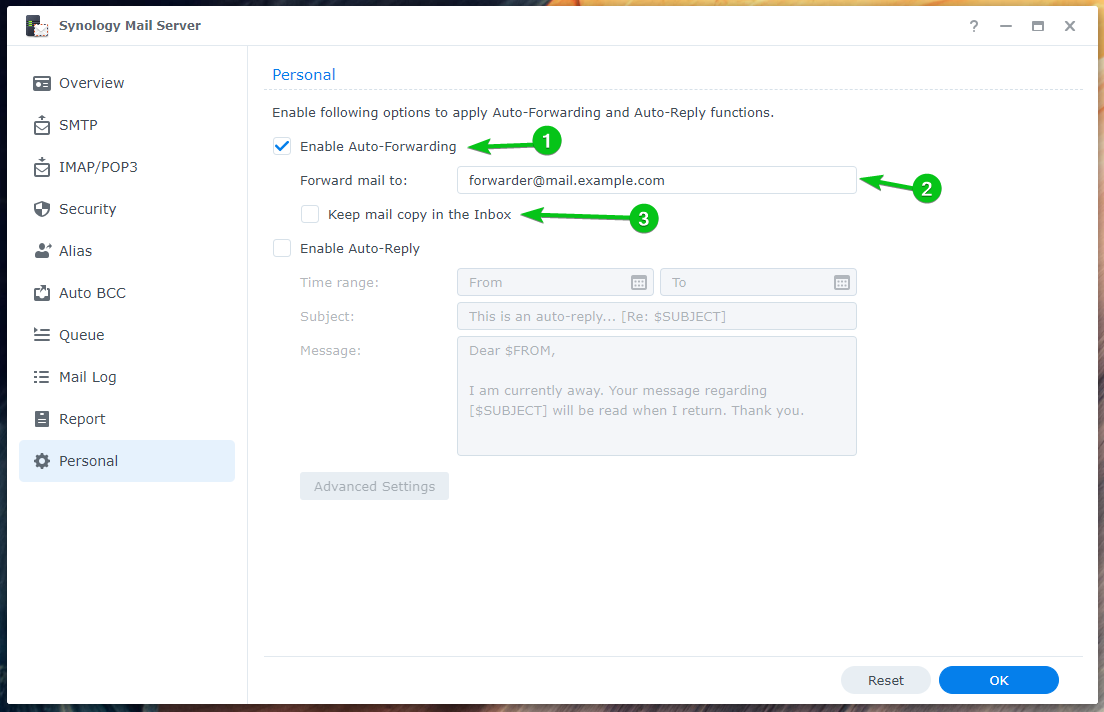
To configure auto-forwarding, check Enable Auto-Forwarding from the Personal section of the Synology Mail Server app¹. Type in an email address where you want to forward the emails sent to your email address².
If you want to keep a copy of the email in your Inbox, check the Keep mail copy in the Inbox checkbox³.
Once you’re done, click OK for the changes to take effect.
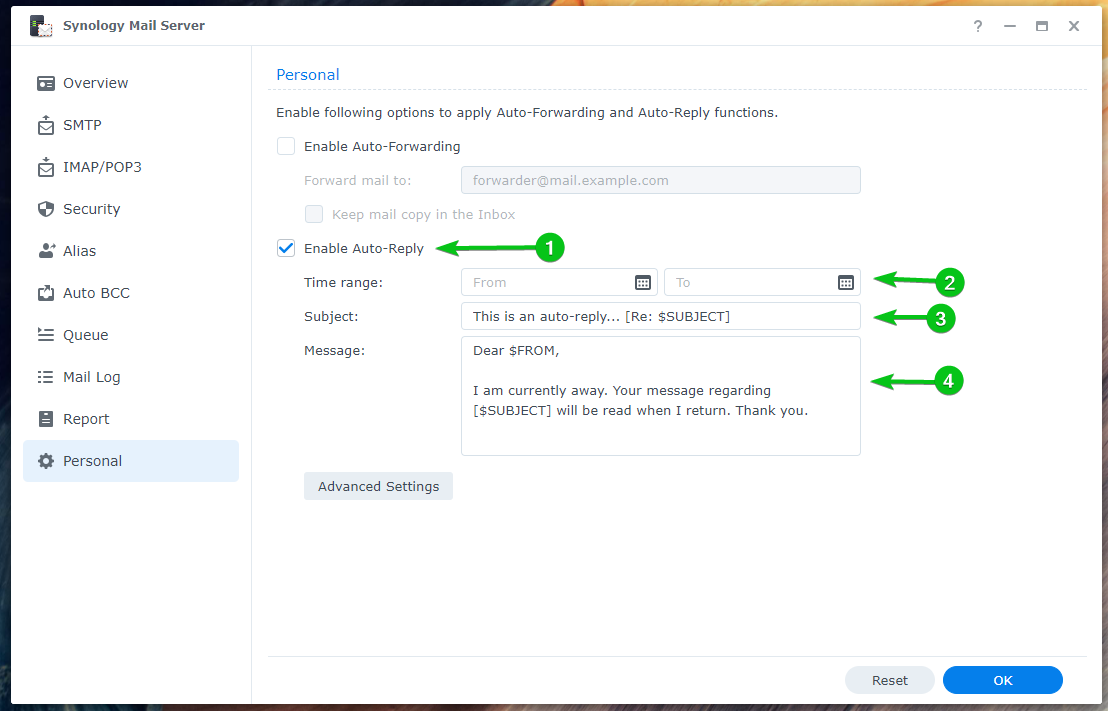
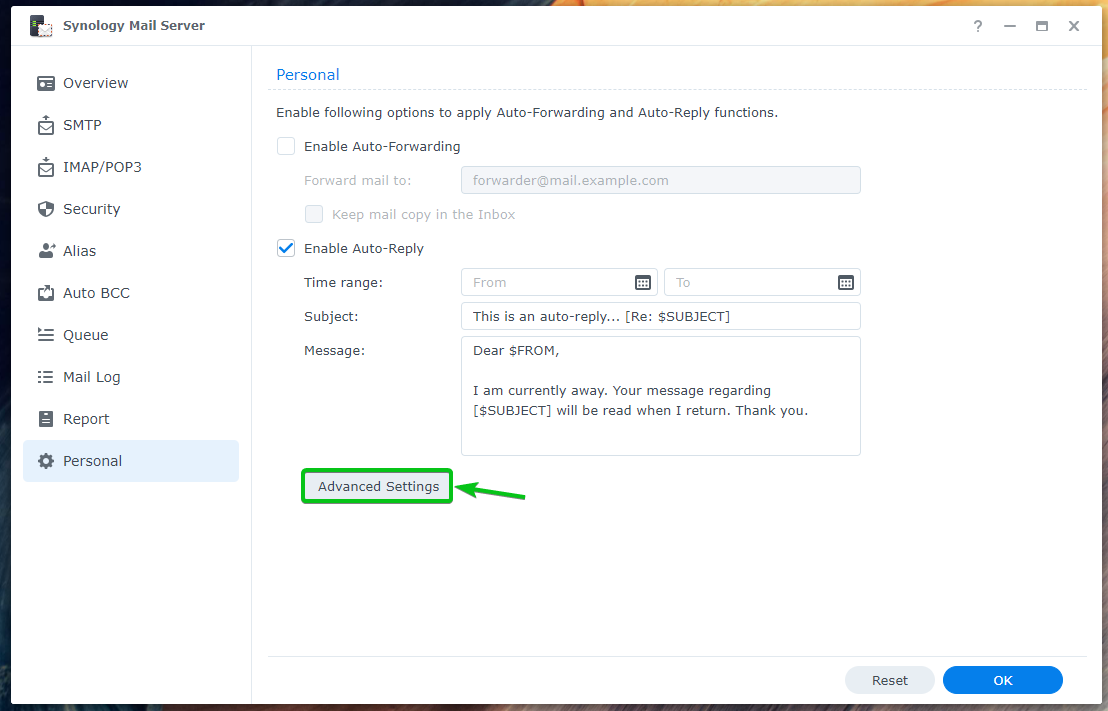
To configure auto-reply, check the Enable Auto-Reply checkbox¹.
Select a Time range when you want to auto-reply emails sent to you², type in an email Subject³, and type in your email Message⁴.
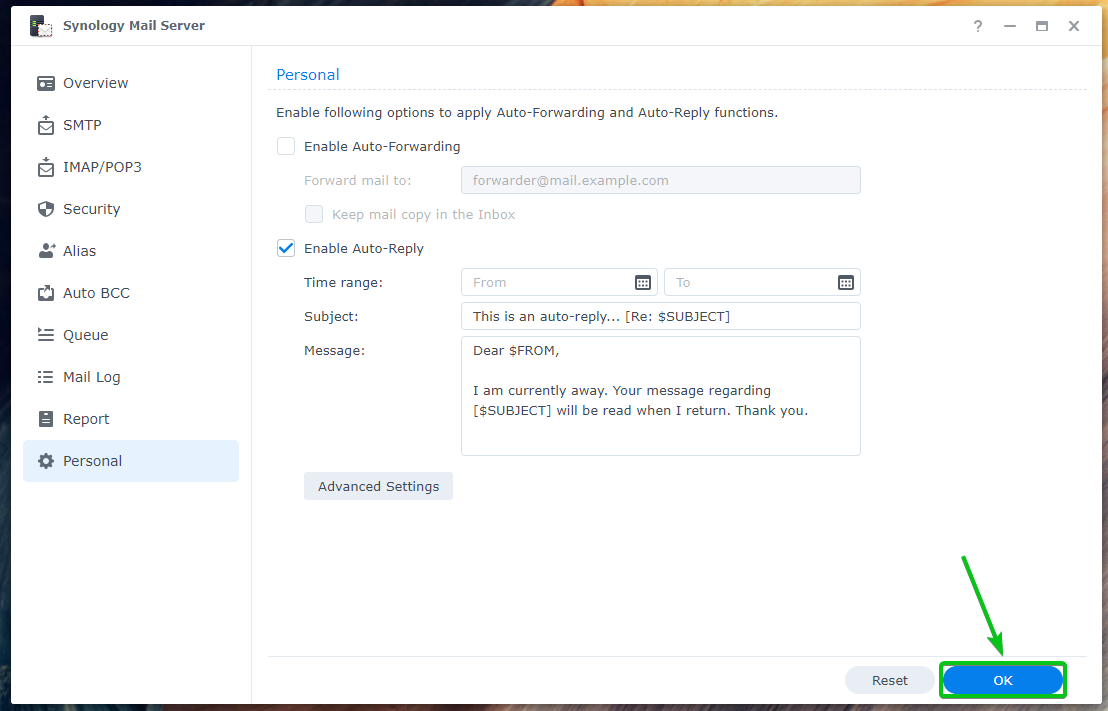
Once you’re done, click OK.
The changes should be applied, as shown below:
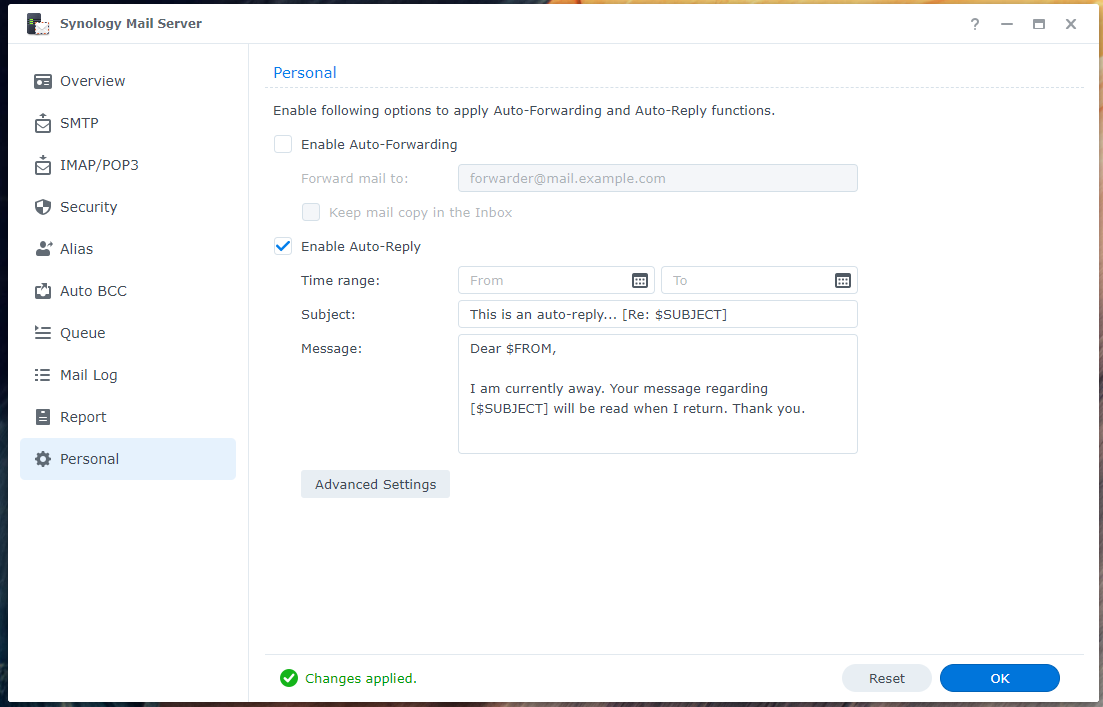
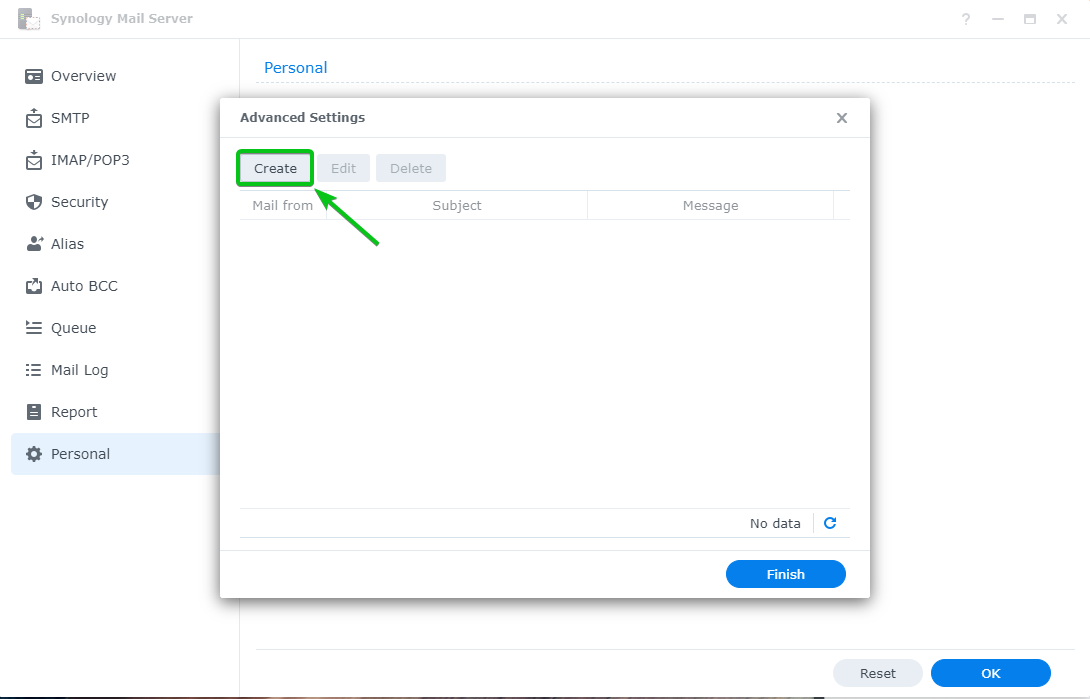
If you want to set up custom auto-reply based on the sender’s email address, click Advanced Settings.
Click Create.
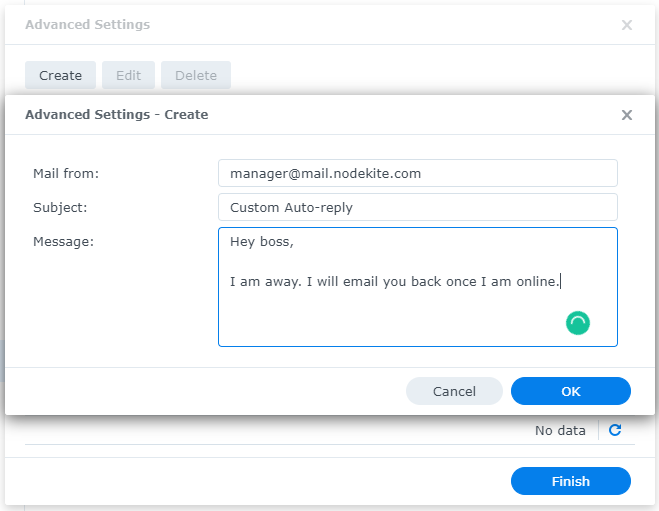
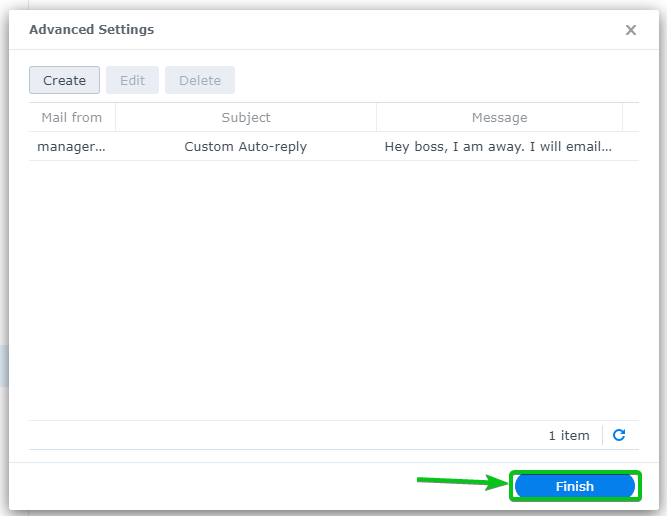
Type in the sender’s address in the Mail from section, type in the Subject and Message of the auto-reply email, and click OK.
Once you’re done, click Finish.
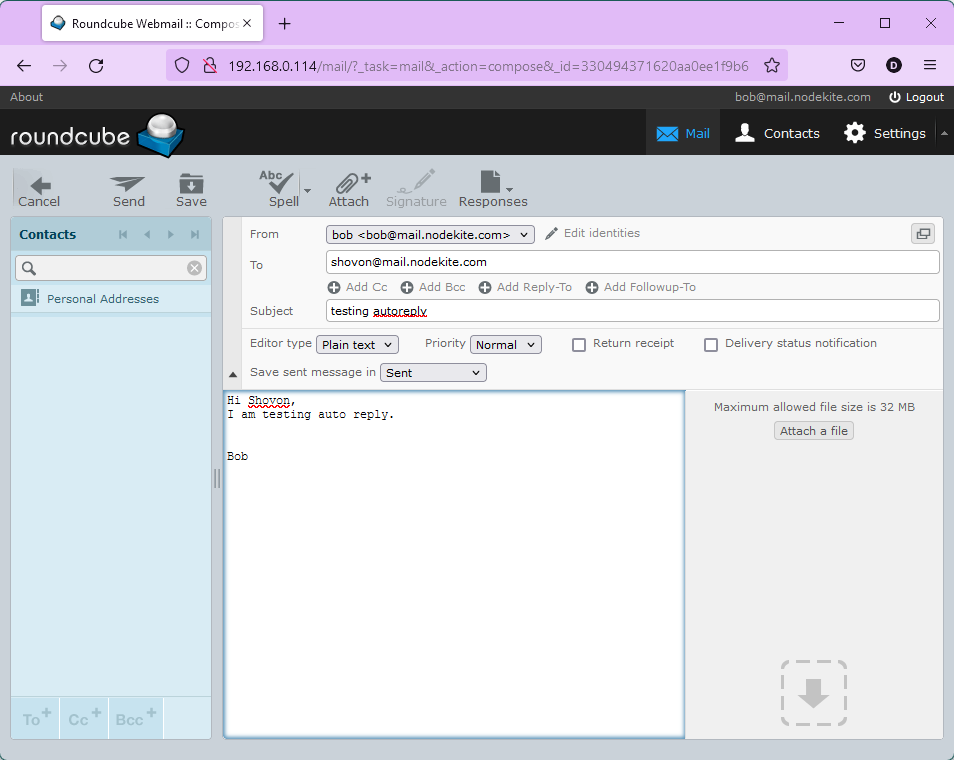
I have set up auto-replies for the user [email protected]. So, if anyone sends an email to [email protected], they will get an auto-reply.
Let’s say, [email protected] sends an email to [email protected].
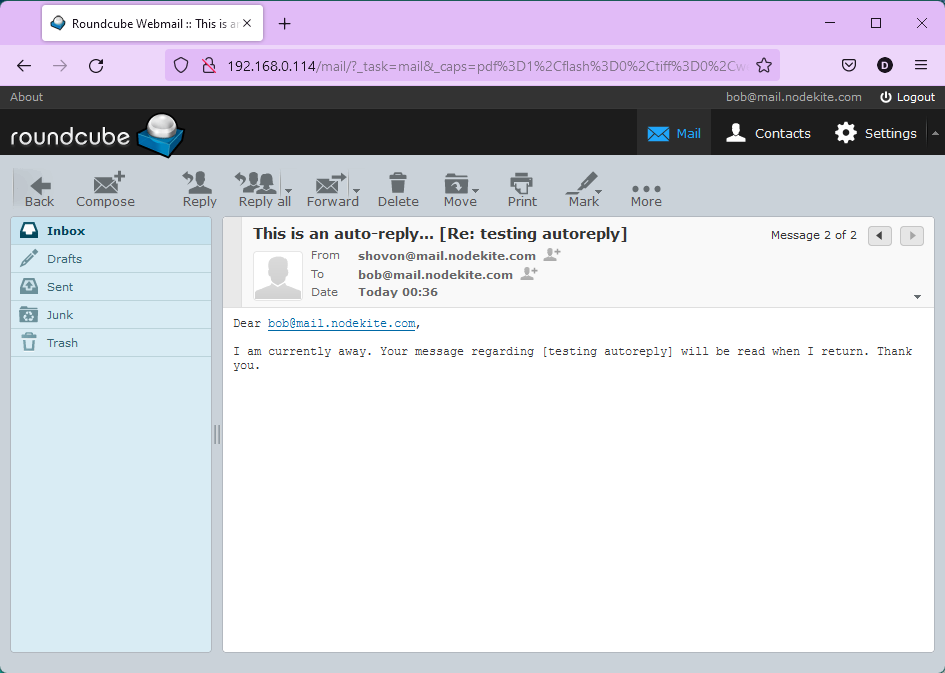
[email protected] will get an auto-reply, as you can see in the screenshot below:

The content of the auto-reply email that [email protected] received.
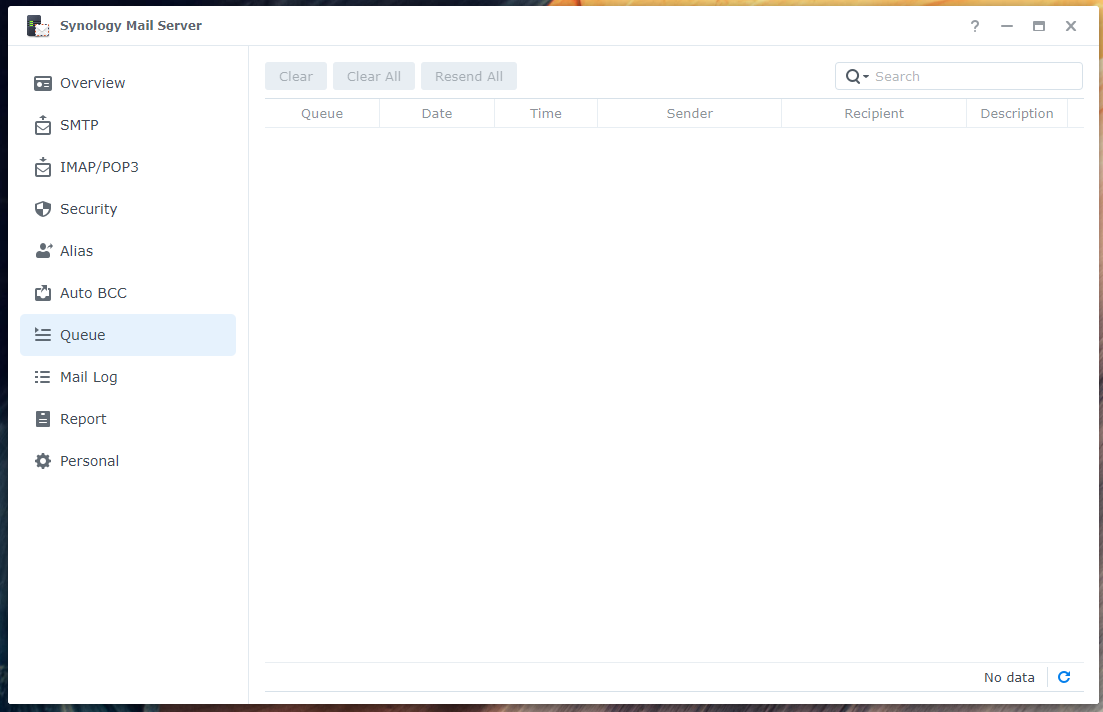
Checking Mail Queue:
You can check if you have any emails in the queue waiting to be processed from the Queue section of the Synology Mail Server.
Checking Mail Log:
In the Mail Log section of the Synology Mail Server, you will find a list of emails sent/received and information on those emails. Also, you can search for certain emails from here.

Conclusion:
This article has shown you how to install the Synology Mail Server and Mail Station on your Synology NAS and turn your Synology NAS into an email server. I have also shown you how to create new email users and use Mail Station from the web browser to send and read emails. Plus, I have discussed how to configure the Synology Mail Server. We hope you found this article helpful.
References:
[1] Synology Mail Server – Synology Knowledge Center
[2] Security | Synology Mail Server – Synology Knowledge Center