Java is a multipurpose, popular, and widely used object-oriented programming language. It is primarily used to create web and desktop applications, android applications, and build software. Java is a class-based language that plays with classes and objects.
Many tools are available to run Java programs for development purposes such as net beans, eclipse, dr java, and so on. These tools are beneficial but take up a lot of space. One can simply run java programs in Windows without having these tools. This blog post demonstrates the method to run Java programs on windows.
Prerequisites
To run Java Program in Windows, you are required to install java first and set its path. If your system is not equipped with Java, use the following links:
-
- Installing Java on Windows will lead you to the installation procedure.
- After that, you need to set the Java_Home environment variable, for the corresponding purpose we have added a link to our article How to set Java home Variable.
How to Run a Java Program in Windows?
As discussed earlier, the Java program can be run using various tools. Here, we will illustrate a method to run Java programs without installing another tool. To do so, follow the below-mentioned steps:
Step 1: Create a Simple Text File
Firstly, open the directory location where you want to create a Java program. We will prefer the “Documents” directory to create a java program. Do right-click on the screen, as a result, the Context menu will display. Move the cursor on “New” and then choose “Text Document” from the displayed options to create a new simple text file:

Step 2: Write Java Program
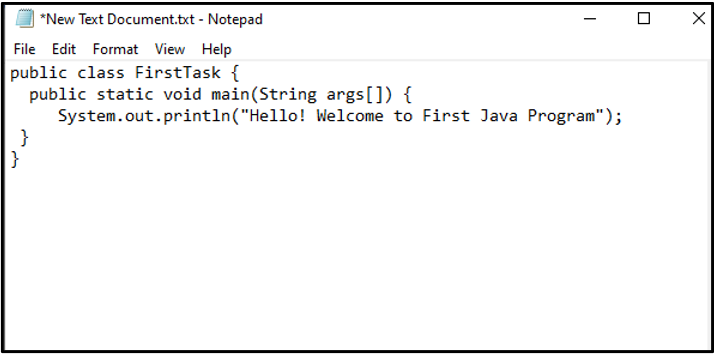
Paste the below-provided code to create a basic level Java program:
public static void main(String args[]) {
System.out.println("Hello! Welcome to First Java Program");
}
}
In the code, the “FirstTask” refers to the class that has the main method. Inside that method, the “println” is utilized to print a string.
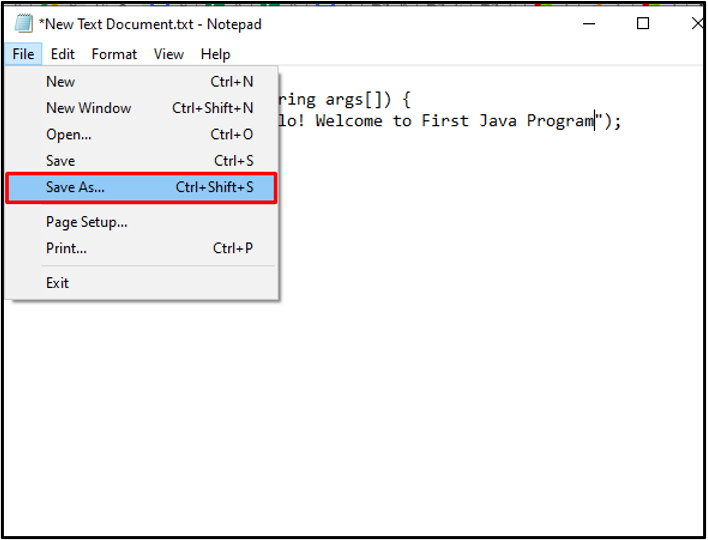
Step 3: Save File as Java Source
Go to the “Files” menu and choose the “Save As” option to save Java Program:
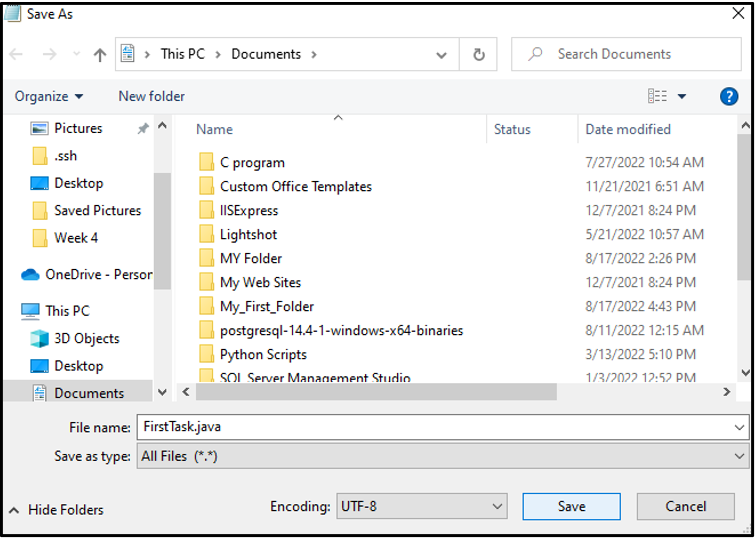
Choose the name for the file as in our case it is “FirstTask” and save the file with “.java” extension:
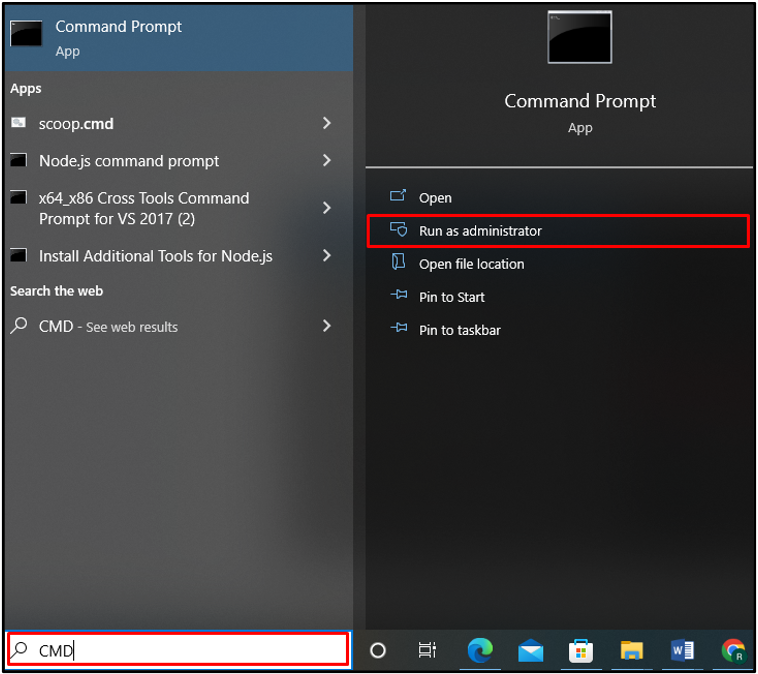
Step 4: Open Windows Command Prompt
In the next step, open the Windows Command Prompt as administrator by searching “CMD” in the “Startup” menu:
Step 5: Run Java Program
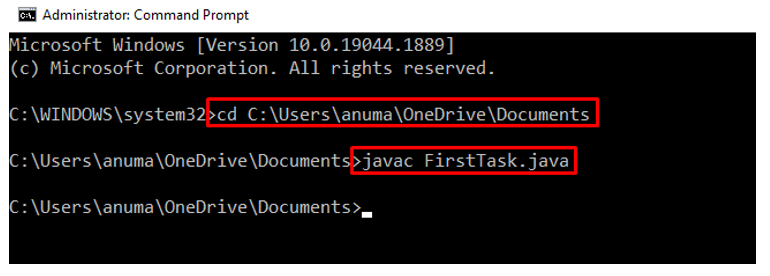
Open the directory where the Java program file exists, then, utilize the “javac” command to compile the java program. This action will generate the bytecode file with the same name as of your file:
> javac FirstTask.java
After that, run FirstTask byte coded file to run java program on Windows command prompt using provided command:
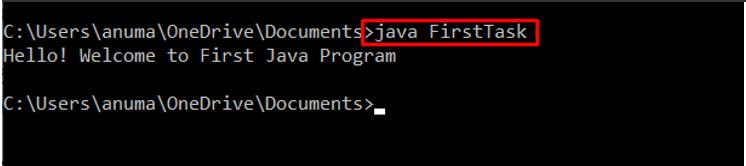
The output shows that the string is printed on the command prompt’s window.
Here, you have learned the method to execute a Java program on Windows.
Conclusion
Java is a widely used and well-liked programming language. To run a Java program in the Command Prompt, first compile the program using the “javac” command that creates a bytecode file, then executes the Java program compiled file using the “java” command. In this blog, we have demonstrated the method to run a Java program on Windows without using any tools like NetBeans, Eclipse, etc.