Sometimes the user must restart the node if it is not working properly, or continuously showing error or unknown state, implementing new modifications, or many more. Unfortunately, the Kubernetes command line (kubectl) tool does not provide a single command to directly restart the node. However, many other indirect methods exist to restart Kubernetes worker nodes.
This blog will explain:
- Method 1: Restart Kubernetes Node By Rescheduling the Node
- Method 2: Restart Kubernetes Node by Recreating the Node
- Method 3: Restart Kubernetes Node by Restarting Docker Containers
- Conclusion
Method 1: Restart Kubernetes Node By Rescheduling the Node
Users can restart the node by draining and rescheduling the node. In this process, the “kubectl drain” command will be used to drain the worker node. This will first unscheduled the node, then evict the running pods and schedule the essential pods on another node.
This will drain the node completely and no new pod can be scheduled on the cordon (unschedulable) node. To reschedule and restart the node, users are required to uncordon (schedule) the node. For demonstration, go through the following instructions.
Step 1: Launch Docker
Minikube itself only allows us to execute a single-node cluster. To run the multi-node Kubernetes cluster, users are required to run on Docker or any other container runtime. For instance, we will use Docker Desktop. To install Docker on the system, navigate to our linked guide.
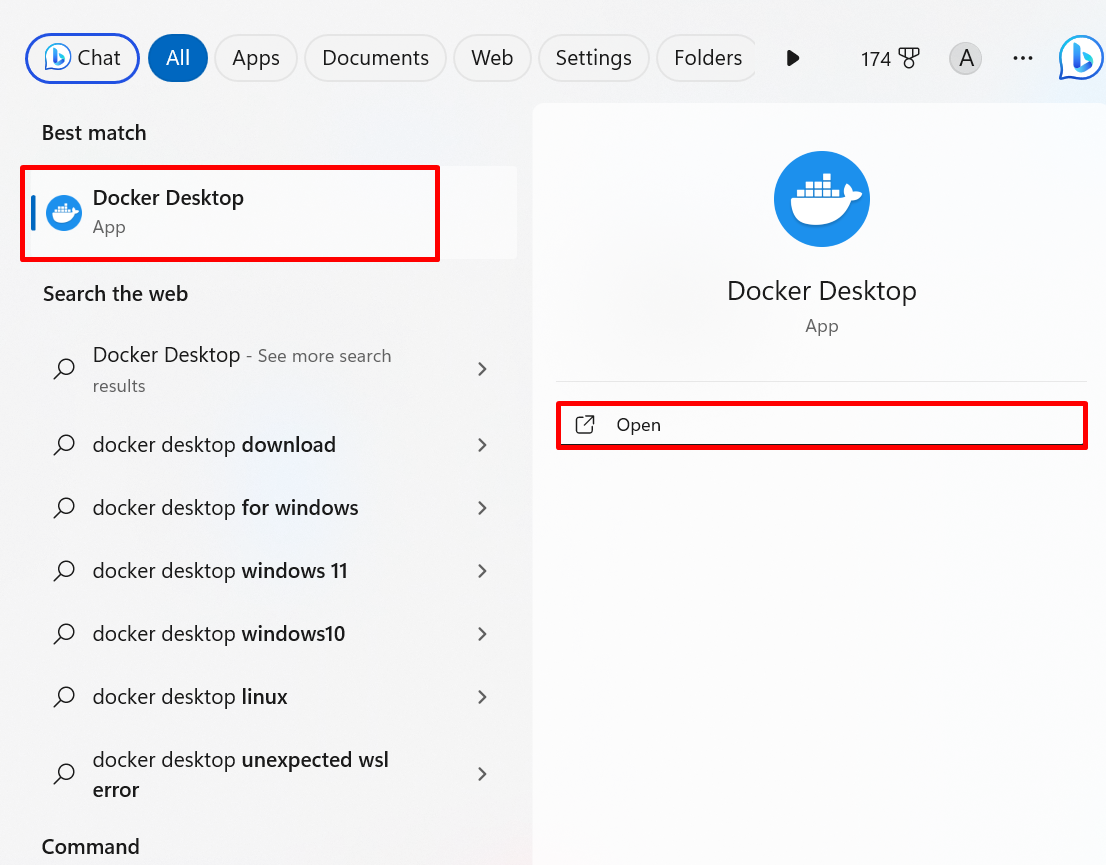
To start Docker, launch the Docker Desktop app via the “Startup” menu:
Step 2: Start Kubernetes Cluster
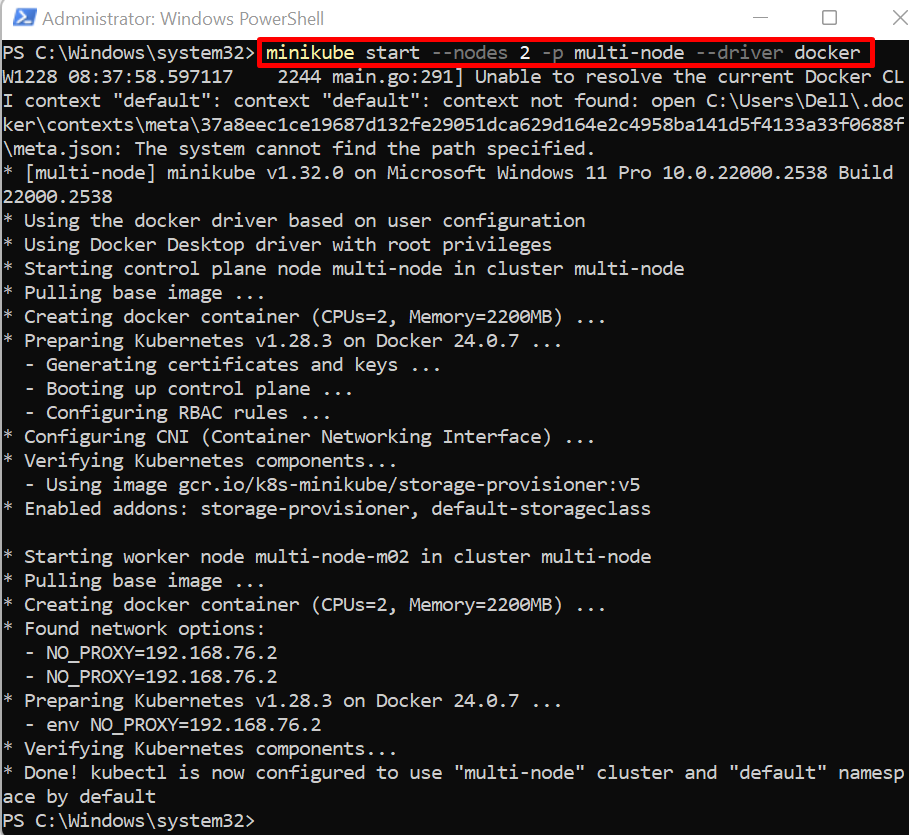
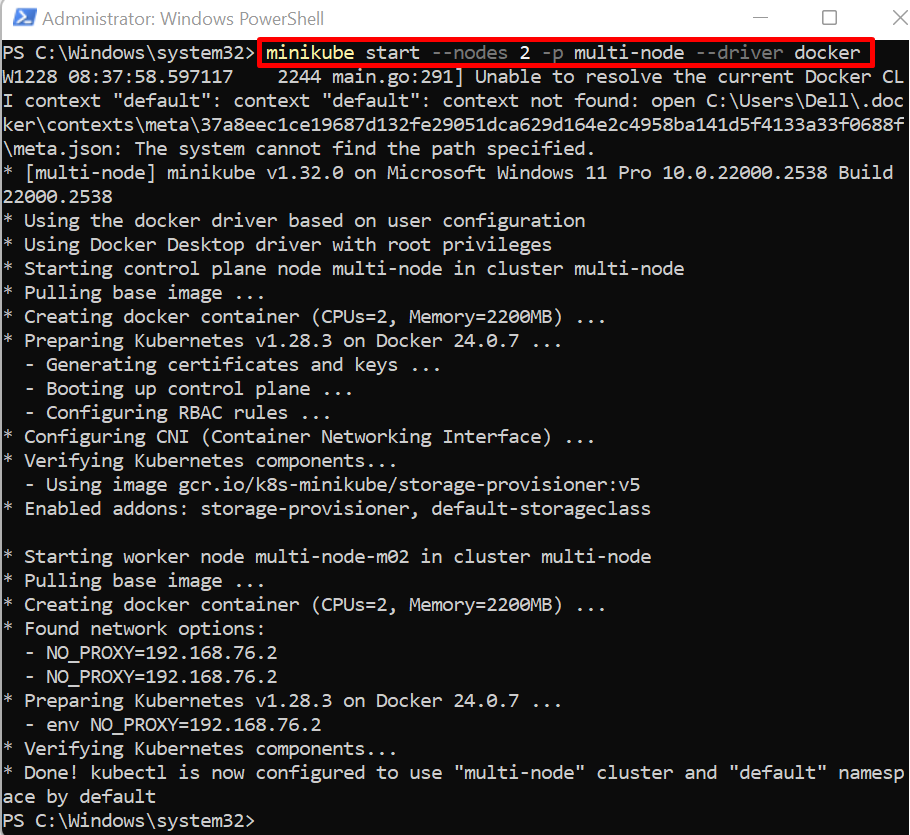
Start the multi-node minikube cluster using the given command. Here, the “–driver” option is used to specify the driver name where the cluster will be executed. The Docker runs each kubernetes node in a separate Docker container:
Step 2: Get Nodes
For confirmation, get the nodes using the “kubectl get nodes” command:
The output shows that two nodes are executing one is control plane (master) and the other is the worker node:
Step 3: Run Pod
This step is optional to illustrate how nodes are drained and pods are evicted. To create and deploy the pod, run the below command:
Step 4: Get Pods in Wide Format
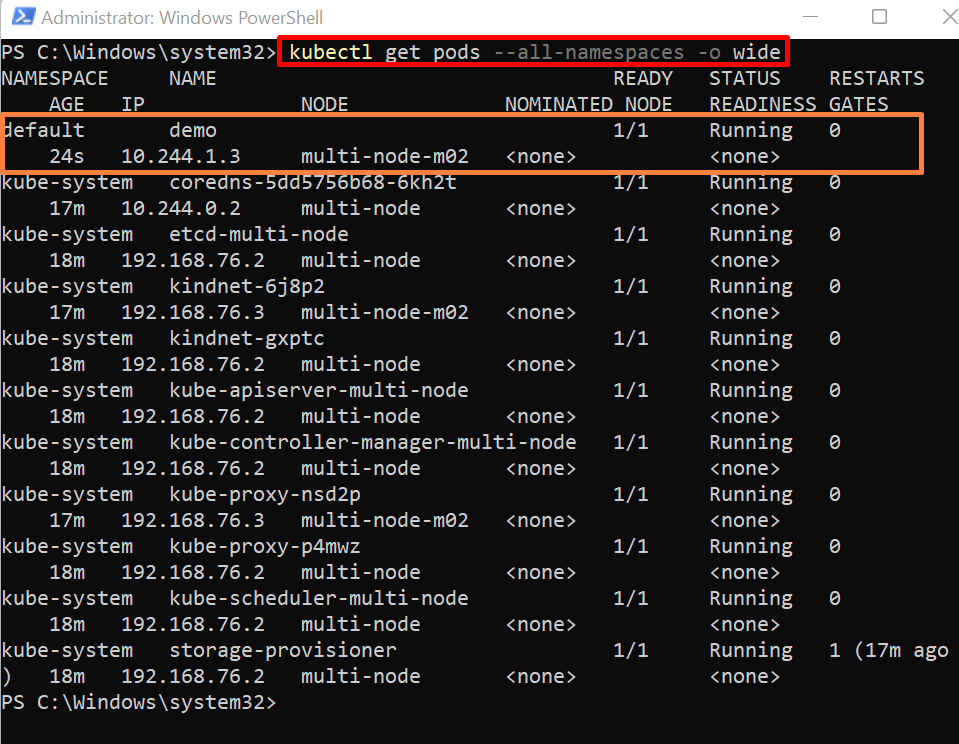
Now, view the cluster pods in a wide format using the below command:
From the below output, you can see the “demo” pod is scheduled in the “multi-node-m02” node:
Step 5: Unscheduled the Node
To restart the node, first, make the node unschedulable using the “kubectl cordon <node-name>” command:
Step 6: Drain the Node
Next, drain the node through the “kubectl drain <node-name> –ignore-daemonsets” command. Here, the “–delete-emptydir-data” is used to remove the node data:
The below output shows that our “demo” pod does not contain any controller. So, this pod is deleted and evicted and the node is successfully drained:
To check if the node is unscheduled or not, again access the nodes:
Here, you can see “multi-node-m02” is showing “SchedulingDisabled” status. Now, no new pod can be scheduled on this node:
Step 7: Restart and Reschedule the Node
To restart and reschedule the node, uncordon the node using the “kubectl uncordon <node-name>” command:
Method 2: Restart Kubernetes Node by Recreating the Node
Sometimes draining of a node does not work and the node is stopped or goes for an unknown status for a long time. In such a situation, the user can delete, recreate, and start the node again. To do so, check the below steps.
Step 1: Delete the Node
To delete the Kubernetes node, utilize the “kubectl delete <node-name>” command:
For confirmation, list down the nodes:
The output shows that node is deleted successfully:
Step 2 Recreate and Restart the Node
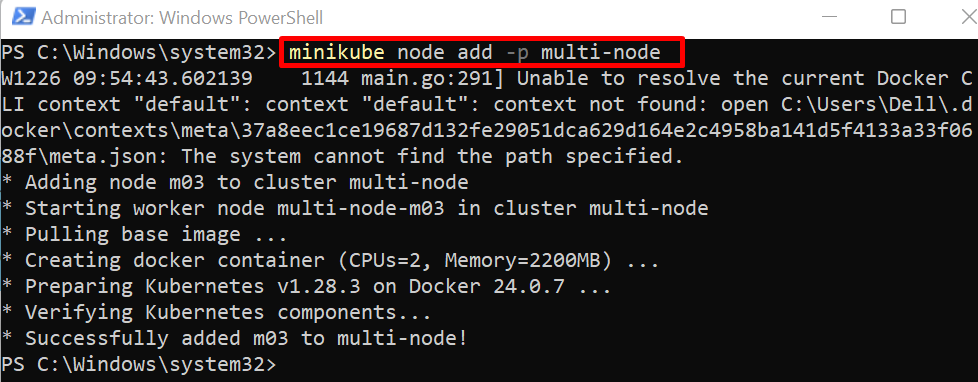
Now, create the new node. In the minikube cluster, the “minikube node add -p <cluster-name>” command is used as shown below:
Step 3: Verification
For verification, again list down the node:
The below results indicate that we have effectively recreated and started the new node:
Note: Creating the nodes in the Kubernetes cluster is either done through yaml manifest or dependent on a tool that is running the cluster. The Kubernetes cluster can be executed for local development through different tools such as Kind, minikube, k3d, and so on. Every tool has a different way to add and create new nodes.
To get insight into how to create the nodes in the Kubernetes cluster, follow our associated article.
Method 3: Restart Kubernetes Node by Restarting Docker Containers
When the Kubernetes cluster is running on Docker, each node is executing in a separate container. To restart the Kubernetes node, the user can restart the Docker container. For illustration, go through the below steps:
Step 1: Run Multi-node Cluster on Docker
First, start the multi-node Kubernetes cluster on Docker as done in the first method of this article:
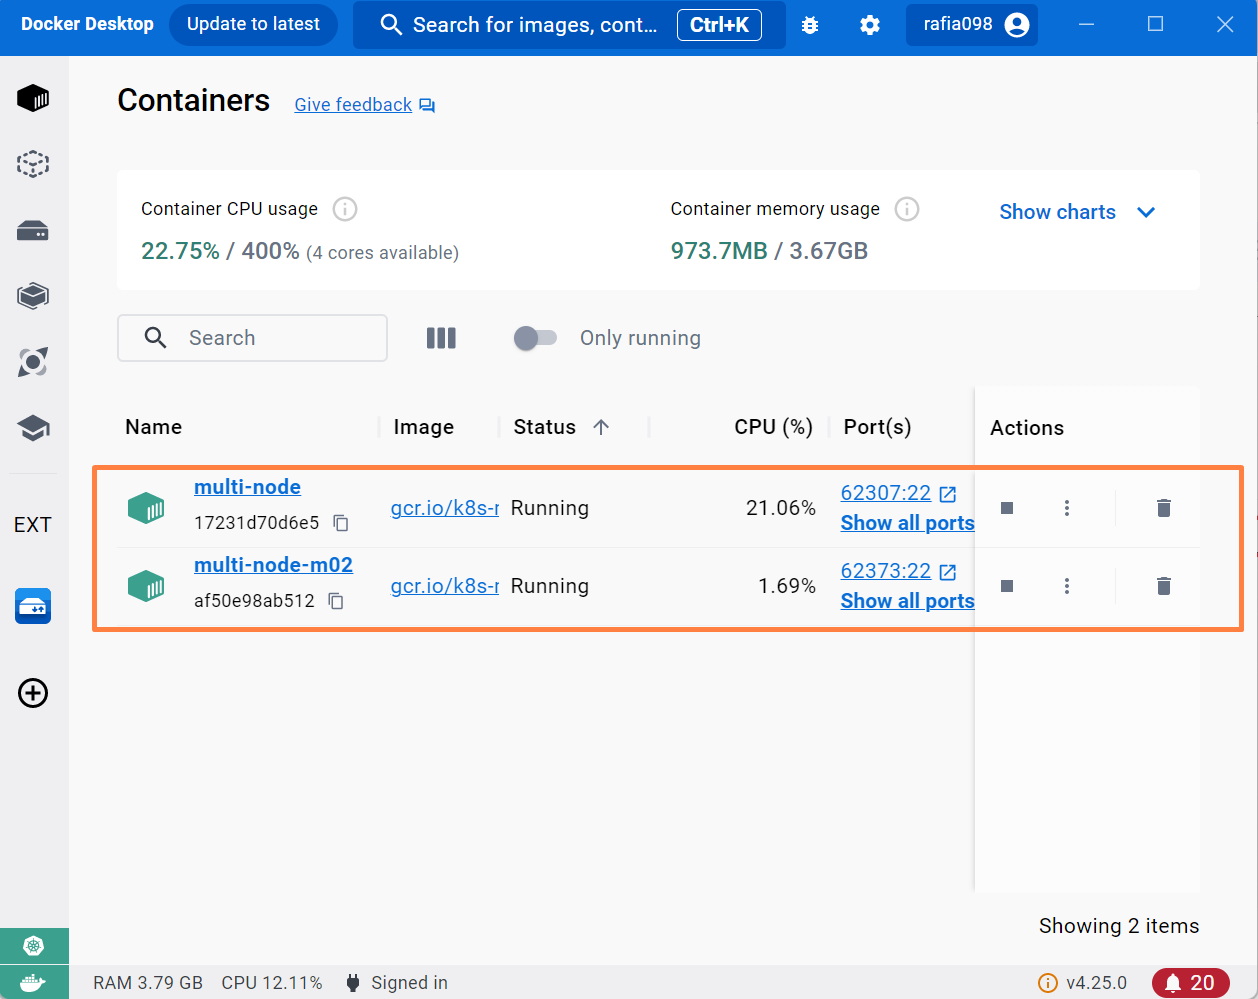
Now, open the Docker Desktop user interface. Here, you can see two nodes of the Kubernetes cluster are executing in separate docker containers:
Step 2: Access Docker Containers
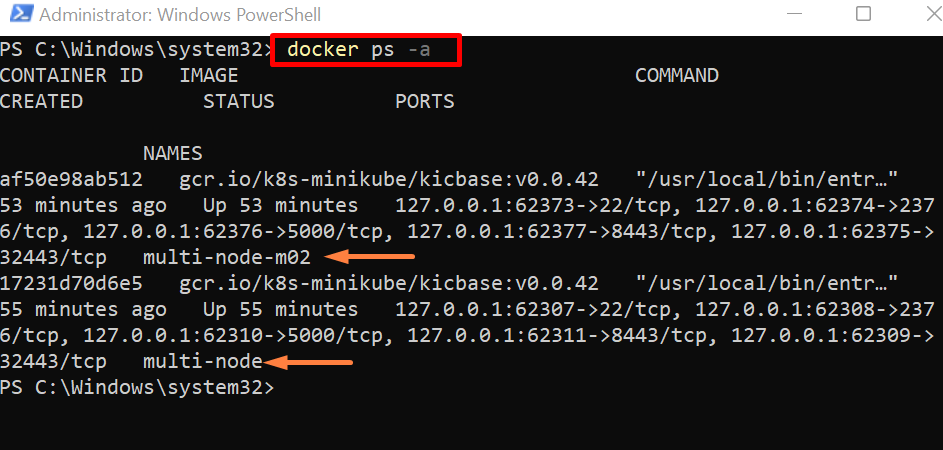
To list down all Docker containers from the terminal, use the “docker ps -a” command:
Note the name of the container to restart the node:
Step 3: Restart Node
To restart the Kubernetes node, restart the Docker container in which the node is executing. For demonstration, we have restarted the “multi-node-m02” container to restart the “multi-node-m02” node. Both the container name and node name are always the same:
Step 4: Restart All Nodes
In order to restart all nodes, restart all Docker containers using the below command. Here, the “-q” option is used to access and restart the container through container id:
Restarting Docker containers will restart the Kubernetes nodes:
That is all about restarting the Kubernetes nodes.
Conclusion
Kubernetes does not provide any straightforward way to restart the Kubernetes node. To restart the node, the user can either drain the node and reschedule it again, completely delete the node and restart it, or restart the docker containers in which the node is executing. This blog has illustrated how to restart the nodes in Kubernetes.

