This article will illustrate:
- How to Create a Kubernetes Secret?
- How to Get Decoded Secret in Kubernetes?
- How to Get Decoded Secret Using View-Secret Package?
- Conclusion
How to Create a Kubernetes Secret?
Different types of secrets exist in Kubernetes the generic secret is utilized to store generic information like user credentials and tokens, the TLS secret is used to store tls certificate and key, and the docker registry secret stores the Docker login credentials.
For demonstration, we will create a generic secret to store username and password in the below instructions.
Step 1: Start Cluster
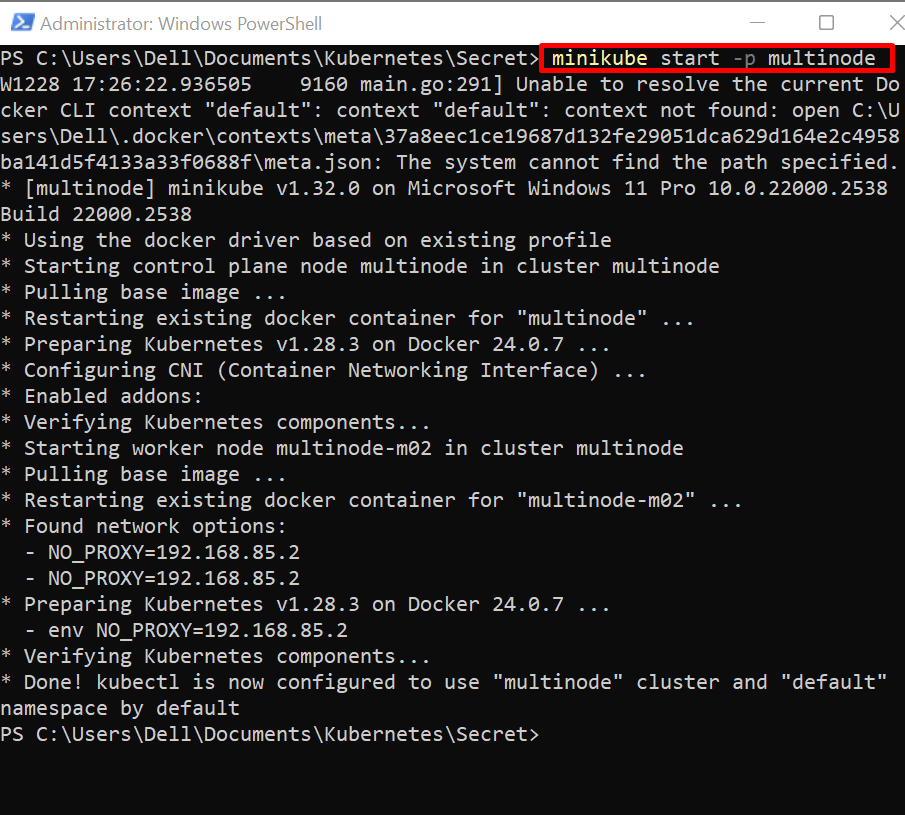
First, start the Kubernetes cluster. To do so, simply use the “minikube start” command:
In the above command, we are starting our multinode minikube cluster:
Step 2: Create Credential File
Next, create two text files named “username.txt” and “password.txt” to save the username and password respectively.
Step 3: Create Secret
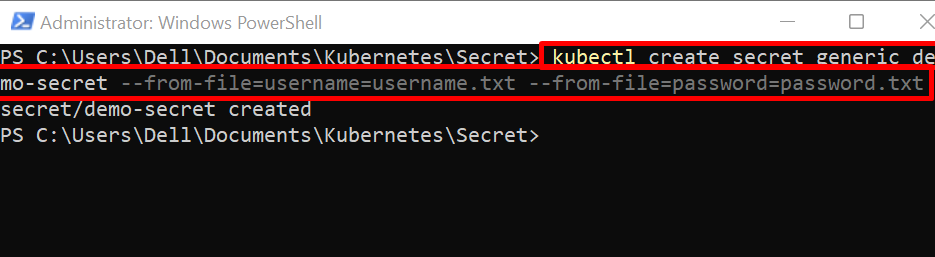
Next, navigate to the directory where you have created credential files:

Create a new secret using the “kubectl create secret <secret-type> <secret-name>” command. Here, the “–from-file” option is used to save the secret data from the file:
Step 4: Get Secret
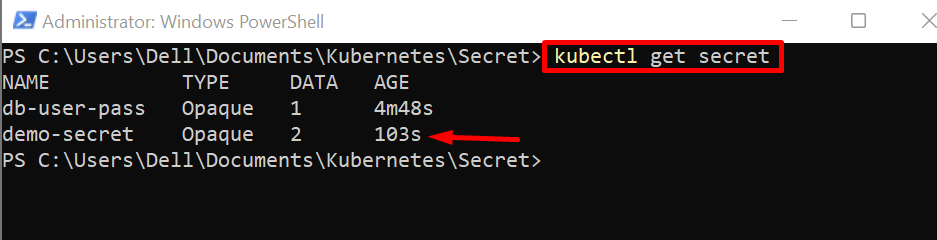
For verification, list down the secret using the below command
The output indicates that a new secret is created successfully:
How to Get Decoded Secret in Kubernetes?
Sometimes users may be required to view the secret information for different reasons such as for debugging purposes, viewing credential information for confirmation, and many more. To get the decoded secret in Kubernetes, follow the demonstration below.
Step 1: Describe Secret
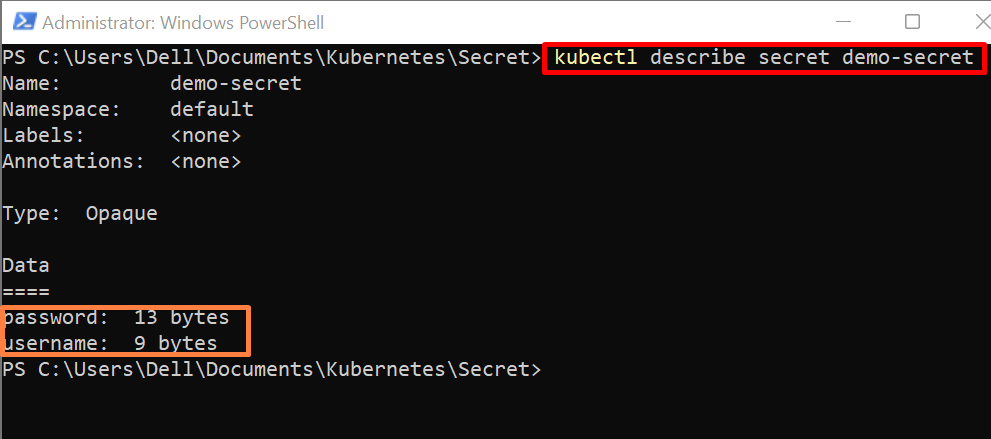
The “kubectl describe” displays the detailed summary of the kubernetes resource. To view the secret details, utilize the “kubectl describe secret <secret-name>” command:
Here, the above command shows secret data size only in bytes but does not expose the secret information as shown below:
Step 2: Get Secret Data in Json Format
To get the secret data in json format, use the below command:
The below result shows the secret data encoded in base64:

To view the secret, the user needs to decode the secret. To decode the secret from base64 to real form, the user needs to have a bash terminal to run the bash command. To install the bash terminal, follow the “Add Git Bash to Windows Terminal” article.
Step 3: Decode the Secret
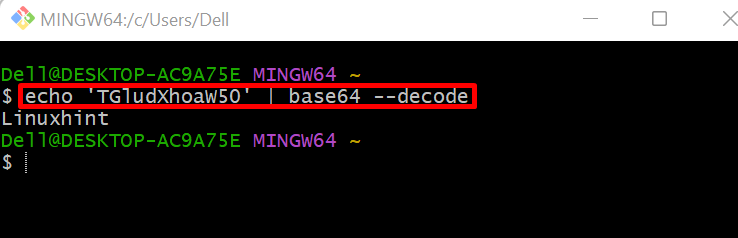
To decode the secret, first launch the “git bash” terminal. After that, run the “echo <base64 encoded username> | base64 –decode” command. This command can be directly executed on Linux and Mac terminals:
Here, we have decoded the username:
To decode the password, use the “echo <base64 encoded password> | base64 –decode” command:

How to Get Decoded Secret Using View-Secret Package?
The Kubernetes users can decode the secret using different packages and the “view-secret” package is one of them that can be installed and easily used through one of the Kubernetes-supported plugins “Krew”. To install and use the “view-secret” package, follow the below demonstration:
Prerequisite: Install the Krew Plugin
The Krew plugin is one of the Kubernetes plugins that can be used to install different packages to provide extra functionalities to Kubernetes resources. To install the krew on the system, go through the below steps.
Step 1: Download “krew.exe” File
First, navigate to the krew releases official page and download the “krew.exe” file:

——————————————————————————————————————————-
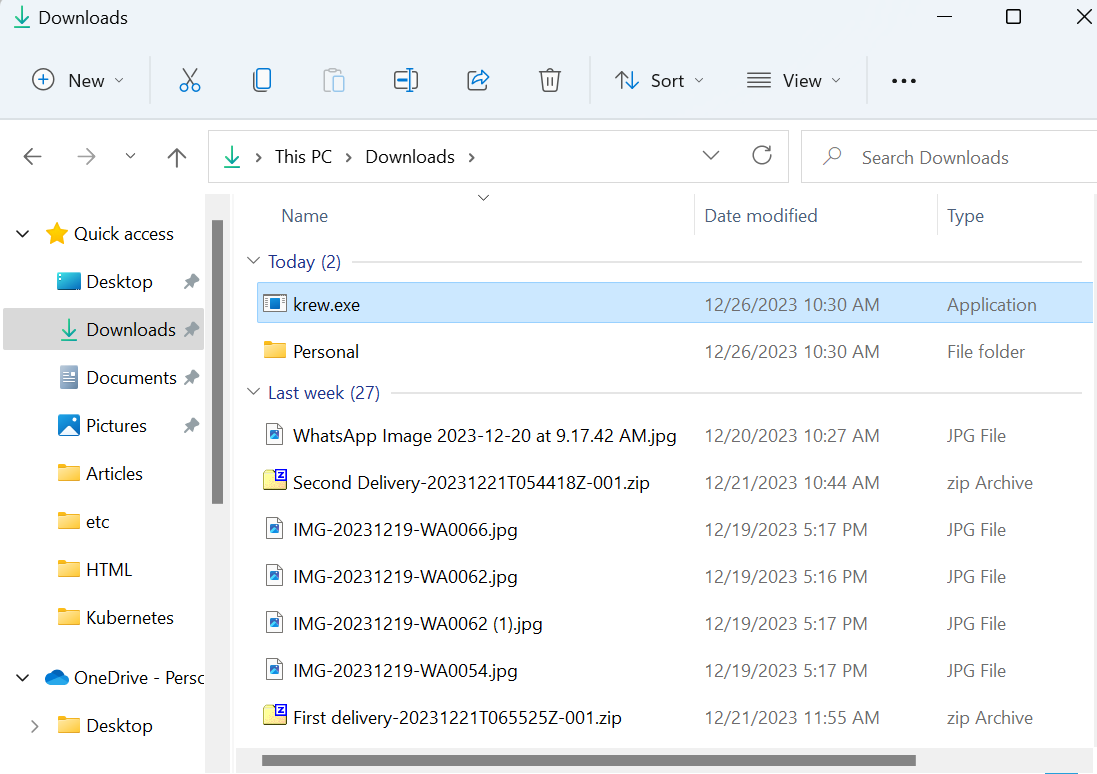
By default, krew will be downloaded in the “Downloads” folder:
Step 2: Launch the Command Prompt
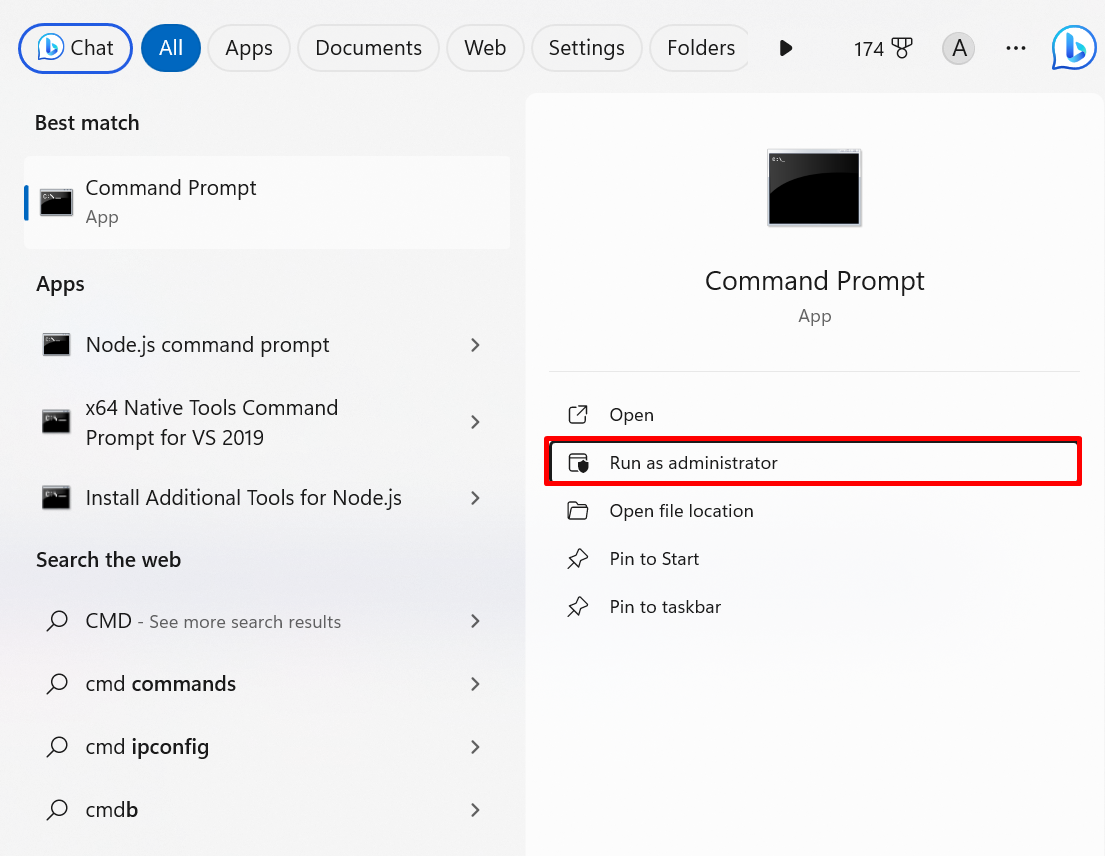
Open the Command Prompt with administrative rights via the “Startup” menu:
Step 3: Install Krew
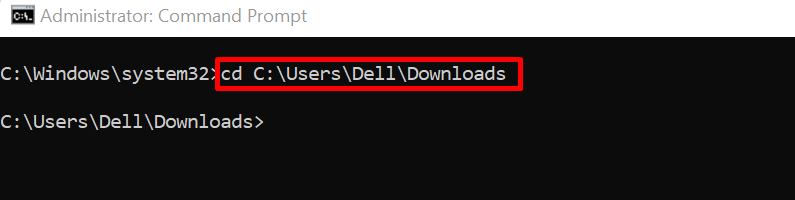
Navigate to the directory where the “krew.exe” file is downloaded:
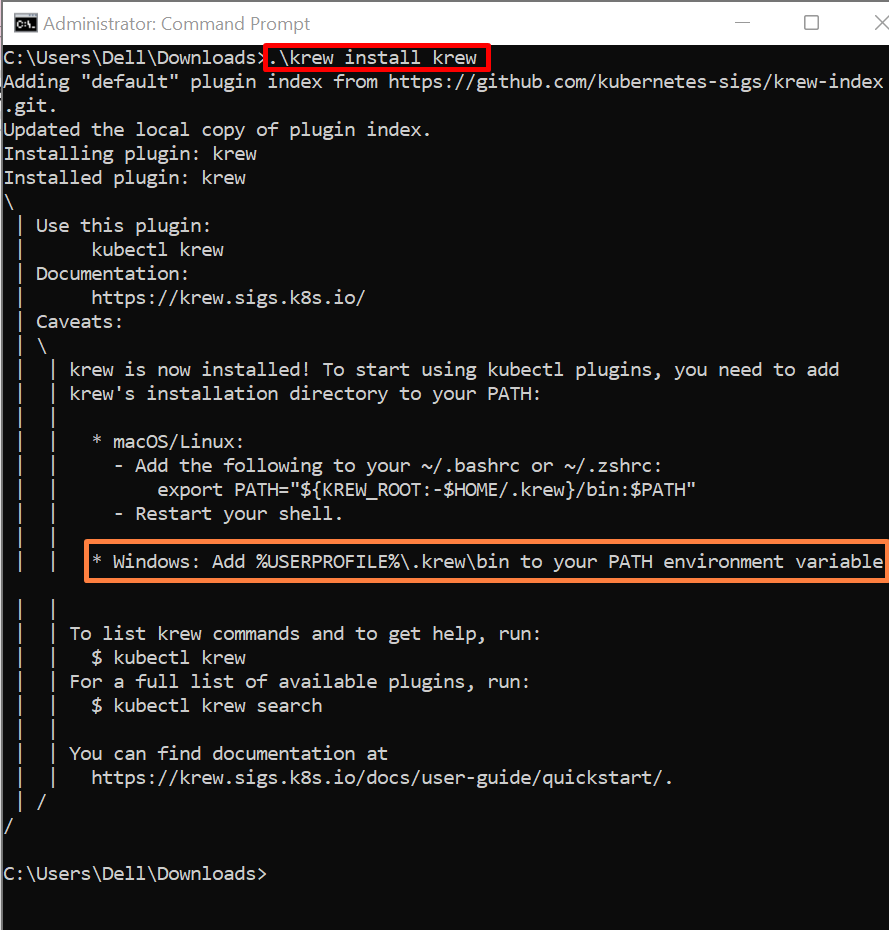
Next, use the below command to install krew on Windows:
The above command will install the krew in the user directory “C:\Users\<User-name>\.krew\bin”:
Step 4: Add Krew to Windows Path
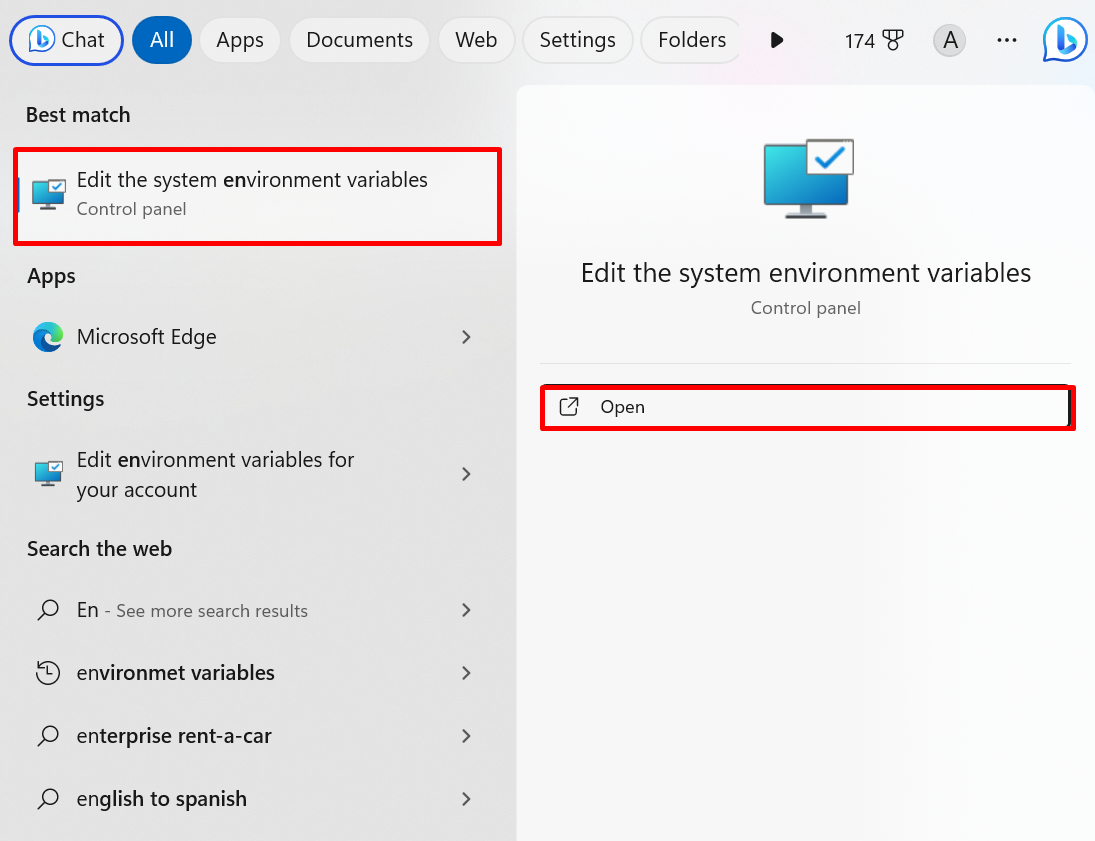
To access the Krew commands from the Windows command line, users are required to add krew in the Windows path. To do so, search for “Environment variable” in the Start menu and launch the below-highlighted settings:
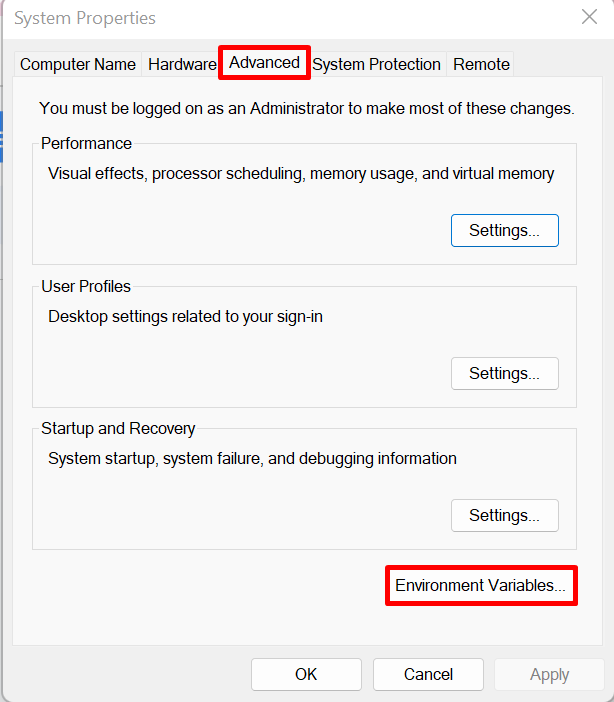
From the “Advanced” tab, open the “Environment Variables” settings:
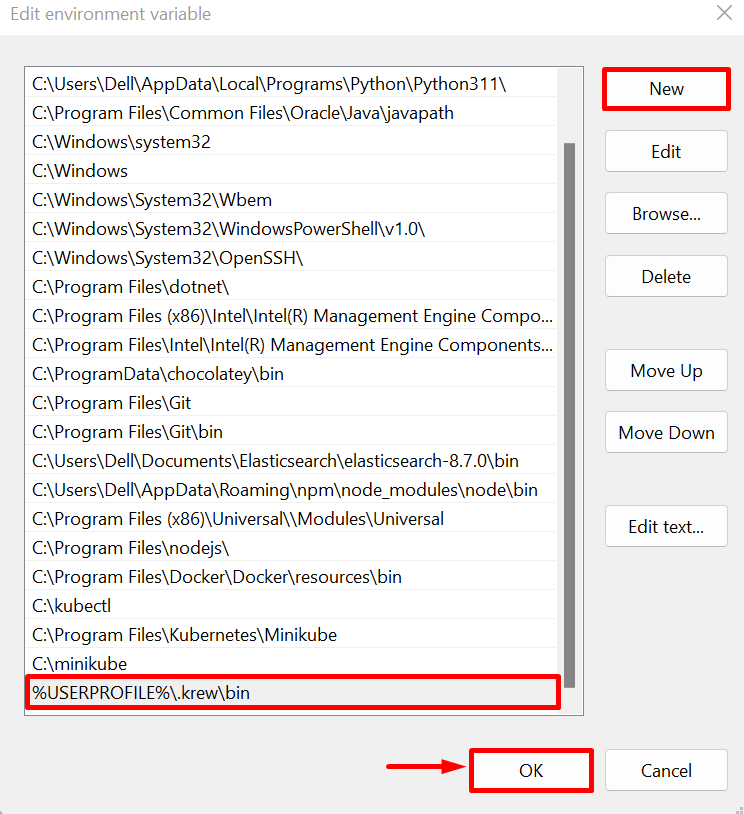
Select the “Path” variable and press the “Edit” button:
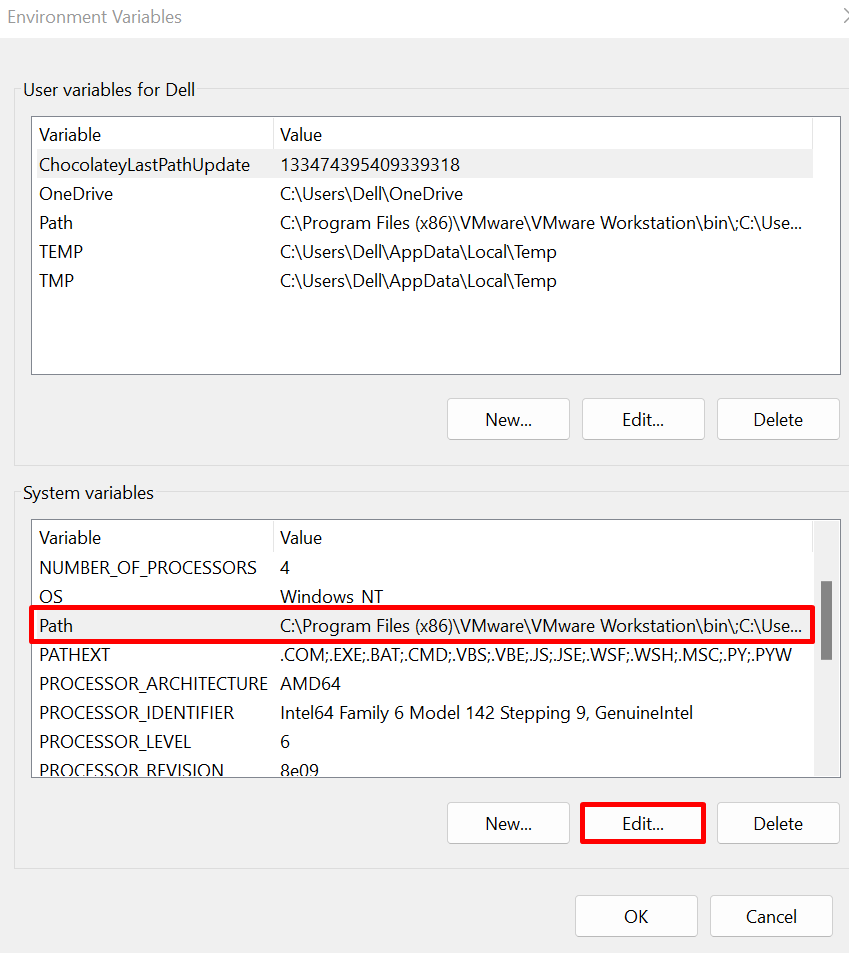
Press the “New” button to add a path, paste the “C:\Users\<User-name>\.krew\bin” path, and press the “OK” button:
Step 5: Verification
Now, close all the Windows terminals and launch the Command Prompt or PowerShell. Then, run the below command to check if krew is installed or not:
The output shows that we have successfully installed krew on the system:

Decode the Kubernetes Secret Using the View-Secret Package
To decode the secret using the view-secret package, first install the secret using krew. After that, use the “kubectl view-secret <secret-name>” command to decode the secret. For illustration, look at the below steps.
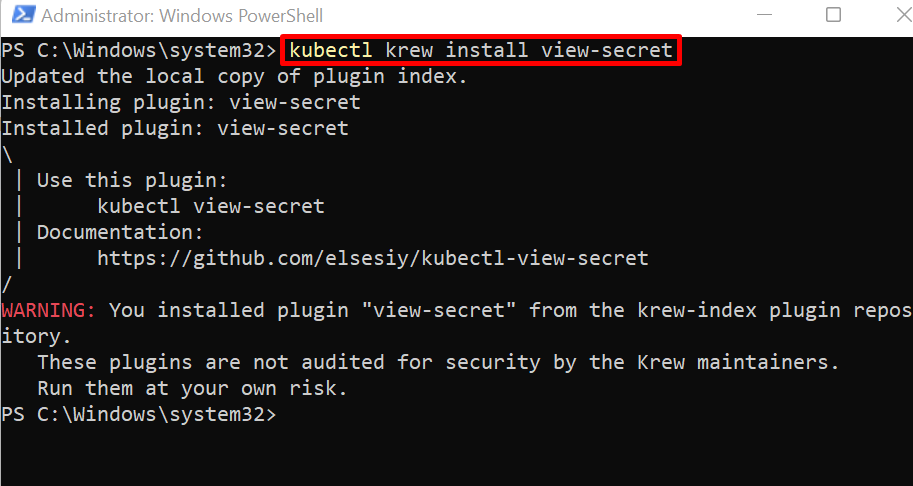
Step 1: Install View-Secret Package
To install the view-secret package, utilize the Kubectl krew plugin as shown below:
You can see we have installed the view-secret package. Ignore the below-shown warning as well:
Step 2: View Kubernetes Secret
Next, to view the Kubernetes decoded secret, utilize the “kubectl view-secret <secret-name>” command:
Here, the output shows the current secret contains two variables. To view the decoded value, the user needs to specify the variable name as well in the command:

Step 3: Decode the Secret
To decode the secret value, utilize the “kubectl view-secret <secret-name> <variable-name>” command:
Here, we have decoded the username:

By changing the variable name in the above command, we have accessed the password as shown below:

That is all about getting a decoded secret in Kubernetes.
Conclusion
To get the decoded secret in Kubernetes, first access the secret data in json format through the “kubectl get secret” command. This command will show secret data encoded in base64. To decode the data, use the “echo <base64 encoded data> | base64 –decode” command. Alternatively, the user can view the decoded secret by using the “view-secret” package. This blog has illustrated how to get decoded secrets in Kubernetes.