This guide will demonstrate the approaches for installing and removing Node.js on Windows.
Install Node.js on Windows
To install Node.js on Windows, follow the below-given steps.
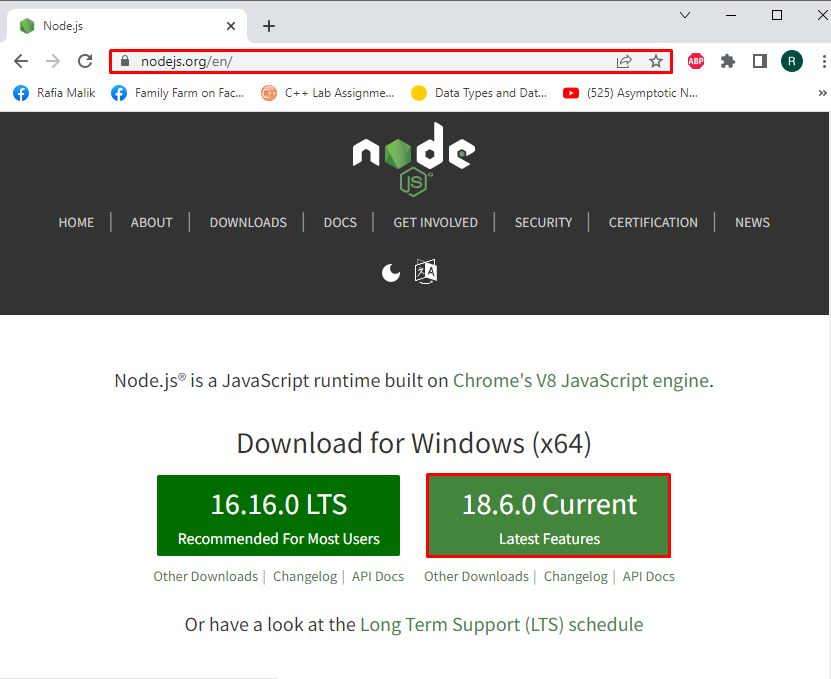
Step 1: Download Node.js Setup file
First, visit the below link and install Node.js latest version on Windows:
Step 2: Execute Node.js Setup File
Navigate to the “Downloads” directory and execute the Node.js setup file:

The “Node.js Setup” wizard will appear on the screen. Hit the “Next” button to start Node.js installation:

Mark and accept the License Agreement of the Node.js and hit the “Next” button:

Specify the location where the Node.js will be installed. Then, press the “Next” button:

Go with the custom Node.js installation and press the “Next” button:

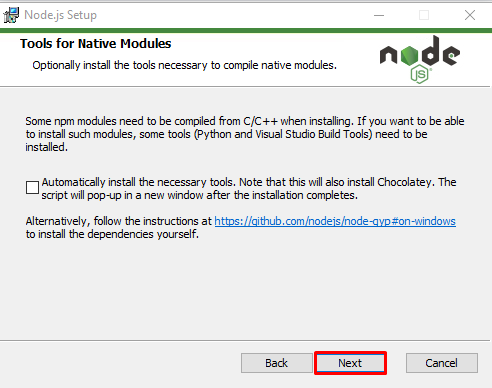
To install additional packages and tools, mark the given checkbox; otherwise, click on the “Next” button:
Finally, hit the “Install” button to start Node.js installation:

Step 3: Verify Node.js Installation
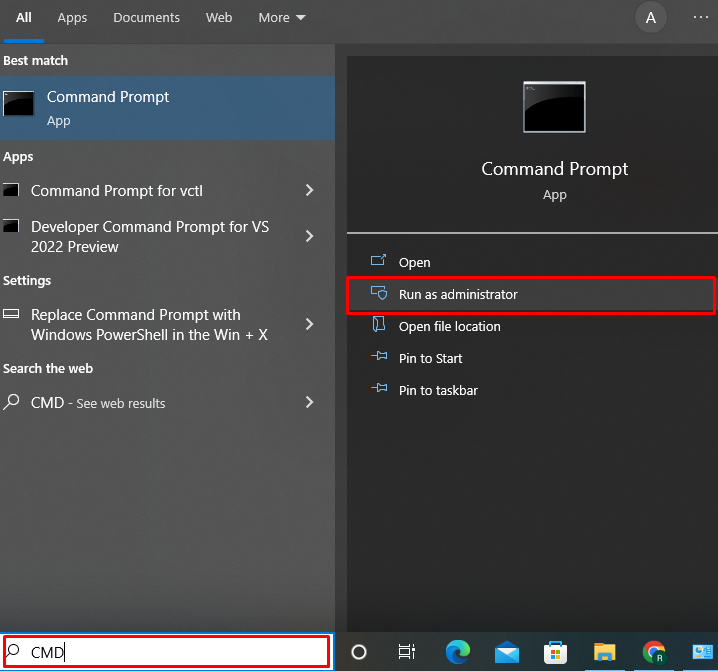
Search “CMD” in “Startup” to open the Command Prompt.
Verify the Node.js installation by checking out its version using provided commands:
> npm -v
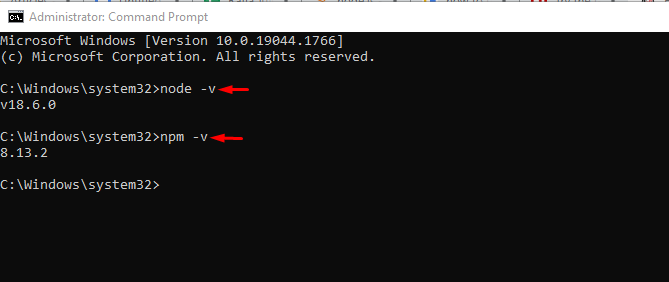
We have successfully installed Node.js version “v18.6.0” on Windows. Let’s move ahead to remove Node.js from Windows.
Remove Node.js From Windows
Users can remove Node.js from Windows using its Graphical User Interface(GUI). For the specified purpose, utilize the below instructions:
Step 1: Open Control Panel
First, open the Control Panel with the help of the “Startup” menu:

Step 2: Uninstall Node.js
Right-click on Node.js from the list of installed programs:
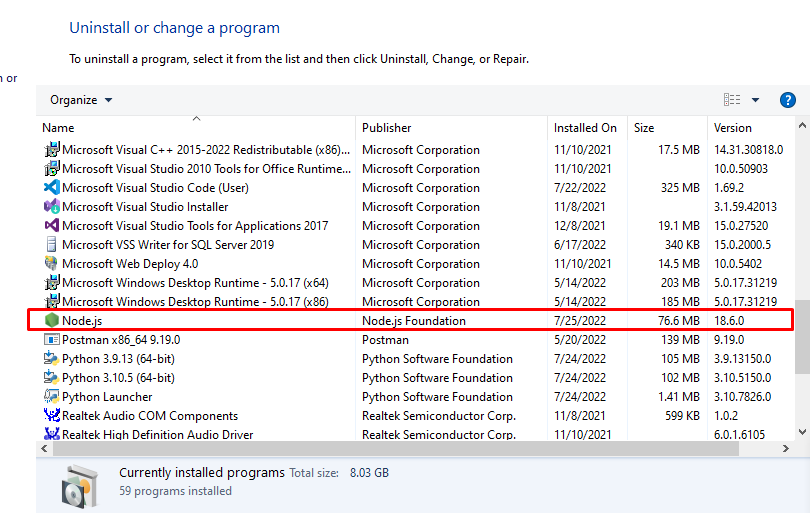
Click on the “Uninstall” option:

The “Program and Features” dialog box will appear on the screen for confirmation. Press the “Yes” button to uninstall Node.js from your Windows:

As you can see, we have successfully removed Node.js from Windows:

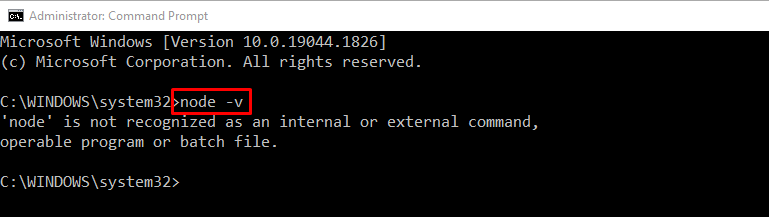
Step 3: Verify Node.js Removal
Verify the Node.js removal by printing out its version:
We have compiled the easiest method to install and remove Node.js on Windows.
Conclusion
To install Node.js on Windows, navigate the Node.js official website and download the latest setup file of Node.js, execute it and follow the setup wizard instructions. In the second case, open the Control Panel, and select “Uninstall a program” settings to remove the Node.js from Windows. We have elaborated the method to install and remove Node.js on Windows.