Regarding text-based interfaces, the curses library provides terminal-independent display painting and keyboard management. To conduct typical actions, display terminals provide a variety of control codes, which includes dragging the mouse, navigating the screen, and deleting portions. The curses library has rather basic features—giving the coder an abstraction of the screen with numerous non-overlapping text panes.
Python Curses:
The Python module acts as a rather straightforward wrapper for the curses-provided C routines. The primary distinction is that the Python interface streamlines operations by combining many C operations. However, this article serves as a tutorial on using Python with Curses to create text-mode programs.
The standard library for Python is included with the curses package. There shouldn’t be any more steps required because the curses requirements would have been loaded on Linux and Mac. Whereas, for using the curses on Windows, you must load the windows-curses Python package, which is accessible on PyPI. As we are implementing this tutorial on Ubuntu 20.04, so we don’t need to add any further requirements.
Run a Python interpreter and try to import curses to make sure everything is working. The command for verification is:
Creating Screen:
So, now you know the curses import worked, you could proceed to initialize it. While you execute curses for the first time, it opens a new window and erases the screen revealing the new window. The following instance will demonstrate the way to start curses and get a window to start with. We’ll refer to the primary window as the “screen.”
For the practical implementation of the creation of a window, open the Ubuntu terminal and write the following command:
Here, “nano” is the keyword used to open the curses file. “sample2” is the name of the file and “.py” is the extension of the python file. When you press enter on this command, you will get a blank screen.
In this new window, we will write the following code snippet.
print(“Lets initialize the screen.”)
screen = curses.initscr()
print(“THe screen is now initialized.”)
screen.refresh()
curses.napms(3000)
curses.endwin()
print(“The window has been ended.”)
In the above code, we have first imported the curses. We employed the print() statement to display the text we have added. Then, we invoked the initscr() method of curses. This would establish the type of terminal, transmit any necessary setup codes onto the terminal, and build different internal data objects. When initscr() succeeds, it produces a window object that represents the full screen.
We have added another text by utilizing the print() expression. The refresh() method will refresh the window. The curses.napms() method will put the process to sleep for a predetermined amount of time, in milliseconds. In our example, we have set it to sleep for 3000ms. The endwin() method returns the terminal to its original state following Curses activity. print() statement is used to print the text on the screen.
Once don, we will press ctrlX to exit this screen and return to the main terminal window.
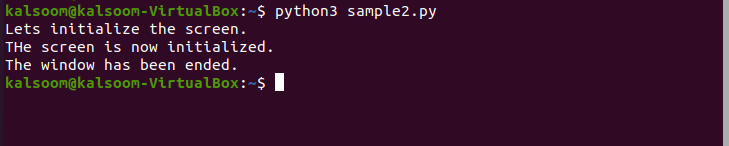
Here, we will write the command as:
Python3 is a keyword used for the execution of the file.
We might get startled by the results when executing this demo.
We will view each of the print expressions at the end once we go back to the terminal; after a little period during which the screen will be blank. Despite not being viewable, the print expressions continue to be sent to normal output and will continue to do so. Separate from STDOUT, it is building a unique buffer which is ultimately exhibited on the terminal.
Print Text on The Screen:
After learning the way to initialize an empty screen and tidy up at the completion, let’s attempt to insert some text into the window. In this demonstration, initializing the window in the same manner as previously, while also inserting a string to the display, is illustrated.
In the terminal, we will write the command shown in the image to open a file.

Once the new screen is displayed, we will add this code to it:
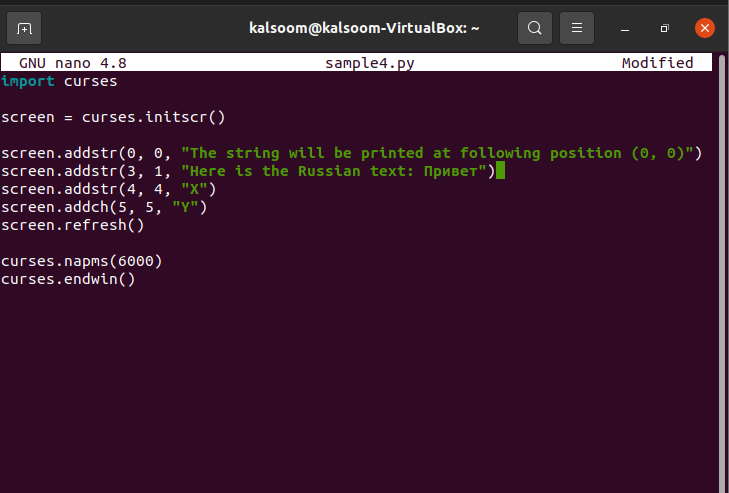
Here, we have inserted strings with index location. The addstr() function is utilized to add a string. Inside the braces of this method, we have defined the location where the text shall be displayed and the text string, both separated by a comma.
Every time we add a new text, we need to update the buffer. Without these changes made to the screen, it will not be exhibited. This can be done by invoking the ref refresh() method. Next to it, we have used curses.napms() method. The nap time in this example is set to 6000ms. The last line contains curses.endwin() method to return the console to its initial state after the curses activity.
We will return to the terminal and run the command:
This will execute the sample4.py file and display the outcome.
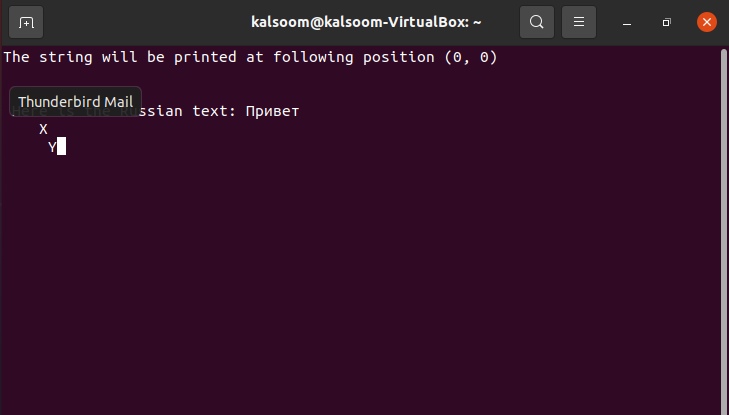
Utilizing this information, you may create text wherever you choose on the screen. With just this information, you can accomplish a wide range of tasks.
Conclusion
In this tutorial, we have illustrated the concept of curses in python3 in Ubuntu 20.04. We first elaborated on what curses are and why we use them. Afterward, we explained curses in python. Practical demonstrations of creating a new window and adding text to the screen were carried out in this lesson. We explained every step while implementing the example code to make it easy to practice.