Before starting this tutorial, you need to confirm that pgAdmin4 is installed and working properly in your Ubuntu operating system. If pgAdmin4 is not installed in your system then you can follow the steps of the following tutorial to install pgAdmin4 first and start this tutorial.
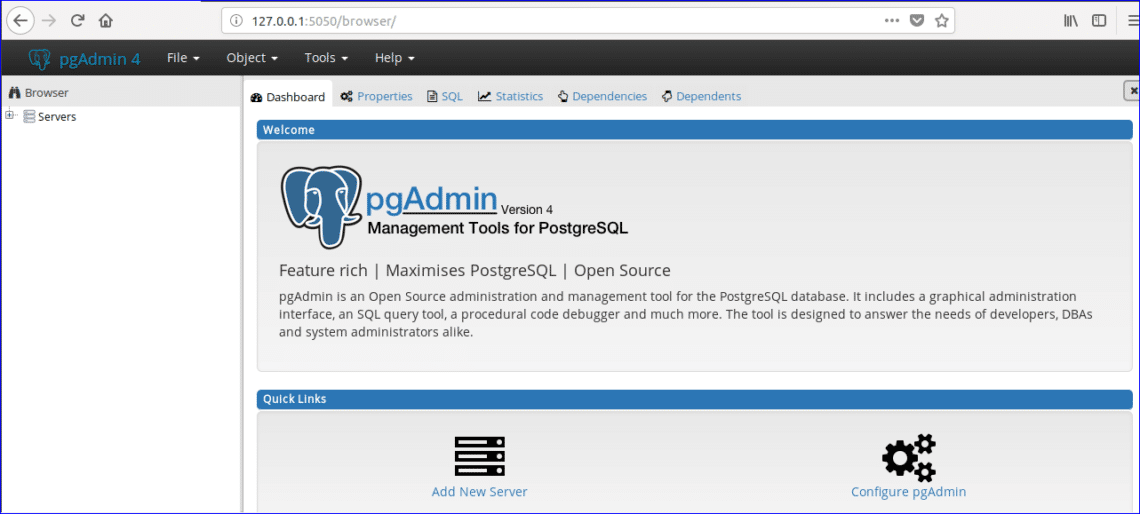
After the successful installation of pgAdmin4, open the following link from any browser to open pgAdmin4 client.
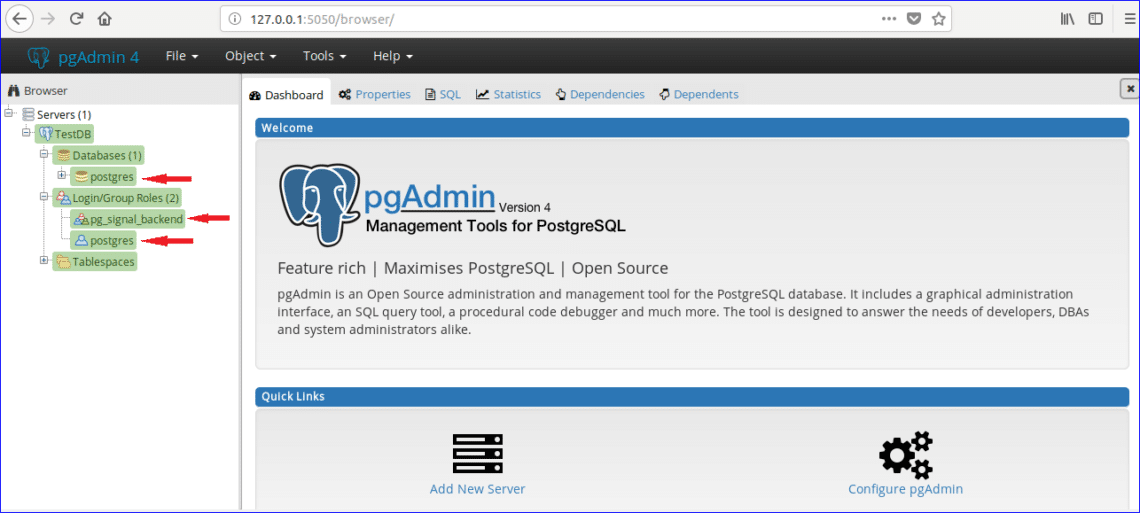
If you expand the Databases and Login/Group Roles sections from pgAdmin tree control then all previously created database list and roles will be shown. Here, one database named ‘postgres’ and two login/group roles, ‘pg_signal_backend’ and ‘postgres’ are created at the time of pgAdmin4 installation.
Create New User
Every database is associated with a particular user or group user. You can create database by associating with any existing user/group or any new user after creation. In this tutorial, a new user named ‘admin’ is created with all privileges. Follow the following steps to create a new user.
Step-1:
Right click on Login/Group Roles, select Create and click on Login/Group Roles… for creating new user.
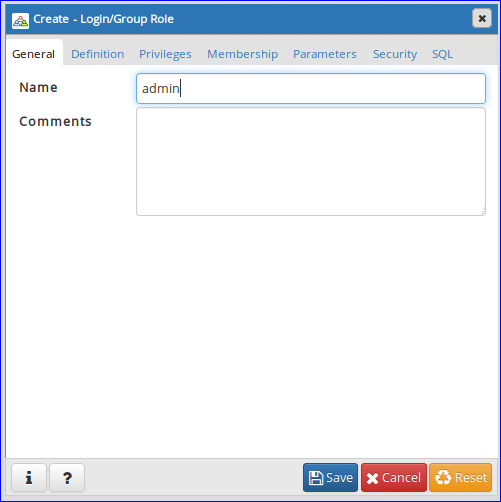
Step-2:
The following Create dialog box will appear. Type ‘admin’ in Name field as user’s name and click on Definition tab.
Step-3:
Type login password for the user admin and click on Privileges tab. If you want to create user for limited time then set the Account expires data and time value.

Step-4:
To set the all permissions to admin user make all options to ‘Yes’. Click ‘Save’ button to create the user.

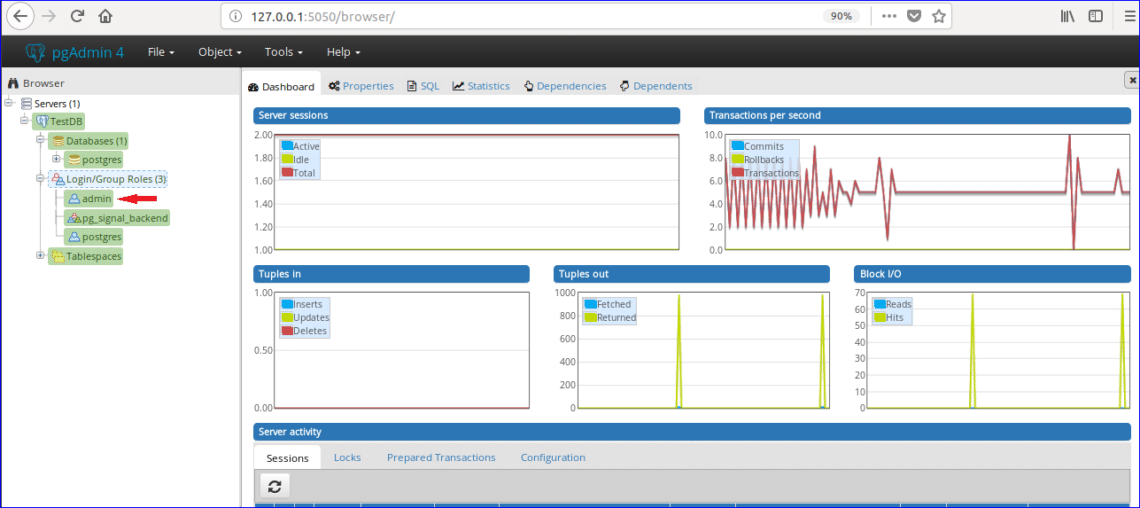
‘admin’ user entry will be shown in Login/Group Roles section.
Create New Database
Suppose, you have to create a database named ‘Online_Library’. Do the following steps to create the database.
Step-1:
Right click on Databases, select Create and click Database… option for creating new database.

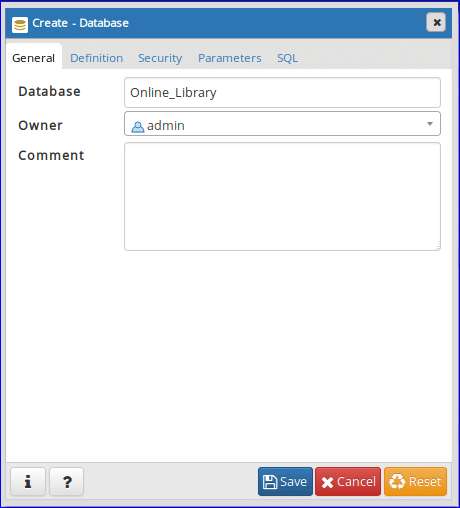
Step-2:
The following dialog box will appear for creating new database. Type ‘Online_Library’ in Database field and select ‘admin’ as database owner. Click ‘Save’ button to create the database.
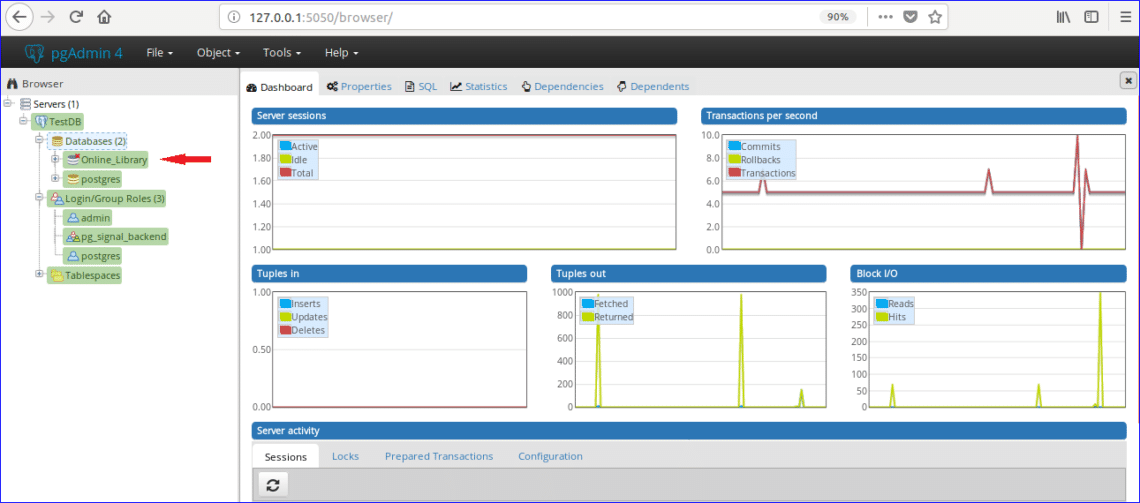
‘Online_Library’ database will be shown in Databases section.
Create Tables
Suppose, ‘Online_Library’ database contains two tables ‘book_type’ and ‘book_list’. The tables with sample data are given below.
Table: book_type
| ID | Category | Type |
| 1 | CSE | Programming |
| 2 | MBBS | Anatomy |
| 3 | BBA | Finance |
According to the table data, book_type table has three fields which are ID, Category and Type. Here, the value of ID field is numeric and will increment automatically, Category and Type fields are string. Primary key of this table is ID and all fields are mandatory.
Table: book_list
| ID | Book_Name | Author_Name | Edition | Type_ID |
| E001 | Java The Complete Reference | Herbert Schildt | 7th | 1 |
| M001 | Anatomy Trains | Thomas W. Myers | 3rd | 2 |
| E002 | Python Cookbook | Brian Jones & David Beazley | 3rd | 1 |
| B001 | Financial Accounting for BBA | Dr S N Maheshwari & CA Sharad K Maheshwari | 3 |
According to the table data, book_list table has 5 fields which are ID, Book_Name, Author_Name, Edition and Type_ID. Here, ID, Book_Name and Author_Name fields can’t be empty and Edition fields can be empty. ID field is primary key and Type_ID field is foreign key for this table. Now, follow the following steps to create these tables under ‘Online_Library’ database using pgAdmin4.
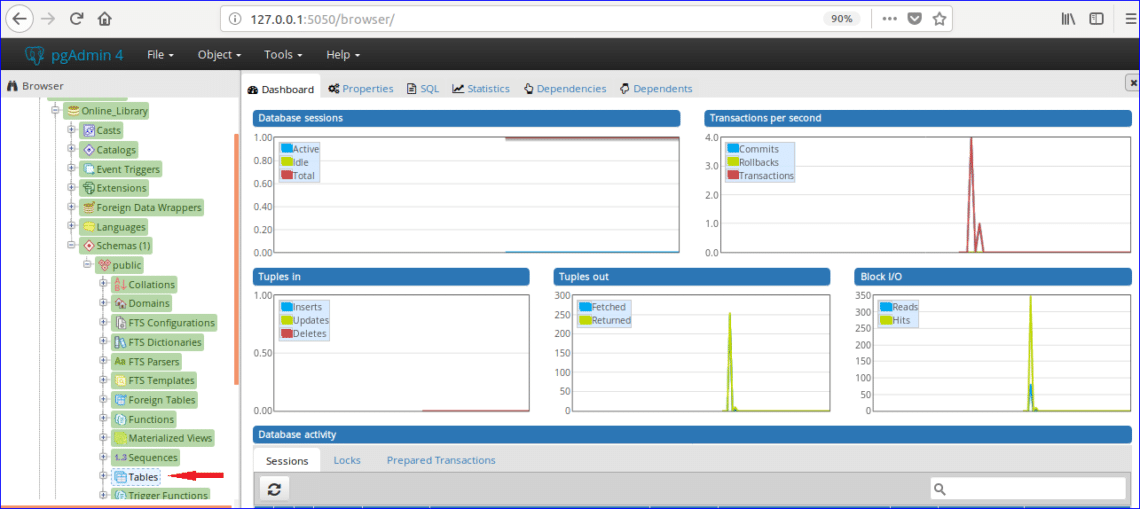
Step-1:
Click on ‘Schemas’ section of ‘Online_Library’ database. Expand ‘public’ section and find out ‘Tables’ section.
Step-2:
Right click on ‘Tables’, select ‘Create’ and click ‘Table…’ option.

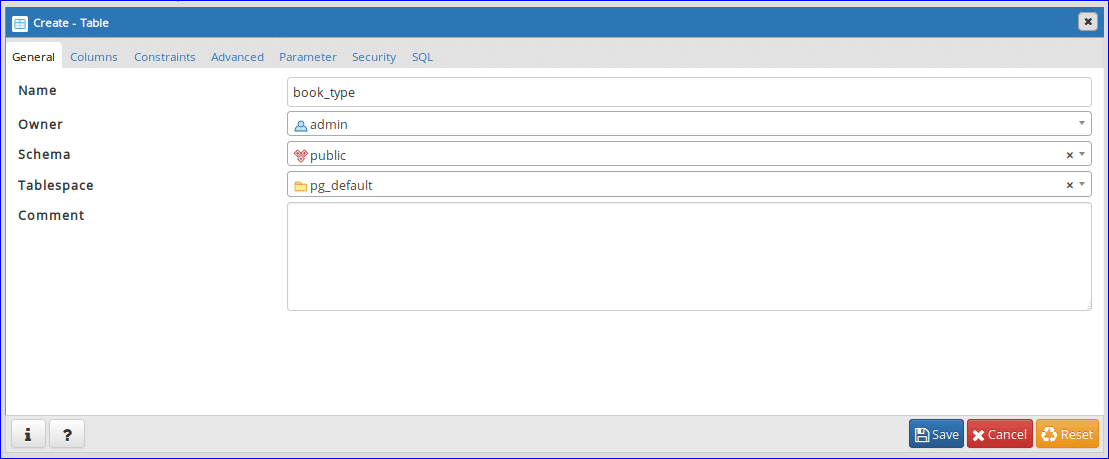
Step-3:
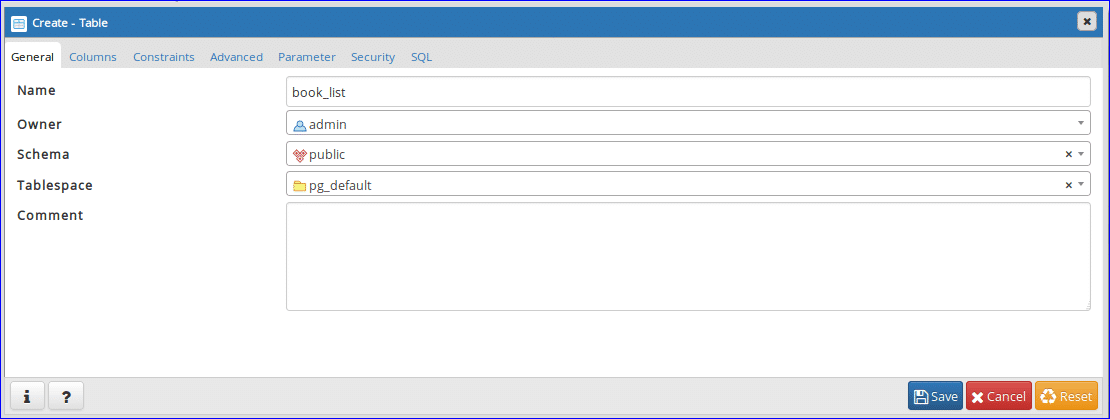
The following dialog box will appear to create a new table. Type ‘book_type’ in Name field, select Owner of the table (here, admin is selected as owner) and select Schema and Tablespace.
Step-4:
Select ‘Columns’ tab and click on ‘+’ button to create a new field for the table.

Step – 5:
Add three mandatory fields of ‘book_type’ table like the following dialog box. Set ‘bigserial’ as data type (for adding auto increment attribute) and set ‘Yes’ in ‘Not Null’ and ‘Primary key’ fields of ID column. The value of Category and Type column can vary. So select ‘character varying’ as data type for these fields. Click ‘Save’ button to create the table.

Step-6:
Open the following dialog box again for creating another table named ‘book_list’. Type ‘book_list’ in Name field and select other values of others fields like step-3.
Step-7:
Click on Column tab and add the fields according to table requirements. Here, ID column will contain data of fixed length (4 characters). For this, ‘character’ data type is selected for ID column. The value of Book_Name, Author_Name and Edition can vary. So, ‘character varying’ data type is selected for these columns. ‘Not Null’ option is set to ‘Yes’ for Edition column to accept Null value when no data will submit.

Step-8:
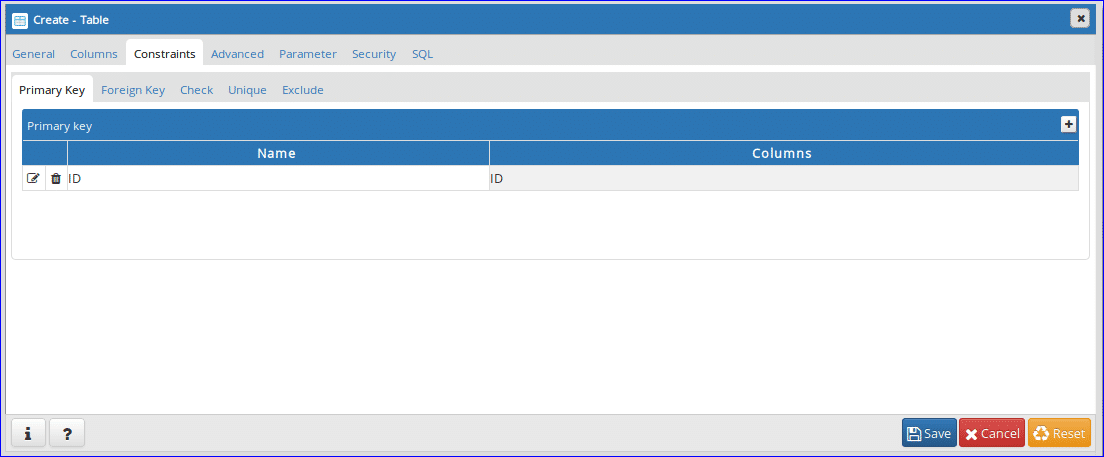
Click ‘Constraints’ tab to set primary and foreign keys. This tab contains other 5 tabs. First tab is ‘Primary Key’. This tab will display primary key information of the table. One primary key is set in the previous step which is displaying here. If you want to add or remove any primary key then you can do this task from this tab.
Step-9:
This table contains a foreign key based on the table information mentioned above. Click ‘Foreign Key’ tab to define foreign key. Click on ‘+’ button for adding foreign key.

Step-10:
Click on Edit () button open tab for creating foreign key.

Step-11:
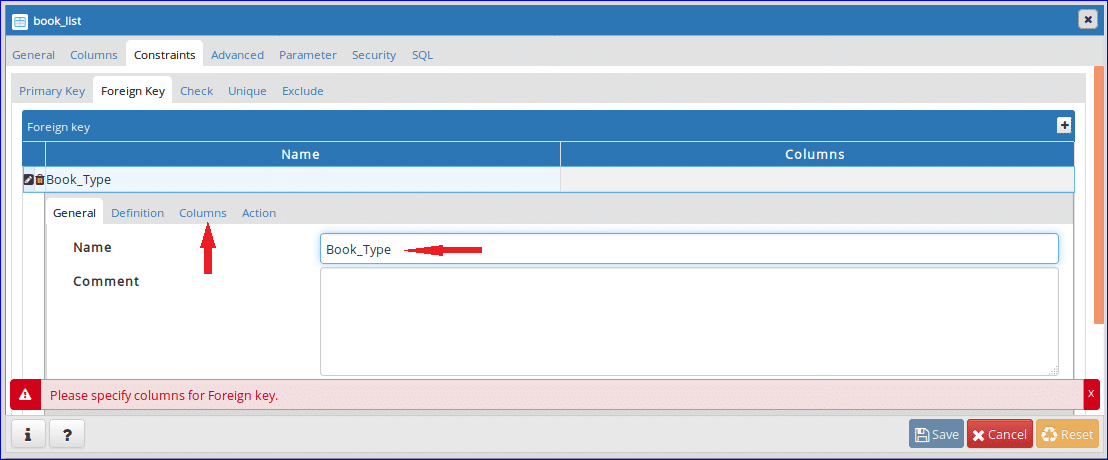
Type the name of foreign key in Name field. Here, ‘Book_Type’ is set as foreign key name. Next, click Columns tab.
Step-12:
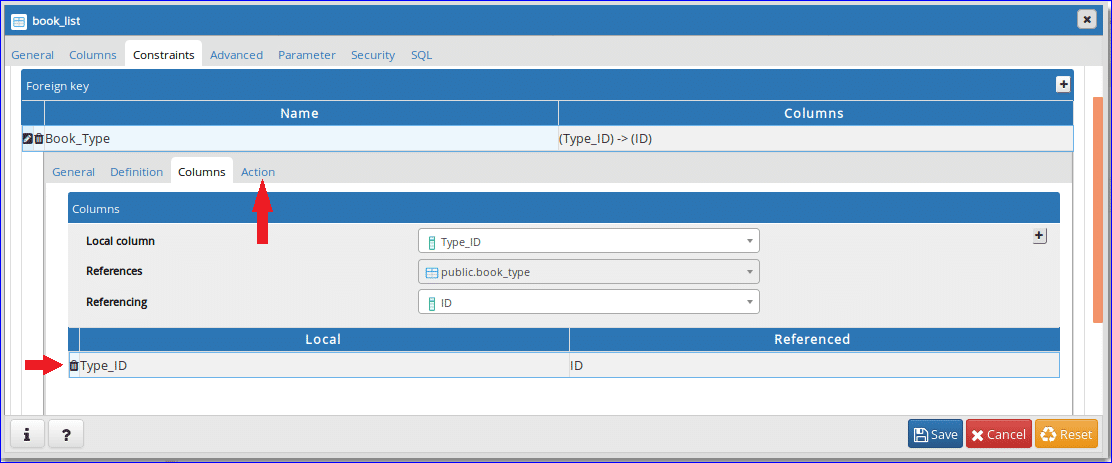
Select Local column, References and Referencing from dropdown list. For this table, Type_ID field is a foreign key and it is set as Local column. ‘book_type’ table is selected as Reference table and ID field of ‘book_type’ is selected as Referencing column. After setting, click on the ‘+’ button to add foreign key.

Step-13:
Added foreign key information will be shown in the bottom. Click on ‘Action’ to add particular action on update and delete data of reference table.
Step-14:
Select ‘CASCADE’ option for both update and delete operation. When the ID value of book_type table will update or delete then the related record(s) of book_list table will be effected. Click ‘Save’ button to complete the table creation task.

After completing the above steps, Tables section will contain the following two table names. If you want to change the structure of the table then right click on the particular table name and click properties to open the dialog box for modifying the table structure.

After creating database and tables, you can execute different types of SQL commands like select, insert, update and delete in a particular table. You can also perform other database operations like creating function, view, trigger etc. in pgAdmin4. Hope, you will be able to do basic database operations in pgAdmin4 after reading this tutorial.