See below video tutorial on PGAdmin4 Installaiton on Ubuntu:
[adthrive-in-post-video-player video-id=”PUM8XMbi” upload-date=”2020-01-13T00:23:33.000Z” name=”How to Install PgAdmin4 on Ubuntu” description=”How you can install and use pgAdmin on Ubuntu from binary files are shown in this tutorial.” player-type=”collapse” override-embed=”true”]
PgAdmin 4 Installation Steps
1. Update the system
Before starting the installation process, you have to update the system by executing the following command.

2. Install required packages
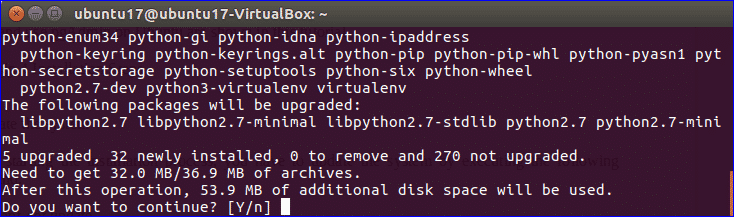
Three packages require to install before downloading pgAdmin which are python, pip and virtualenv. Run the following command to install these packages.
virtualenv python-pip libpq-dev python-dev

When the following prompt appears then press ‘y’ to complete the installation process of the required packages.
3. Create virtual environment
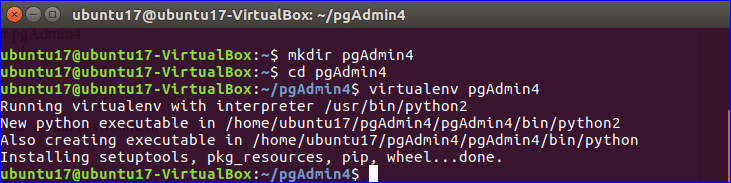
Run the following commands to create a new folder named pgAdmin4 in the current location, go to the newly created folder and create the virtual environment.
$ cd pgAdmin4
$ virtualenv pgAdmin4
4. Activate virtual environment
Go to pgAdmin4 folder under pgAdmin4 and run the following commands to activate the virtual environment.
$ source bin/activate

5. Download pgAdmin 4
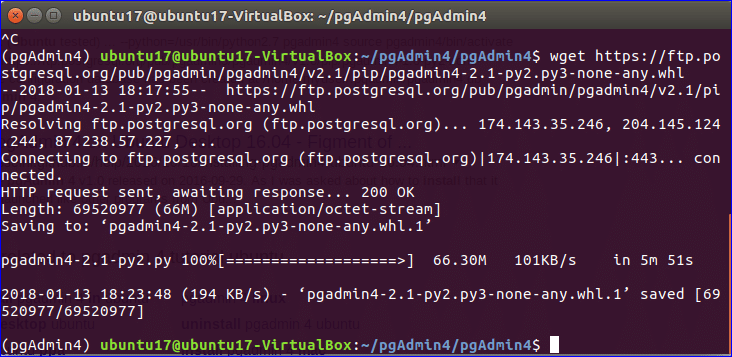
Run the following command to download the latest version of pgAdmin 4.
2.1-py2.py3-none-any.whl
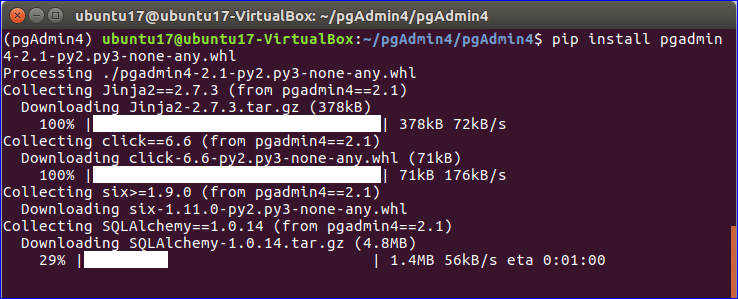
After completing the download of pgAdmin, the console will be look like the following image.
6. Install pgAdmin 4
Run the following command to complete the installation process of pgAdmin 4.
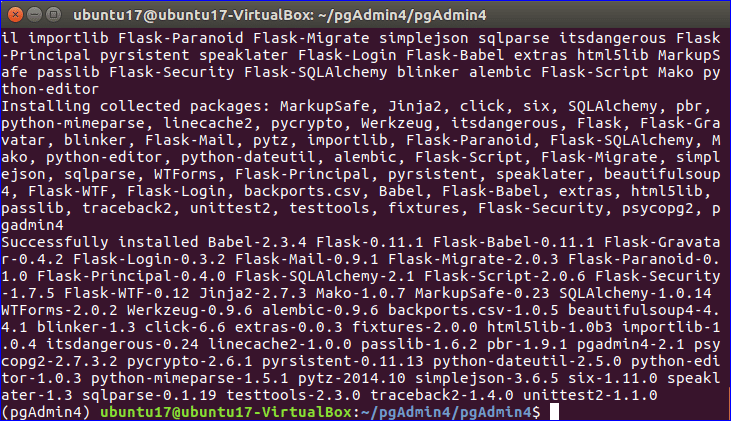
After installation, the following screen will appear.
7. Configure and run pgAdmin 4
After completing the installation steps, you have to create a configuration file to run this software. Create a new file named config_local.py in lib/python2.7/site-packages/pgadmin4/ folder using nano editor.
Add the following content in config_local.py.
DATA_DIR = os.path.realpath(os.path.expanduser(u'~/.pgadmin/'))
LOG_FILE = os.path.join(DATA_DIR, 'pgadmin4.log')
SQLITE_PATH = os.path.join(DATA_DIR, 'pgadmin4.db')
SESSION_DB_PATH = os.path.join(DATA_DIR, 'sessions')
STORAGE_DIR = os.path.join(DATA_DIR, 'storage')
SERVER_MODE = False

Now, use the following command to run pgAdmin.
***Note: If any flask-htmlmin module error appears then run the following commands to install the module and then run the server.
$ python lib/python2.7/site-packages/pgadmin4/pgAdmin4.py
The following message will appear if pgAdmin can run successfully.

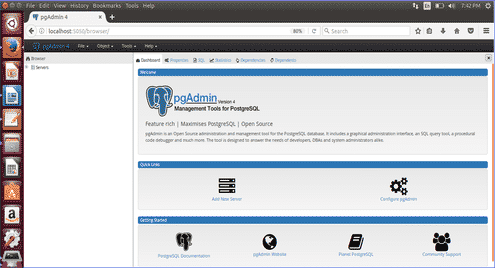
Now, access http://localhost:5050 from any browser. If all the steps are completed properly then the browser will display the following page.

Using pgAdmin 4
Before using pgAdmin, you need to confirm that the latest version of PostgreSQL is installed on your operating system. Run the following command to install postgres package for PostgreSQL and contrib package for taking additional functionalities related to PostgreSQL.

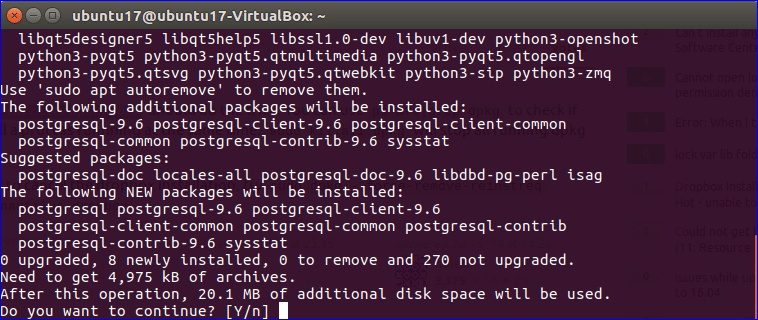
Type ‘y’ when the following message appear in the terminal to complete the installation process.
Next, you have to create the username and password for PostgreSQL database. Type the following command in the terminal to add login credentials for the user, postgres.

Setup the password for the username, ‘postgres’. It will ask to type the password two times for confirmation.

If you want to quit from the interactive session of postgres then type ‘\q’.
PostgreSQL is now ready to use. Go to the pgAdmin browser and click on the ‘Add New Server’ option.

There are four tabs in ‘Creat-Server’ dialog box. In General tab, type the name for the new server. Here, ‘TestDB’ is set as server name. Setting background and foreground colors are optional. Make Connect now option checked.

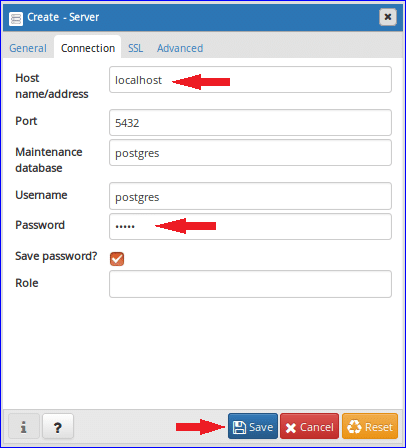
Click on the Connection tab and type Host name/address. Here, localhost is used as host name. By default port is 5432 and keep it unchanged now. postgres is set as maintenance database by default. Default username of this database is also set as postgres which is created earlier. Type the password for postgres user that you have created before. Make Save password option on. The other two tabs of this dialog box, SSL and Advanced are used for advanced setting which are omitted in this tutorial. Click on the Save button to create the TestDB server.
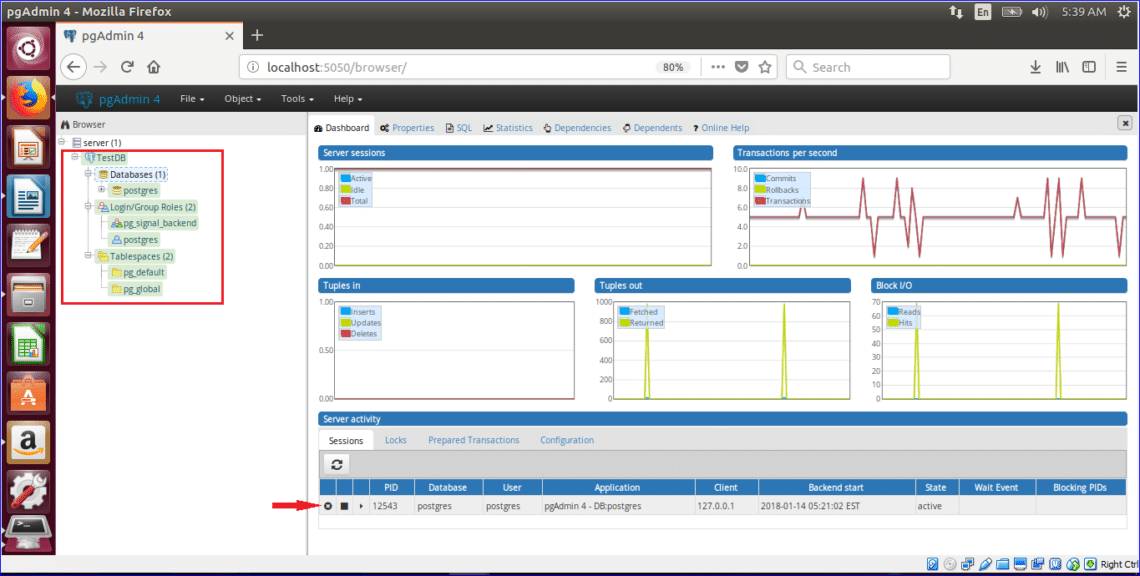
When you expand TestDB server, the following screen will appear. Three sections will appear in the left side of the browser. These are Databases, Login/Group Roles and Tablespaces.
There is only one database exists named postgres in Databases part. If you want then you can create new database from this section and after creation the database will be added in this section.
Two login information are shown in Login/Group Roles section. These are pg_signal_backend which is created at the time of installation and postgres which is created later after installation. You can also create new user and role from this section.
Third section is Tablespaces which are used to define the location of the data files containing database objects such as tables, indexes etc. By default, two tablespaces named pg_default and pg_global are created here. If you want you can also create your own tablespace from this section.
The right plan of the browser shows the overall server status and activities which are the up and downtime of the server, the numbers of database transaction per second, tuples in, tuples out, Block I/O and server activity information. There are four parts in server activity section to get more detail information related to server current activities. These are user session,lock information, prepared statements and configuration.
So, you can do various types of PostgreSQL database operations and monitor the current database avtivities easily by using pgAdmin tool. To advance to the next level see the tutorial below which will go into more details of the usage of PGAdmin4: