In this blog manual, we will provide authentic solutions to solve the NVIDIA drivers control panel problem.
How to Resolve the NVIDIA Drivers Control Panel Problem?
Here are the fixes that you can try to resolve if your NVIDIA control panel is not opening up:
- Restart NVIDIA Control Panel
- Restart NVIDIA Services
- Update Graphics Driver
- Disable Antivirus Temporarily
- Disable Fast Startup Option
- Reinstall NVIDIA GeForce Experience Driver
Let’s go through each of the mentioned solutions one by one!
Fix 1: Restart NVIDIA Control Panel
The first tweak is to restart the NVIDIA Control Panel from the Task Manager. Then, relaunch the NVIDIA Control Panel to check whether it has resolved the problem.
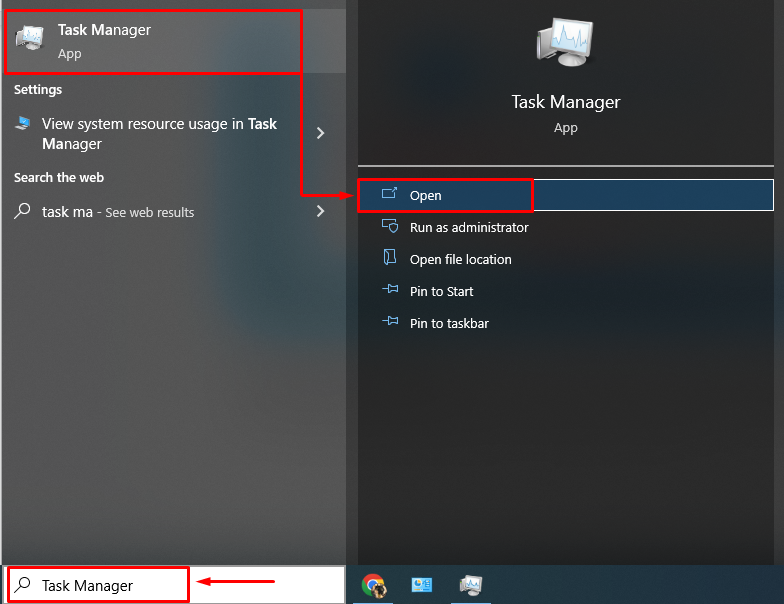
To do so, firstly, open up the“Task Manager” using the Startup menu:
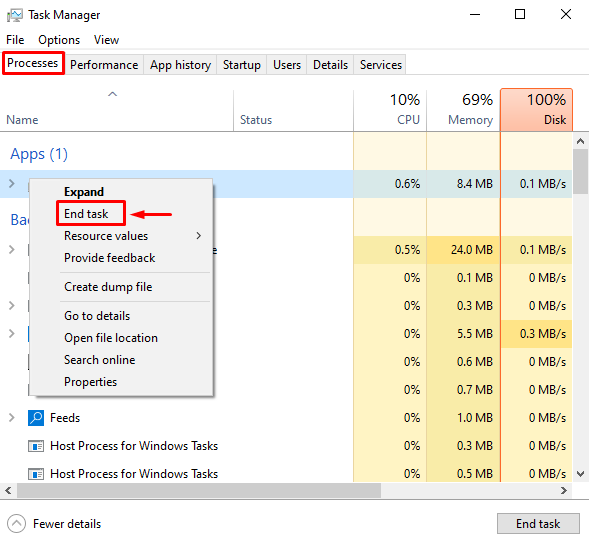
Navigate to the “Processes”, locate “NVIDIA Control Panel”, right-click on it, and select the “End task” option:
Relaunch the NVIDIA control panel to check if it works; otherwise, follow the next method.
Fix 2: Restart NVIDIA Services
There are several services that might be conflicting with the NVIDIA control panel and restricting it from launching normally. Stopping the services will surely positively impact and help launch the NVIDIA control panel.
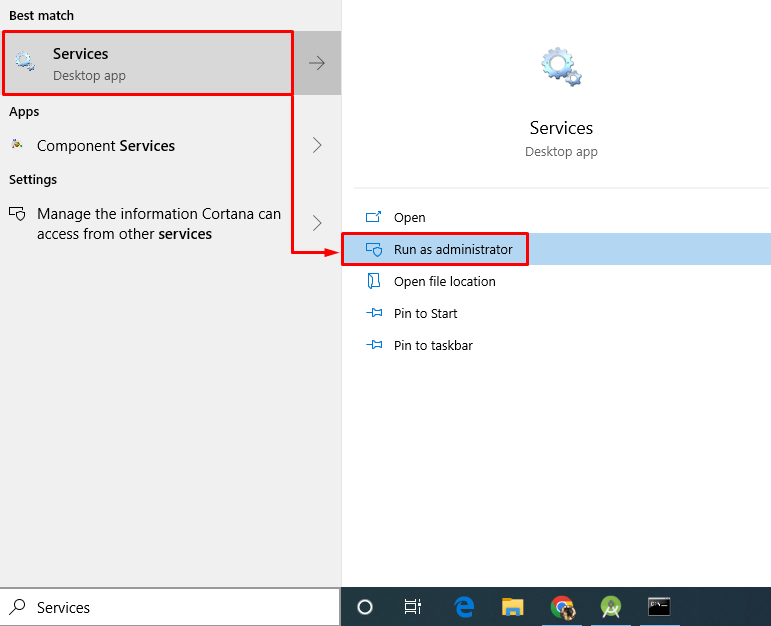
For this purpose, launch the “Services” settings with administrator privileges:
Locate “NVIDIA Display Container” from the services list, right-click on it and select “Restart” to restart it:
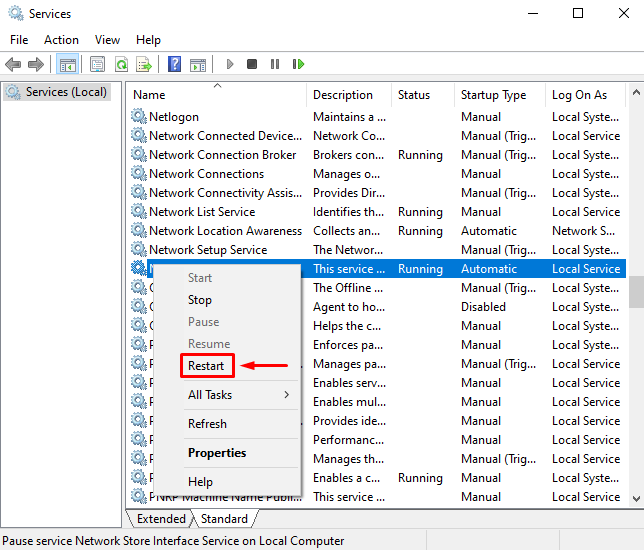
Repeat the above steps frequently to disable the “NVIDIA LocalSystem Container”, “NVIDIA NetworkService Container”, and “NVIDIA Telemetry Container” services, one by one, and then relaunch the NVIDIA Control panel.
Fix 3: Update Graphics Driver
Updating the NVIDIA graphics driver can fix bugs, improve the system performance and also help to resolve the mentioned error.
Method 1: Updating NVIDIA Driver Using Device Manager
To follow this method:
- Firstly, launch the “Device Manager” on your system.
- Then, expand the “Display Adapters” pane, right-click on the “NVIDIA driver”, and click on “Update driver” to update it.
- Restart Windows 10 after the update and relaunch the NVIDIA Control Panel.
Method 2: Updating NVIDIA Driver Using Third-party Tools
You can also manually update the NVIDIA graphics driver by using third-party software such as “Driver Booster”.
After installing Driver Booster, launch it and click to scan for outdated and missing drivers:
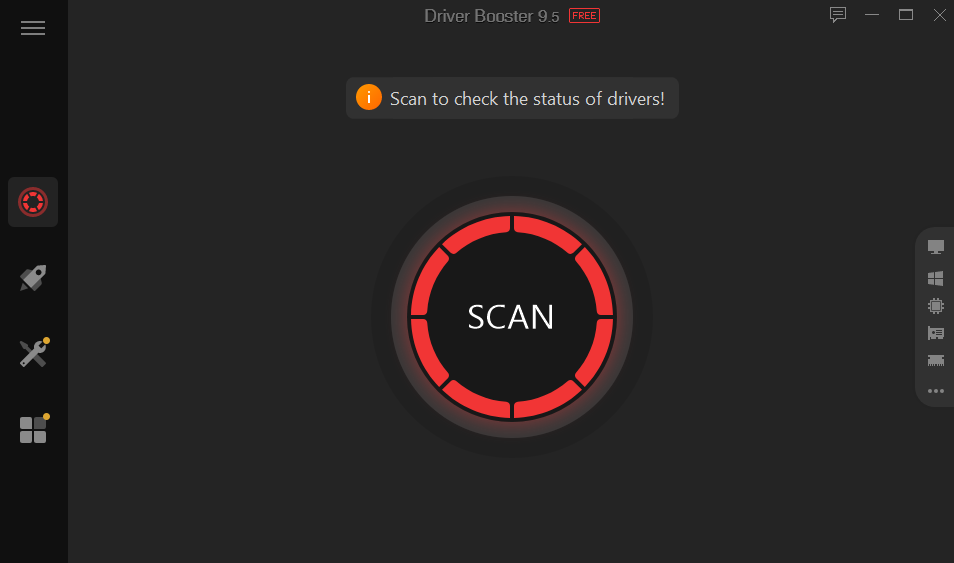
This will scan the system and look for outdated and missing drivers. As a result, update them, and restart the NVIDIA control panel.
Fix 4: Disable Antivirus Temporarily
Sometimes, the antivirus blocks some files and components, considering them malicious. In such a scenario, we need to disable the antivirus to launch the NVIDIA Control Panel.
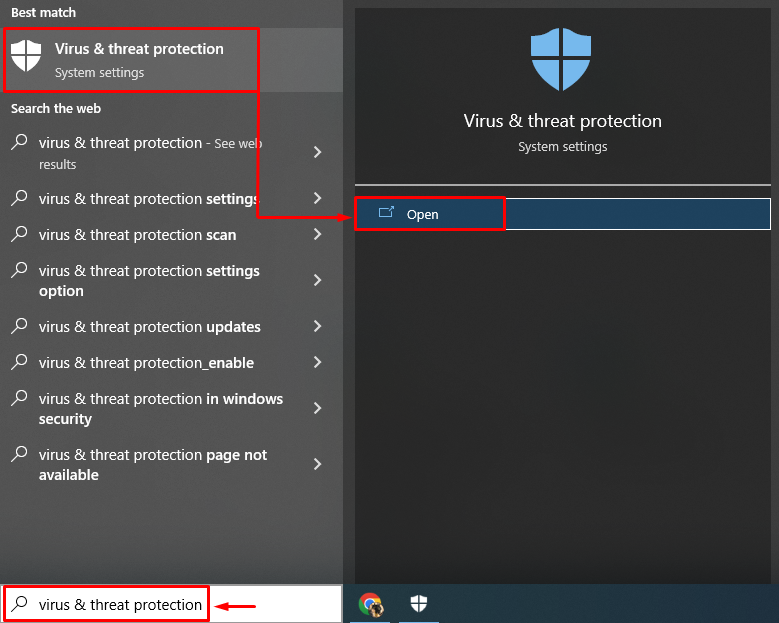
For this purpose, launch “Virus & threat protection” from the start-up menu:
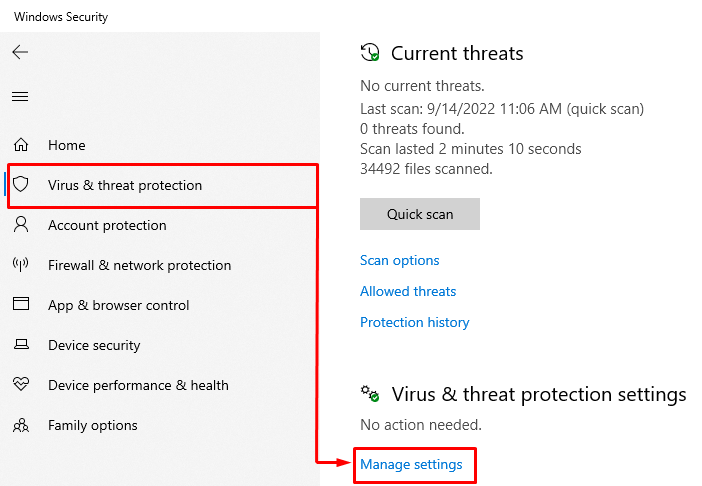
Click on the “Manage settings” option:
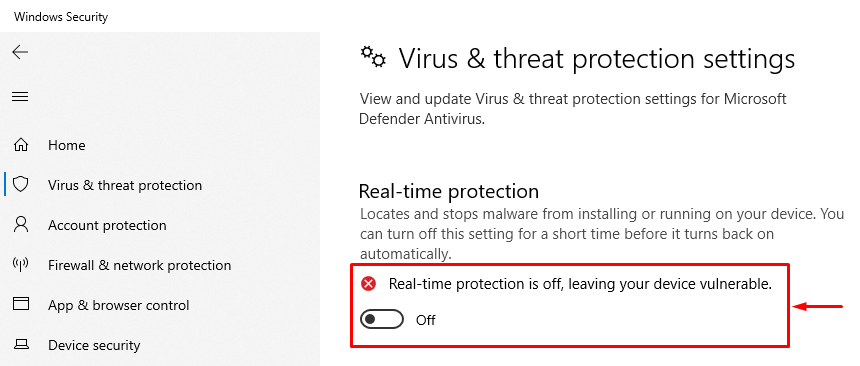
Turn off the“Real-time protection” toggle to disable the antivirus:
Fix 5: Disable Fast Startup Option
On internet forums, most of the Windows users suggested that when fast startup is enabled, the necessary NVIDIA files do not load. To handle this situation,
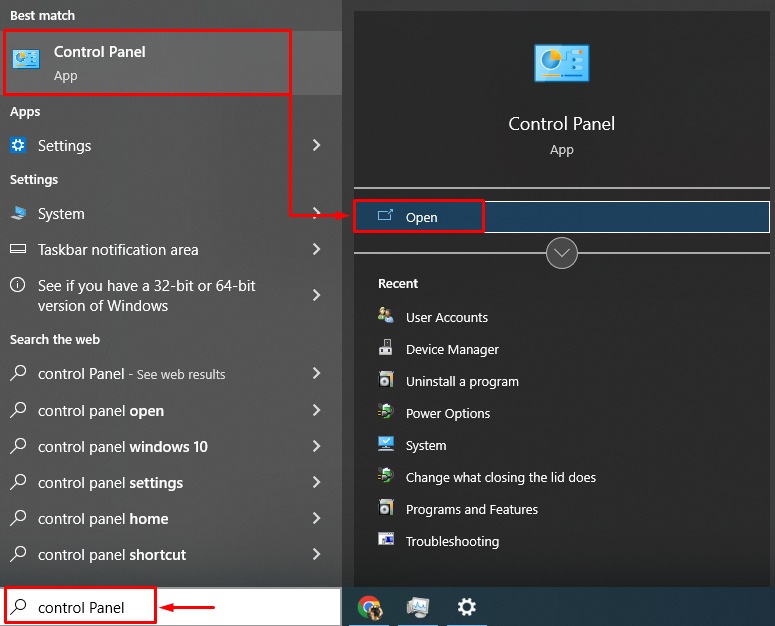
Step 1: Launch Control Panel
Launch the “Control Panel” from the “Start menu”:
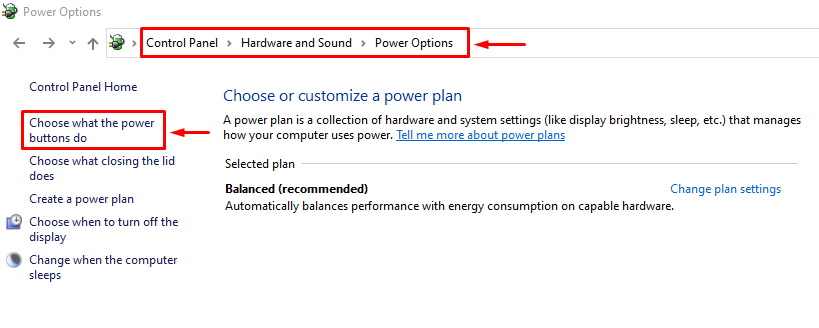
Step 2: Navigate to Power Options
Navigate to “Power Options” and click on the “Choose what power do”
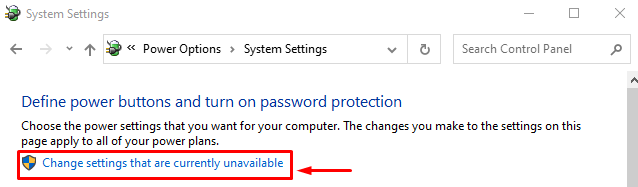
Step 4: Remove Protection to Change Settings
Select the “Change settings that are currently unavailable” settings:
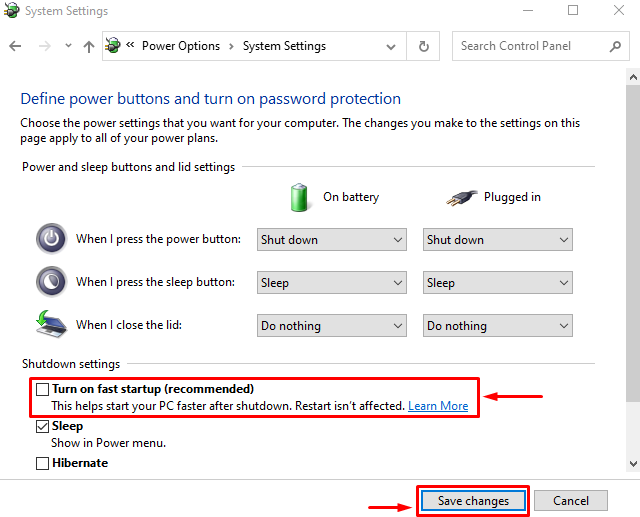
Step 5: Disable Fast Startup
Under the “Shutdown settings”, uncheck the “Turn on fast startup (recommended)” checkbox and select the “Save changes” option to apply changes:
When changes are saved, restart Windows 10 and reopen the NVIDIA control panel to check if that method worked.
Fix 6: Reinstall NVIDIA GeForce Experience Driver
Here are steps related to reinstalling the NVIDIA graphics driver:
- Launch “NVIDIA GeForce Experience” from the startup menu.
- Navigate to the “Drivers” section.
- Click on the “Re-install the driver” option, select the drivers you like to install and click on the “Install” button.
- Follow the process to complete the installation.
- Restart the computer when the driver gets updated.
We have provided different solutions related to fixing the NVIDIA control panel error.
Conclusion
“NVIDIA Control Panel not Opening after Windows 10 update” error can be resolved using various methods, including restarting NVIDIA services, updating the graphics driver, disabling antivirus, disabling fast startup, or restarting the NVIDIA control panel. This write-up has provided various solutions to resolve the mentioned NVIDIA issue.