Follow this article’s guidelines to monitor Raspberry Pi temperature through Psensor.
Monitor Raspberry Pi Temperature Through Psensor
The Raspberry Pi users can follow the below-given step-by-step guidelines to install Psensor on the system.
Step 1: First, look for packages update and upgrade them on the Raspberry Pi system through the following command:
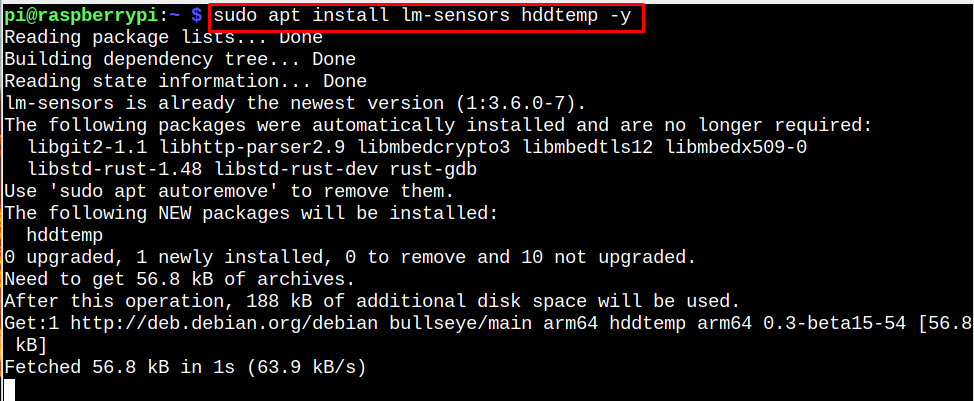
Step 2: Psensor requires two main tools, which are lm-sensors and hddtemp, which you can install through the following command:
Step 3: After successfully installing the above tools, you can now install Psensor on Raspberry Pi from the following command:
Step 4: Now, you can detect sensors connected to your Raspberry Pi device from the following command:
You can scan the sensors according to your choice.
Step 5: Run the command “sensors” to see the detected sensors on the Raspberry Pi system.
Note: If you have other sensors, you can connect them with your Raspberry Pi device, as it will be displayed on the Psensor dashboard.
Run Psensor on Raspberry Pi
You can run Psensor on Raspberry Pi from the System Tools option in the Raspberry Pi Application menu.
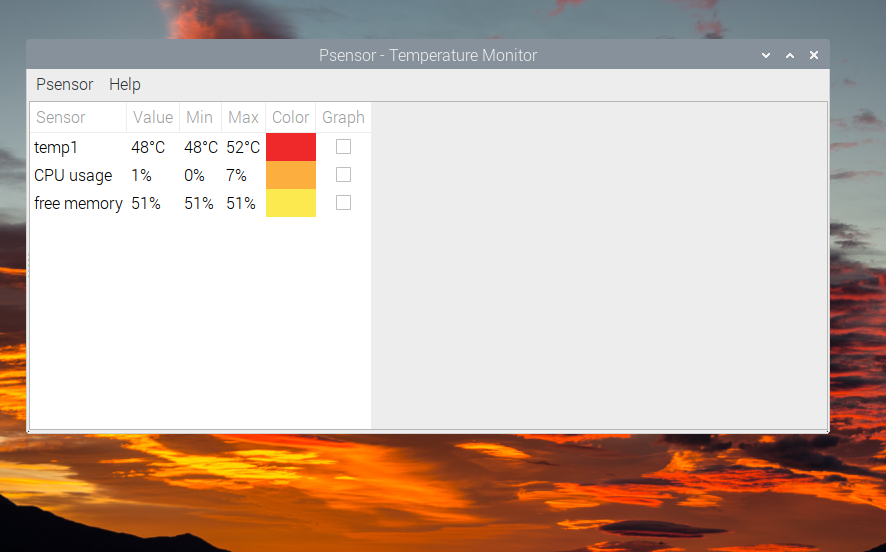
Initially, you will see the percentage information about the detected sensor on the Raspberry Pi system.
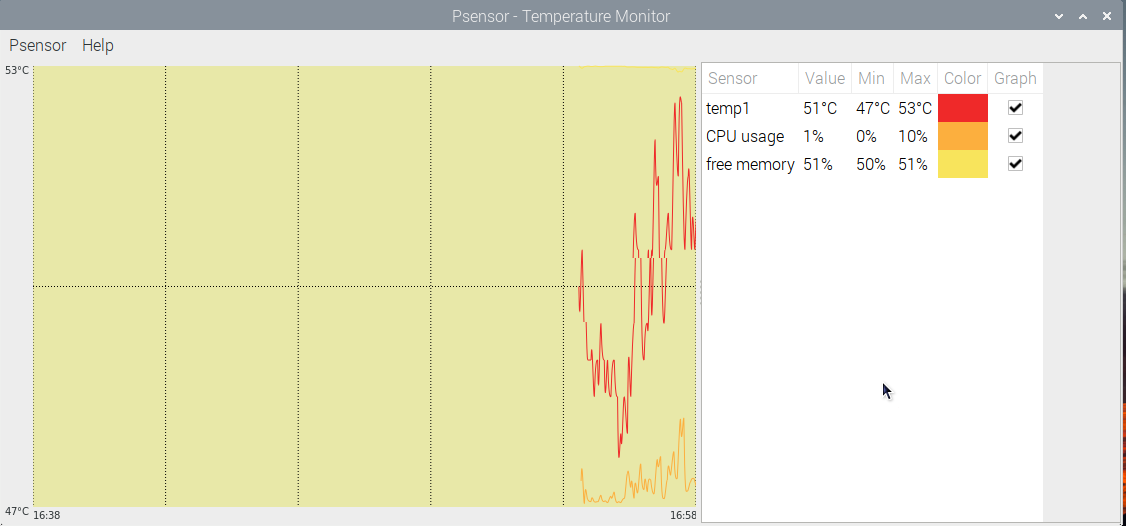
To see the graphical information, you must see the Psensor dashboard size.
Note: In my case, the Psensor detects the device temperature, CPU usage and free memory. You can get multiple sensor outputs on the Psensor dashboard if you attach sensors to your device.
Conclusion
Psensor is an effective utility that can display the Raspberry Pi’s device temperature, CPU usage, free memory and other sensor data in percentage and graphical form. You can install this tool by executing the apt package manager. Then, you can detect sensors through the “sensor” command and run the Psensor from the “System Tools” option to view the device temperature and other information.


