This write-up aims to fix the memory leaks problem in Windows.
How to Fix/Rectify Memory Leaks Problem in Windows 10?
The memory leaks issue can be repaired by applying these techniques:
- Restart PC
- Run Windows memory diagnostic
- Adjust for best performance
- Disable SysMain
- Disable startup programs.
Fix 1: Restart the PC
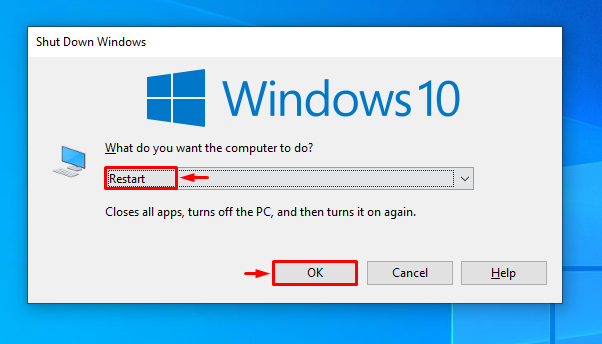
The first approach to rectify this problem easily is restarting the PC. For this purpose:
First, press the shortcut “Alt+F4” to open a pop-up window and pick “Restart” and click on the “OK” button:
Fix 2: Run Windows Memory Diagnostic
Windows users can utilize the built-in diagnostic tool to fix the stated problem, as it is specially designed to deal with memory-related problems.
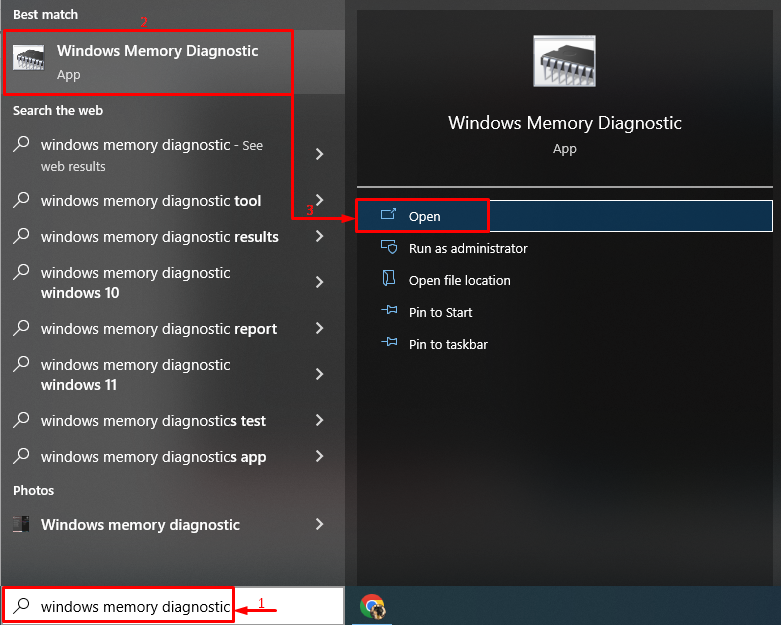
Step 1: Open Memory Diagnostic
First, type and search “Windows memory diagnostic” with the help of the Windows Start menu:
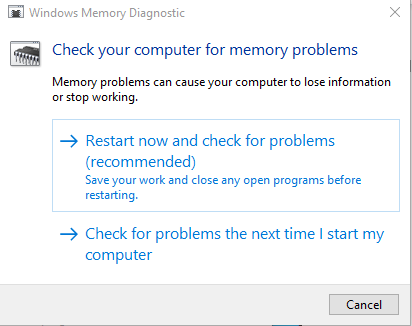
Step 2: Start the Scan
Select the “Restart now and check for problems” option to reboot the system and start the scan:
Fix 3: Adjust for Best Performance
Setting the computer to the best performance can also fix the stated problem.
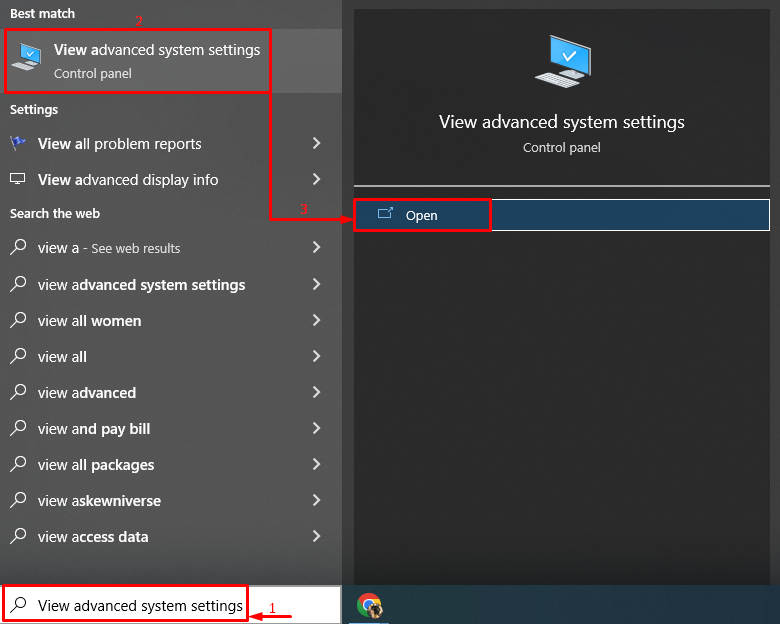
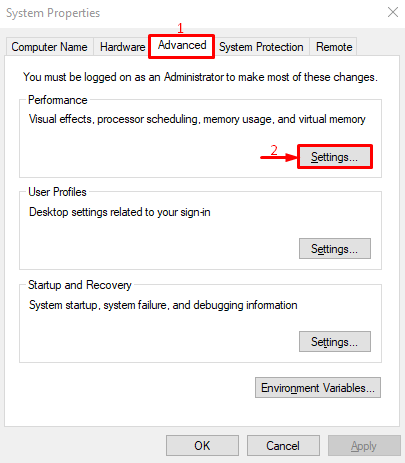
Step 1: Open Advanced Settings
Initially, search and open “View advanced system settings” through the Start menu:
Step 2: Open Performance Settings
Move to the “Advanced” tab and hit the “Settings” option:
Step 3: Enable Best Performance
Navigate to the “Visual Effects” section. Select “Adjust for best performance” and hit the “OK” button:
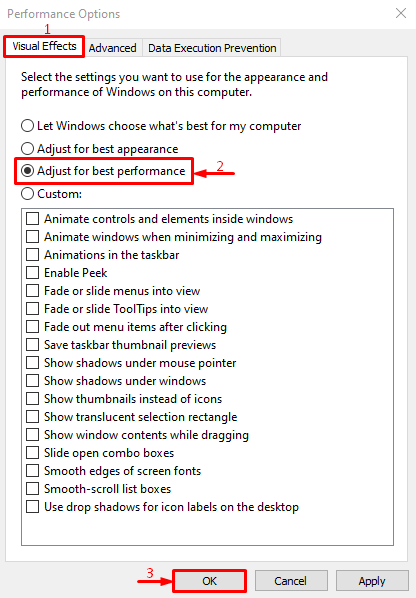
The best performance is enabled in the system settings successfully.
Fix 4: Disable SysMain
SysMain is also known as SuperFetch. It is used to pre-process or pre-load the apps for better performance of the app. Disabling it can also fix the memory leak issue.
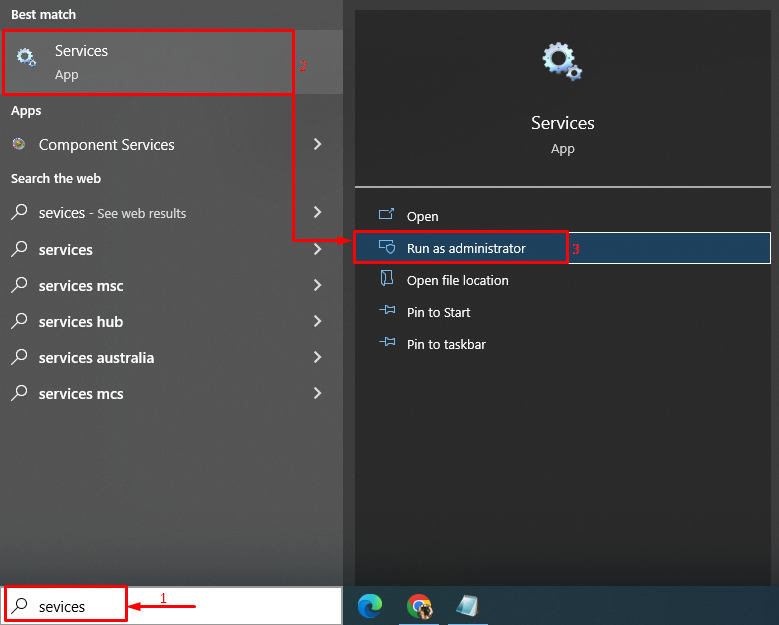
Step 1: Launch Services
For the corresponding purpose, open “Services” from the Windows Start menu:
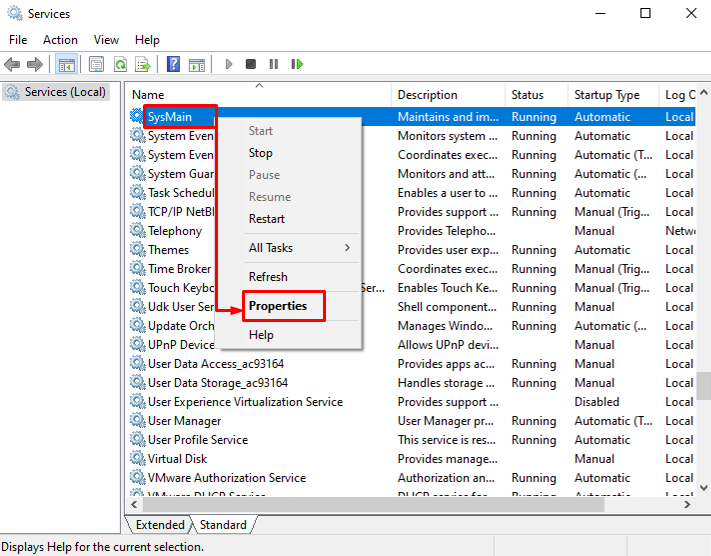
Step 2: Launch SysMain Properties
Locate the “SysMain” service, right-click on it and select “Properties”:
Step 2: Disable SysMain
- First, navigate to the “General” tab.
- Set the “Startup type” to “Disabled”.
- Trigger the “Stop” button to stop this service.
- Finally, hit the “OK” button:
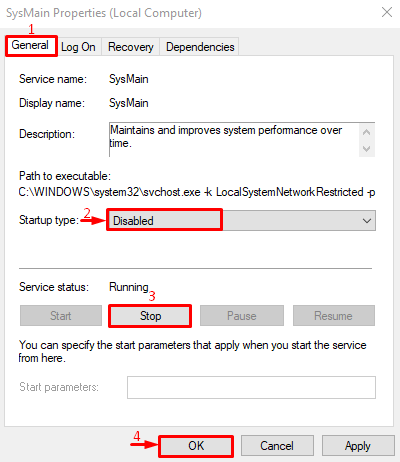
The SysMain service has been disabled successfully.
Fix 5: Stop Background Apps
The background apps consume the memory space, preventing other apps from running smoothly. Therefore, disabling the background apps can resolve the stated problem.
Step 1: Launch Background Apps
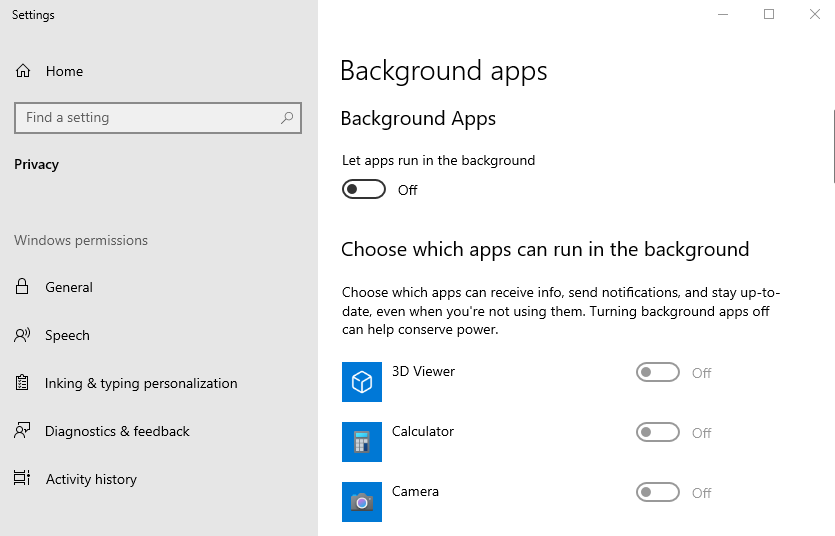
First, open “Background apps” via the Windows Start menu:

Step 2: Disable Background Apps
Turn off the toggle to disable the background apps:
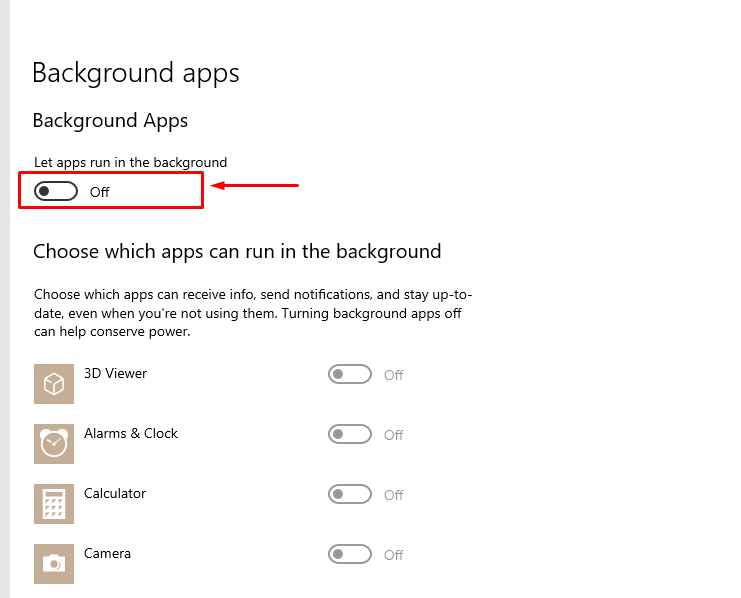
As you can see, the background apps have been disabled:
After disabling the background apps, the memory leak issue of your system will get fixed.
Conclusion
The memory leaks problem can be resolved by using several methods, which include restarting the PC, running Windows memory diagnostic tool, adjusting Windows for best performance, disabling SysMain service, or disabling startup programs. This write-up has covered all the authentic methods to resolve the stated problem of memory leaks.