To learn more about how iSCSI works and iSCSI terminologies like target, LUN, initiator, etc., I highly recommend you to read the article Configure iSCSI Storage Server on Ubuntu 18.04 LTS.
In this article, I am going to show you how to create an iSCSI target on your Synology NAS and access it from Windows and Ubuntu. So, let’s get started.
Table of Contents:
- Starting SAN Manager
- Creating an iSCSI Target
- Creating a LUN
- Finding the IP Address of Synology NAS
- Mounting the iSCSI Target on Windows
- Mounting the iSCSI Target on Ubuntu
- Conclusion
- References
Starting SAN Manager:
You can use the SAN Manager app to create and manage iSCSI targets and LUNs on your Synology NAS. The SAN Manager app is preinstalled on DSM 7.
To start the SAN Manager app, click on the ![]() Application Menu.
Application Menu.
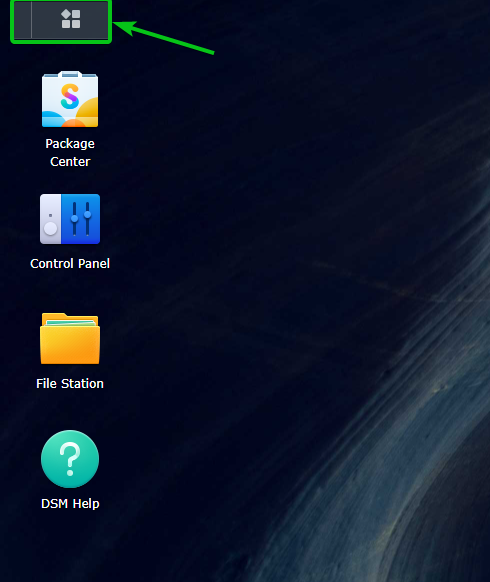
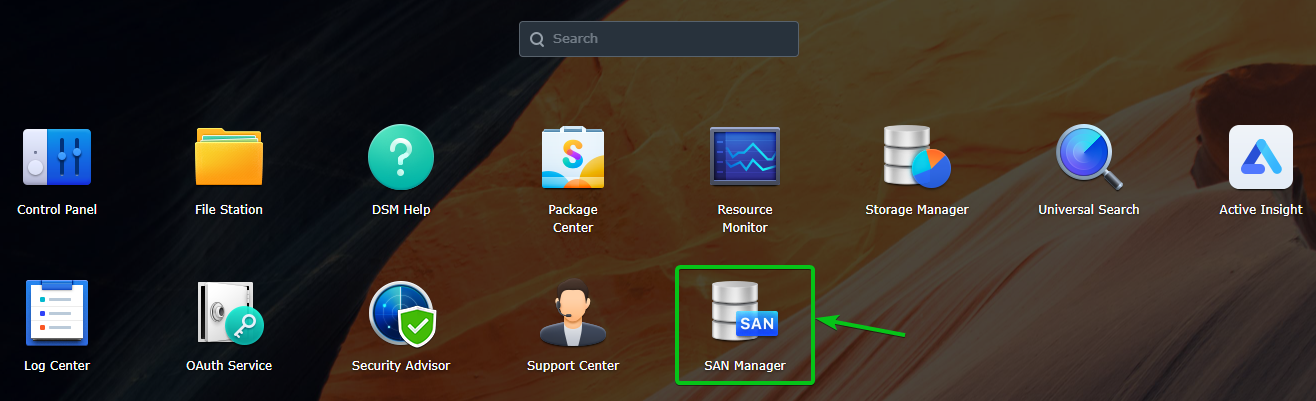
Click on the SAN Manager app icon.
Click on Start.

Click on OK.
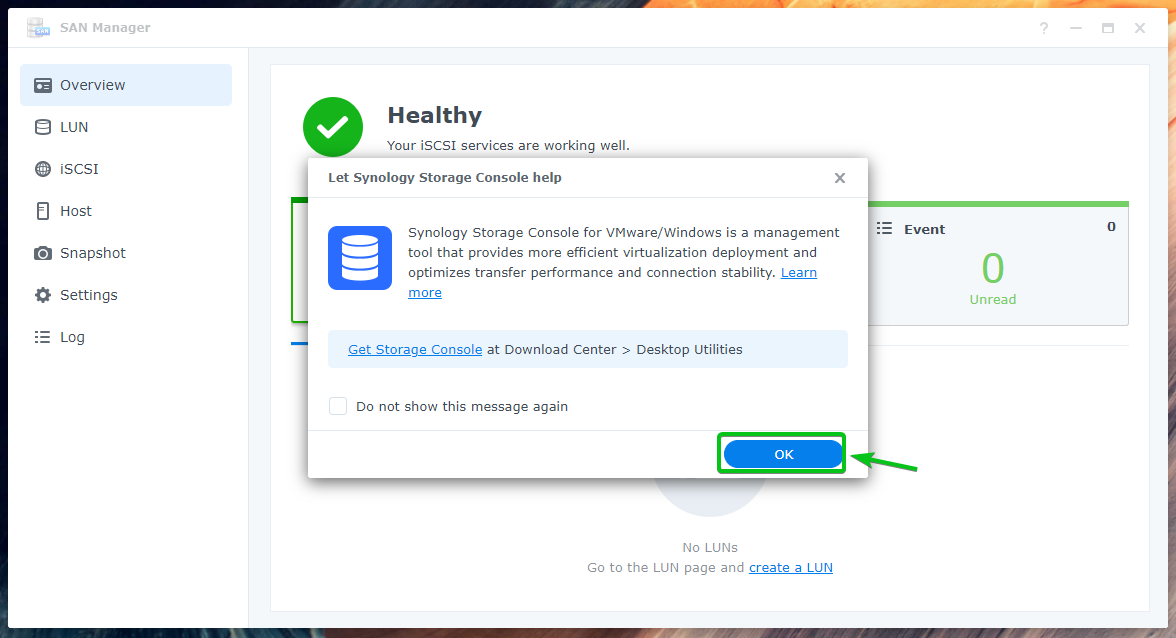
The SAN Manager app should be ready to use.
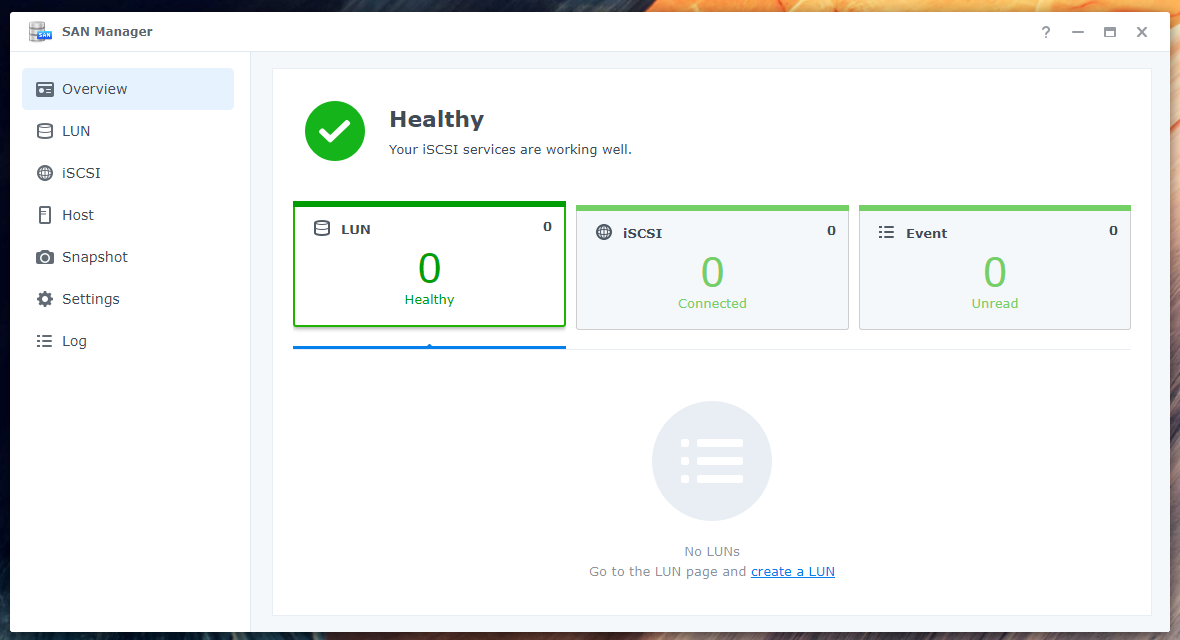
Creating an iSCSI Target:
To create an iSCSI target, click on Add from the iSCSI section of the SAN Manager app as marked in the screenshot below.

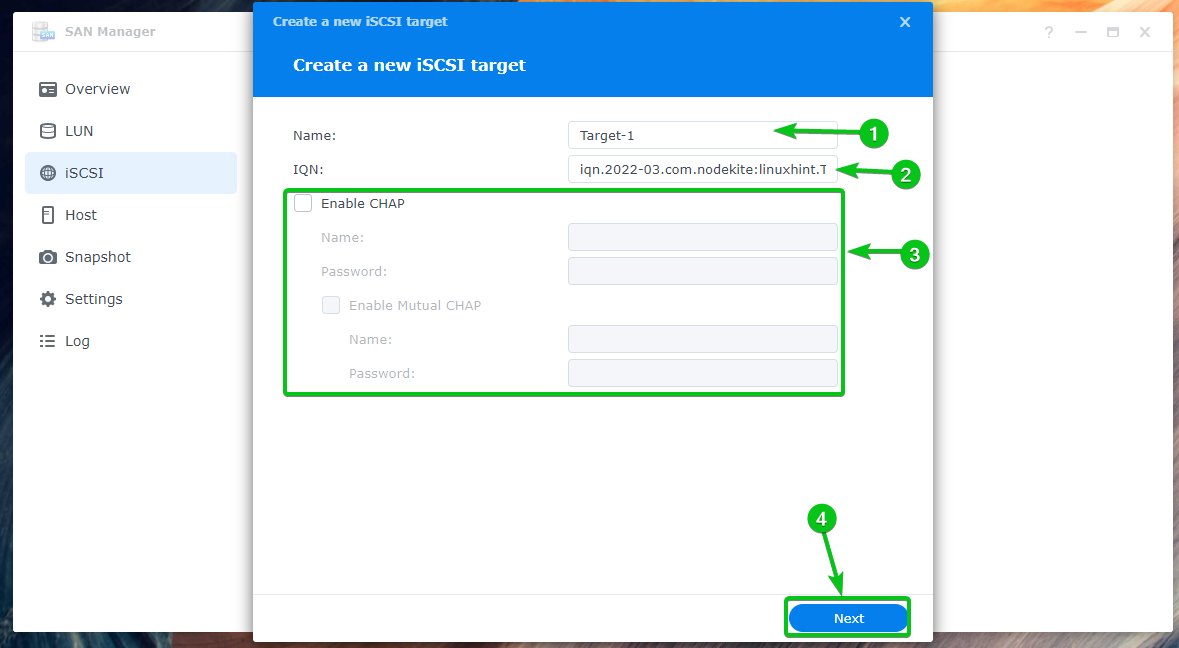
Type in a Name1 and IQN2 for the iSCSI target.
If you want to enable CHAP authentication for the iSCSI target, check the Enable CHAP checkbox and type in a username and password that you want to use for authenticating the iSCSI target while connecting from an iSCSI client3.
Once you’re done, click on Next4.
NOTE: The full form of IQN is iSCSI Qualified Name. IQN is a unique name for each of the iSCSI targets of your Synology NAS. IQN should be in the following format:
iqn.[date].[domain]:[device identifier]
Here, [date] is the date the iSCSI target is created. The [date] can be written in one of the formats YYYY-MM or YYYY-MM-DD.
[domain] is the domain name of your Synology NAS in reverse order. For example, if you have a domain name linuxhint.com. then the domain in reverse order will be com.linuxhint. For example, you can also use subdomains in reverse order like com.linuxhint.nas1.
[device identifier] can be anything that will help you identify the target. For example, storage.disk1, mystorage, ssd.volume1.1, etc.
In this example, I have used the IQN iqn.2022-03.com.nodekite:linuxhint.Target-1.6cc3d7bb0c0 for the target.
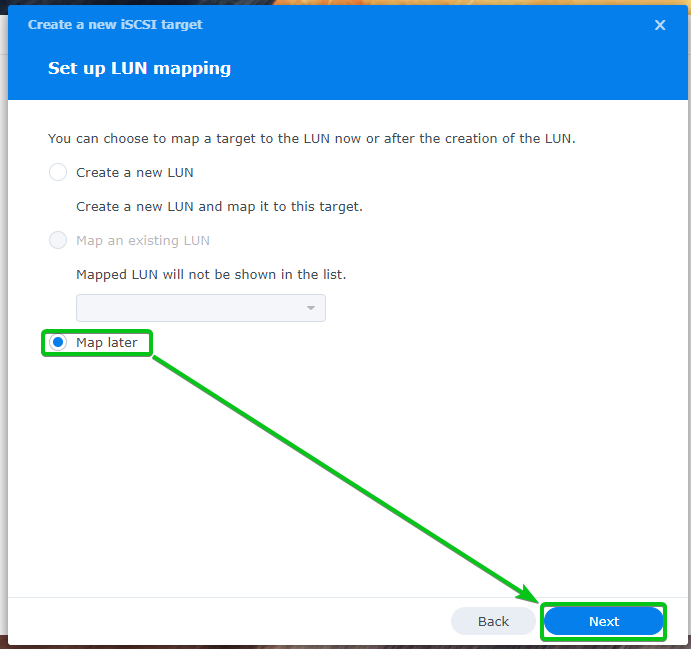
You can select Create a new LUN to create a new LUN and add it to this iSCSI target1.
If you already have some LUNs, you can select Map an existing LUN and select it from the dropdown menu2.
You can also select Map later to map a LUN to this iSCSI target later3.

As I don’t have a LUN, I will select Map later for now.
Once you’re done, click on Next.
A summary of the settings used to create a new iSCSI target will be displayed.
To create a new iSCSI target with these settings, click on Done.

A new iSCSI target should be created.
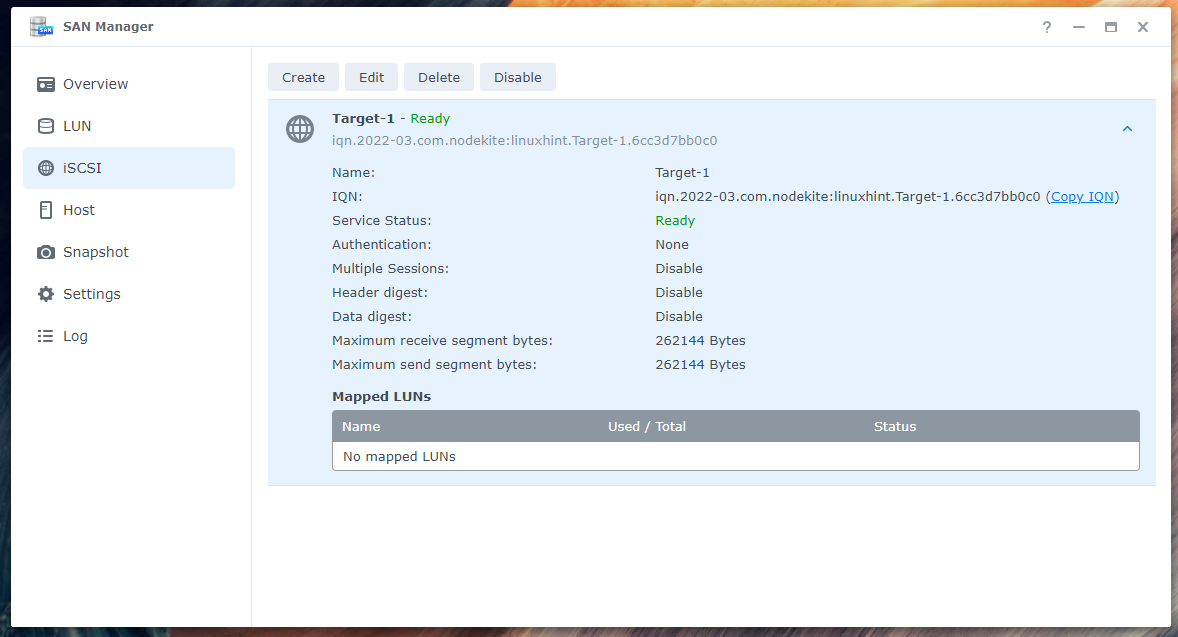
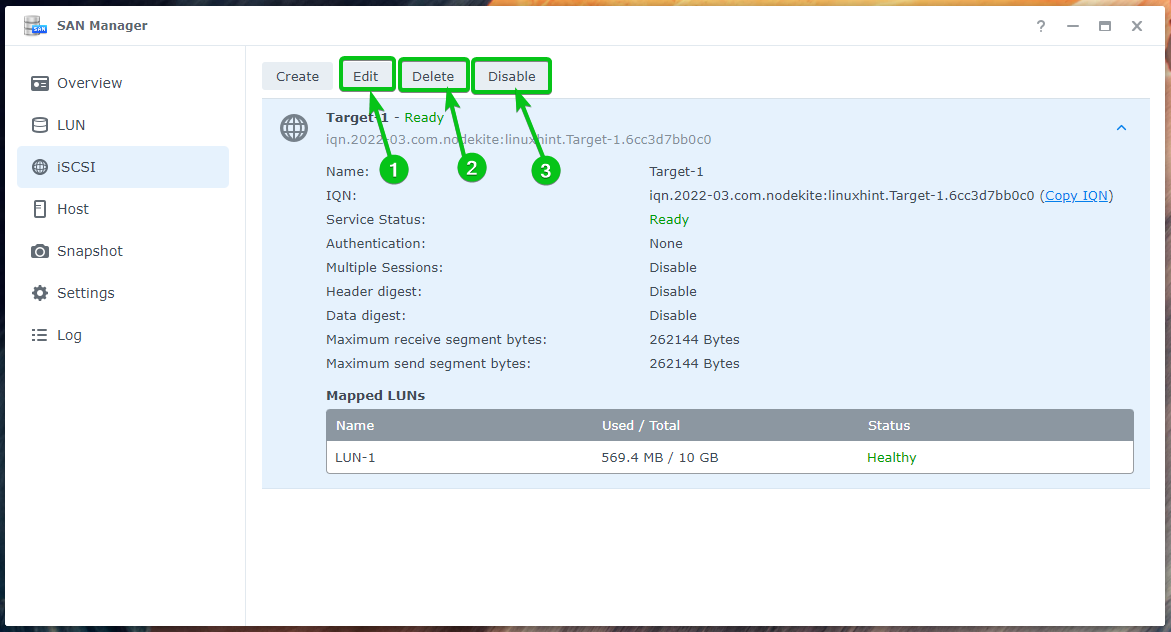
Once an iSCSI target is created, you can select the iSCSI target and click on Edit to edit properties of the iSCSI target1. You will find almost the same options as you’ve seen while you’ve created an iSCSI target. So, I am not going to explain them again.
You can select an iSCSI target and click on Delete to remove the iSCSI target2.
You can select an iSCSI target and click on Disable to disable the iSCSI target3.
Once you disable an iSCSI target, you will see an Enable button in the place of the Disable button, and you can click on it to enable the iSCSI target.
Creating a LUN:
To create a new LUN, click on Create from the LUN section of the SAN Manager app as marked in the screenshot below.

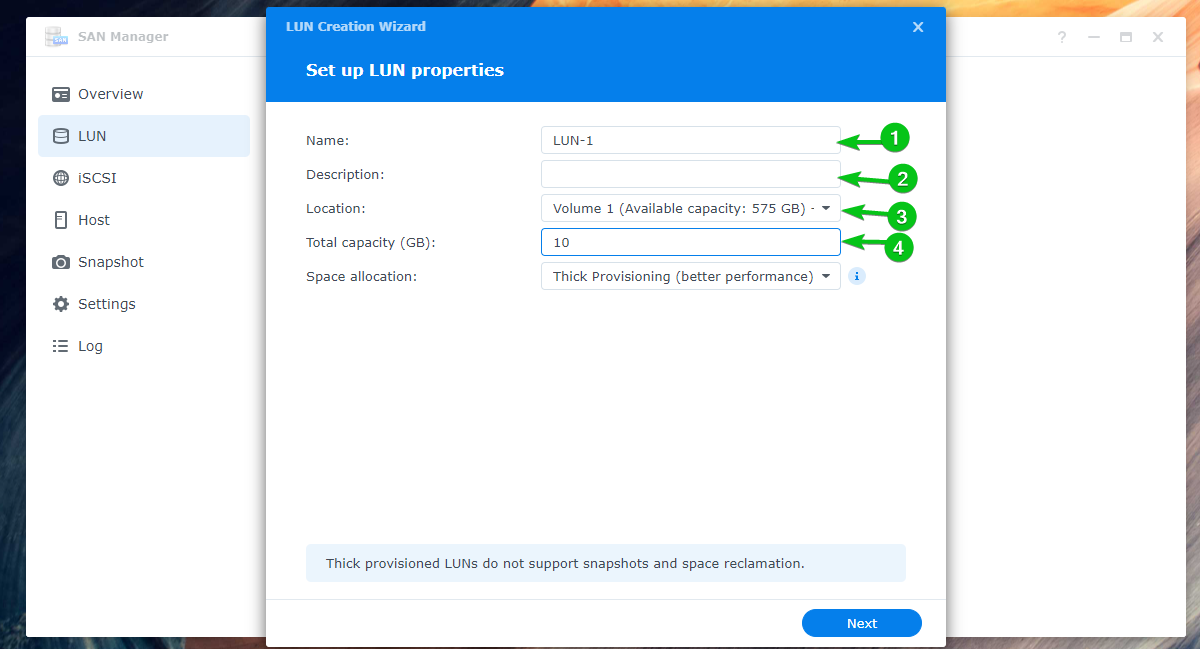
Type in a Name1 and an optional short Description for the LUN2. Select a volume where you want to store the LUN data from the Location dropdown menu3. Type in the amount of disk space you want to allocate for the LUN in the Total capacity (GB) section4.
Select the allocation technique you want to use for the LUN from the Space allocation dropdown menu.
Thick Provisioning (better performance): All the disk space is allocated from the volume (where you’re creating the LUN) after the LUN is created, even if you don’t store any files/data on the LUN. Thick provisioning provides better performance and stability than thin provisioning.
Thin Provisioning (flexible storage allocation): Disk space is allocated for the LUN as you store data on the LUN.
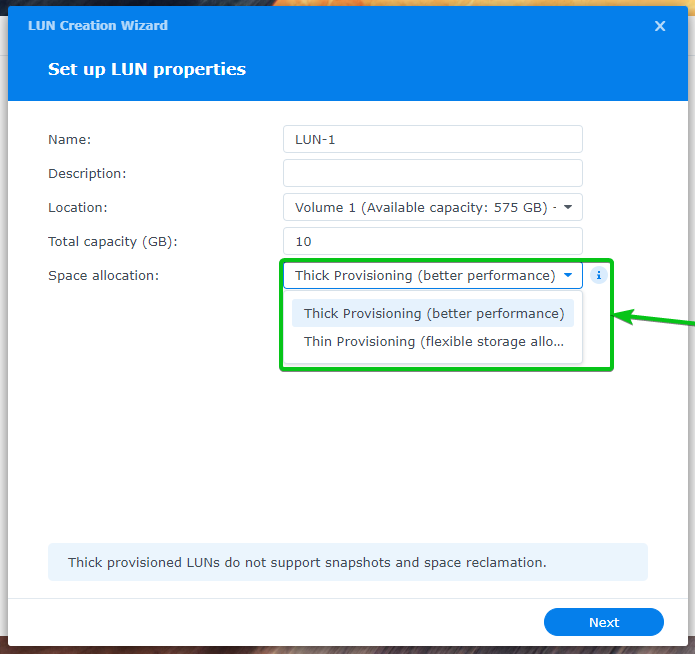
Thin provisioning supports space reclamation.
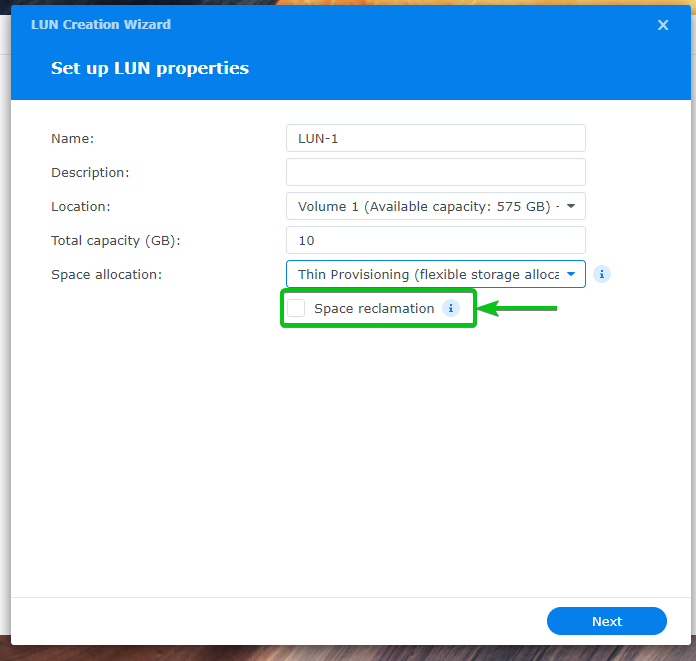
If you select Thin Provisioning (flexible storage allocation) from the Space allocation dropdown menu, you can check the Space reclamation checkbox to enable space reclamation for the LUN.
Once you’re done, click on Next.

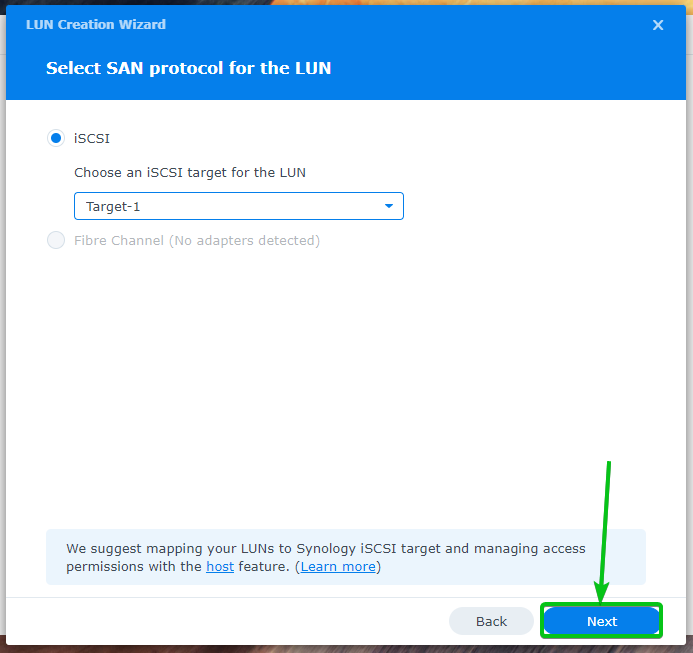
Select iSCSI and from the dropdown menu, select the target where you want to add the LUN.

Once you’re done, click on Next.
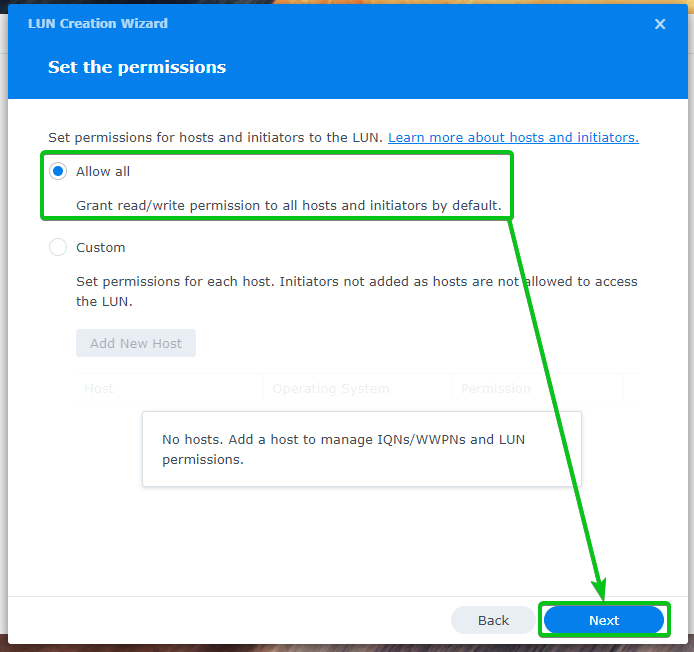
Select Allow all and click on Next.
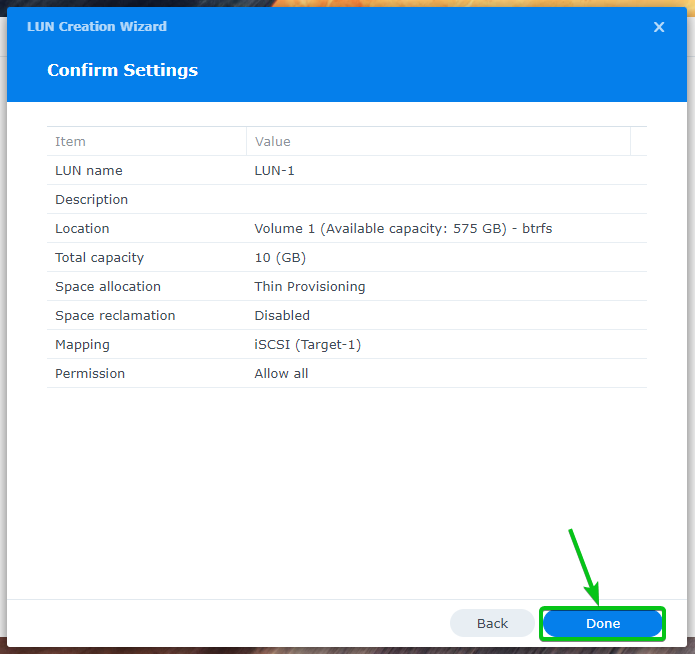
A summary of the settings used to create a new LUN will be displayed.
To create a new LUN with these settings, click on Done.
A new LUN should be created. You can add multiple LUNs on a single iSCSI target.

Once a LUN is created, you can select the LUN and click on Edit to edit properties of the LUN1. You will find almost the same options as you’ve seen while creating a new LUN. So, I am not going to explain them again.
You can select a LUN and click on Delete to remove the LUN2.
You can select a LUN and click on Clone to create an exact copy of the LUN3.
If you have created a thin provisioning LUN, you can select the LUN and click on Defrag to defragment the LUN4.

Finding the IP Address of Synology NAS:
To access the iSCSI target of your Synology NAS, you will need to know the IP address of your Synology NAS.
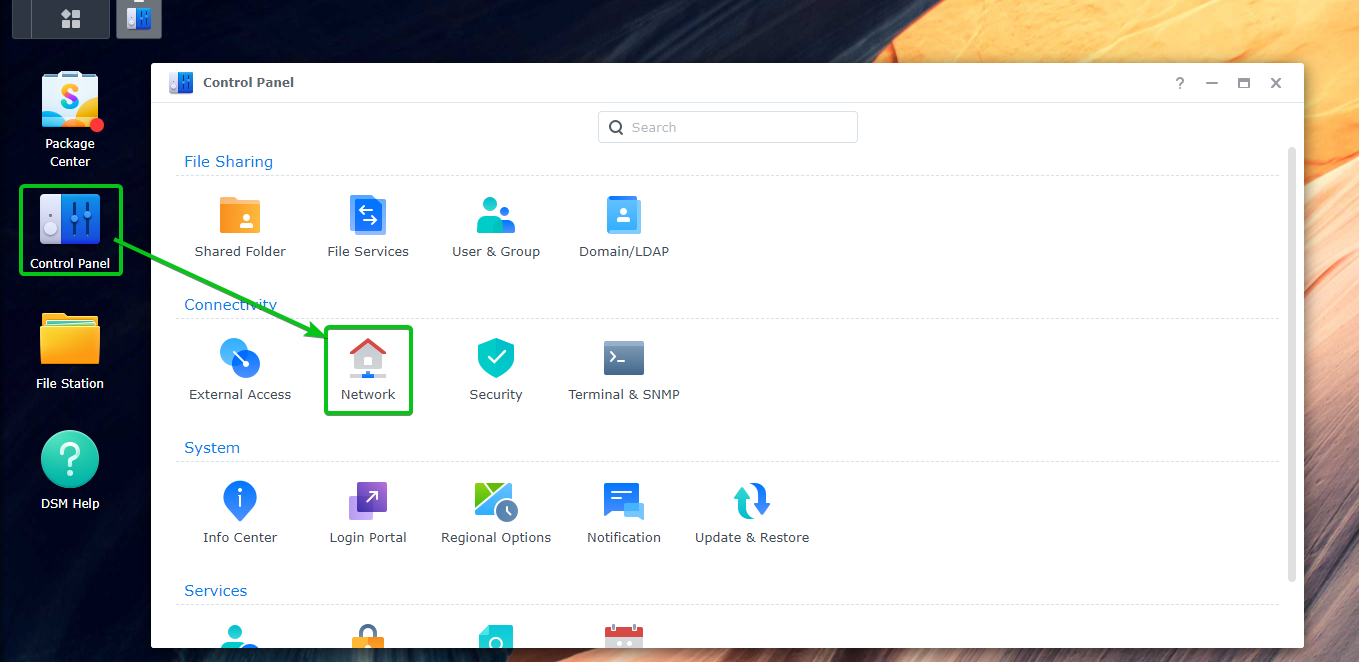
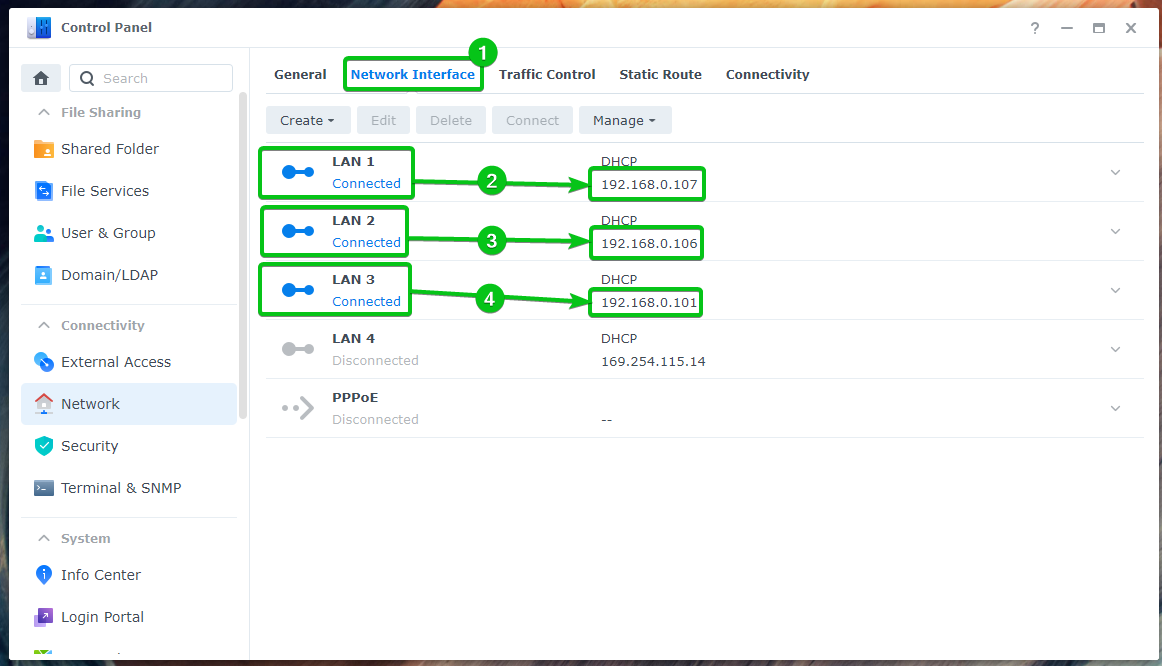
To find the IP address of your Synology NAS, navigate to Control Panel > Network from the DSM web interface of your Synology NAS as marked in the screenshot below.
Navigate to the Network Interface tab1. You can find the IP address of each connected network interfaces2,3,4 of your Synology NAS as marked in the screenshot below.
There are many other ways to find the IP address of your Synology NAS. For more information on this, read the article How Do I Find the IP Address of My Synology NAS?.
Mounting the iSCSI Target on Windows:
To mount an iSCSI target on Windows, search for the iSCSI Initiator app from the Start Menu and open it.

Click on Yes.

The iSCSI Initiator app should be opened.

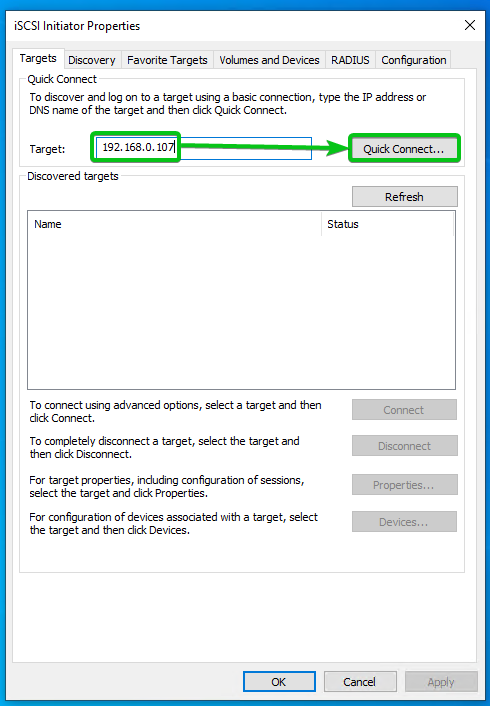
Type in the IP address of your Synology NAS in the Target section and click on Quick Connect… as marked in the screenshot below.
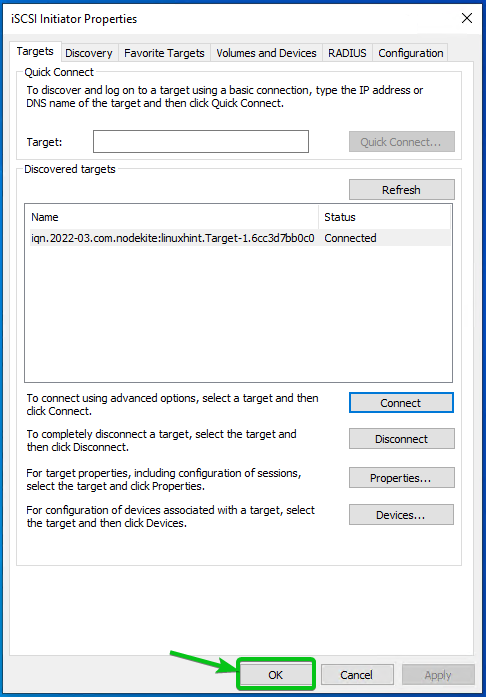
You should be logged in to the iSCSI target of your Synology NAS, as you can see in the screenshot below.
Click on Done.

The iSCSI target iqn.2022-03.com.nodekite:linuxhint.Target-1.6cc3d7bb0c0 should be connected, as you can see in the screenshot below.

Click on OK.
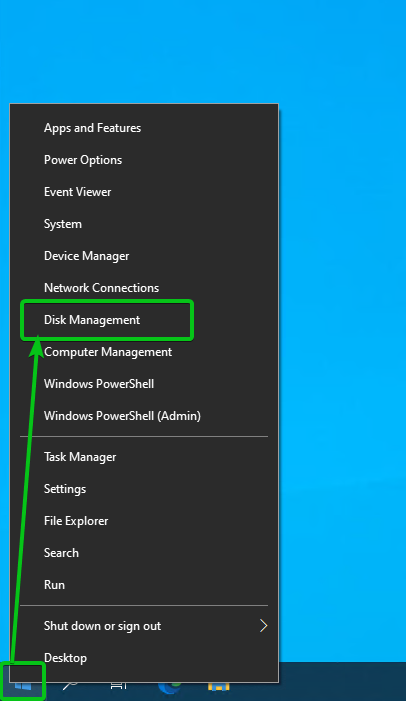
Right-click (RMB) on the Start Menu and click on Disk Management as marked in the screenshot below.
You should see a new uninitialized disk.

The Disk Management app will ask you to initialize the disk as well.
Select the disk and click on OK.
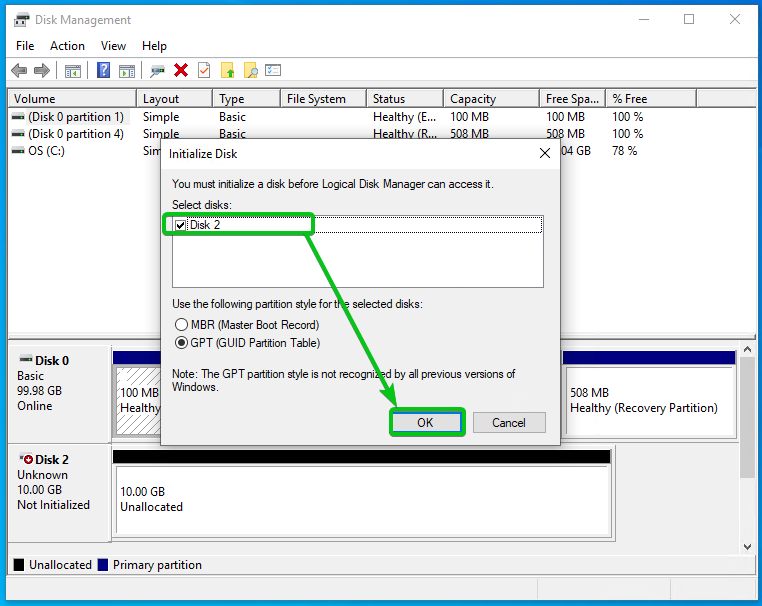
The disk should be initialized.
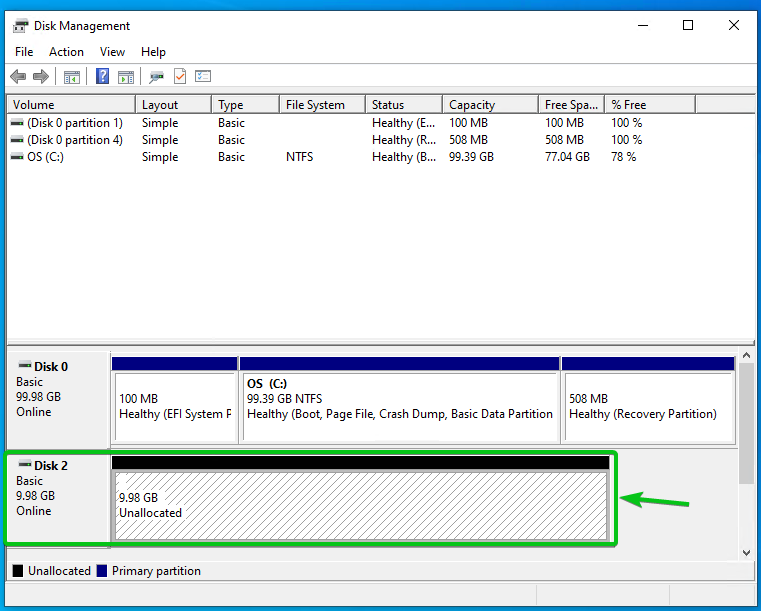
Right-click (RMB) on the disk and click on New Simple Volume… as marked in the screenshot below.

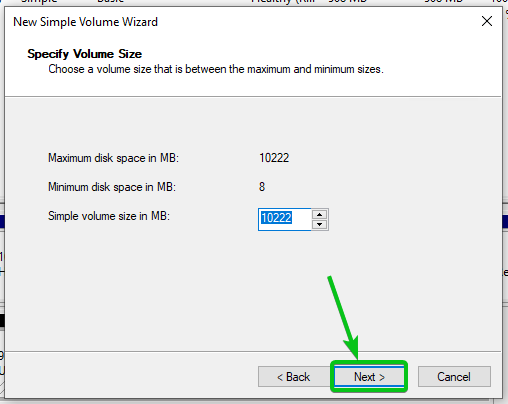
Click on Next.

Click on Next.
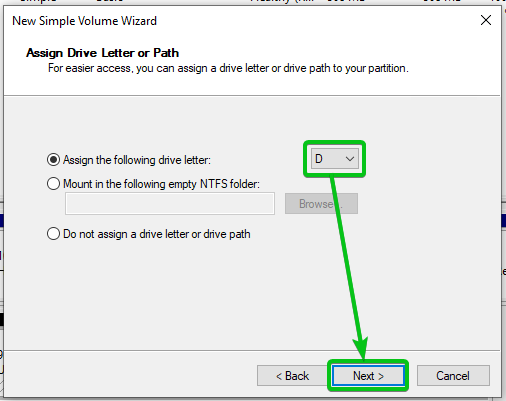
Select a drive letter and click on Next.
Type in a label for the volume and click on Next.
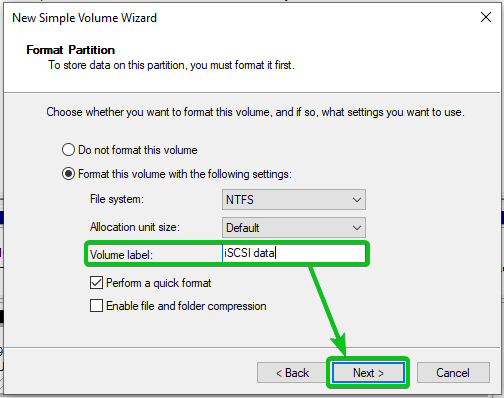
Click on Finish.

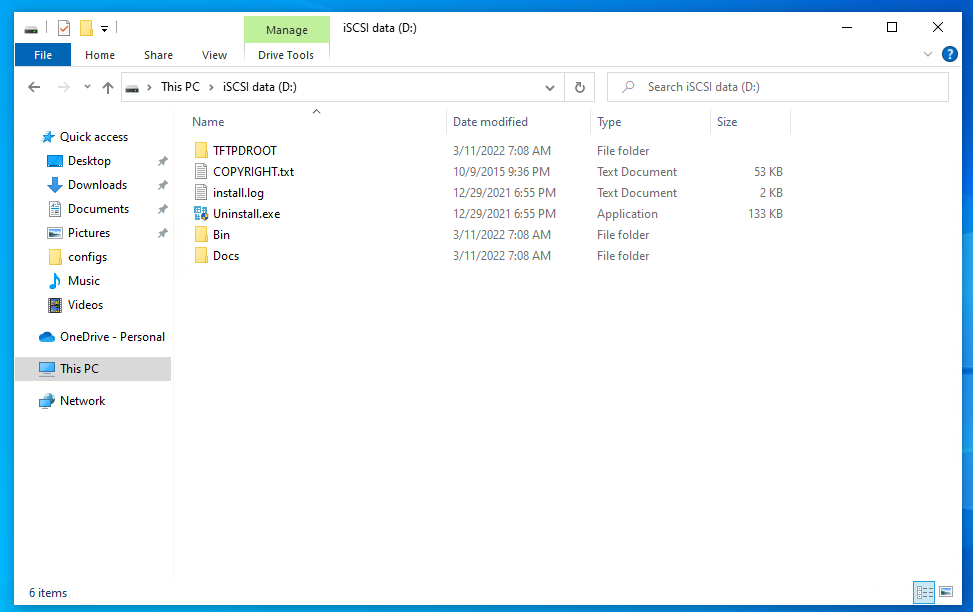
A new volume/partition should be created.

The volume/partition should also be mounted on your desired drive letter.

You can copy files to the iSCSI shared volume/partition as you usually do on your local filesystem.
Mounting the iSCSI Target on Ubuntu:
To access the iSCSI targets from your Synology NAS on Ubuntu, you must install and configure an iSCSI client program such as open-iscsi. In this section, I will show you how to install and configure the open-iscsi iSCSI client program on Ubuntu Linux distribution and access the iSCSI targets from your Synology NAS.
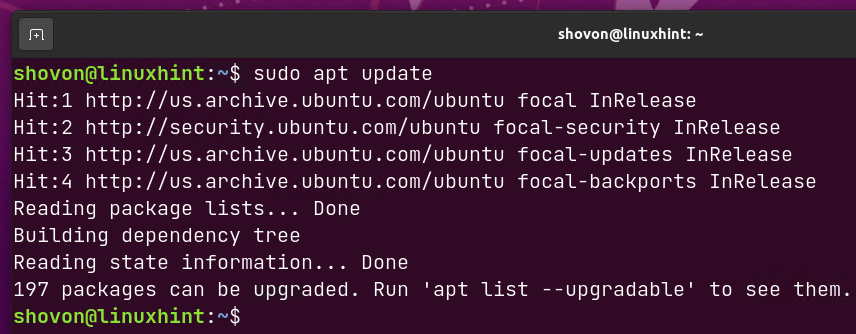
First, update the APT package repository cache with the following command:
To install open-iscsi, run the following command:

To confirm the installation, press Y and then press <Enter>.
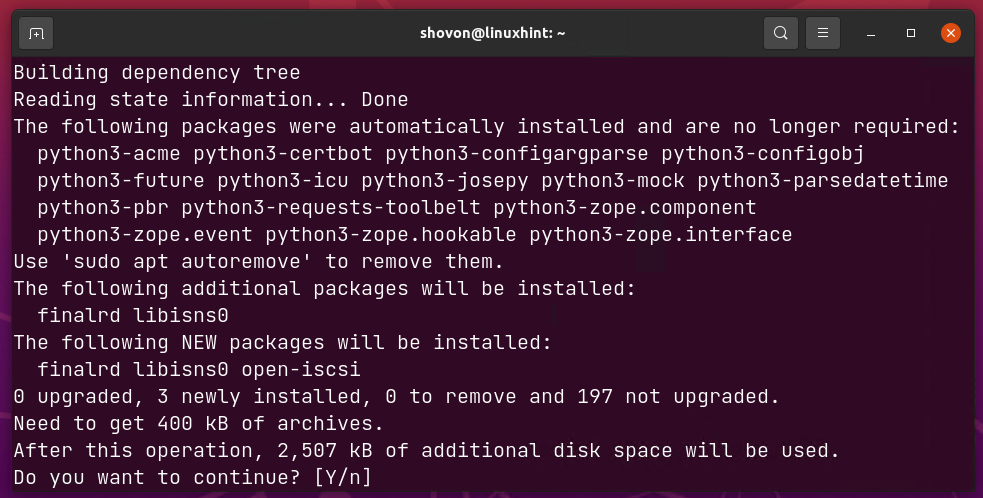
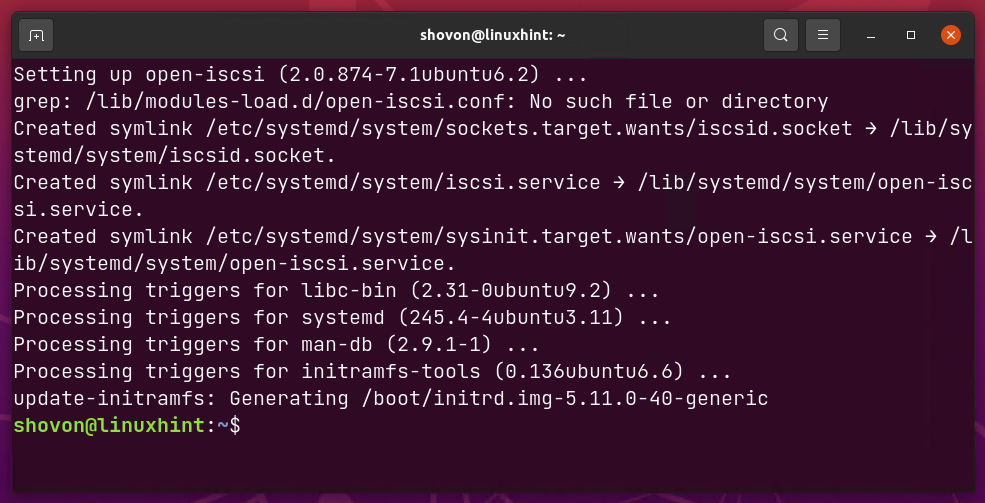
open-iscsi is being downloaded and installed. It will take a few seconds to complete.
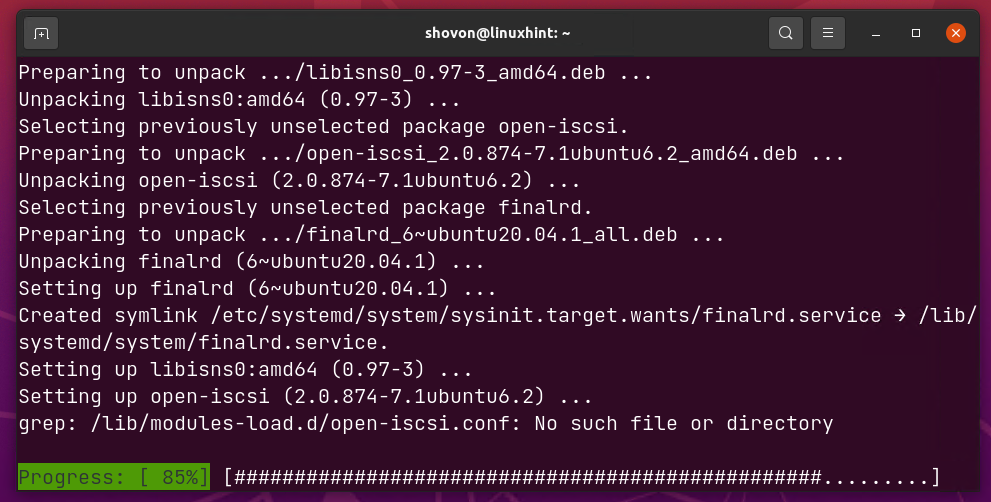
At this point, open-iscsi should be installed.
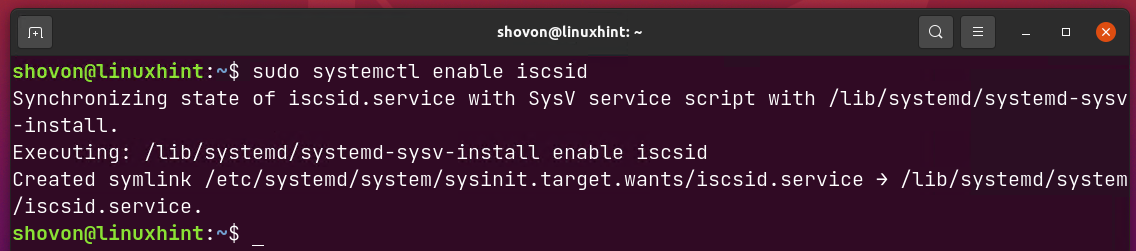
Once open-iscsi is installed, add the iscsid systemd service to the system startup of Ubuntu so that it automatically starts on boot.
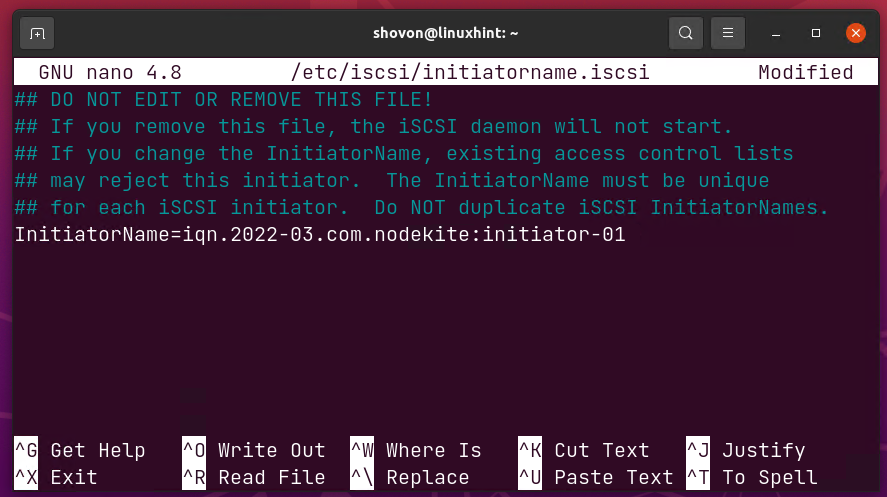
Open the /etc/iscsi/initiatorname.iscsi file with the nano text editor as follows:

Type in an unique InitiatorName in IQN format and press <Ctrl> + X followed by Y and <Enter> to save the initiatorname.iscsi file.
To configure open-iscsi, open the /etc/iscsi/iscsid.conf file with the nano text editor as follows:

Uncomment the line node.startup = automatic1 and comment the line node.startup = manual2 as marked in the screenshot below.

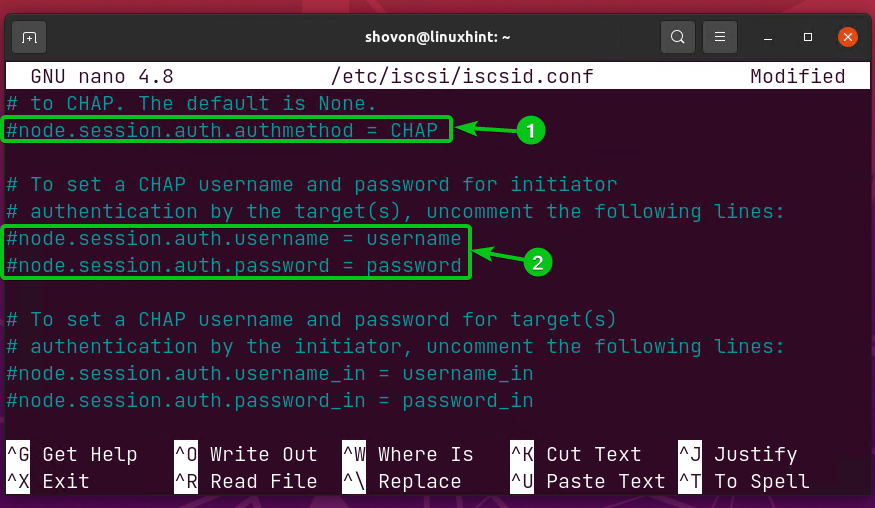
If you have enabled CHAP authentication in SAN Manager, uncomment the marked lines and set the login username and password that you’ve used for your iSCSI target in SAN Manager.
The line node.session.auth.authmethod = CHAP enables CHAP authentication while accessing the iSCSI targets1.
The lines node.session.auth.username and node.session.auth.password sets the login username and password respectively for CHAP authentication2.
Once you’re done, press <Ctrl> + X followed by Y and <Enter> to save the iscsid.conf file.
To discover the available targets of your Synology NAS, run the following command:

All the available iSCSI targets of your Synology NAS should be listed.

You will need the IQN of the iSCSI target you want to connect to.
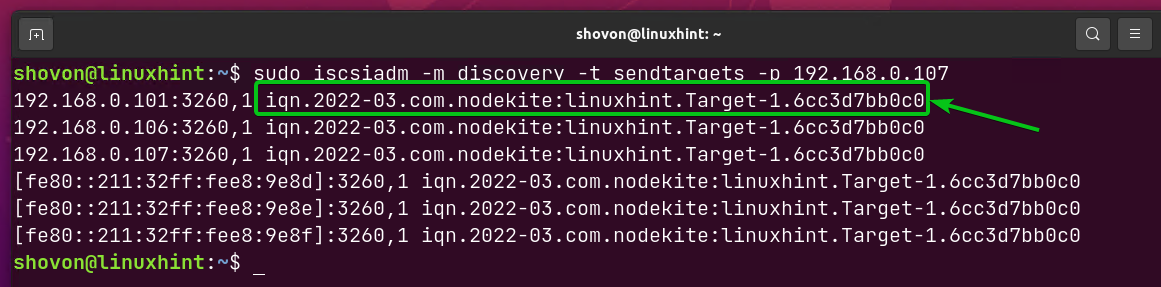
To connect to the iSCSI target iqn.2022-03.com.nodekite:linuxhint.Target-1.6cc3d7bb0c0 (let’s say) of your Synology NAS, run the following command:

You should be logged in to your desired iSCSI target, as shown below.

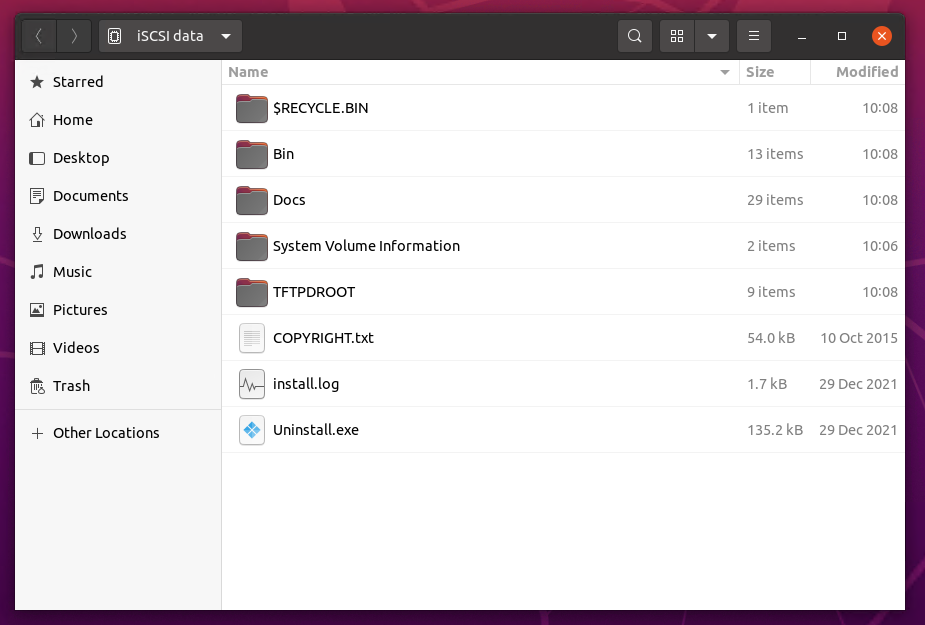
Once you’re logged in to the iSCSI target, you will see new storage devices on your computer.

As you can see, the volume/partition I have created on one of the LUNs of the iSCSI target from Windows 10 is also displayed on Ubuntu.

As you can see, all the files I have copied from Windows are also accessible on Ubuntu.
Conclusion:
This article shows you how to create an iSCSI target on your Synology NAS using the SAN Manager app. I have also shown you how to create a new LUN and add it to an iSCSI target. I have also shown you how to access the iSCSI target on Windows and Ubuntu.
References:
[1] SAN Manager – Synology Knowledge Center
[2] Configure iSCSI Storage Server on Ubuntu 18.04 LTS (linuxhint.com)