
Let’s get started with the opening of the terminal shell in Ubuntu first with the shortcut key “Chtrl+Alt+T”.
After the terminal is opened, our very first step must be to update our system with the apt package. Therefore, we have to utilize the update command along with the sudo rights using the “apt” package in consideration. On execution of this command by tapping “Enter”, will ask for the sudo account passcode. Add your Linux password and hit Enter to continue the update.

Install Latex and Texmaker
Within some seconds, our system will be updated and ready for use. If your system doesn’t have the Latex tool installed already, try to get one using the apt-get package in the install command with the keyword “texlive-full”. It will start processing the below-shown query.

Tap “Y” from the keyboard to continue this installation process and press Enter as shown in the image attached.

It will start gathering the packages and prerequisites required to install Latex on our system. It will take up to 3 hours and more according to your internet speed. So, sit back and relax.

Your installation process will be completed if you get the below output on the shell.

After the installation of Latex, you must have its text editor configured as well. If not, try using the below instruction followed by the Linux sudo password to avoid any inconvenience.

Affirm the process continuation by tapping “yes” for this installation.

It will be finished in no more than 5 minutes.

After all the installations have been done, let’s start the latex text editor i.e., “texmaker” to do code in it. Type “texmaker” in the shell and tap the Enter key from your laptop keyboard.

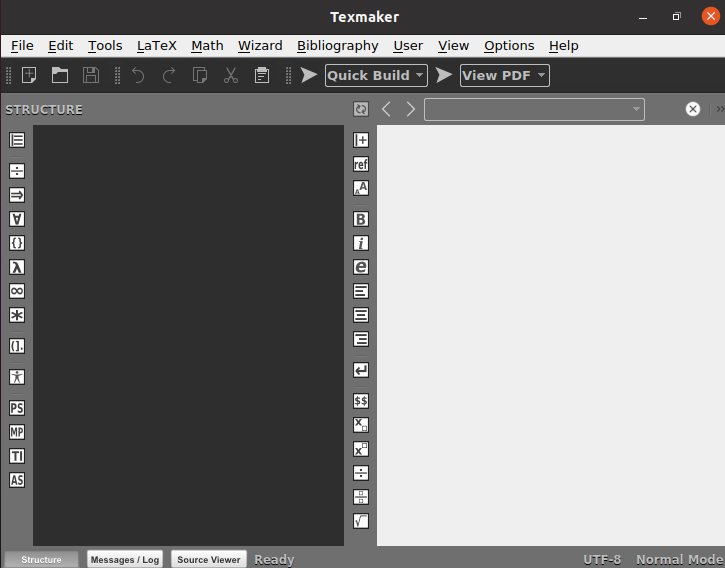
The below-shown texmaker application of Latex will be opened. You need to generate a new Latex file. Tap on the “File” and choose the “New” option from the drop-down options to create a new Latex file. The Latex file will be created as empty.
Example 01: Using \rule Command
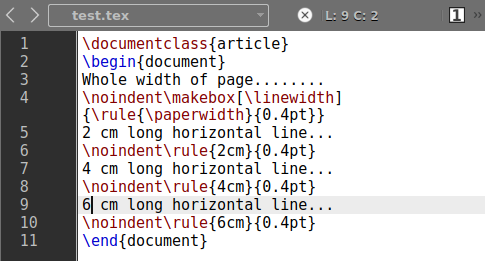
Let’s start with the very first example to create a horizontal line in our document with the \rule command in the code. You need to add the basic commands for the creation of a new document of “article” type i.e., using the “\documentclass” command.
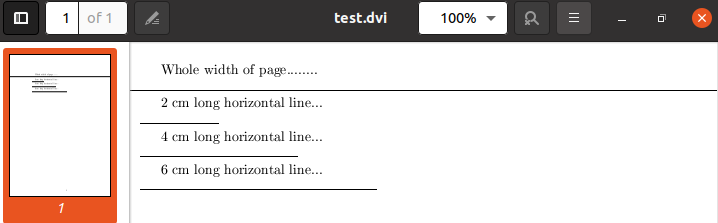
As we have to work in “documents”, we need to add the \begin and \end command with the keyword “document” in the curly brackets. Within the \begin and \end tag, we can add any text data to display in pdf. The 4th line is showing a command for making the standard horizontal line as per the page width.
The next 3 straight horizontal lines will be 2cm, 4cm, and 6cm respectively. The rule command has been taking the length of the line as 2, 4, and 6. While it is taking the thickness of the line as “0.4pt”. The \noindent command is used to add no indentation before all the lines.
\begin{document}
whole width of page.....
\noindent\makebox[\linewidth]{\rule{\paperwidth}{0.4pt}}
2 cm logn horizontal line...
\noindent\rule{2cm}{0.4pt}
4 cm logn horizontal line...
\noindent\rule{4cm}{0.4pt}
6 cm logn horizontal line...
\noindent\rule{6cm}{0.4pt}
\end{document}
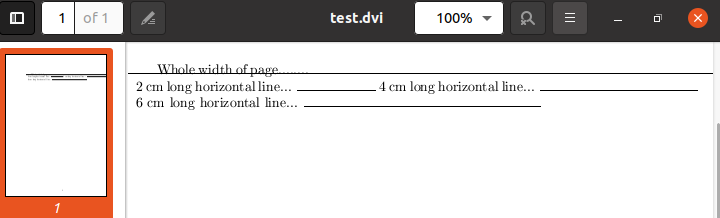
As all the code lines are formatted with no line gap, thus the output is showing the text and lines one after another without any line break.
To put a line break to separately show each horizontal line, give a space of one line as shown in the image file below. Run your Latex code once again.
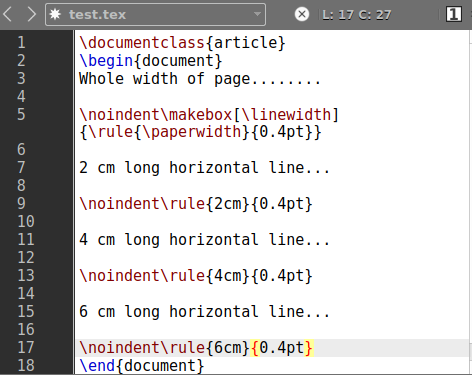
This time, you can see the separate 4 horizontal lines on the Latex document.
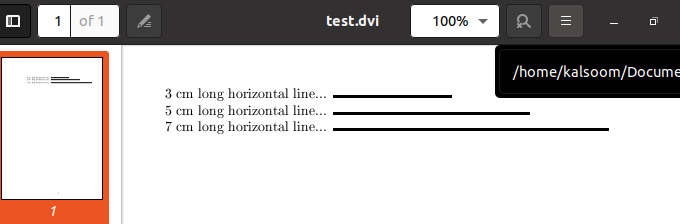
To increase the thickness of all the lines, we have updated the value of horizontal line thickness in the “\rule” command from “0.4t” to “2pt” as below.
\begin{document}
3 cm logn horizontal line...
\noindent\rule{3cm}{2pt}
5 cm logn horizontal line...
\noindent\rule{5cm}{2pt}
7 cm logn horizontal line...
\noindent\rule{7cm}{2pt}
\end{document}
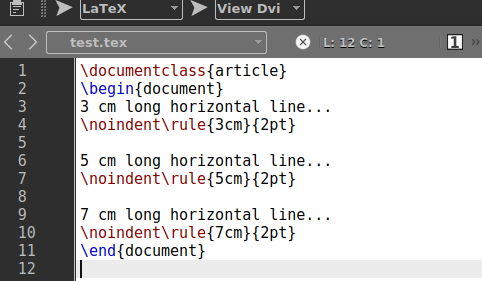
On running this code, we have got the 3 thick lines on the output document screen.
Example 02: Using \line Command
Another way to create a simple horizontal line on any Latex document is to use the \line command. This command takes x, y slope, and the length of a line. We have been creating 5 lines using the below code. Let’s run this code.
\begin{document}
\line(1,0){300}
\line(1,0){300}
\line(1,0){300}
\line(1,0){300}
\line(1,0){300}
\end{document}
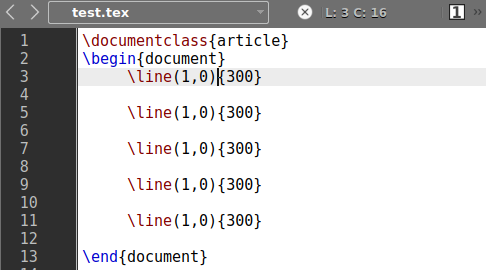
We have got 5 very simple lines on the document.

Example 03: Using \hrulefill Command
The \hrulefull command works quite the same as the \line command. The only change between these two commands is that the “\hrulefill” command doesn’t take any argument i.e., thickness, length, slopes, etc. We have used the three \hrulefill commands to create 3 lines on the file. Run this code to see the updates.
\begin{document}
\hrulefill
\hrulefill
\hrulefill
\end{document}

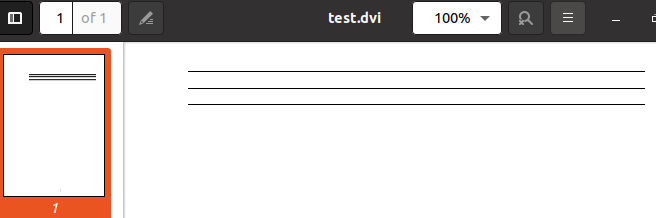
The output for the above code is showing a total of 3 horizontal lines on the Latex file “test.div” as shown below.
Conclusion
Finally! We have done the explanation of creating the horizontal lines in the documents using the Latex tool. This has been done with the use of three types of different commands for Latex i.e., \hrulefill command, \line command, and \rule command. We hope that you will get no problems while implementing these simple examples on your system.