So, what to do and how to use the sed command in the Windows operating system? In this blog, we will demonstrate sed like utilities for Windows.
Method 1: Windows Equivalent of sed Command
As we have discussed, sed is Unix and Linux-based command line utility and cannot be directly usable on Windows. But, thanks to Windows PowerShell as it provides the “Get-Content” command. The Get-Content command supports many parameters, and thus it can be used to perform the functionalities of the “sed” command in windows.
Look at the syntax of the “Get-Content” cmdlet:
“Get-Content” is used to access the file content, the “-replace” parameter is used to replace the specified string. Here “string” is an existing value that needs to be replaced with a “replace” string.
Let’s practice the Get-Content command to perform the functionality of the “sed” command in windows.
Example 1: Replace a String in a File
One of the primary uses of the sed command is to find and replace the matched string in a text file. Let’s see how we can do it in Windows.
First, check the actual content of the targeted file using the type command:
Now, we will replace the string “Hello World” with the “My File” string. For instance, the command stated below can be used to match and replace the string in a file:
Example 2: Remove a String in a File
The Linux and Unix sed command can also be used to remove text or string from the file. For this purpose, take a look at the below-provided command:
Here, “Set-Content” is used to set the content that is selected with the help of the “Get-Content” command.
In our case, we have removed the “Hello World!” and set the remaining content in File1.txt:
Let’s verify whether the specified string or line was removed or not by viewing the file using the “type” command:
You can see that we have successfully removed the “Hello World!” string from the File1.txt file:
We have offered different commands that can be versions of Unix/Linux sed commands.
Alternate Method: Use sed Command on Command Prompt
Although you cannot use sed commands on Windows, there is a third-party tool named “GnuWin32” that provides sed command line utility that can be usable on Windows Command Prompt. Therefore, to use the “sed” command, we need to install it first on Windows.
How to Install sed Command on Windows?
GnuWin32 is an open-source project that provides an executable program for the system and open-source tools, and the sed command is one of them.
To install the sed command line utility on Windows, follow up on the listed steps.
Step 1: Download sed Installer
Click the below link and download sed installer:
Step 2: Execute sed Installer
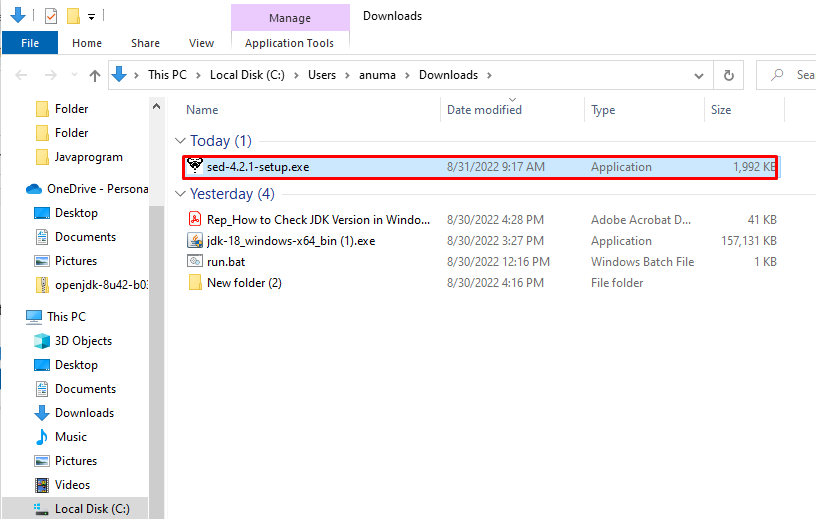
Execute the sed installer from the “Downloads” directory:
Step 3: Install sed
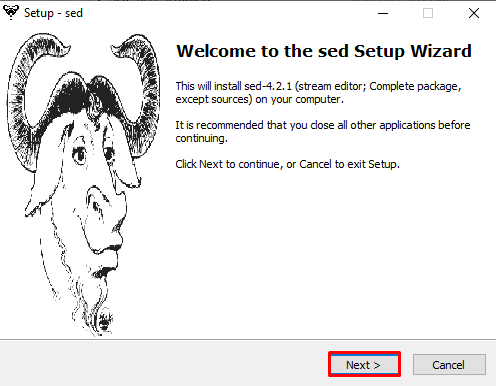
The sed setup wizard will display on the screen. To start sed installation, click on the “Next” button:
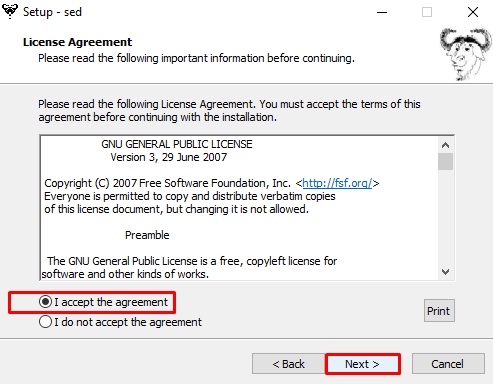
Mark the “I accept the agreement” radio button and hit the “Next” button:
Continue with the default selected installation location and hit the “Next” button:
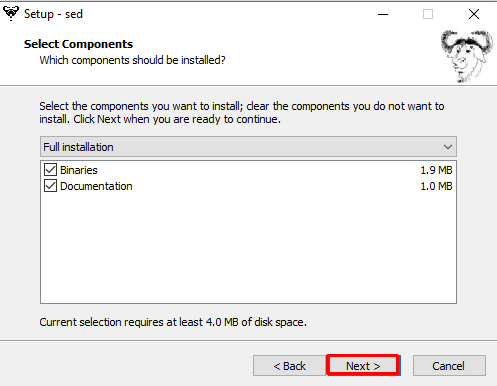
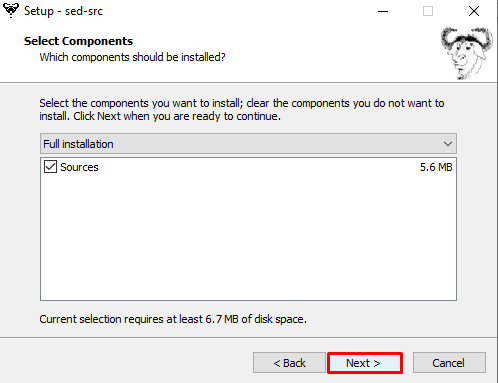
Select the sed components you want to install and click the “Next” button:
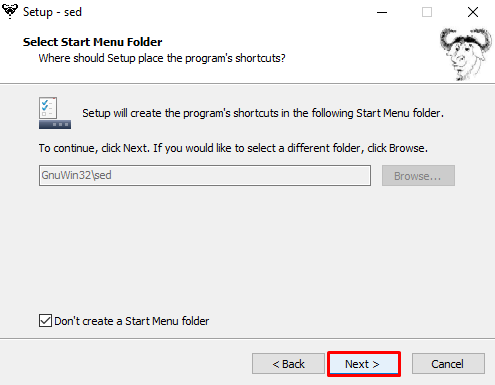
There is no requirement to create the Start menu folder for sed. Therefore, mark the “Don’t create a Start Menu folder” and press the “Next” button:
Click the “Next” button to move forward:
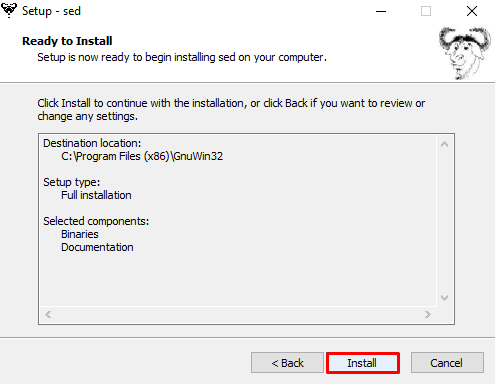
Lastly, hit the “Install” button to begin the sed command installation:
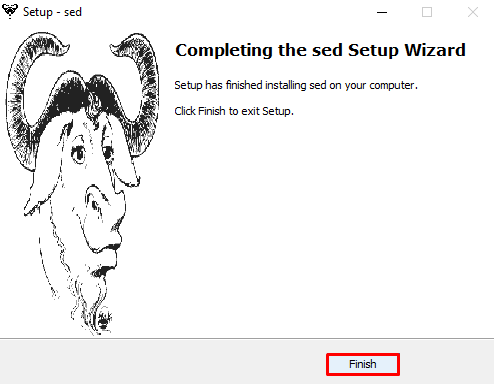
After completing the sed command installation, hit the “Finish” button:
Step 4: Copy sed Command Installation Path
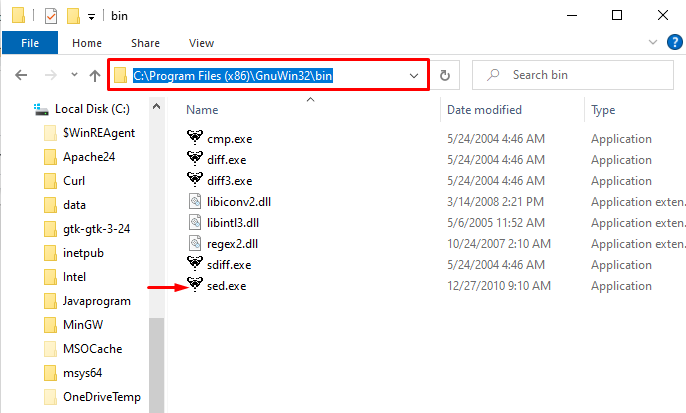
Open the location where you have installed the sed command and copy its path. However, by default, sed is stored in the “C:\ProgramFiles(x86)\GnuWin32\bin” path:
Step 5: Add sed to Window Path
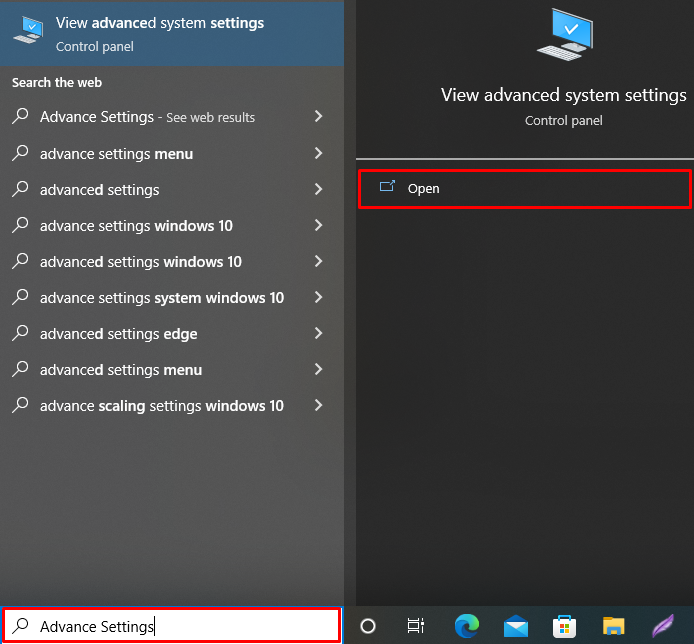
Open the Windows Advanced Settings by searching “Advanced Settings” in the Start menu:
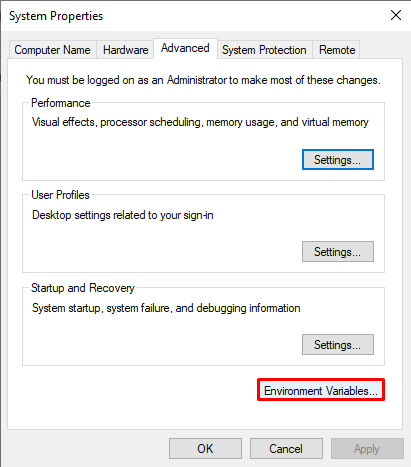
Next, hit the “Environment Variables” button:
After that, from the “System variables” settings panel, select the “Path” and hit “Edit” button:
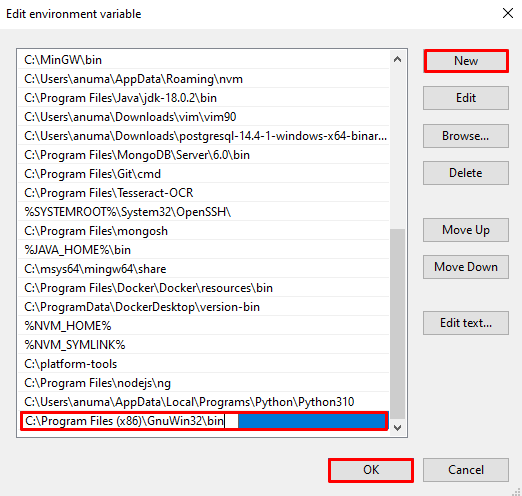
In the next step, click the new button, paste the sed installation path there, and press the “OK” button:
Step 6: Verify sed Installation
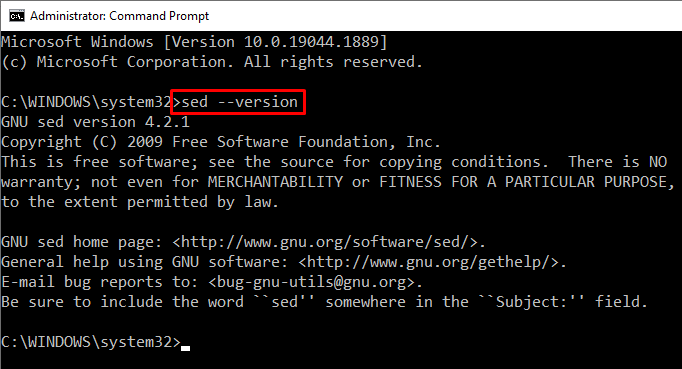
Check the sed version in Command Prompt to verify sed command installation on Windows:
The above-given output states that we have successfully installed sed version “4.2.1” on our system.
How to Use sed Command on Windows?
The sed commands help users to perform frequently required operations, such as finding, replacing, and removing text or strings from files. To check the use of sed commands, go through the below-provided examples.
Firstly, view the actual file content to understand the effect and use of the sed command on files. To view file content, use the “type” command:
Example 1: Replace Content of One File to Another File Also Add Line Number to Each String
To add line number to each file and save it in another file, utilize the provided command:
The above command “SED” is utilized to copy the content of the target file and place it in another output file. It will also add a line number with each line:
To display the output file, execute the “type” command:
You can see that the content of File1.txt is placed in File2.txt along with the line number. We can also make a change in the targeted file by using the source file as an output file:
Example 2: Remove spaces and Align Text or String
Let’s remove the extra spaces and lines and make the content align using provided command:
Here, “/n” is used suppress pattern space in above command:
Let’s verify by viewing the resultant output file “NewFile.txt”
Here you can see that we have successfully suppressed spaces make content align:
We have offered the Windows version of sed command and also explain how we can use sed command in Windows Command Prompt.
Conclusion
sed is the command line utility of Unix and Linux operating systems which cannot be directly accessible in Windows operating systems; however, Windows PowerShell provides commands that are Windows versions of sed command, such as the “Get-Content” command with the “-replace” parameter to replace string or text. You can also install sed commands using GnuWin32 third-party projects. In this study, we have learned the Windows equivalent of the sed command and how we can install the sed command on Windows.


