Step 1: Installation of Python
Python must be installed on a working computer before proceeding because it is a prerequisite for writing the code in MLflow. Install Python’s most recent version on the laptop or computer by downloading it from the official website. Before beginning the installation, carefully read the instructions. Make sure to add Python to the system PATH during installation.
Verify the Installation of Python
To make sure that Python has been successfully installed on the personal computer, open the command prompt (in Windows) or terminal (in Linux), enter the Python command, and hit the “Enter” button. After the successful execution of the command, the operating system displays the Python version on the terminal window. In the following example, the Python 3.11.1 version is installed on the specified computer as shown in the following snippet:

Step 2: Set Up a Virtual Environment
Making a virtual environment to separate the MLflow dependencies from the personal system-wide Python packages is an excellent approach. Although it is not required, setting up a private virtual environment for MLflow is strongly advised. To do this, open the command line and go to the project directory that you want to work on. To navigate to the Python Directory which is inside the “Work” folder on the D drive as we are using Windows. To build a virtual environment, execute the subsequent command:
The aforementioned command uses Python and accepts the -m (Make) switch to create a virtual environment in the current directory. The “venv” refers to the virtual environment, and the environment’s name is then followed by “MLFlow-ENV” in this example. The virtual environment is created with the use of this command as given in the following snippet:

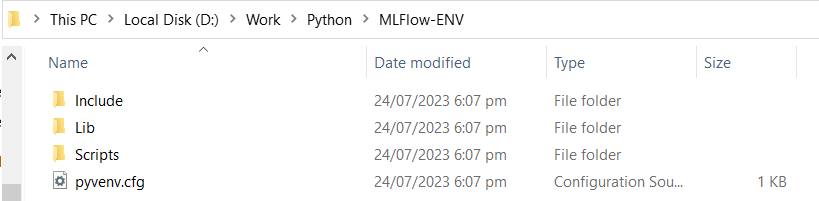
If the virtual environment is successfully created, we might check the “Working directory” to observe that the previously mentioened command produced the “MLFlow-ENV” folder which has three further directories with the following names:
- Include
- Lib
- Scripts
After using the aforementioned command, here is how the Python folder’s directory structure looks like – it produced a virtual environment as listed in the following:
Step 3: Activate the Virtual Environment
In this step, we activate the virtual environment with the help of a batch file that is located inside the “Scripts” folder. The following screenshot demonstrates that the virtual environment is operational after a successful activation:

Step 4: Installing MLflow
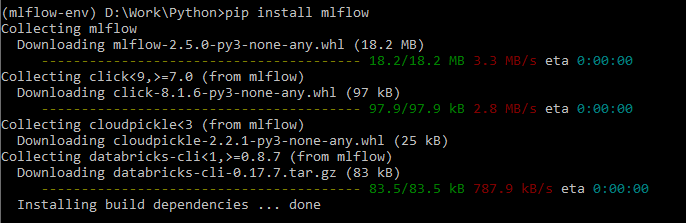
Now, it is time to install MLflow. After activating the virtual environment (if you opted to create one), install the MLflow using the pip command as follows:
The following snippet shows that the MLflow installation is downloading the required files from the internet and installing them to the virtual environment:
The MLflow will take some time, depending upon the speed of the internet. The following screen demonstrates the successful completion of the MLflow installation.
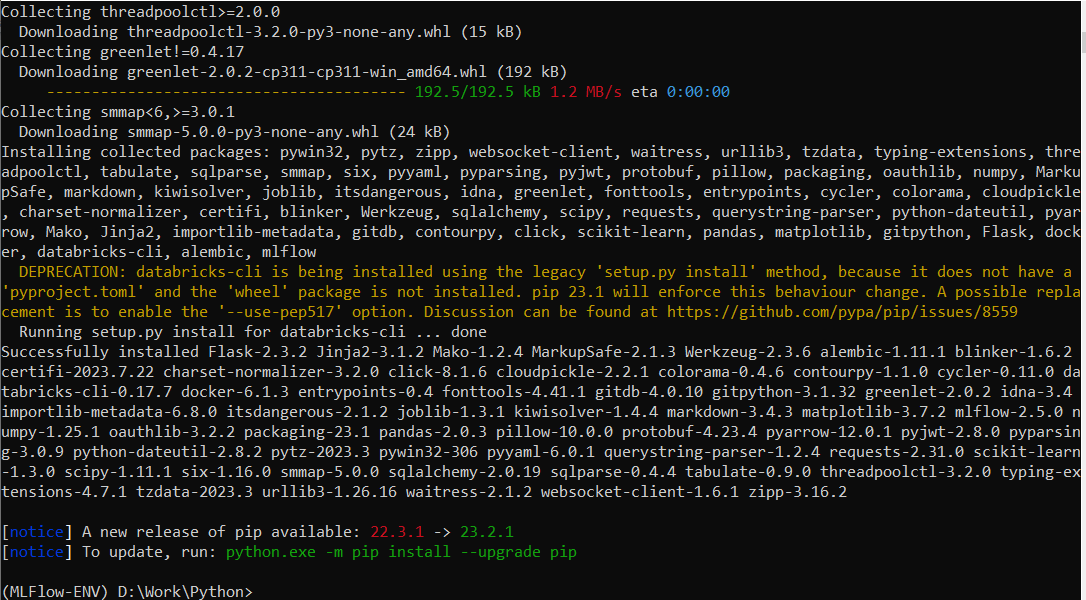
The last line of the snippet indicates that the most recent version of pip is available now; it is up to the end-user whether to update pip or not. The version of the installed pip is displayed in red color “22.3.1”. Since we are upgrading the pip to the 23.2.1 version, enter the following listed command to complete the update:
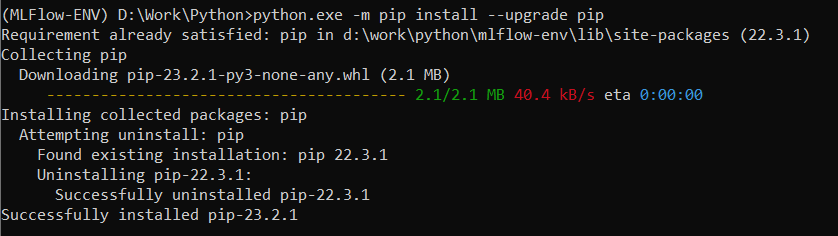
The following screen shows the successful upgrade of pip to the latest 23.2.1 version:
Step 5: Confirm the MLflow Installation
Verifying the MLflow installation is the final but essential step. It’s time to confirm whether the MLflow installation is successful or not. To check the MLflow version that is currently installed on the PC, run the following given command:
The following snippet displays that the 2.5.0 version of MLflow is installed on the working machine:

Step 6: Start the MLflow Server (Optional Step)
Run the subsequent command to launch the MLflow server so that the web user interface will be available:
The following screen demonstrates that the server is operating at the localhost (127.0.0.1) and port 5000:

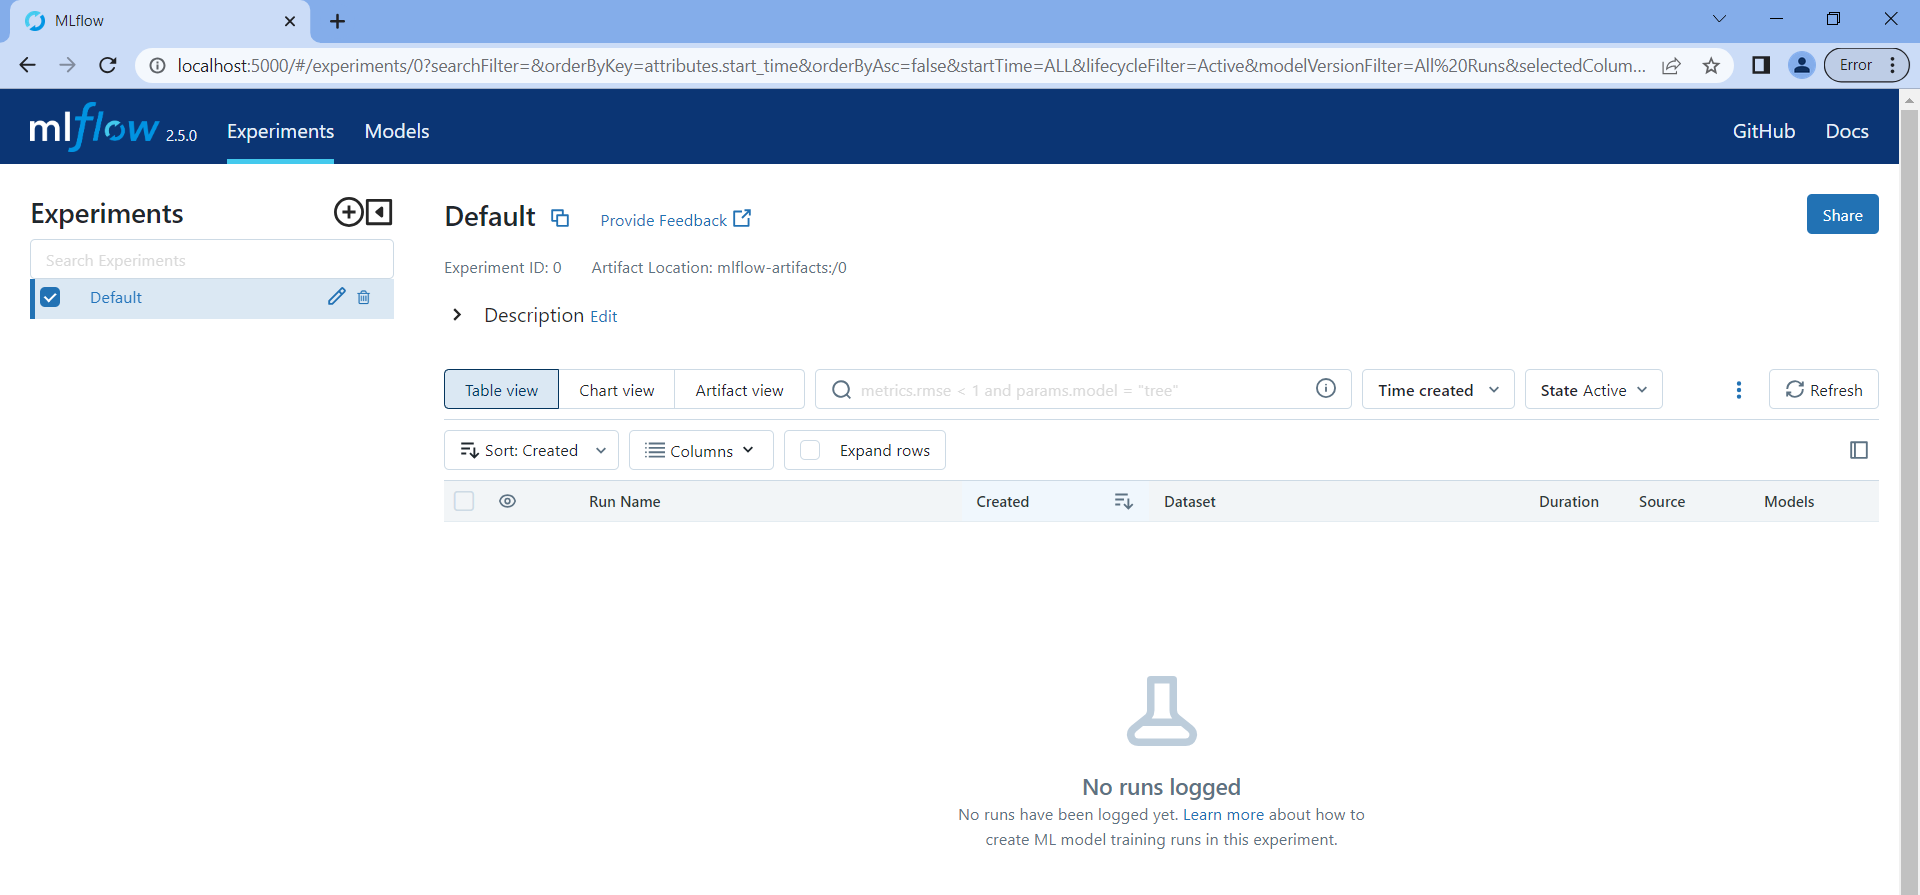
The server will operate by default at http://localhost:5000. To access the Web Interface for MLflow, browse this URL in the web browser application. The server runs on port number 5000. The “Experiments and Models” menu tabs are present in the MLflow web interface. Similarly, two other links—GitHub and Docs—are on the left side. Click the plus (+) icon next to “Experiments” to add the additional experiments using the web interface. Here is a screenshot of the web UI of the MLflow server:
How to Change the Server Port
The MLflow server typically operates on port 5000. The port can be switched to the preferred number, though. Follow these instructions to launch the MLflow server on a specific port:
Open the Command Prompt, PowerShell, or Terminal Window.
Press the Windows key from the keyboard. Then, press the “cmd” or “powershell” and release the key.
Turn on the virtual environment where MLflow is installed (assuming it made one).
Replace the PORT_NUMBER with the desired port number when starting the MLflow server:
mlflow server –port PORT_NUMBER
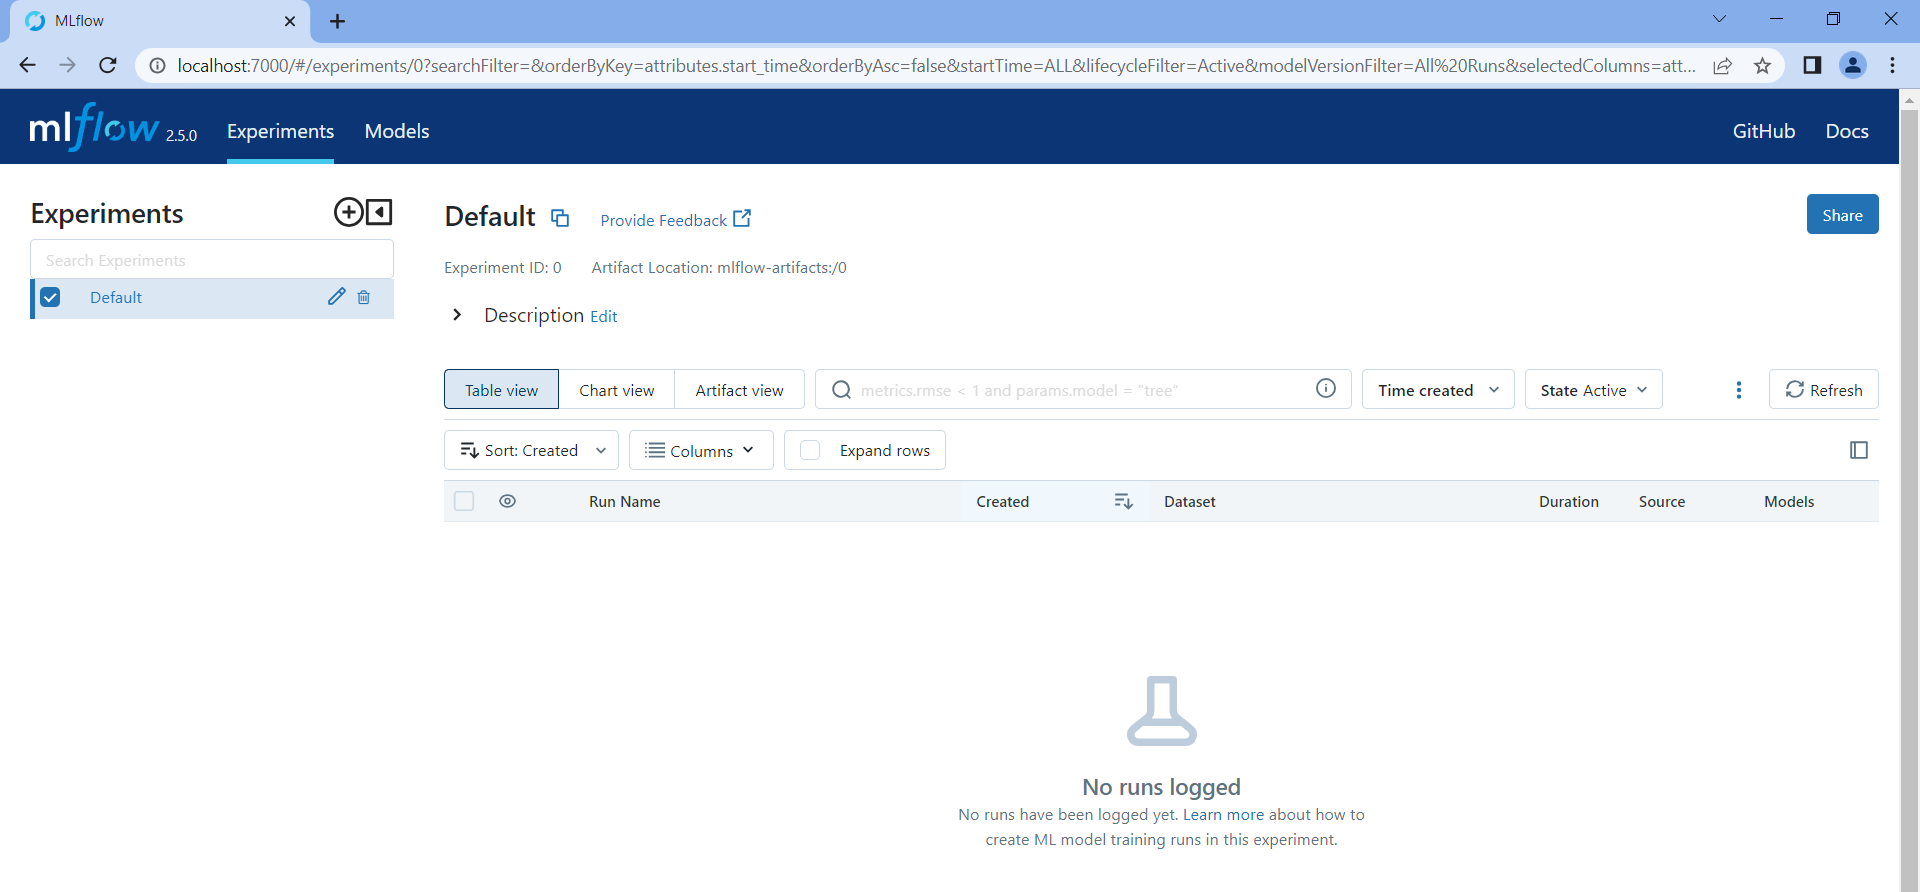
Run, the mlflow-server-7000 as a demo to launch the MLflow server on the required port:
Now, the designated port will be used by the MLflow server by launching the web browser app and input the following URL to access the Mlflow web UI. Replace the PORT_NUMBER with the compulsory port number:

The port that is selected in the preceding step should be substituted for “PORT_NUMBER” (for example: http://localhost:7000).
Step 7: Stop the MLflow Server
When using MLflow to log the parameters, track the experiments, and examine the results using the web UI, keep in mind that the MLflow server needs to be operating.
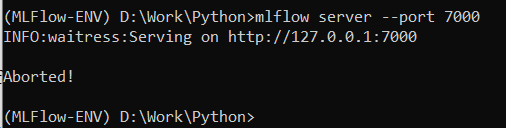
To stop the MLflow server execution, press “Ctrl + C” in the Command Prompt or PowerShell where the server is running. Here is the screen showing that the working of the server was stopped successfully.
Conclusion
With MLflow, the end-user can manage multiple machine learning projects with a robust and simple framework that enables to track and compare the experiments, replicate the results, and work successfully with the team members to concentrate on creating and improving the machine learning models while keeping the experiments structured and repeatable with the help of MLflow.