Features
[adthrive-in-post-video-player video-id=”Plb8jz1u” upload-date=”2020-09-09T08:47:10.000Z” name=”How to Install Wireshark Package in Kali Linux 2020.1″ description=”How to Install Wireshark Package in Kali Linux 2020.1″ player-type=”collapse” override-embed=”true”]
Wireshark contains several features; the main features are stated below:
- Inspection of thousands of protocols
- New features added with every update
- Live capturing of protocols
- Offline analysis
- Three-way handshake
- Maximum portability: Solaris, Linux, Windows, MAC OS X, FreeBSD, and other OS
- Graphical interface and Terminal mode “tshark utility”
- Analyzes VoIP protocols.
- Multi-platform data reading: Wi-Fi, Ethernet, HDLC, ATM, USB, Bluetooth, Frame Relay, Token Ring, and more
- Save results in CSV, XML, PostScript, and plain text documents
- Read and write a wide variety of captured file formats
Wireshark in Kali
By default, Wireshark is included in full images of Kali Linux. However, in minor images, Wireshark must be installed manually. In this tutorial, we will show you a step-by-step method for installing Wireshark in Kali Linux.
Step 1: Update APT
Always update your APT before installing; make it a habit. The term “sudo” stands for root privileges, so the system will ask for the root password. Enter the password, and the update will start.
Step 2: Install Wireshark
Here, you will be asked whether you wish to install Wireshark. Type “y” and hit enter, and the installation will begin.
Step 3: Check Command
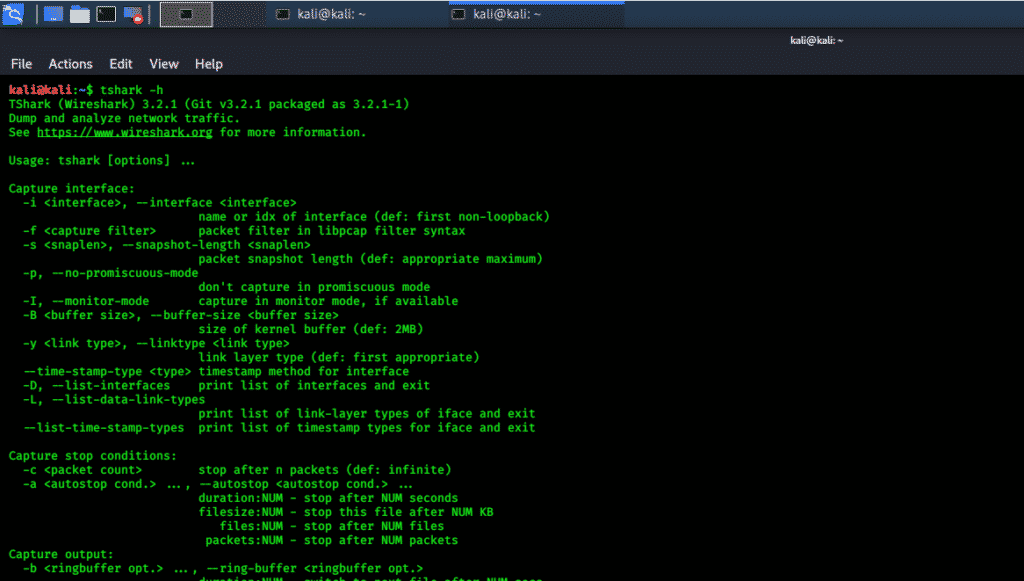
Type in the following two commands to check the Wireshark utility in the system.
$ tshark -h
Wireshark GUI
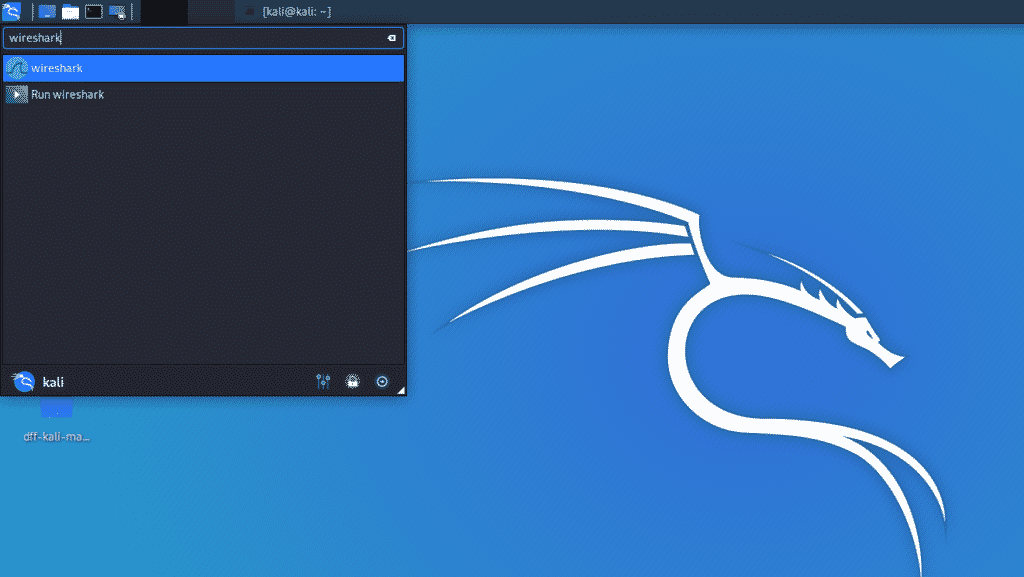
You can also check the graphical interface of Wireshark. Click on the Kali Whisker menu and, in the search bar, type Wireshark and hit enter. You will then be asked for the root password. Enter the password, and the Wireshark window will open. The following snapshots depict this process.
Conclusion
I hope you found this an easy and simple tutorial for installing Wireshark. Wireshark is the best tool for network analysis and packet investigation. It is an open-source and freely available network analyzing tool.


