In this tutorial, we will learn how to quickly configure a Weaviate cluster using Kubernetes and Helm charts.
Requirements:
The main essence of this post is setting up Weaviate using Kubernetes. Therefore, we do not cover the installation of Kubernetes or Helm on any operating system. You can check our posts on that to learn more.
Hence, ensure that you meet the following features:
- A Kubernetes cluster version 1.23 and above
- Cluster support for PersistentVolumes through PersistentVolumeClaims
- Helm version 16.4 and above
With the above requirements met, we can proceed to the installation process.
Download the Helm Chart
The first step is to add the Weaviate repository to Helm. This repository contains the Weaviate Helm chart which we will use to configure the Weaviate cluster.
Once we added the repository, use the “show” command to get the default “values.yaml” configuration file from the Helm chart.
This should download the default configuration and save it to the “values.yaml” file.
Modify the Configuration
Once downloaded, open the file with your chosen text editor and make the necessary changes.
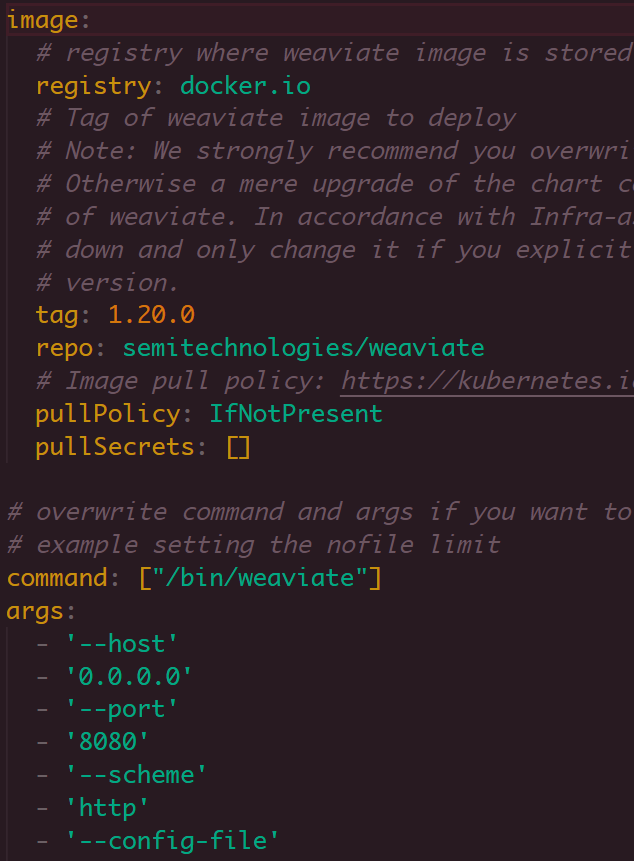
By default, the configuration file creates a Weaviate cluster with one replica. The number of replicas cannot be modified when writing this tutorial.
It also provides the “text2vec-contextionary”, “text2vec-transformers”, “qna-transformers”, and “img2vect-neural” modules. However, they are disabled by default. Hence, you must manually enable them in the configuration file.
Enable the Authentication
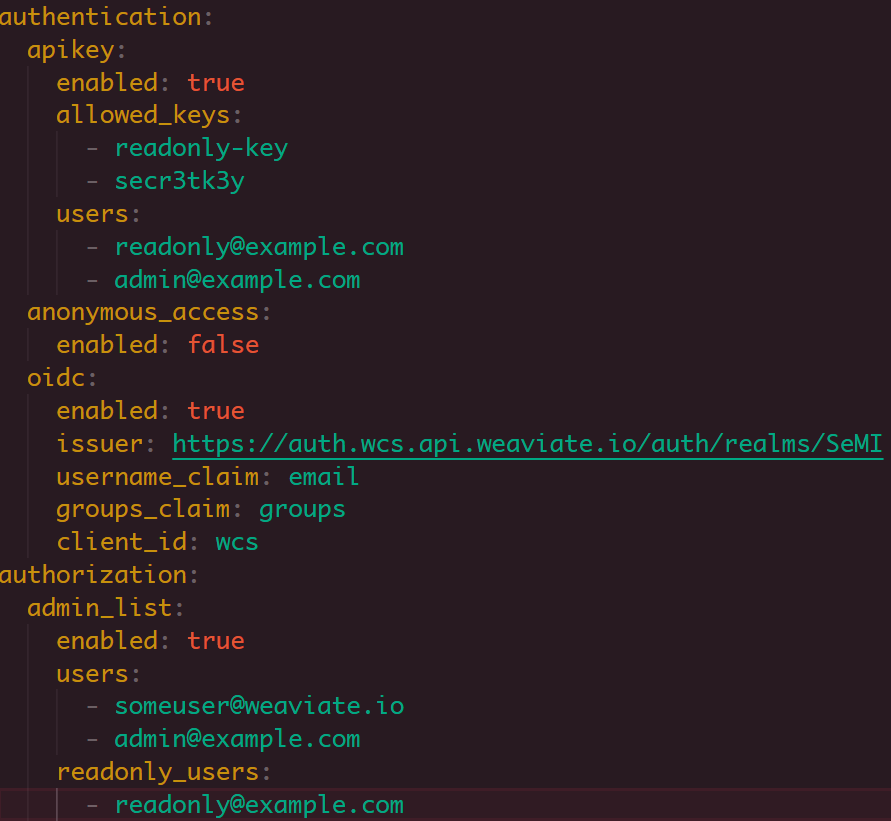
To secure the Weavite cluster, you can enable the authentication and configure the users and their respective credentials. Ensure to configure the values in this block accurately as they determine the authentication capabilities of the cluster.
An example configuration is as follows:
Create the Kubernetes Namespace
Once you are satisfied with the configuration, save the file and proceed to the next step to deploy the cluster.
Start by creating a Kubernetes namespace for Weaviate as shown in the following command:
This should configure a new namespace with the specified name.
Install the Helm Chart
Finally, you can start the Weaviate cluster using Helm to deploy the k8s as shown in the following commands:
The previous command uses Helm to initialize the cluster using the values that are provided in the “values.yaml” file.
Example Output:
Release “weaviate” does not exist. Installing it now.
LAST DEPLOYED: Sun Jul 9 08:07:10 2023
NAMESPACE: weaviate
STATUS: deployed
REVISION: 1
TEST SUITE: None
Conclusion
You discovered how you can use Kubernetes and Helm to run a Weaviate cluster on your local machine. Feel free to explore the docs for more details.


