In this article, we will show you how to download and install Visual Studio IDE on Windows 10 and Windows 11.
Topic of Contents:
- Downloading Visual Studio IDE for Windows 10/11
- Installing Visual Studio IDE on Windows 10/11
- Running Visual Studio IDE on Windows 10/11
- Conclusion
Downloading Visual Studio IDE for Windows 10/11
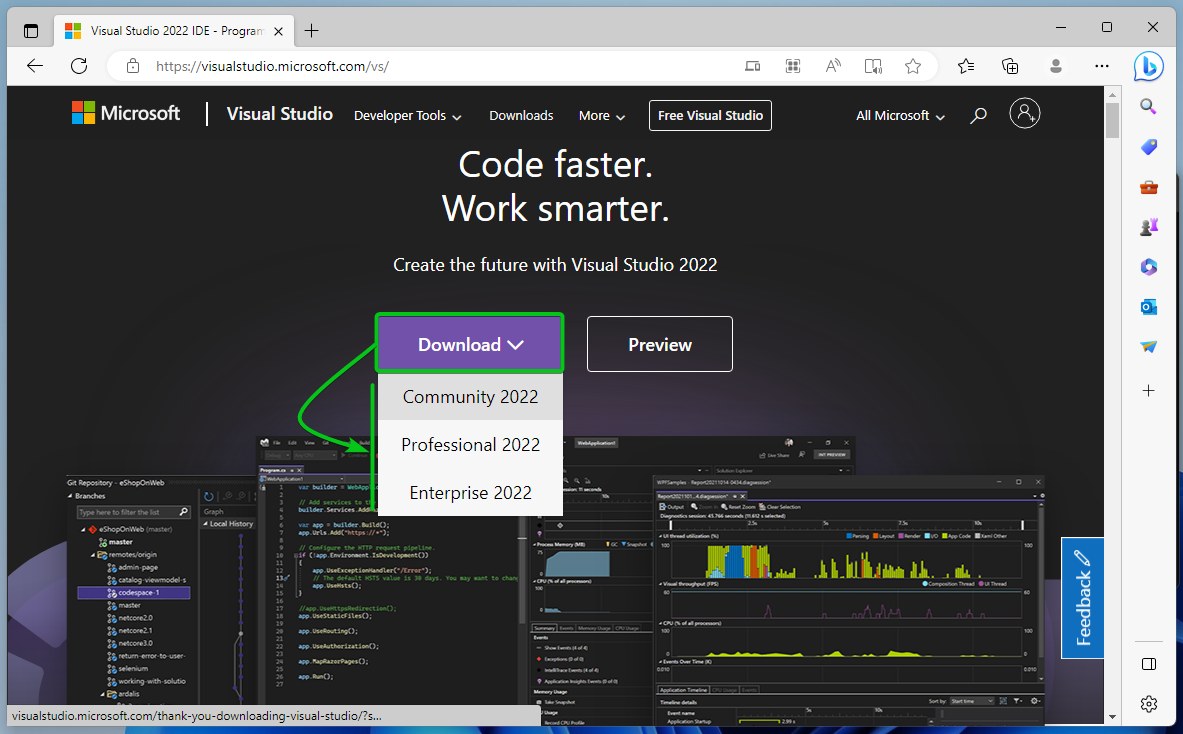
To download the Visual Studio IDE installer for Windows 10/11, visit https://visualstudio.microsoft.com/vs/ from your favorite web browser.
Once the page loads, click on the “Download” dropdown menu and select the version of Visual Studio IDE that you want to download.
The Visual Studio Community is free to download and use. Visual Studio Professional and Visual Studio Enterprise requires paid licenses to use. In this article, we will download the Visual Studio Community for demonstration.
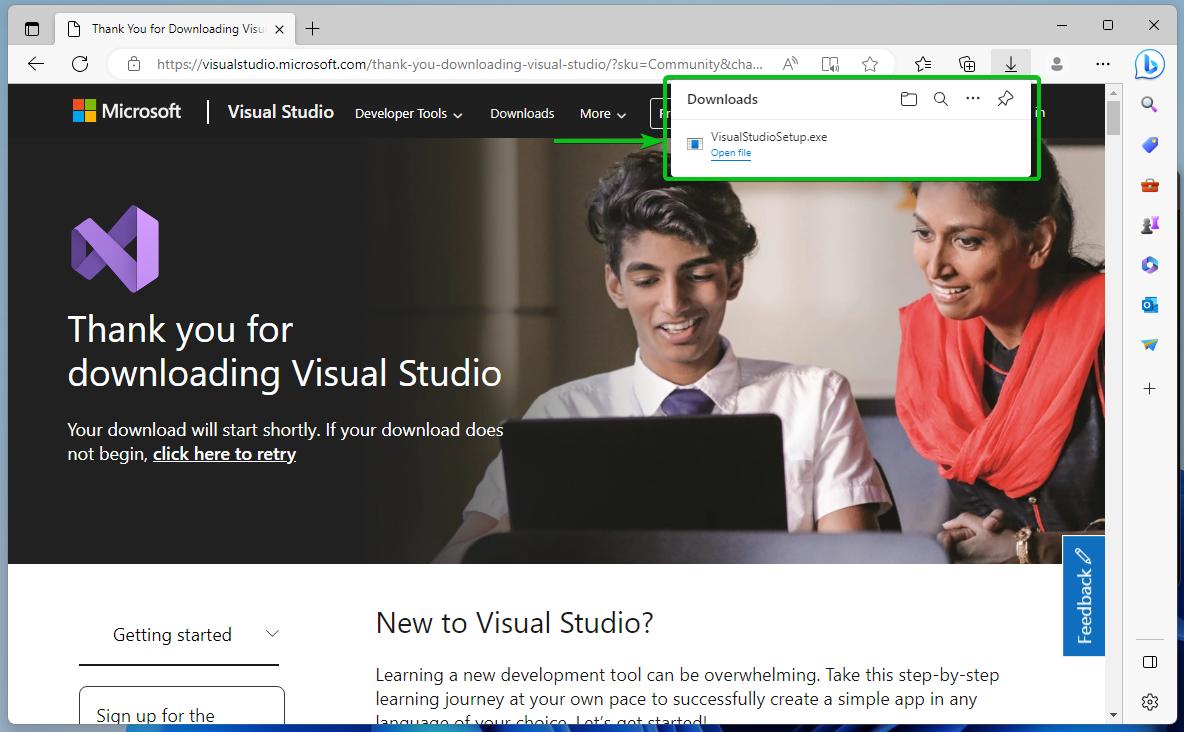
Your browser should download the Visual Studio online installer.
Installing Visual Studio IDE on Windows 10/11
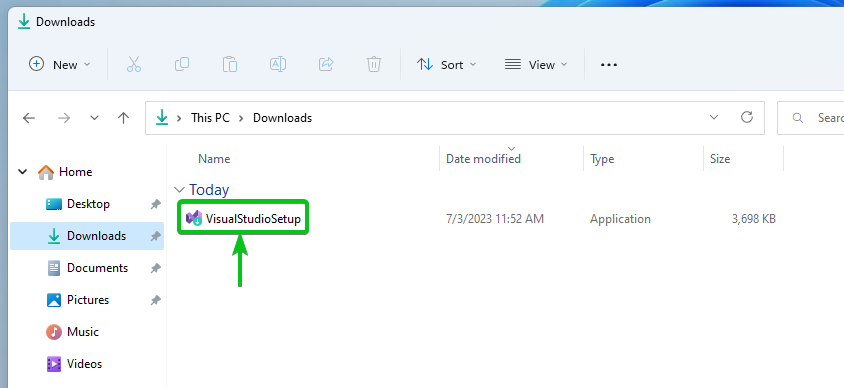
To install Visual Studio on Windows 10/11, navigate to the “Downloads” folder of Windows and double click (LMB) on the Visual Studio online installer file as marked in the following screenshot:
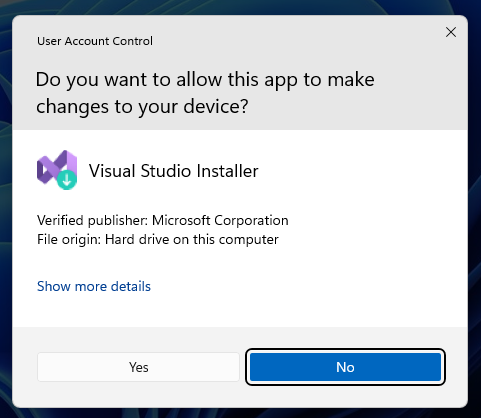
Click on “Yes”.
Click on “Continue”.
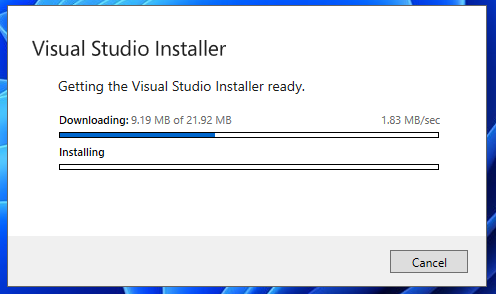
The Visual Studio Installer will download all the required files from the internet. It takes a few seconds to complete.
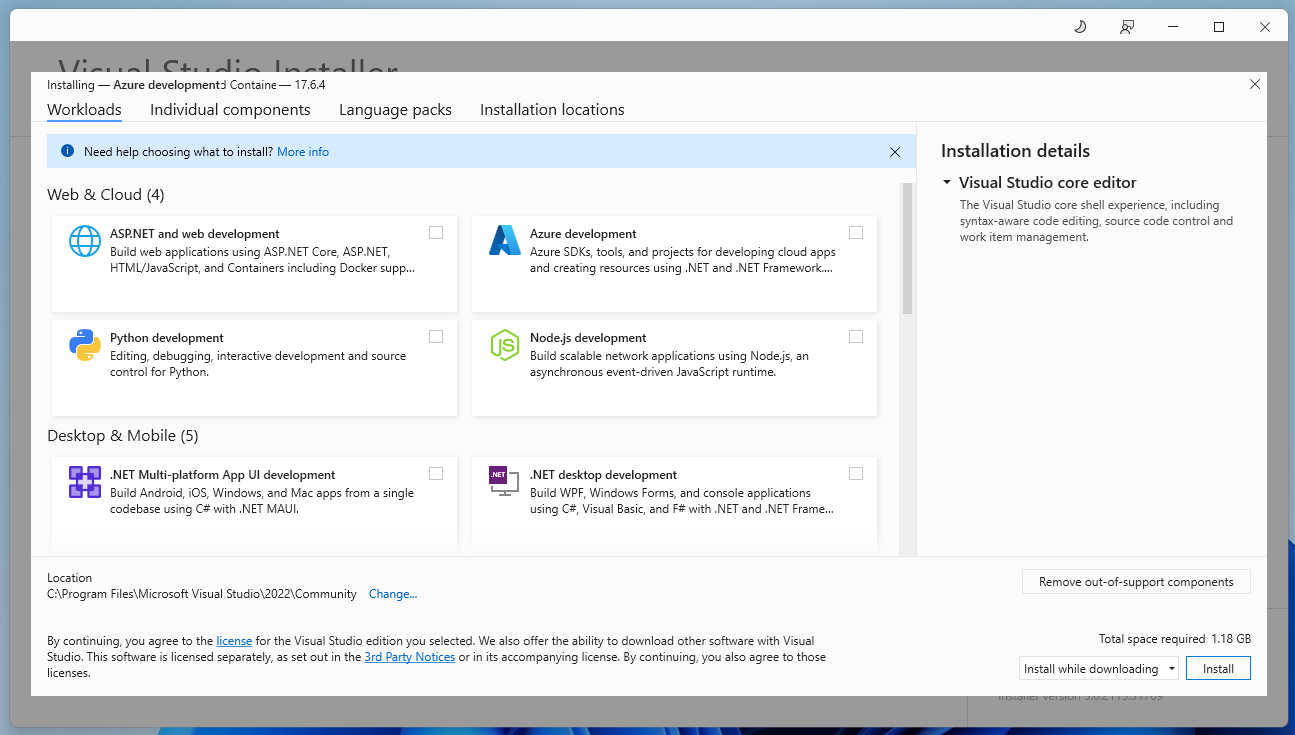
Once you see the following window, you can choose the Workloads to install depending on your requirements.
For example, if you want to do the Python development, tick on “Python development”. If you want to write a Node.js app, tick on “Node.js development”, and so on. There are many Workloads to choose from.
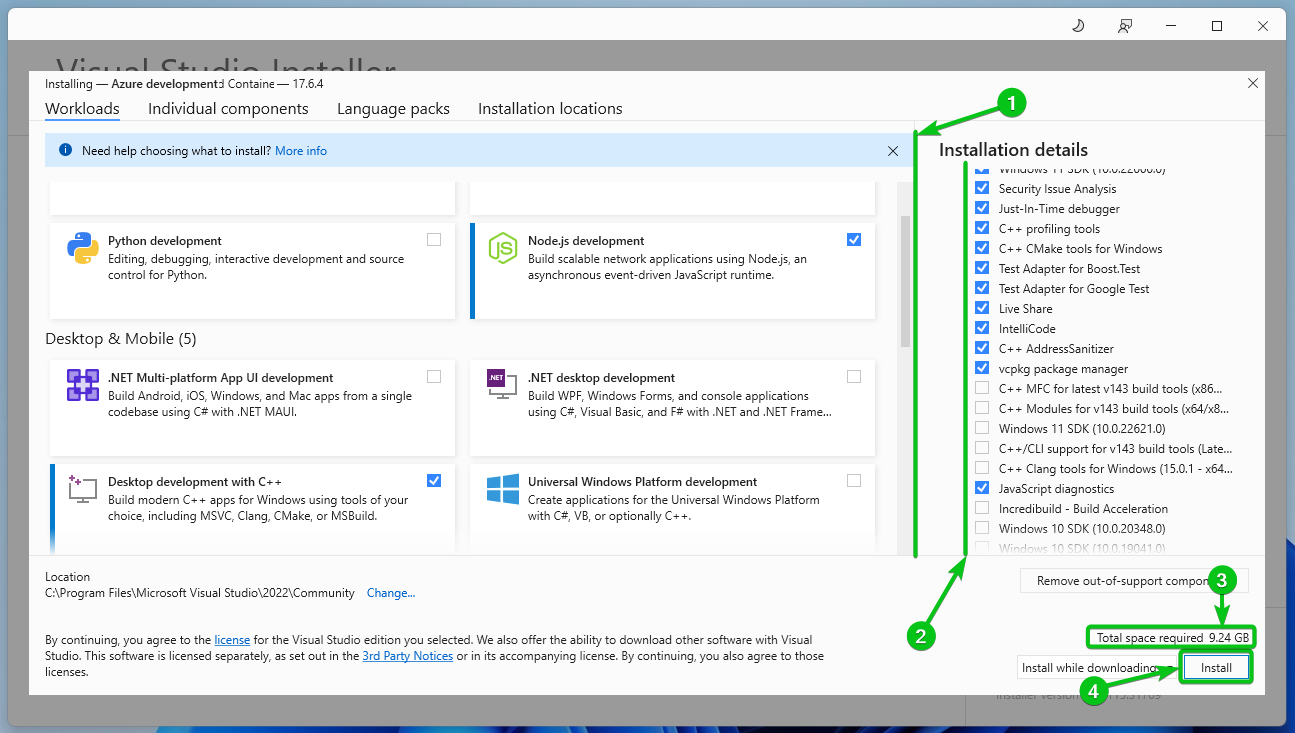
We select the Desktop development with C++ and Node.js development just for demonstration[1]. Once you select some Workloads to install, you will also find many optional features on the right-side that you can install[2]. If you need any of those features, just tick them.
Once you selected the workloads and the optional features that you want to install, the Visual Studio Installer will show you how much disk space it will require for you to install the selected workloads and features[3]. In our case, we need 9.24 GB of disk space to install the Desktop development with C++ and Node.js development workloads with the default set of features.
Once you’re done, click on “Install”[4].
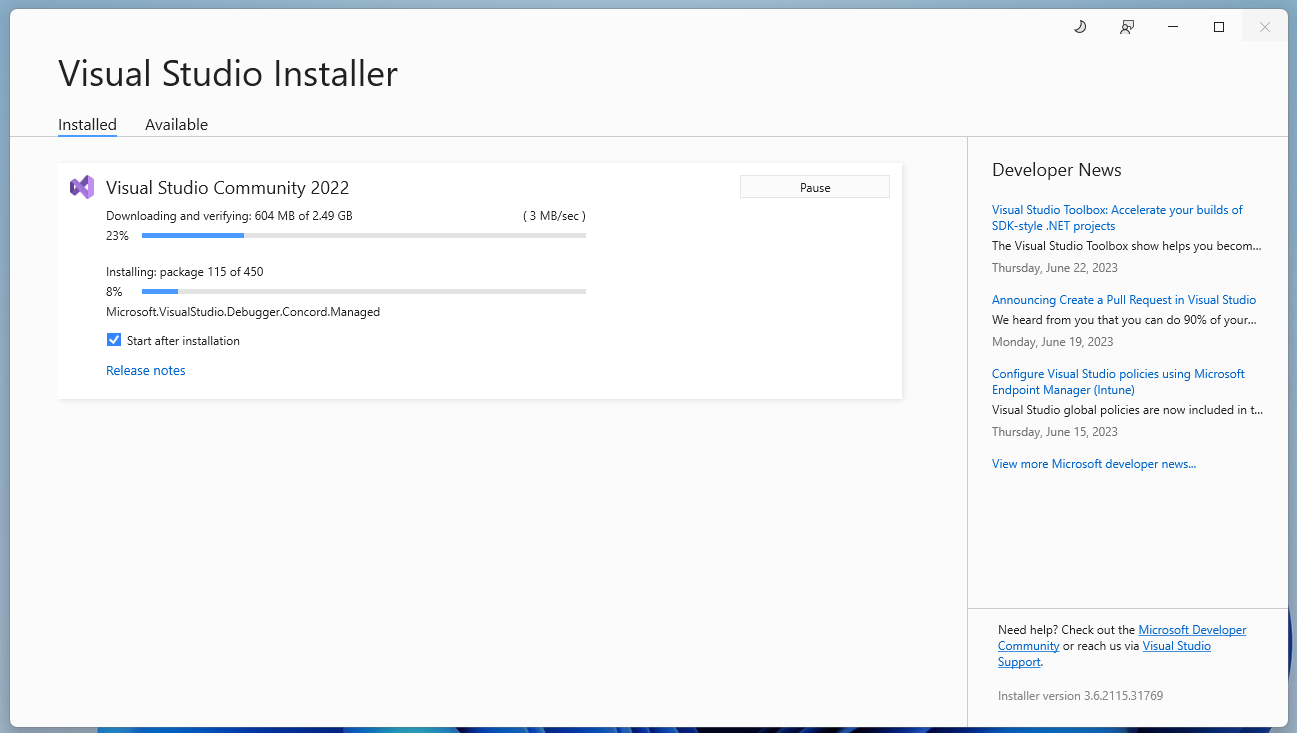
The Visual Studio Installer will download all the required files from the internet to set up the selected workloads and features. It takes a while to complete depending on the number of workloads and features that you selected.
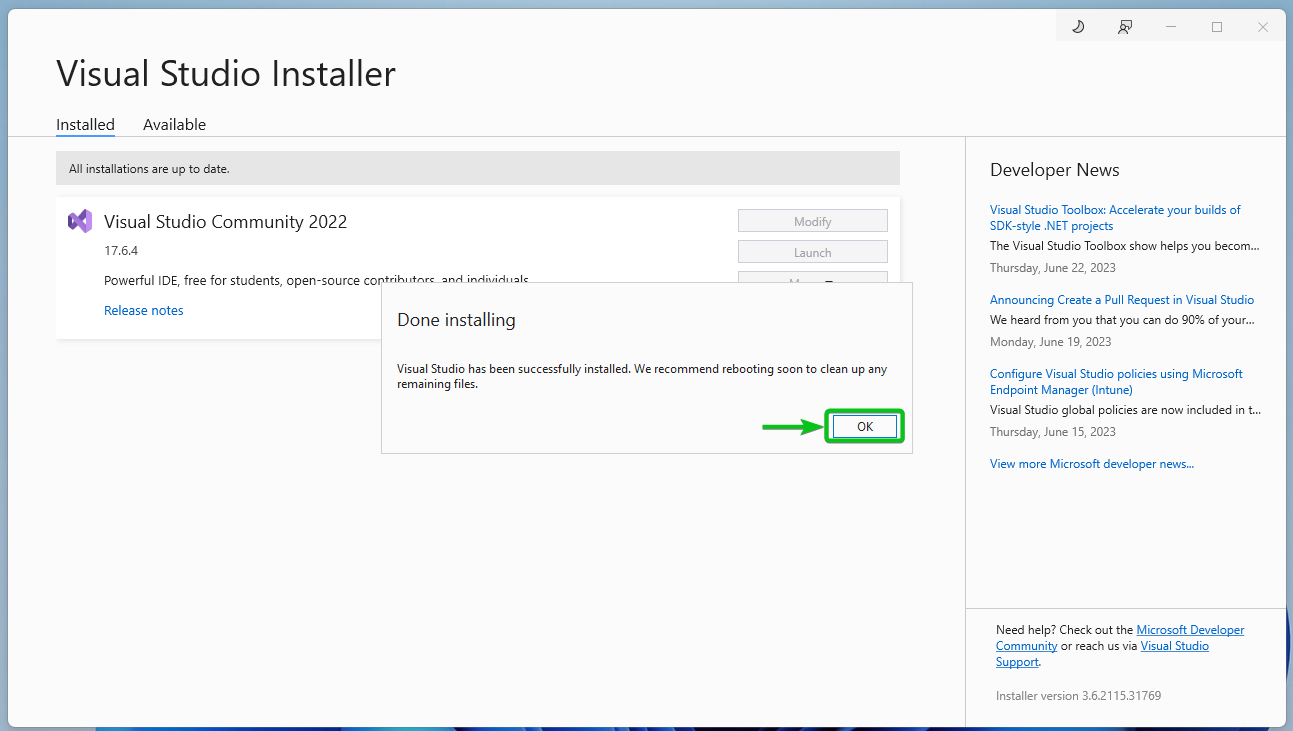
Once the installation is complete, you will see the following prompt. Click on “OK”.
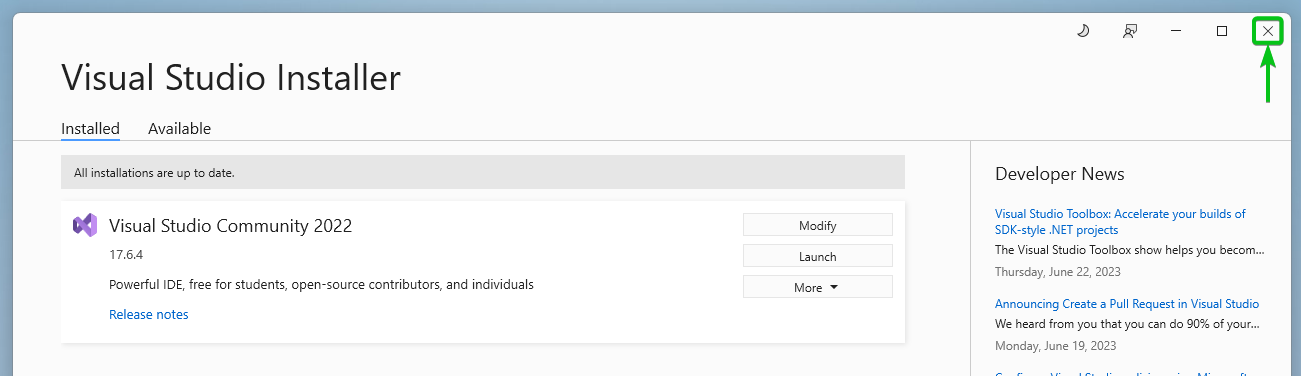
Then, close the Visual Studio Installer and restart your computer for the changes to take effect.
Running Visual Studio IDE on Windows 10/11
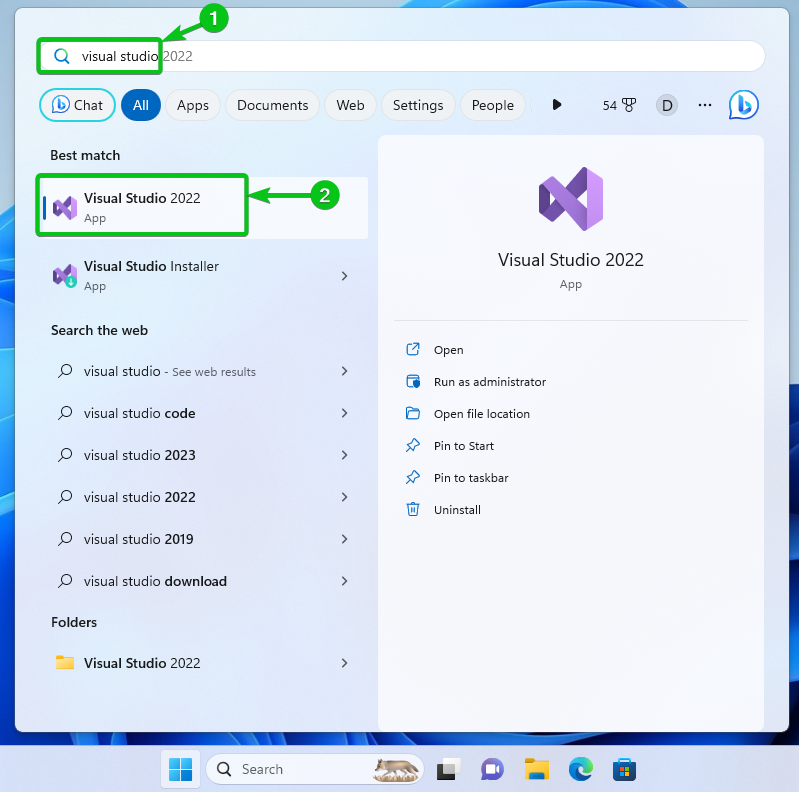
To open the Visual Studio IDE, search for it in the start menu[1] and click on the Visual Studio app icon[2].
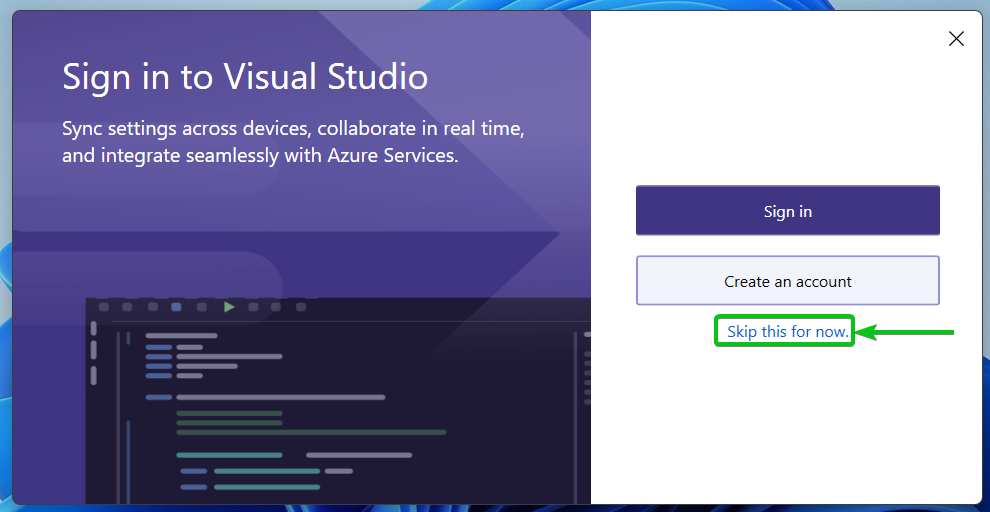
You will be asked to sign in to your Microsoft account. If you don’t want to do that now, click on “Skip this for now”.
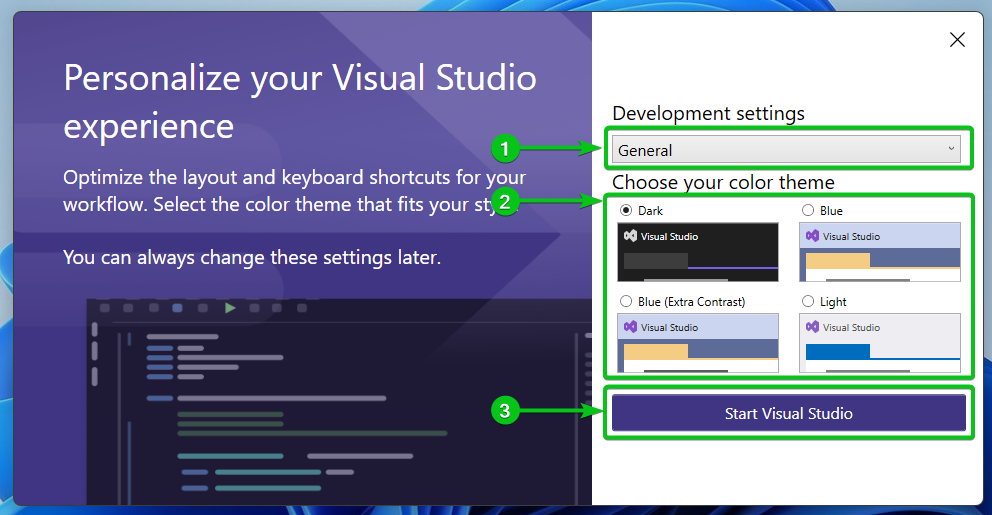
Now, select your Development settings[1], choose your color theme[2], and click on “Start Visual Studio”[3].
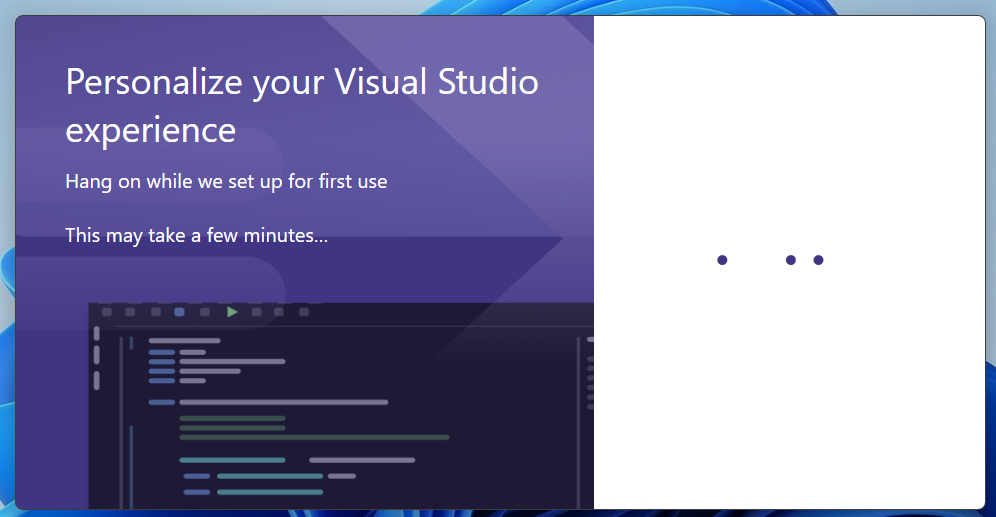
Visual Studio is being configured. It takes a few seconds to complete.
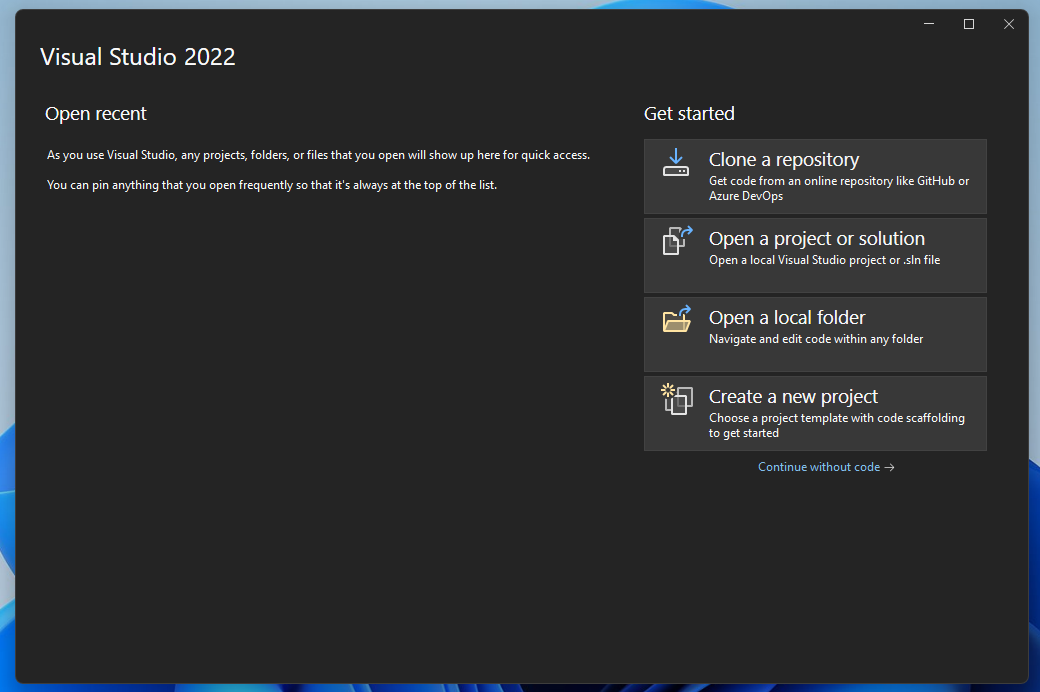
Visual Studio should be ready to use.
Conclusion
We showed you how to download and install Visual Studio IDE on Windows 10 and Windows 11. We also showed you how to open Visual Studio IDE on Windows for the first time.