Stable Diffusion is a text-to-image converter based on Artificial Intelligence. It is trained on data containing images using Deep Learning. This intelligent model converts any text prompt by the user into an image. Providers of Stable Diffusion also offer the functionality of installing it on your local machines to create visually stunning images.
This article will provide a step-by-step tutorial to install Stable Diffusion on Windows.
- What are Prerequisite Installations for Stable Diffusion?
- How to Install Stable Diffusion on Windows?
What are Prerequisite Installations for Stable Diffusion?
Before installing Stable Diffusion onto your system, we must verify that our system fulfils certain system requirements. To read more about these system requirements, visit this link.
To install Stable Diffusion on Windows, follow the prerequisite instructions which are given below:
Note: It is recommended to use Python 3.10.6 or above versions with Stable Diffusion and make sure to check the “Add Python 3.10 to PATH” checkbox during Python installation.
Let us explore the installation of Stable Diffusion on Windows:
How to Install Stable Diffusion on Windows?
To install Stable Diffusion on the Windows operating system, follow the step-by-step instructions:
Step 1: Clone Web-UI
To install Stable Diffusion, first, create an empty directory where you want to install Stable Diffusion:

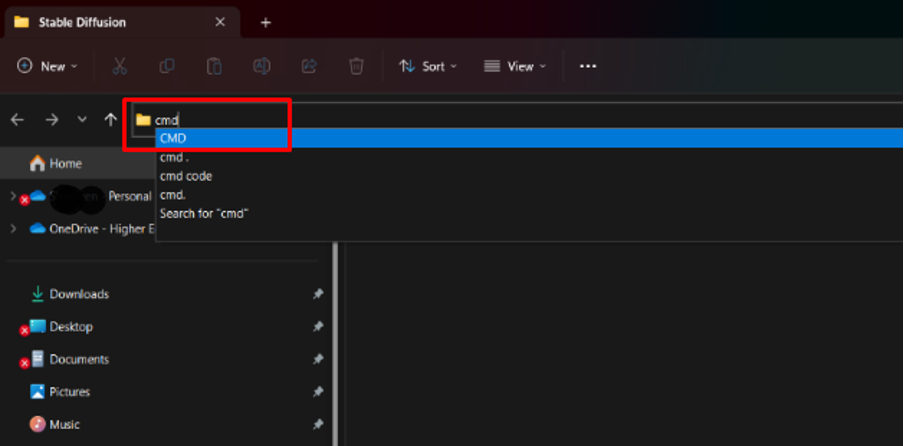
After that, open the Command Prompt, type “cmd” in the location bar and press the “Enter” button:
Paste the following command in your command prompt and press the “Enter” button:

It will directly clone all the required files for Stable Diffusion.
The below window displays the message that all the files for Stable Diffusion have been successfully cloned in your directory:

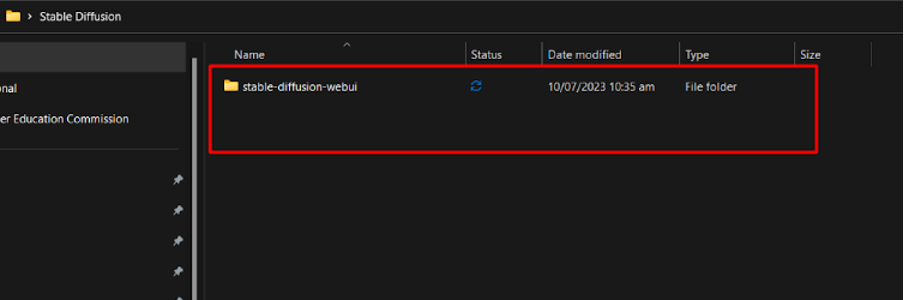
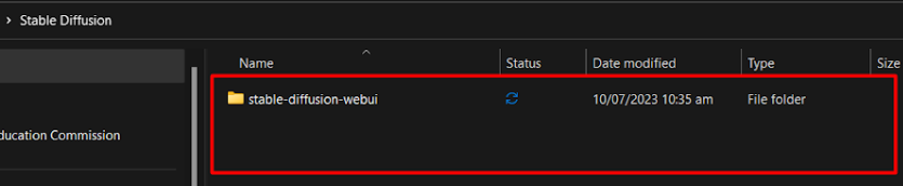
Open the directory that you have created for Stable Diffusion, and you will see the cloned “Stable diffusion-webui”:
Step 2: Download the Stable Diffusion Model File
Follow the link to download the stable diffusion model:

Scroll down to the page and click on “v1-5-pruned-emaonly.ckpt” to download it:
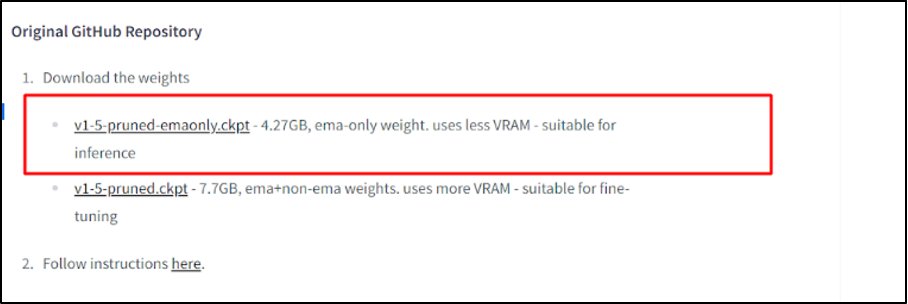
Note: This is one model that we are installing. Based on your preference, you can install various models to create different images.
Step 3: Set up Web-UI
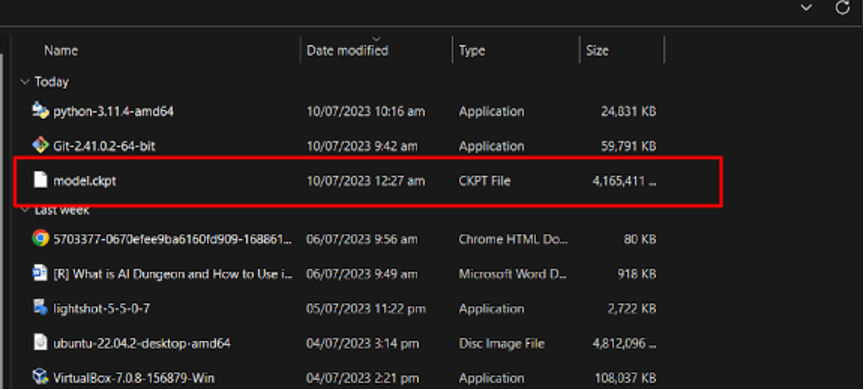
After downloading the file, go to your “Downloads” and rename the downloaded file to “model”:
Now, copy the above-mentioned model file and navigate to where you have created your “Stable Diffusion” directory. Click on the cloned repository inside it named “stable-diffusion-webui”:
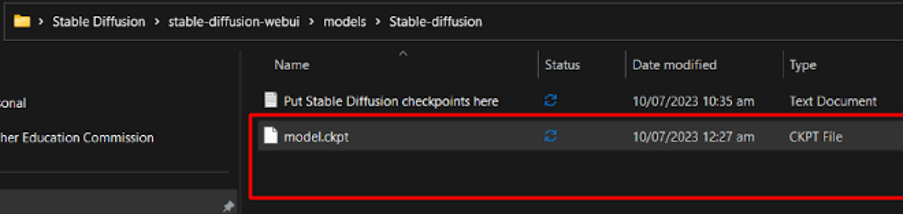
Inside the cloned “stable-diffusion-webui” folder, hit on the “models” directory. After that, open the “Stable-diffusion” directory and paste the model inside of it:
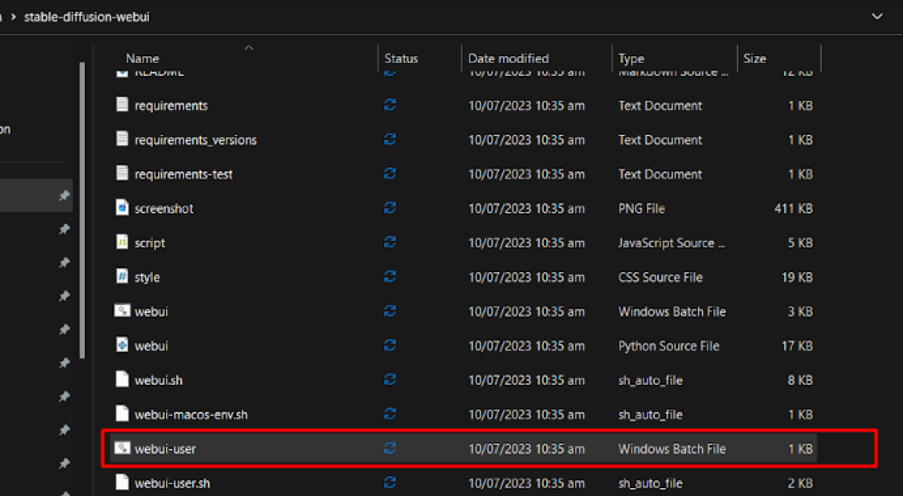
Navigate back to the “stable-diffusion-webui” directory. Scroll down and you will find a file named “webui-user” batch file:
Open the file by pressing the right button of the mouse and choosing the “Edit” button:

Click on the “Edit” option to open this file in text format. Type the “git pull” command at the top of it and save changes. It pulls the latest version of stable diffusion:

Step 4: Run Stable Diffusion
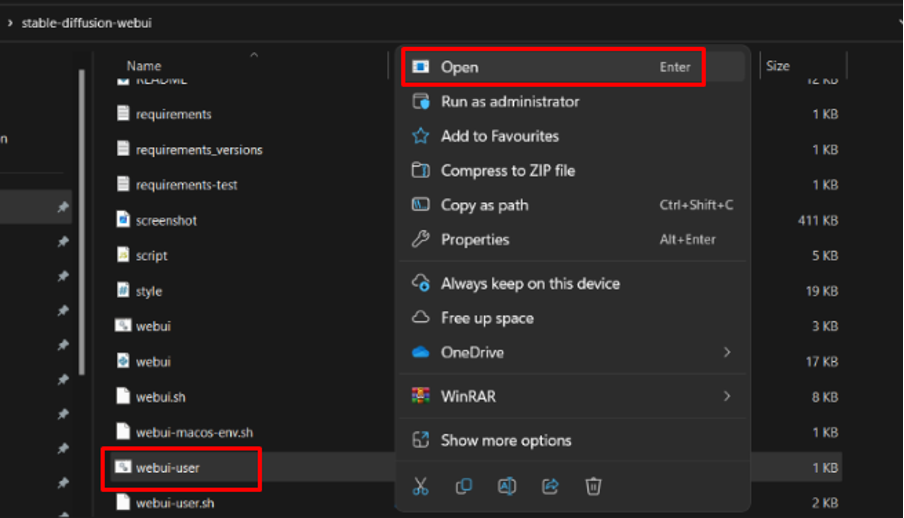
After saving the changes, click on this “webui-user” batch file that you have edited and saved. Click on “Open” to run the file:
This window will be opened which will run your file. It will take some time:
Note: For the error, “Torch is not able to use GPU”, you can resolve the error by opening the “webui-user” batch file in an editable format and setting the path of the “python.exe” to the “PYTHON” variable.
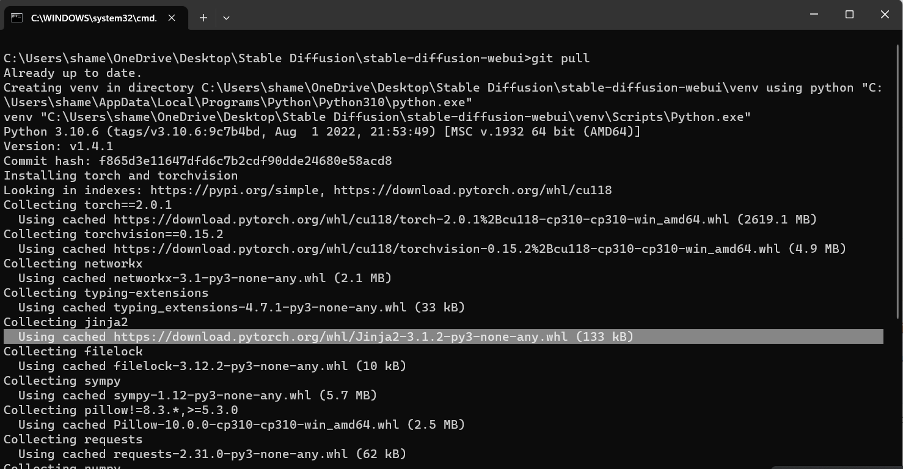
The new update of the Stable Diffusion model and lack of support of torch to cuda is the main of the above-mentioned error. You can resolve it by editing the batch file and then deleting the previous “Venv” folder. Finally, re-run the batch file to install stable diffusion as below:
 There will be a local URL on which Stable Diffusion Web UI will run. Press “CTRL + Click” to open the URL in the web browser:
 This will open a Stable-webui in the browser. In the top left corner, choose “models.ckpt” file as a Stable Diffusion checkpoint:

Step 5: Convert Text to Image
Type the prompt such as “Cookie Monster in times square” and click on the “Generate” button:

After pressing the button, the output is shown below:
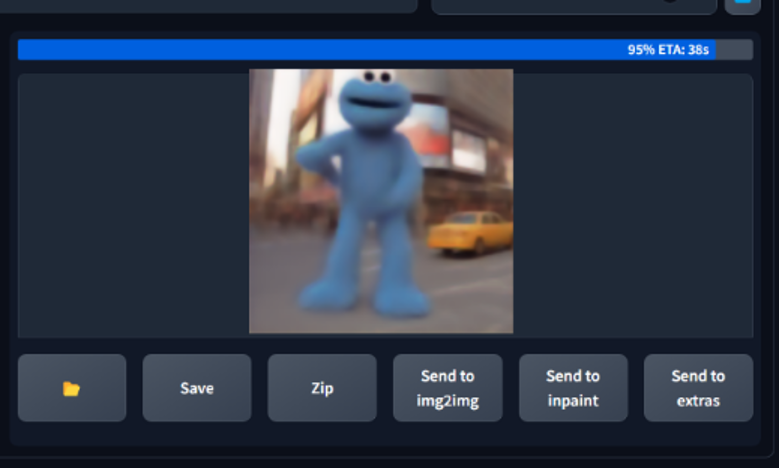
Finally, the first-ever image using Stable Diffusion has been generated.
Conclusion
To install Stable Diffusion on Windows, users require Python, Git, a stable diffusion model, and a stable diffusion repository to generate images from text prompts. It is simple and easy to use, and it comes with various other features i.e., open source, reserve rights of images. Users can customize it according to their preference but keep in mind that better customization may require the utilization of more resources. This article provided a comprehensive and complete guide for the installation of the Stable Diffusion Web UI on Windows.