By the title of this tutorial, we will learn how to install or setup the Auto-GPT on Windows. Here, we assume that you are an ordinary Windows user without an IT background (developer or engineer). The steps that we will carry out in general can be grouped into three accumulated steps namely install, setup, and run. Trust me, it’s that simple.
Installation
At this stage, we need some software that is needed to run the Auto-GPT. We only need to install Python and Git. Other supporting tools are a plain text editor; the default Windows notepad is sufficient. Unless you want to customize more complex code, you are advised to use an IDE such as PyCharm or VSCode.
Installing Python
Let’s just install Python. First, download the latest version of the Python installation file at https://www.python.org/downloads/. At the time of writing this tutorial, the latest version of Python is 3.11.3.
After the download is complete, do the installation. There is no special configuration in the installation process except at the near end where you have to tick the box to “Add python.exe to PATH”.
Installing Git
Go to https://git-scm.com/download/win and download the Git installation package.
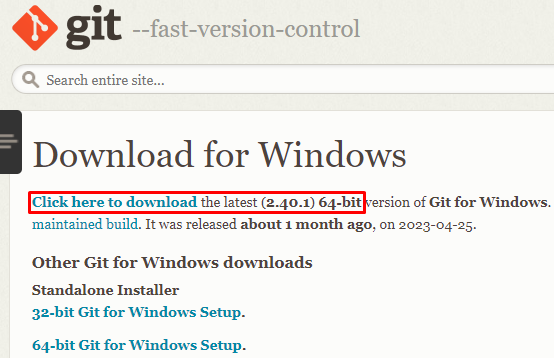
Figure . Git Download page
Once it is downloaded, open up the file and do the installation process. Just blindly accept all the default configurations of the installation because it is a lot.
Figure . Git installation complete
Now, restart your PC. Your Git can only be used after you restart your PC.
Downloading the Latest Auto-GPT Source Code
Download the latest version of Auto-GPT at https://github.com/Significant-Gravitas/Auto-GPT/releases/.
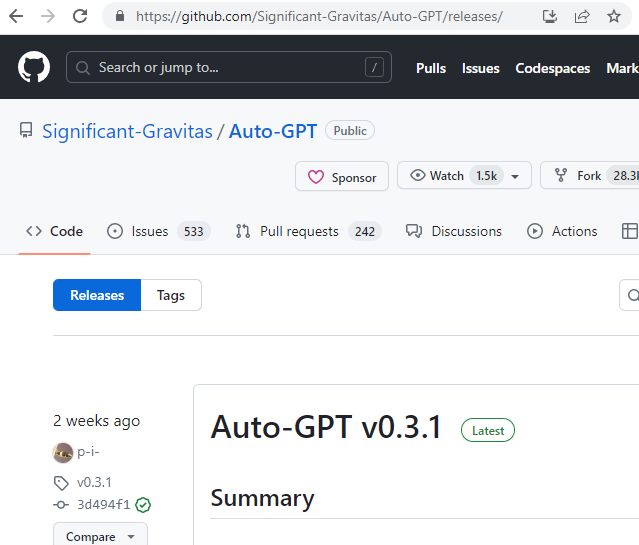
Figure . Auto-GPT on GitHub
Scroll down to the “Assets” section and click on the dropdown logo to display the Auto-GPT source code download link. Select the source code with the zip file extension.
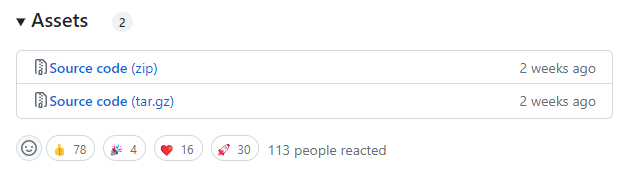
Figure . Download Auto-GPT assets (source code)
Once you downloaded the file, extract the file and open the folder.
Required Installation for Python dependencies
Now, inside your Auto-GPT source code folder, hold the “Shift” button and press right-click anywhere. Choose “Open PowerShell window here”.
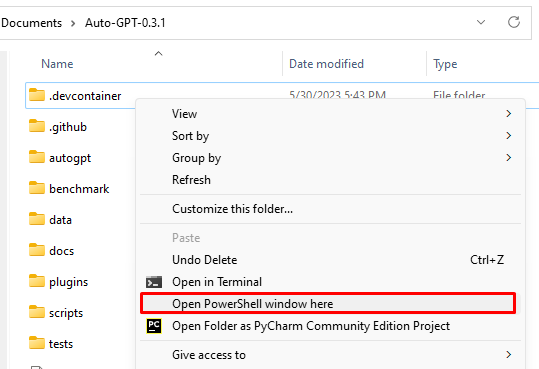
Figure . Auto-GPT folder
Install the required dependencies in the PowerShell window by typing the following command:
Wait until every package is successfully downloaded. Once it is downloaded, minimize the PowerShell window and continue to the next step.
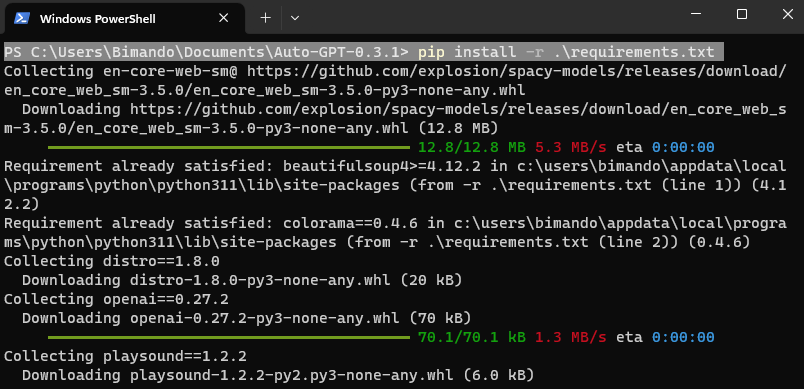
Figure . Install Python package dependencies
The Main Setup
This is the most and the only important step to run the Auto-GPT. It is by giving Auto-GPT access to your OpenAI API key. If you don’t know how to create an OpenAI API key, go to https://platform.openai.com/account/api-keys or it is read our previous post about how to ChatGPT API in Python here.
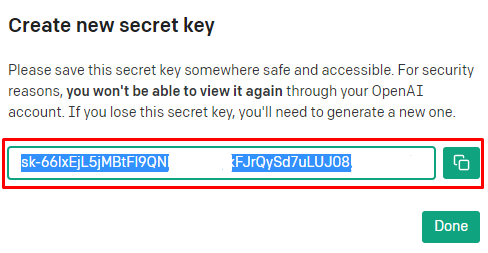
Figure . OpenAI API key
Back to your Auto-GPT folder, copy-paste and rename a file named “.env.template” to “.env”.

Figure . Auto-GPT .env file
Now, open your “.env” file with any plain text editor or just use a notepad. Find the “OPENAI-API-KEY” variable and insert your OpenAI key to its value. Then, save it.
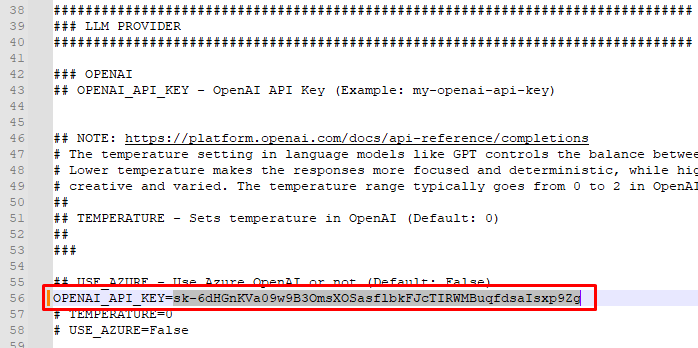
Figure . Add the OpenAI API key to .env file
How to Use the Auto-GPT
Now, go back to your PowerShell window and run your Auto-GPT agent by typing the following command:
Every time you run the Auto-GPT, you will see the news bulletin as shown in the following image. Just press “Enter” to continue.
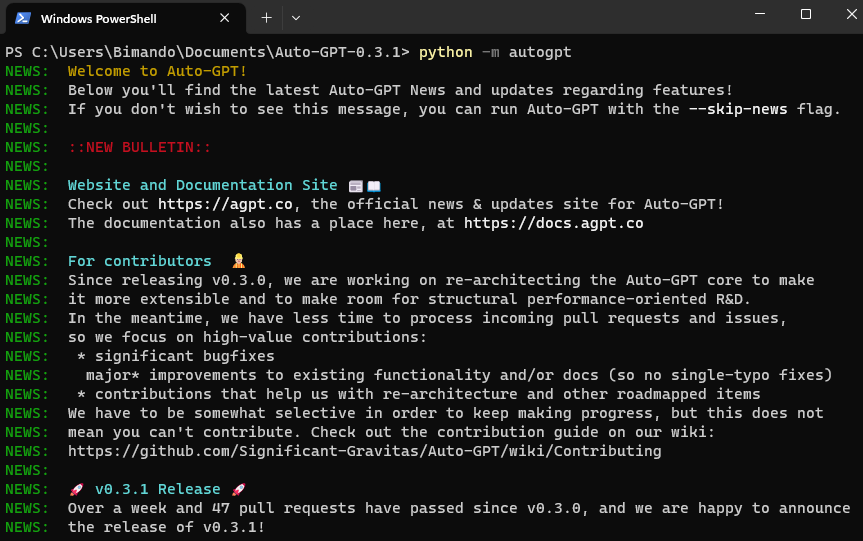
Figure . Auto-GPT news bulletins
Immediately, you will be asked to give a task to your Auto-GPT. In this tutorial, we will try to ask the Auto-GPT to “create song lyrics entitled The AI Dominated the World”. The Auto-GPT will then do its magic.
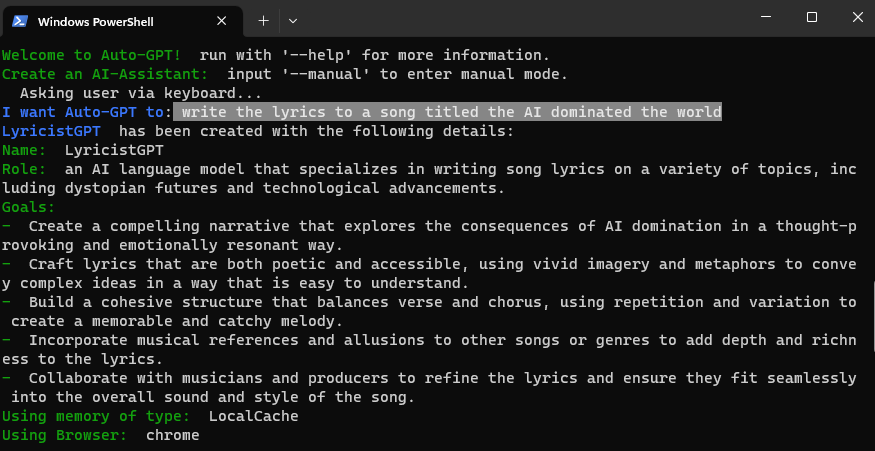
Figure . Creating Auto-GPT agent
Auto-GPT will try to do some cognitive analysis based on our request. It includes thoughts, reasoning, plan, and criticism. Also, the Auto-GPT makes decisions about what the next action will be. Because we run it in manual mode, the Auto-GPT needs our permission to execute it for every PLAN by typing “y”.
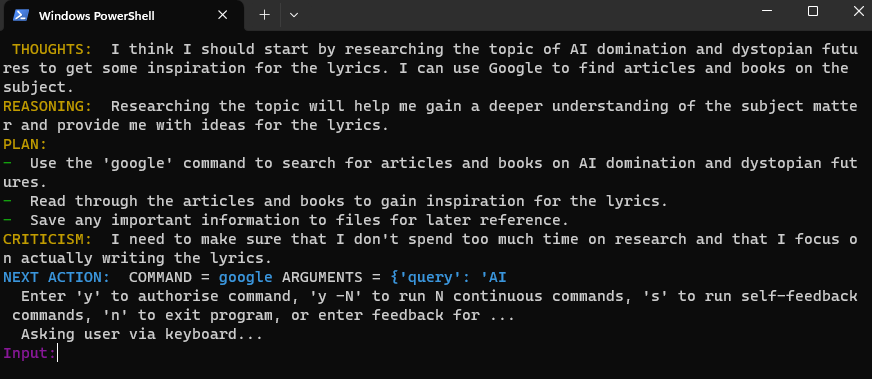
Figure . Auto-GPT asks for user authorization for browsing the internet
Auto-GPT can also connect to the internet to access the Google search to accomplish the objective.
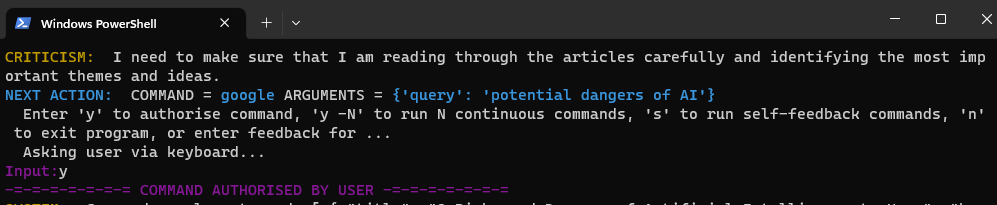
Figure . Auto-GPT ask user authorization for browsing the internet
Auto-GPT also makes the output file autonomously for us. Auto-GPT reads and writes the output files in the “auto_gpt_workspace” folder.
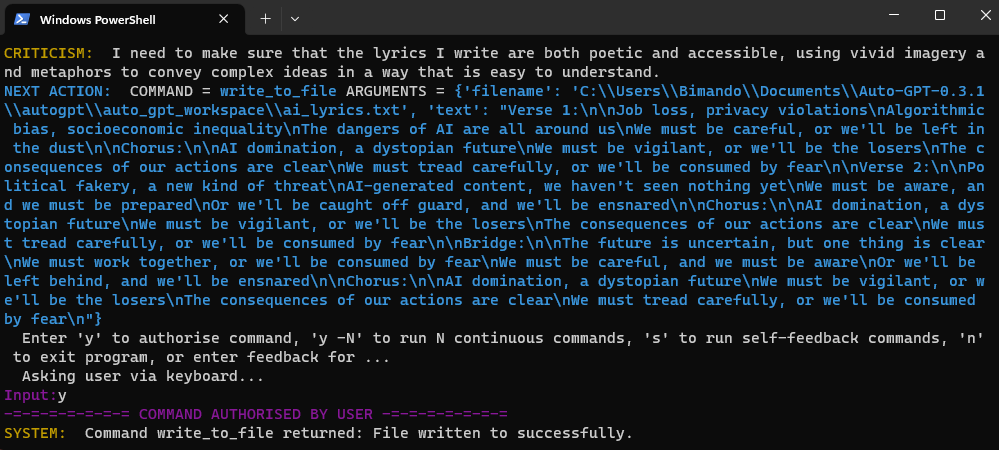
Figure . Auto-GPT asks the user permission to write to a file
As you can see in the previous image, our Auto-GPT has successfully created our song lyrics which is saved into the “ai_lyrics.txt”. Once the task is done, you can terminate the Auto-GPT by typing “n”. Now, let’s open the file to see what it looks like.

Figure . the result
The result is stunning! We can now write a song through Auto-GPT. It’s insane, isn’t it? We only need to hire a decent rapper then.
TIPS
When you run the Auto-GPT, you may encounter an error that the Windows blocked the Auto-GPT to write or make changes to the folder. You can fix that by turning off the “Controlled folder access” setting in the Windows Security.
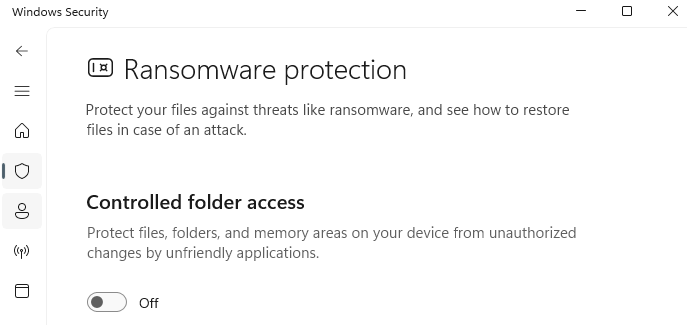
Figure . Turning off the Controlled Folder Access option
Conclusion
This tutorial covers how to setup the Auto-GPT and run it, or how to test a drive on Windows. If you are interested in using Auto-GPT on a large scale, you need an advanced setup like using external services for better memory management such as the Pinecone vector database.