The golden era of artificial intelligence (AI) has begun. We are starting to feel the massive disruption in various industries. The AI development will move forward exponentially and rapidly. You may still remember the last few years before this time, many said that the sexiest job in the 20th century is a data scientist. But not anymore. AI engineering is the sexiest and most promising right now for the long term. Because more and more data are spread and easily obtained, everyone has the opportunity to develop an AI model based on certain problems.
ChatGPT, an LLM (Large Language Model) based AI model has taken the world by storm. However, the development is still in the experimental stage. People are interested in creating applications by utilizing the ChatGPT AI model in droves. One of them is Auto-GPT. In the previous discussion, we reviewed what Auto-GPT is. If you deliberately searched for this article, we believe that you already know what Auto-GPT is. Here, we will technically discuss how to install and setup Auto-GPT on Linux. Since we are a loyal user of Kali Linux, those of you who use anything other than Debian-based Linux can adjust it yourself.
Preparation
Auto-GPT is written using the Python programming language and also utilizes Git as a Version Control System (VCS). Fortunately, on a Linux-based operating system, the two software are pre-installed. This will make you very comfortable in operating Auto-GPT on Linux. You can check whether you have Python and Git installed on your system by typing the following command in the terminal:
The previous command simultaneously checks the version of each software. If the software is not installed, an error output will appear and you must install it first by typing the following command:
Then, for the next step, it would be better for us to update and upgrade it first.
Install Google-Chrome
Auto-GPT uses the Chrome binary to browse the internet. Make sure you have the Google-chrome installed in your Linux by typing the following one-line command:
Download the Auto-GPT Source Code
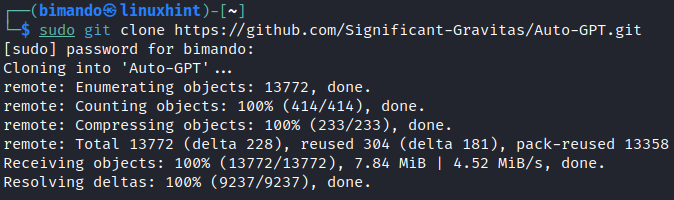
1. Download Auto-GPT with the following command:
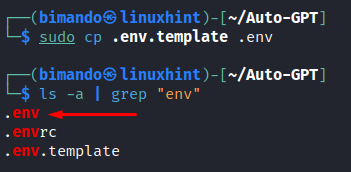
Now, change the working directory to your downloaded Auto-GPT directory and list the files in it by typing the following command:

You need to copy-paste and rename the “.env.template” to “.env”.
This “.env” file contains the configuration that is needed to run the Auto-GPT such as the OpenAI API key, Text-to-Speech, Audio-to-text, Image generator, memory management, and many more. You might need to read and analyze what features are available within Auto-GPT.
Install the Required Python Dependencies
1. Before we run the Auto-GPT, we need to install all the required Python library dependencies. If you wonder what those dependencies are, you can check them by typing the following:

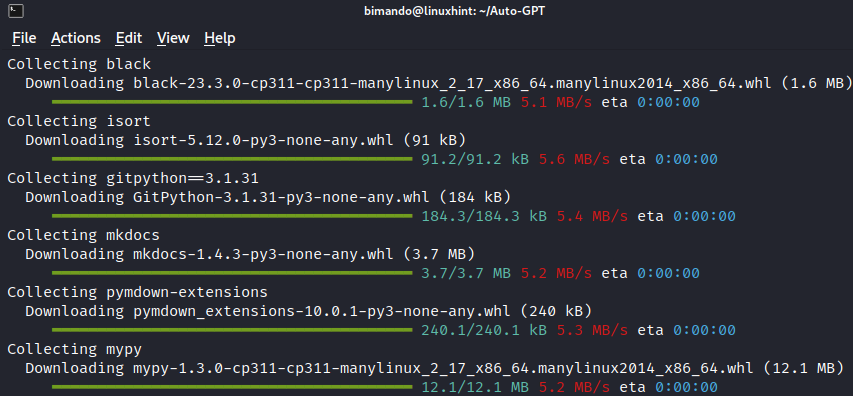
You will find a lot of required dependencies. Instead of installing them one by one, we should do a bulk install using the following command:
Wait until all the requirements are already satisfied.
Generate the OpenAI API Key
The OpenAI API key is the main fuel to run the Auto-GPT. If you don’t know how to create an OpenAI API key, go to https://platform.openai.com/account/api-keys or we recommended you to read our previous post about how to use the ChatGPT API in Python here.
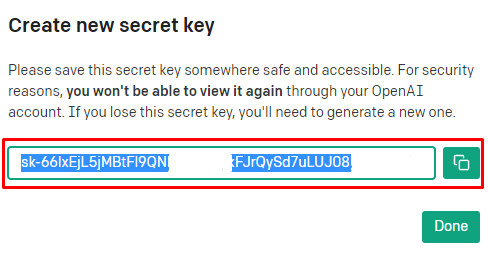
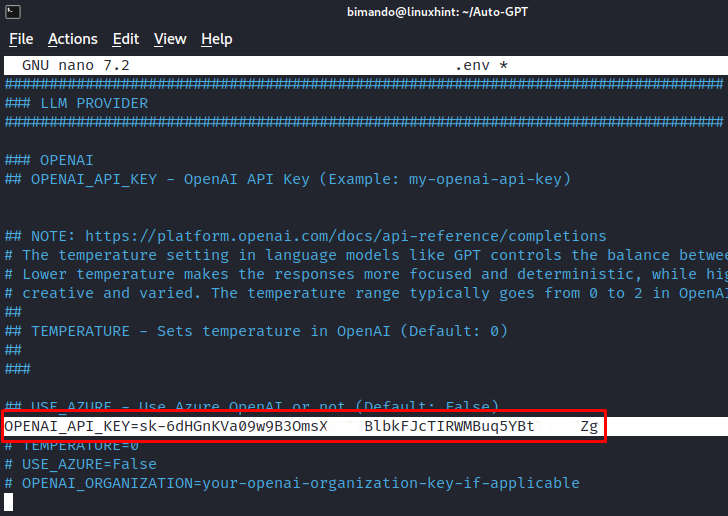
1. We assume that you already created and copied the OpenAI API key. Now, we need to insert this API key into our “.env” file. On the terminal, open the “.env” file in any text editor like Nano or Vim.
2. Find the “OPENAI-API-KEY” variable in the LLM PROVIDER section and insert your OpenAI key to its value. Then, save it.
3. Everything is done. Now, let’s launch the Auto-GPT.
How to Use the Auto-GPT
1. Run your Auto-GPT agent on your terminal by typing the following:
Each time you run the Auto-GPT, you will see the news bulletin as shown in the following. Then, press “enter” to continue.
Immediately, you will be asked to give a task to your Auto-GPT. In this tutorial, we will try to ask the Auto-GPT to “Suggest three niche markets within the Artificial Intelligence industry that have growth potential.” Auto-GPT will then do its magic.
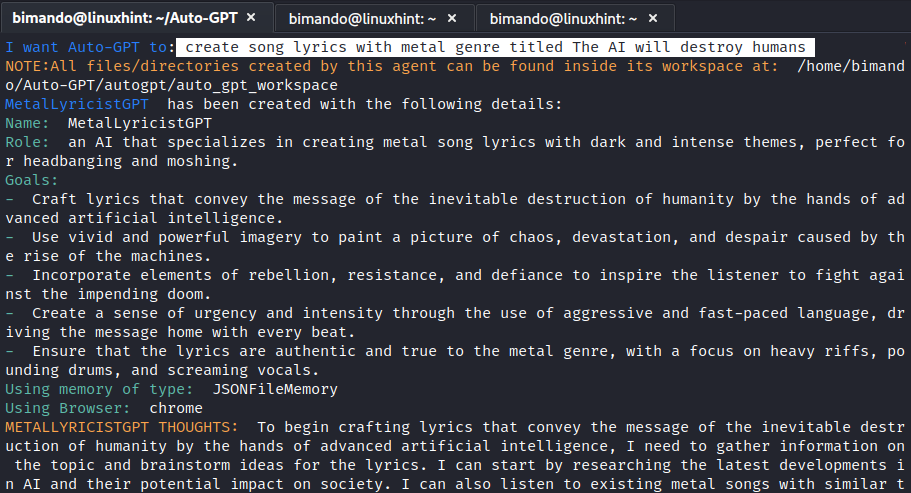
Auto-GPT will try to do some cognitive analysis based on our request. It includes thoughts, reasoning, plan, and criticism. Auto-GPT also makes decisions about what the next action will be. Since we run it in manual mode, Auto-GPT needs our permission for every PLAN to execute it by typing “y”. Auto-GPT will run forever unless you terminate the agent by typing “n”.
Auto-GPT could browse and download the files from the internet, run a Python script, and makes the output file autonomously for us. Auto-GPT reads and writes the output files in the “auto_gpt_workspace” folder.
Conclusion
Auto-GPT is still experimental, but it is evolving. It is also required a lot of tokens, even for a simple task. It is highly recommended to plan your Chat-GPT subscription to access more tokens.