Creating AirPrint Server on Raspberry Pi
Before creating an AirPrint server on Raspberry Pi, first you need to create a printer network that requires CUPS and Samba, just follow the steps given below to get printer network on Raspberry Pi:
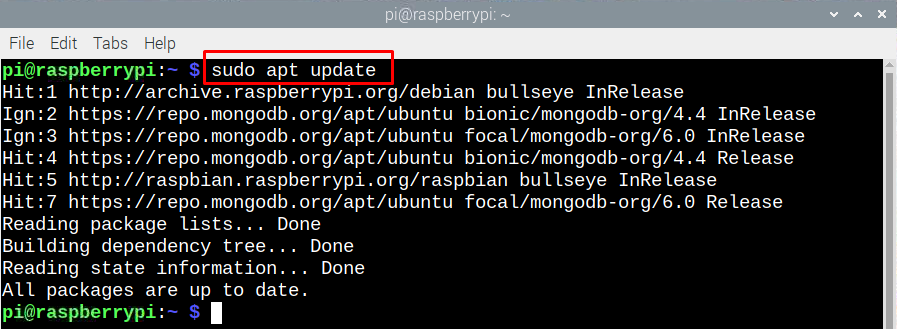
Step 1: Execute the following command in the terminal to update your Raspberry Pi:
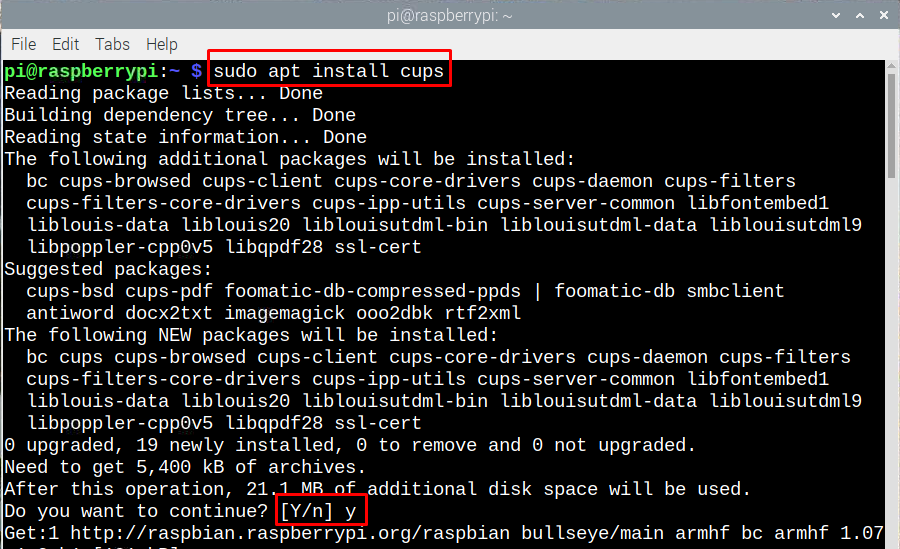
Step 2: To install the common Unix printing system execute the following command:
Next to get the access to the administrative functions of cups execute the given command in the terminal:
Step 3: To make the common Unix printing system accessible to the whole network and to ensure that it is working correctly execute the below given command:
Next reboot the CUPS to save the changes by executing the following command:
This is how you can access Raspberry Pi print server from any device connected to the similar network as that of Raspberry Pi.
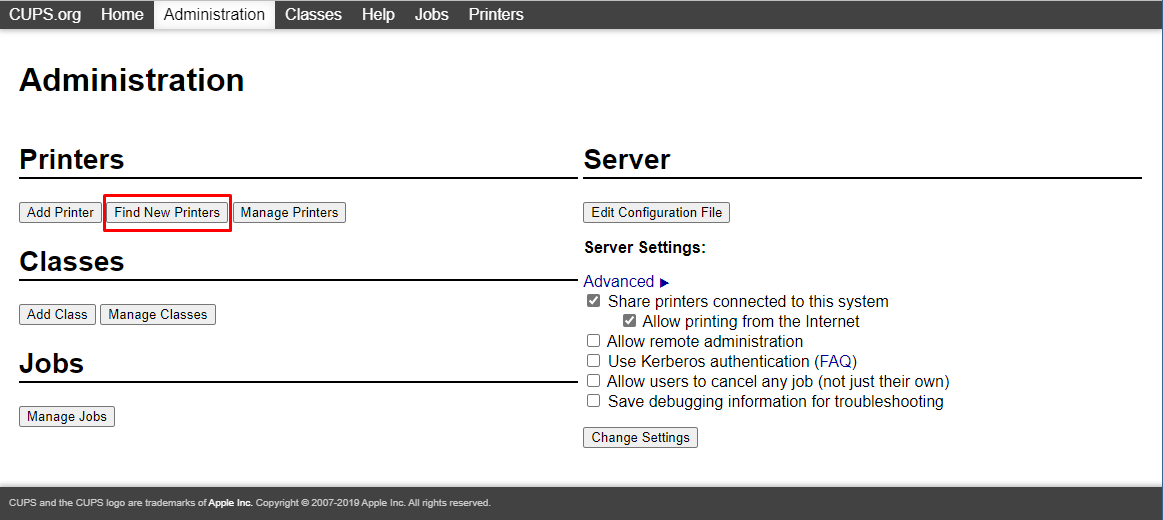
Step 4: Now open the CUPS web page by entering “<Raspberry Pi IP>:631” (you can find your Raspberry Pi IP by using “hostname -I” command) and click on the “Administration” option from the menu on the top:
Now, click on the “Find new Printers” to add the printer that you have connected to Raspberry Pi through USB cable:
Step 5: Now, its time to install the AirPrint application on Raspberry Pi so that the printer can be accessed by the Apple devices, execute the following command for that purpose:
This package installed in this step is Apple’s Zeroconf architecture which is normally called by the name Bonjour that is used by the AirPrint server.
Step 6: To make sure that AirPrint is working correctly restart your Raspberry Pi by executing the command given below:
Step 7: Now open any application on your Apple product that supports the print option, click on the print option and you will see the printer that you have connected with the Raspberry Pi.
Conclusion
Having an old printer that doesn’t have the option of Wi-Fi, so instead of buying a new one you can add such a feature using Raspberry Pi that will save you some bucks. To connect Apple devices with your old printer you need to connect it with Raspberry Pi and create a Print server using CUPS and then install AirPrint on it.


