How to install RetroArch on Raspberry Pi
If you want to install RetroArch on a Raspberry Pi device, you’re probably looking for the simplest way, and this article will show you how. There are two methods to install RetroArch on a Raspberry Pi device, and a detailed overview of both is provided below.
Method 1: Installing RetroArch through source code from GitHub
The first method to install RetroArch will be done by downloading and installing the source code from GitHub. However, before going into the installation process, you will need to download some packages and dependencies which are necessary for RetroArch installation..
Step 1: First, it’s really important for you to check for the updates of your Raspberry Pi packages and in order to do that, you will need to execute the below given command in the terminal.
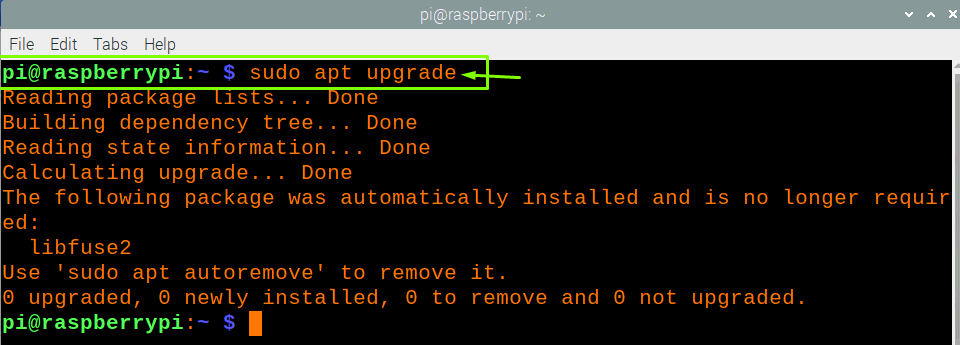
Step 2: In the next step after the update, you will also need to upgrade the packages through the below mentioned command in the terminal.
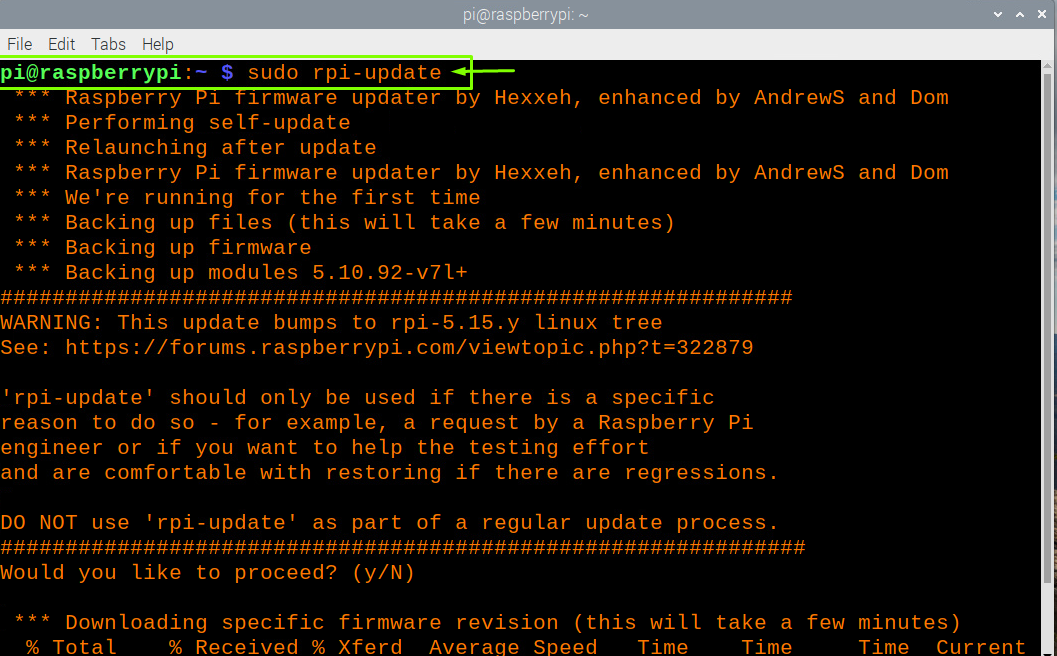
Step 3: Next, you will need to do the firmware update through the below given command in the terminal.
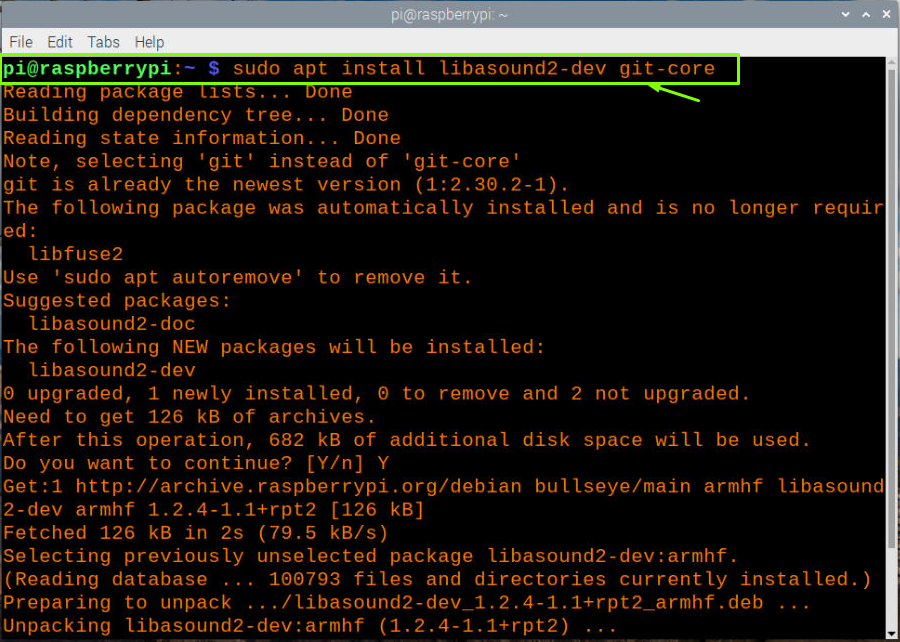
Step 3: Now, you will need to install some required dependencies and for that you will have to enter the below given command line in the terminal.
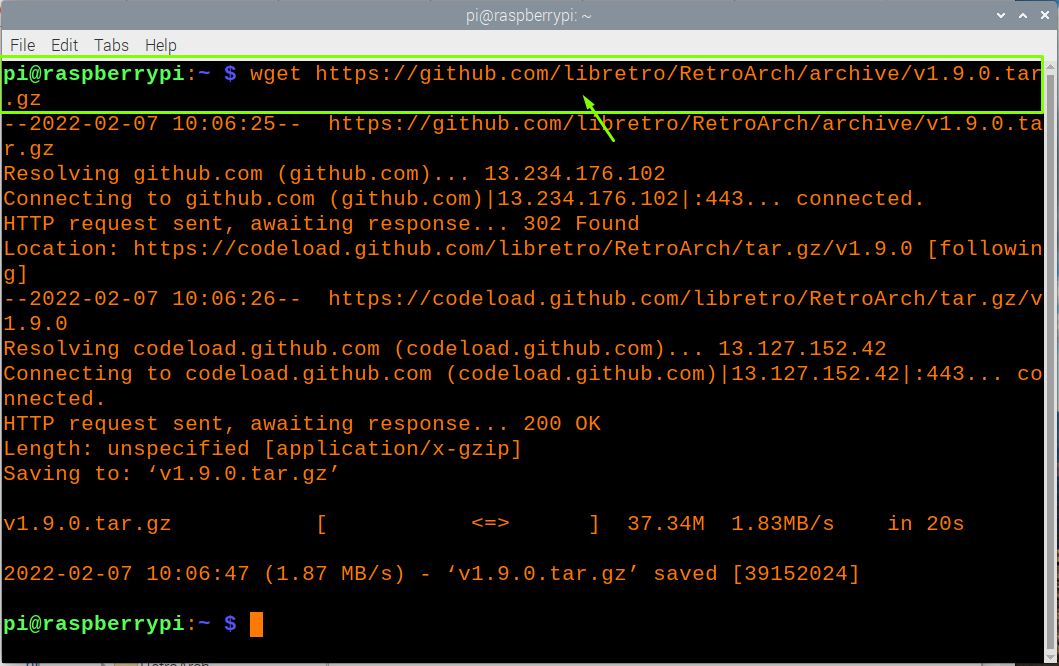
Step 4: Next, download the source code of RetroArch from GitHub using the below mentioned command in the terminal.
Step 5: To compress the file, you will need to enter the command which is mentioned below as it will extract the files when executed.
Step 6: Change the current directory for RetroArch using the below mentioned command in the terminal.
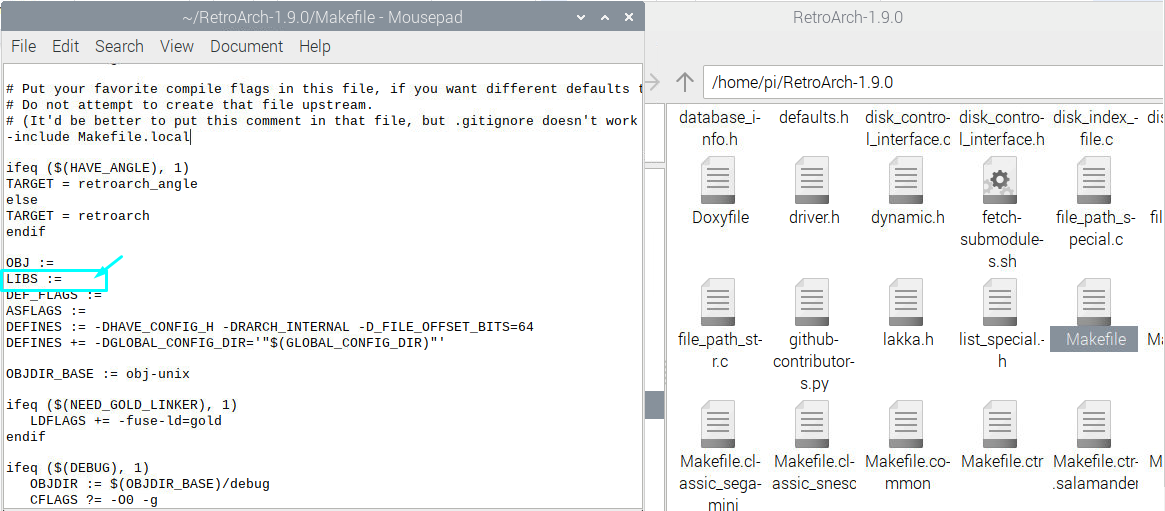
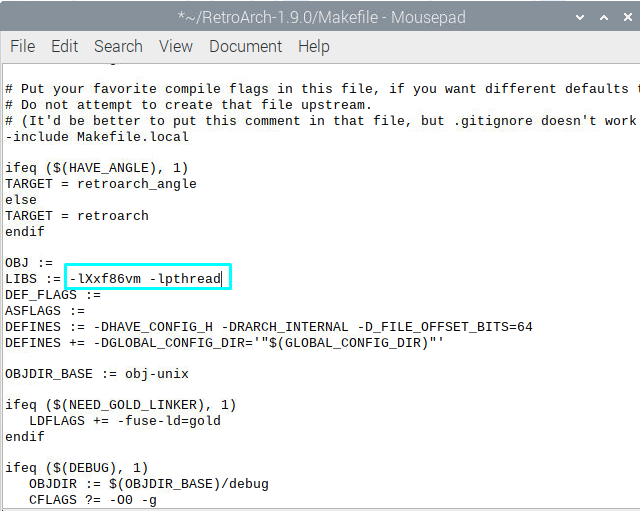
Step 7: Before going into the next step, you will first need to make some changes in “Makefile” and for that go to the “RetroArch-1.9.0” folder and locate the file with the name “Makefile”. Open the file with the Texteditor and replace “LIBS :=” with “LIBE := -lXxf86vm -lpthread”.
LIBS :=
#In New File
LIBS := -lXxf86vm -lpthread
Save the file after editing.
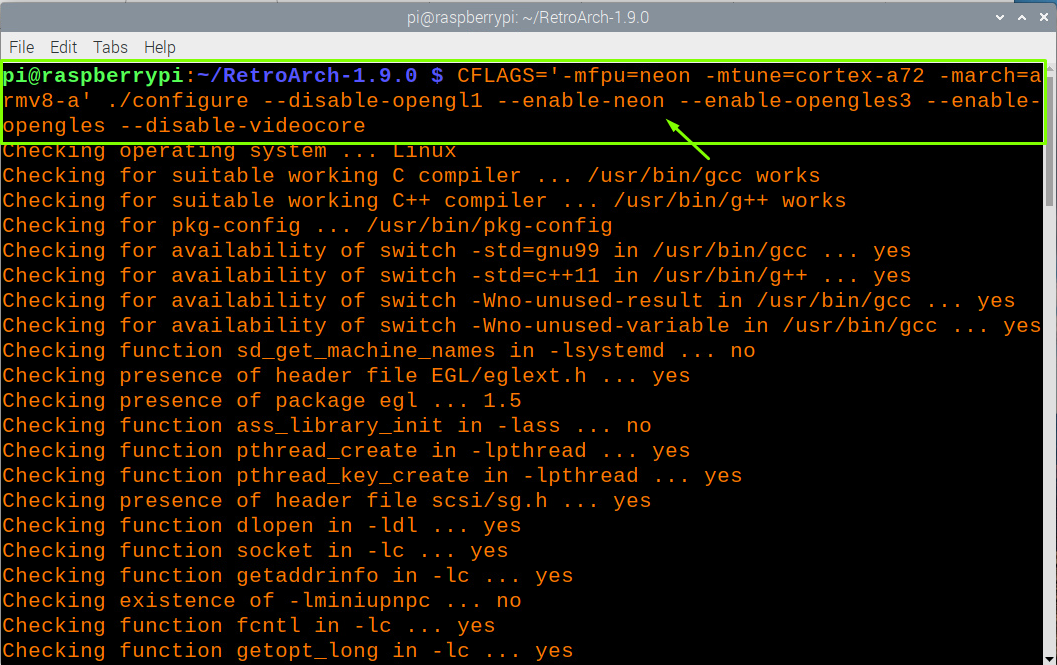
Step 8: Now, after performing the above step, you will then need to configure RetroArch in order to create a good gaming experience on your Raspberry Pi device.
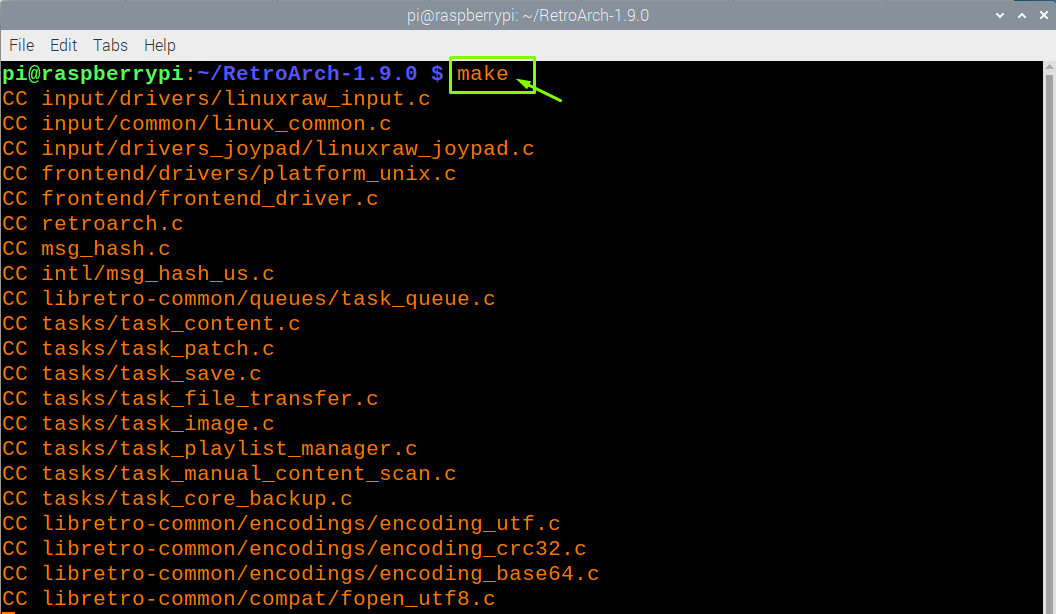
Step 8: Now use the “make command to compile the source files created after the above step.
The above process will take a couple of minutes and you will need to wait until it is finished.
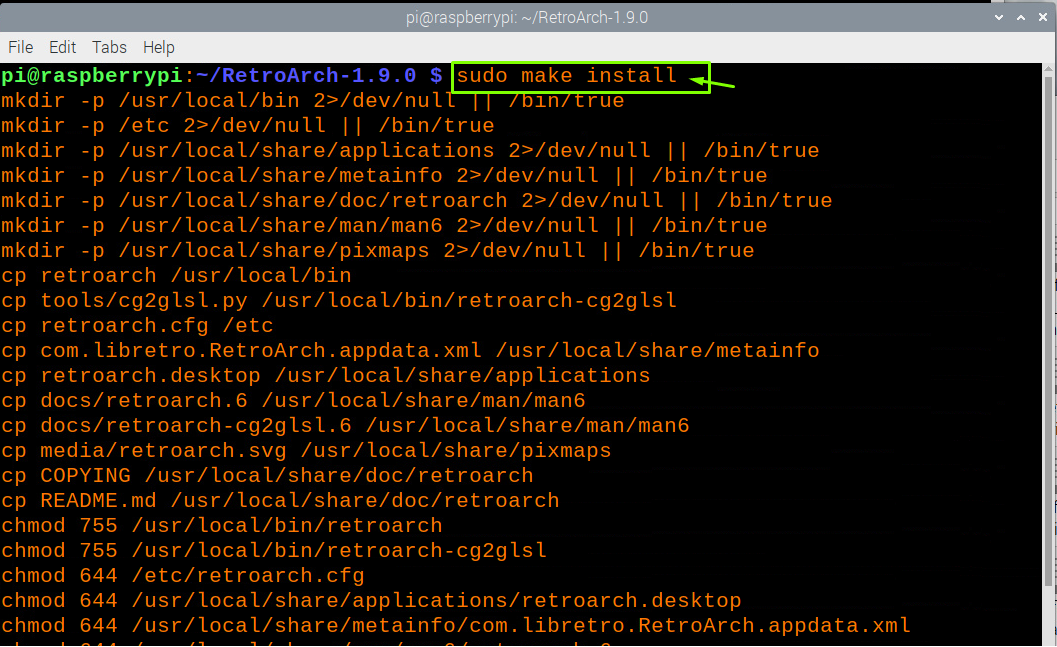
Step 9: After the above step, you will then use the “make install” command to successfully complete the installation of Retroarch on your Raspberry Pi device.
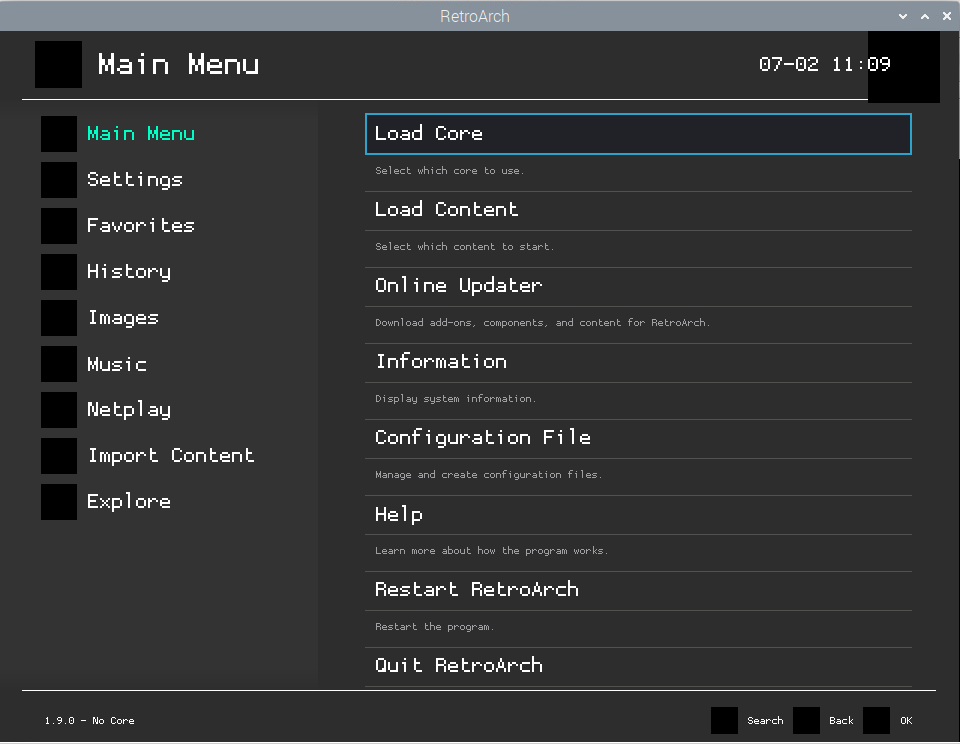
Step 10: To run the RetroArch, enter the command “RetroArch” to run it on your Raspberry Pi desktop.
Method 2: Installing RetroArch through Snap Store
If you are interested in finding the easiest way to install RetroArch on your Raspberry Pi device, then you should consider installing it from the snap store and below are the steps to perform the installation from the Snap store.
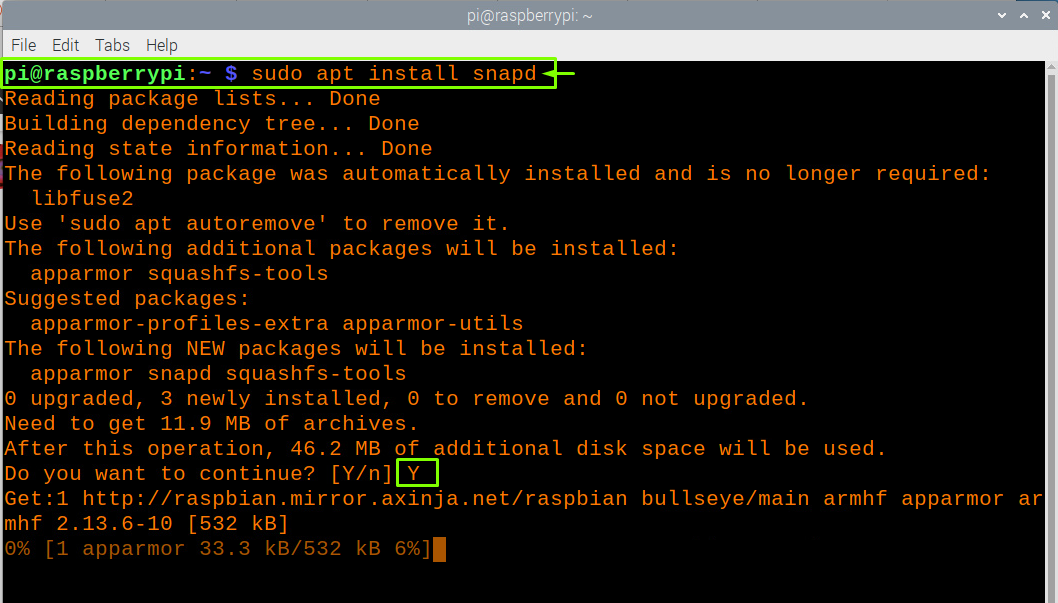
Step 1: In order to start the installation, you will need to install “snapd” first through the below mentioned command in the terminal.
Step 2: After the installation, you will then have to reboot your device using the “reboot” command in the terminal.
Step 3: When your device restarts, you will then need to download “core snap” in order to get the latest snapd on your Raspberry Pi device.
Step 4: In the final step, you can then install RetroArch from the snap store by executing the below given command in the terminal.
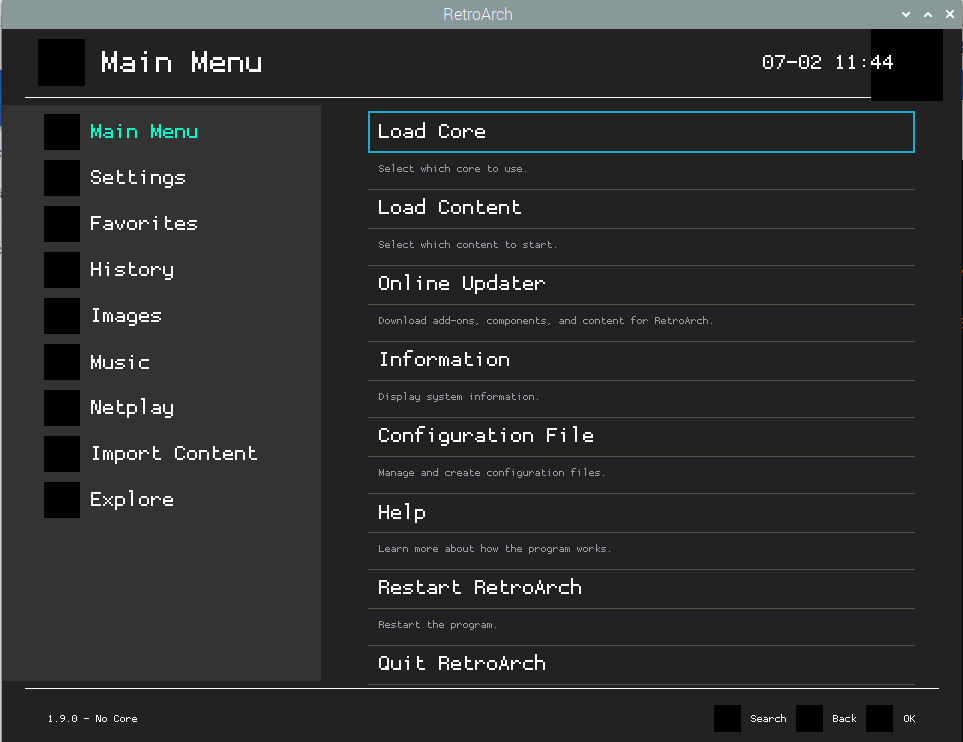
Step 5: Finally, after finishing the installation, run the RetroArch by entering the name “RetroArch” in the terminal.
Conclusion
RetroArch game emulator is an ideal alternative to play different old games on your Raspberry Pi device and you won’t need any other emulator when you successfully install it on your device. To complete installation, you must verify that all libraries are installed properly and if you experience some trouble in installing RetroArch using the first method then you can install it from the snap store since it won’t require any extensive package installation.


