In this writeup, we will go over the installation method of PostgreSQL on Windows.
How to Install PostgreSQL on Windows?
PostgreSQL is a relational DBMS that is more secure, robust, and permits SQL queries over data. In order to install the latest version of PostgreSQL to utilize the available advanced features. To do so, follow the below-listed instructions.
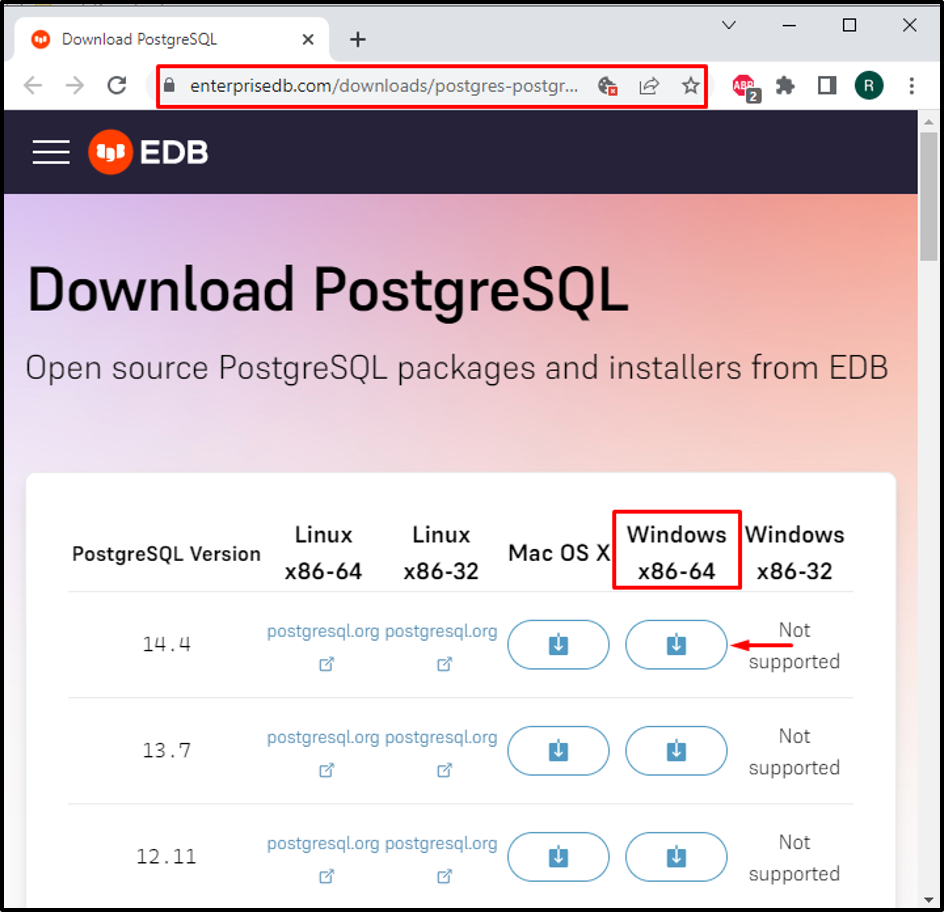
Step 1: Download PostgreSQL Installer
To download the PostgreSQL installer on Windows, navigate to the below-provided link:
https://www.enterprisedb.com/downloads/postgres-postgresql-downloads
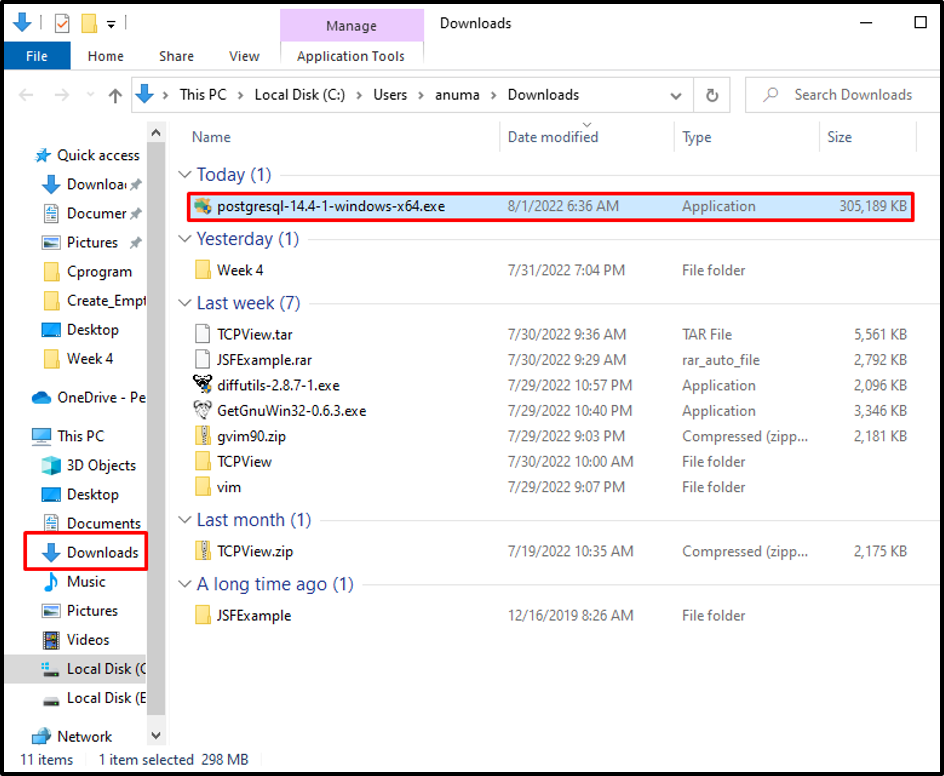
Step 2: Execute PostgreSQL Installer
Open the “Downloads” directory and execute the PostgreSQL installer:
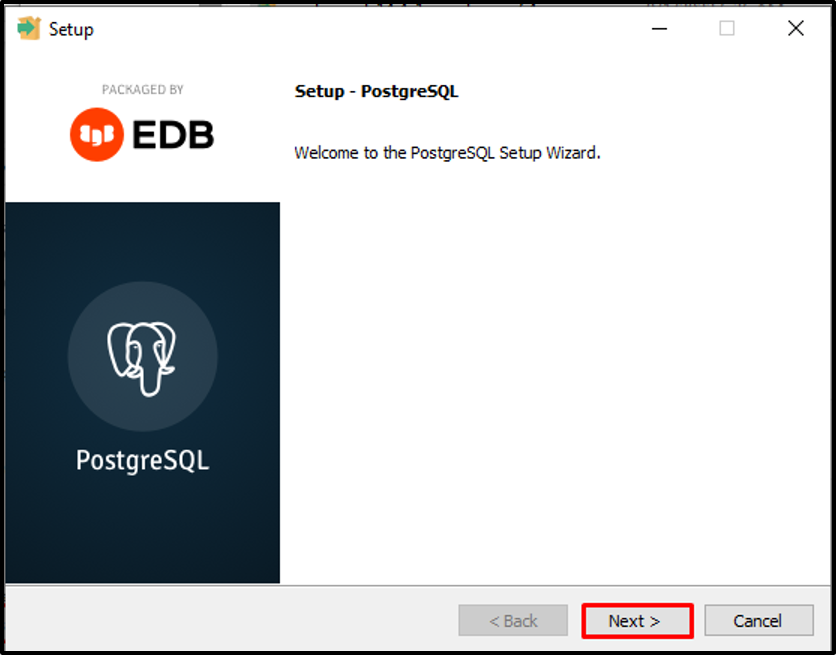
Step 3: Install PostgreSQL
The setup Window will appear on the screen, click on the “Next” button to start PostgreSQL installation:
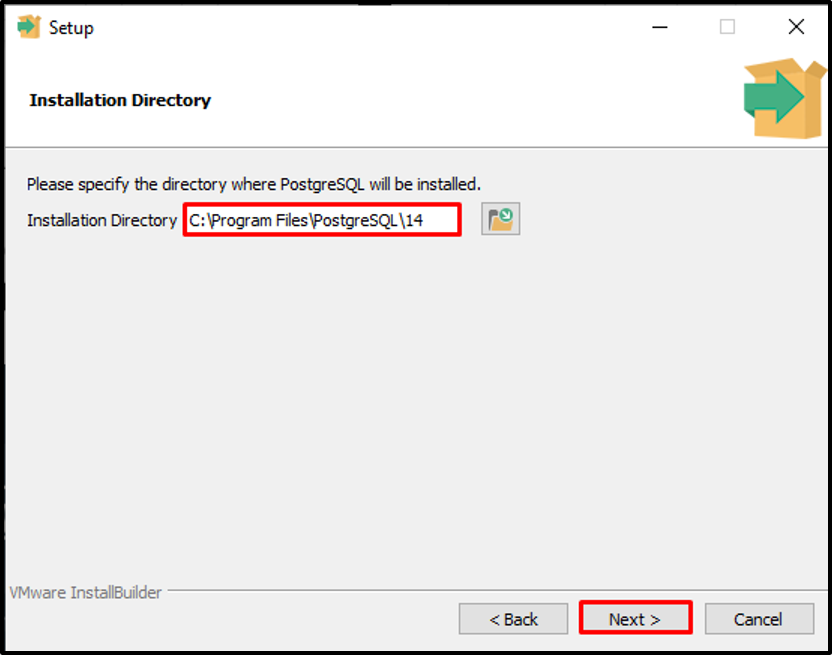
Select the location for PostgreSQL installation and hit the “Next” button:
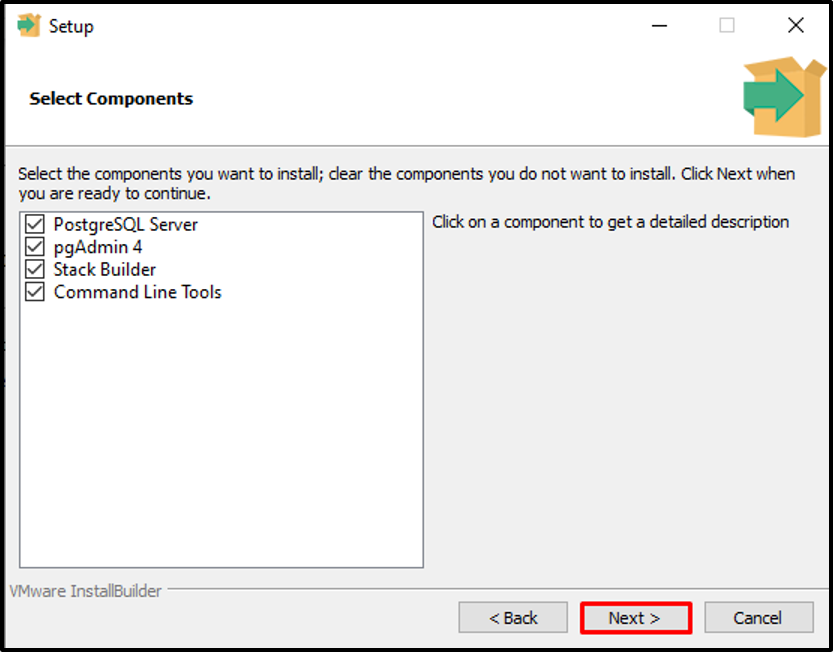
Continue with the default selected components and press the “Next” button:
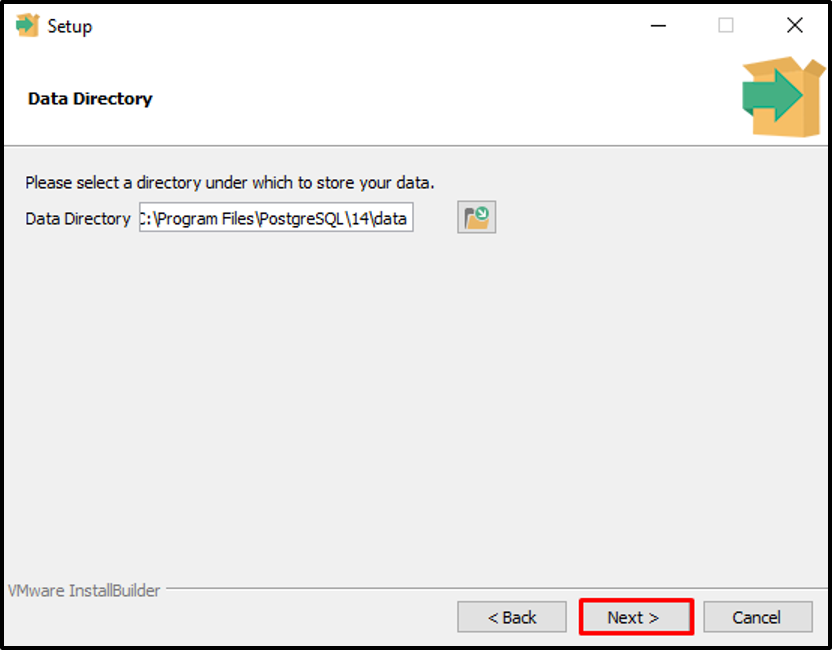
Add the directory path where the data will store. Then, click on the “Next” button:
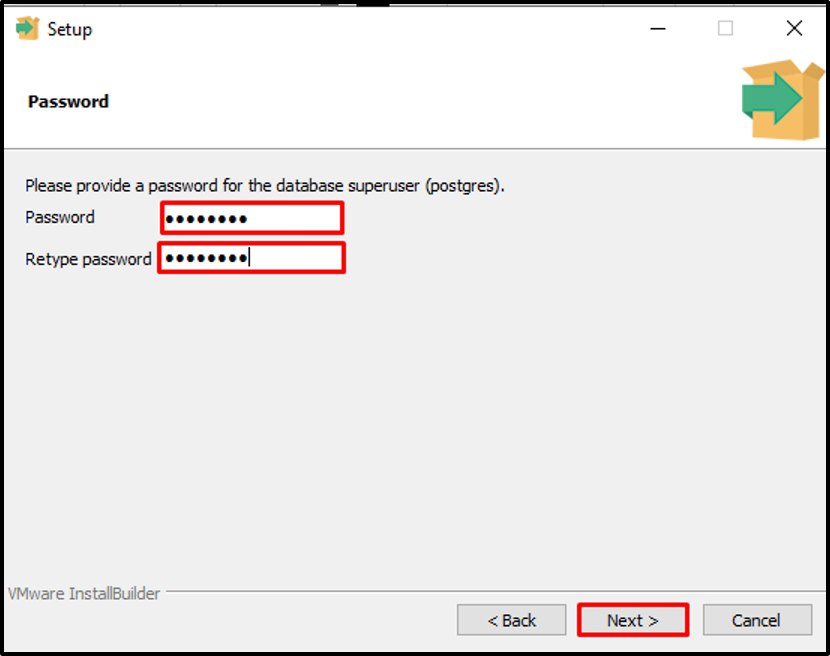
After that, set the Password for Postgres Superuser. Press the “Next” button to save the password and move forward:
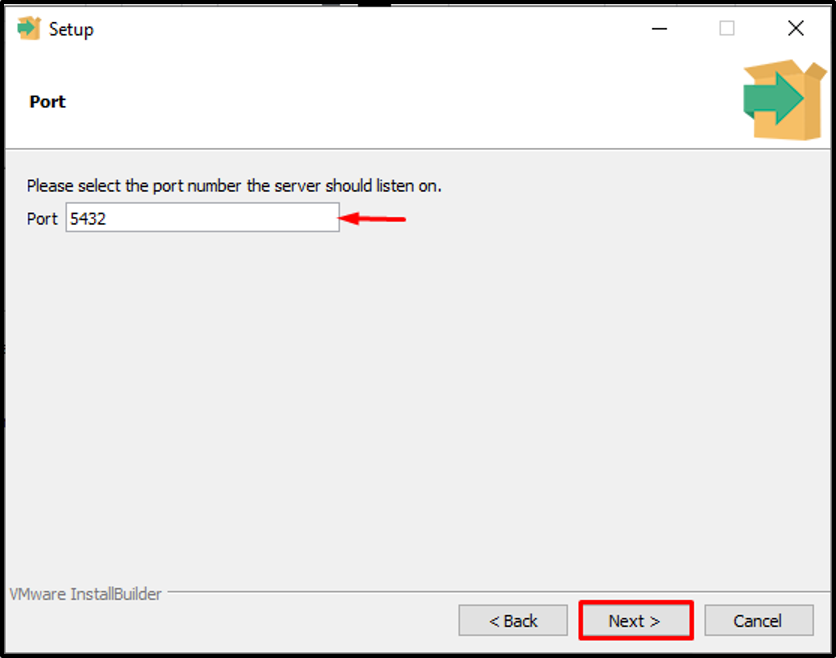
You can set the server port according to your preference. If you want to continue with the default port (5432) then, press the “Next” button:
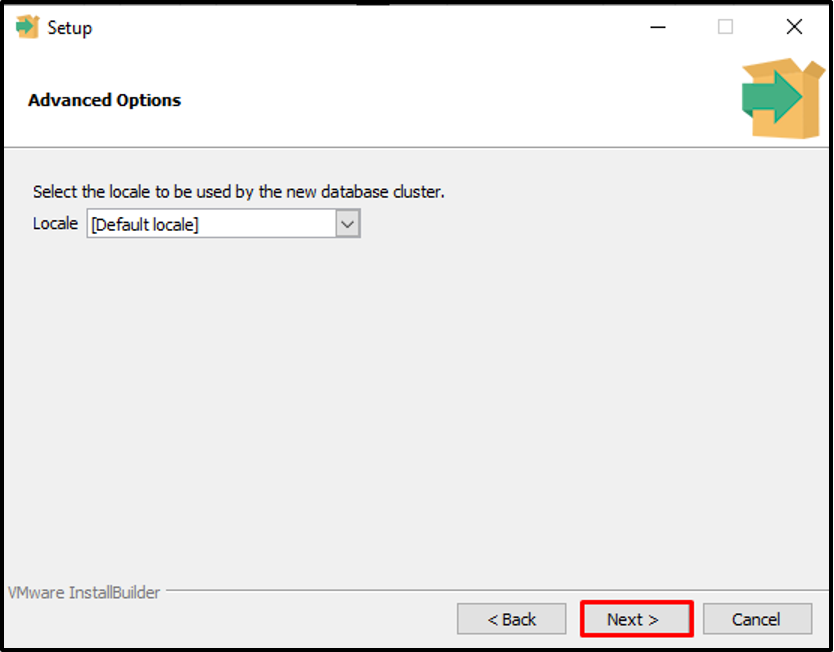
Go with the default selected option and click on the “Next” button:
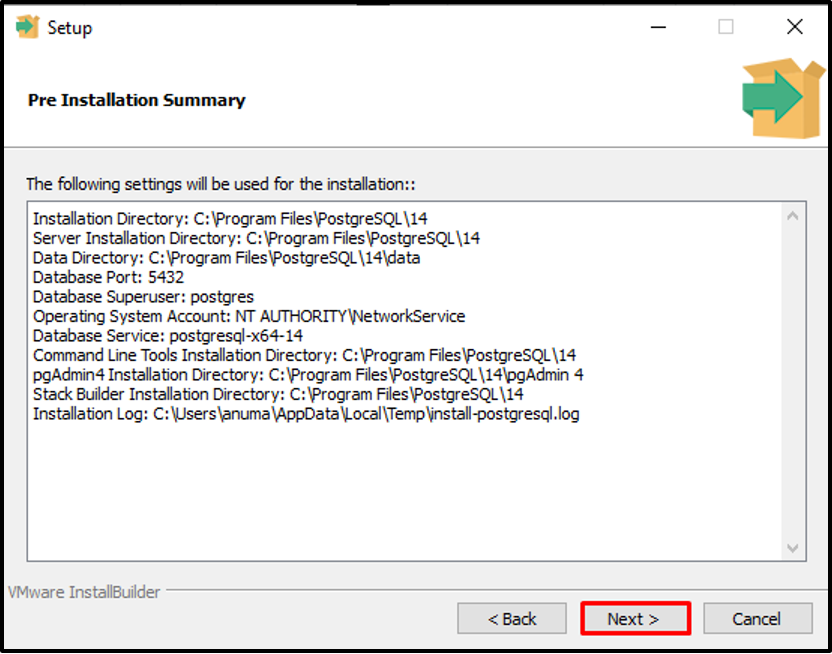
The “Pre Installation Summary” will display on the screen, review the installation settings and press the “Next” button:
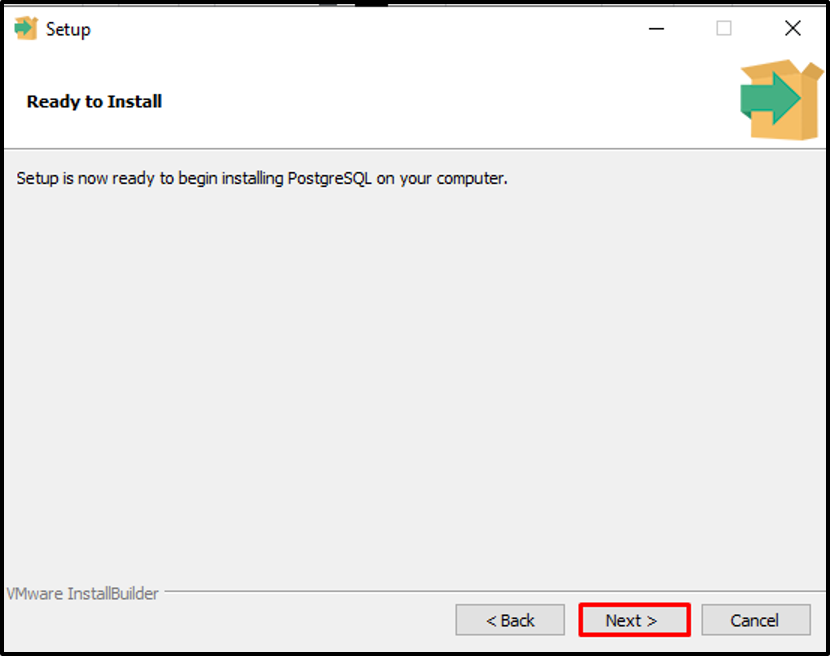
Start PostgreSQL installation by clicking on the “Next” button:
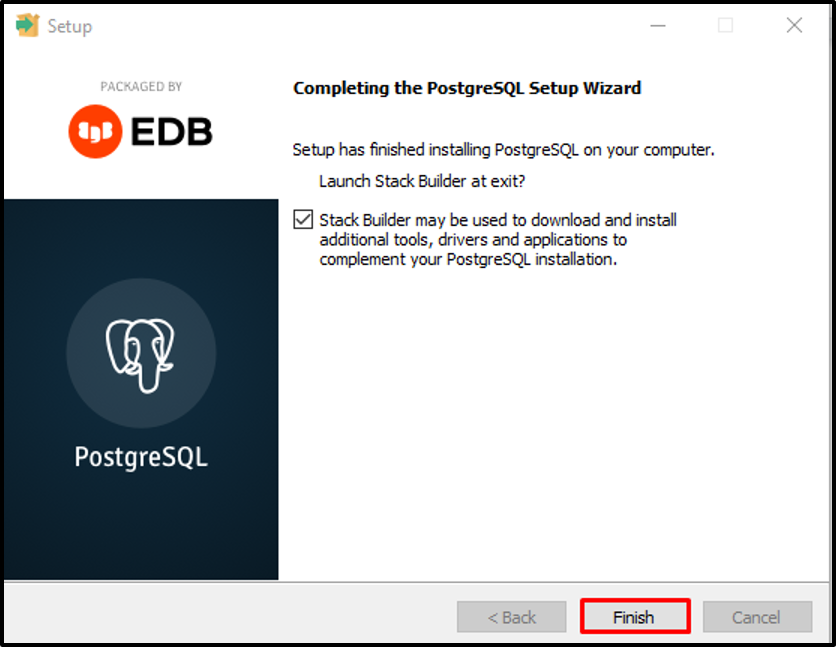
If you want to set up the “Stack Builder” component, go with the default settings and hit “Finish”. Otherwise, unmark the checkbox and hit the “Finish” button:
We have successfully installed the PostgreSQL database on Windows. Let’s check out the methods of how to use it on Windows.
Method 1: Use PostgreSQL on Windows Using GUI
The “pgAdmin4” is referred to as the GUI of PostgreSQL database. You can use PostgreSQL functionalities using the “pgAdmin4”. You can install “pgAdmin4” while installing PostgreSQL as we did. However, you can explicitly get “pgAdmin4” as well. The mentioned steps are carried out to use the PostgreSQL database via “pgAdmin4”.
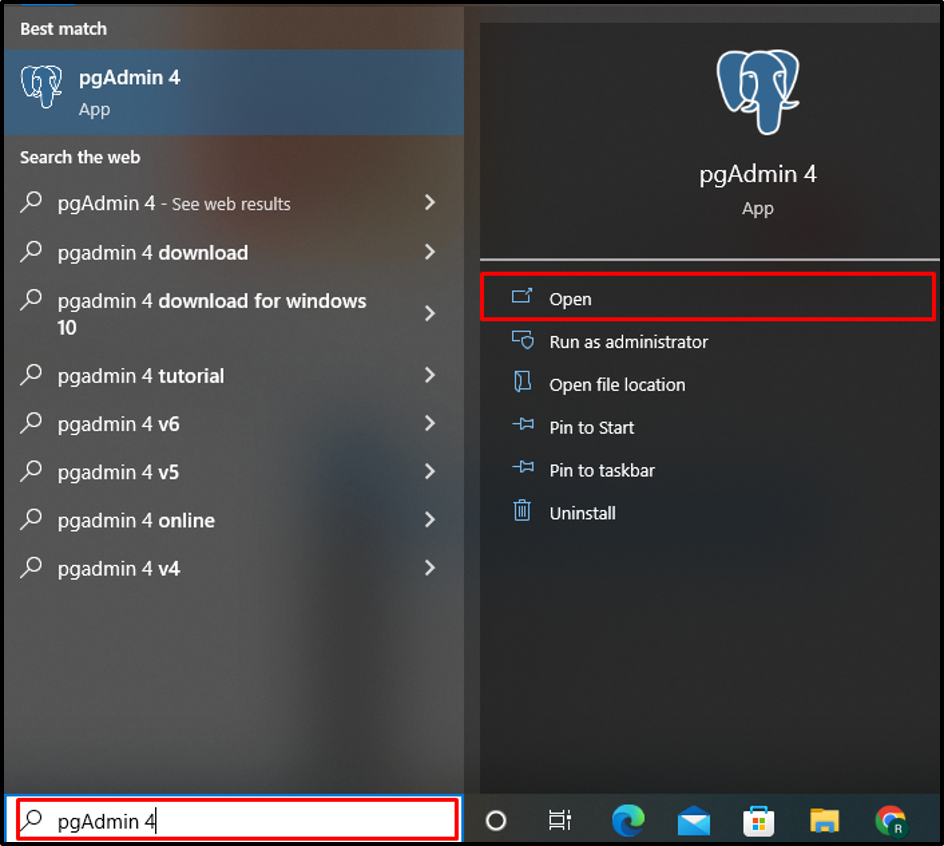
Step 1: Open pgAdmin4
Make a search for “pgAdmin 4” in the “Startup” menu and open it from the displayed results:
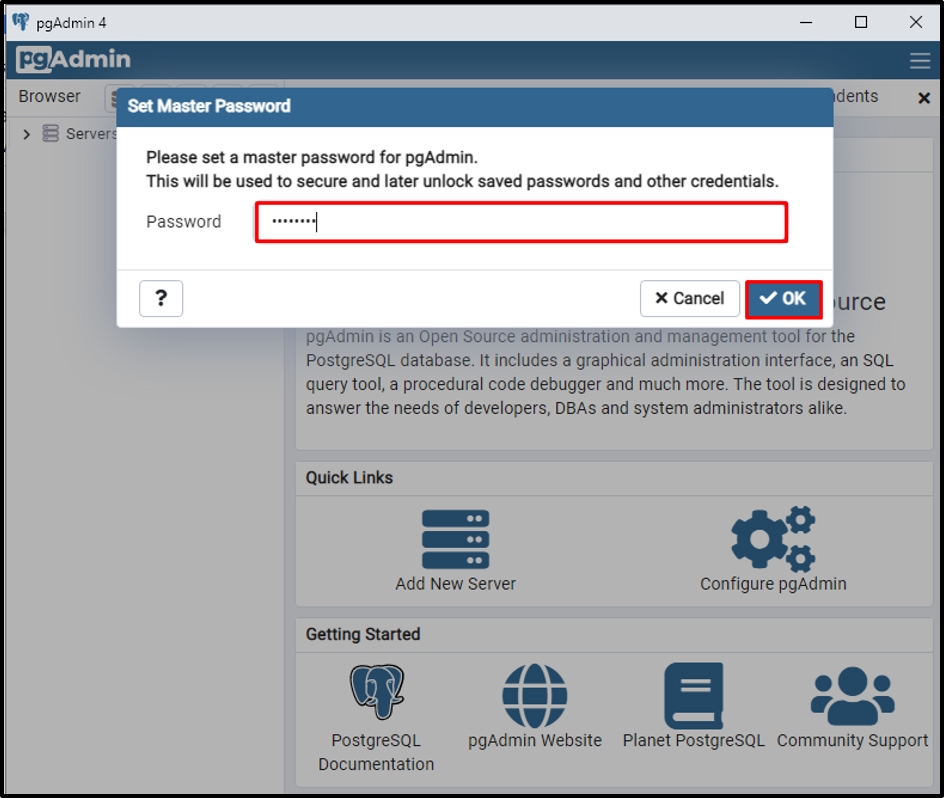
Step 2: Login to PostgreSQL Database
Before logging into PostgreSQL, set the “Master Password” to secure the PostgreSQL database:
You can operate the PostgreSQL using highlighted options.
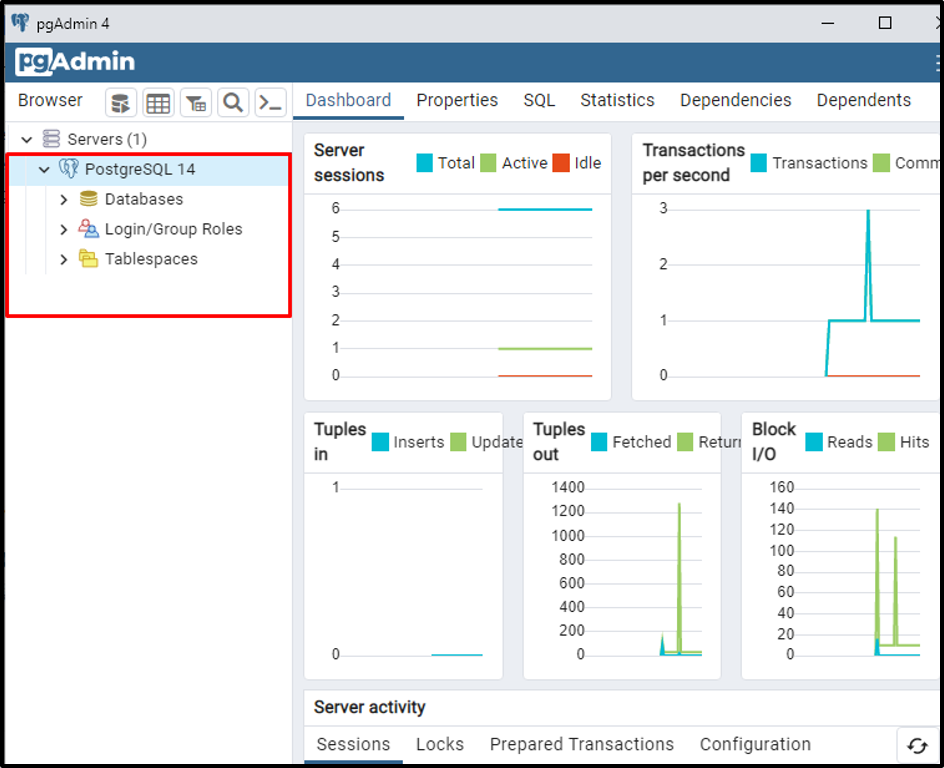
Let’s try some of its functionalities in the upcoming steps.
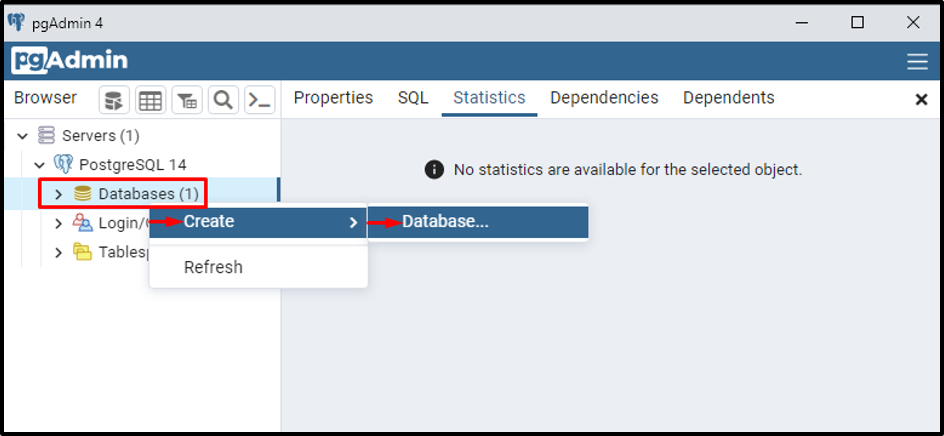
Step 3: Create New Database
In order to create the new database in PostgreSQL:
- Right-click on the “Databases” option.
- After then, select “Create” option and choose “Database” as shown below:
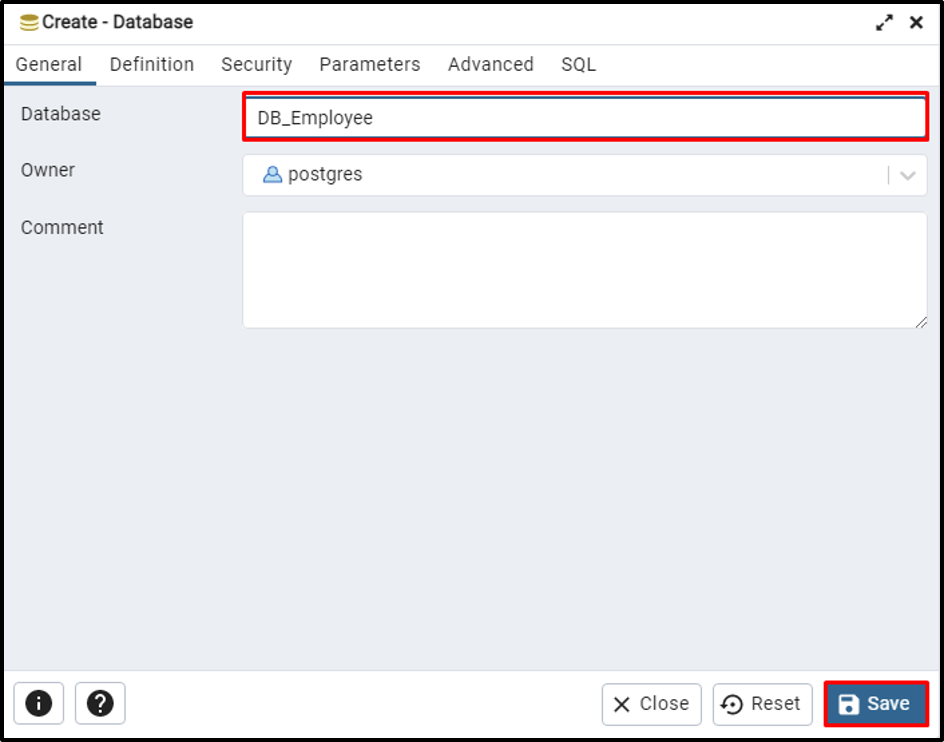
In the “Database” text field, set the database name. From the “Owner” drop-down field select the user that will own and use the database. Lastly, click on the “Save” button:
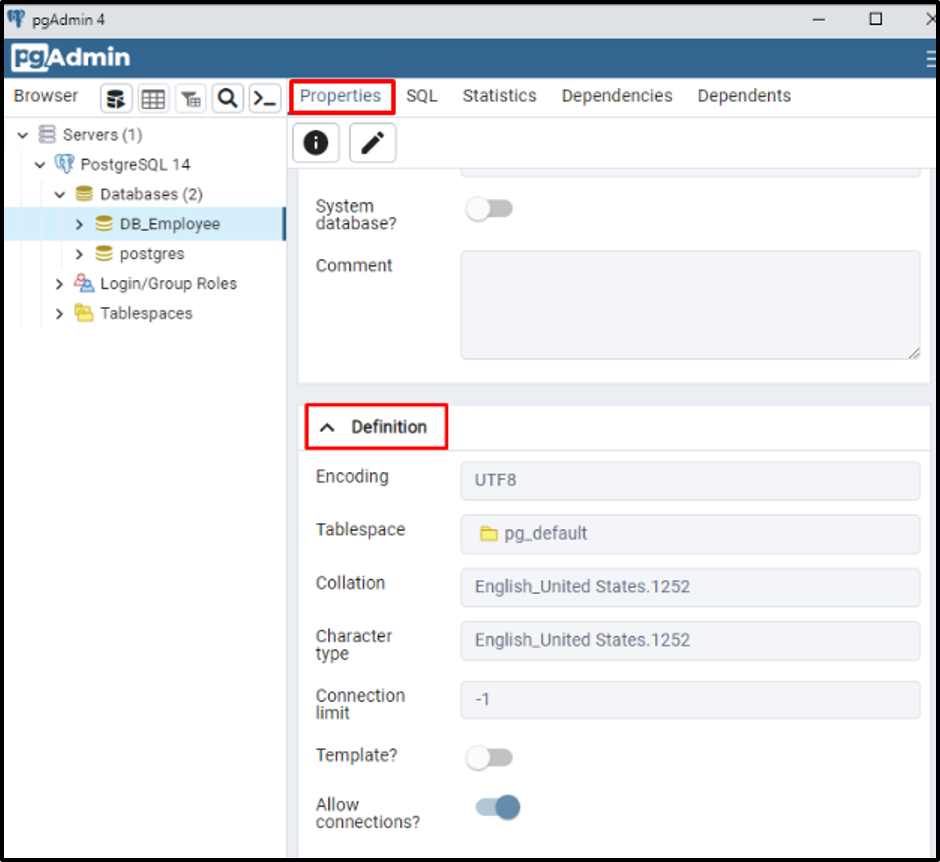
The below given output indicates that we have successfully created a new “DB_Employee” database. Inside the “Properties” menu, you can perform the following operations:
- Toggle the button to set this database as a system database.
- You can go to the “Definition” panel, to set an Encoding scheme, Tablespace, Character type, and much more as shown below.
Let’s check out the method to use PostgreSQL from Windows Command-line.
Method 2: Use PostgreSQL on Windows Command-line
To use PostgreSQL from Windows Command-line, follow the listed instructions.
Step 1: Setup Path Environment Variable
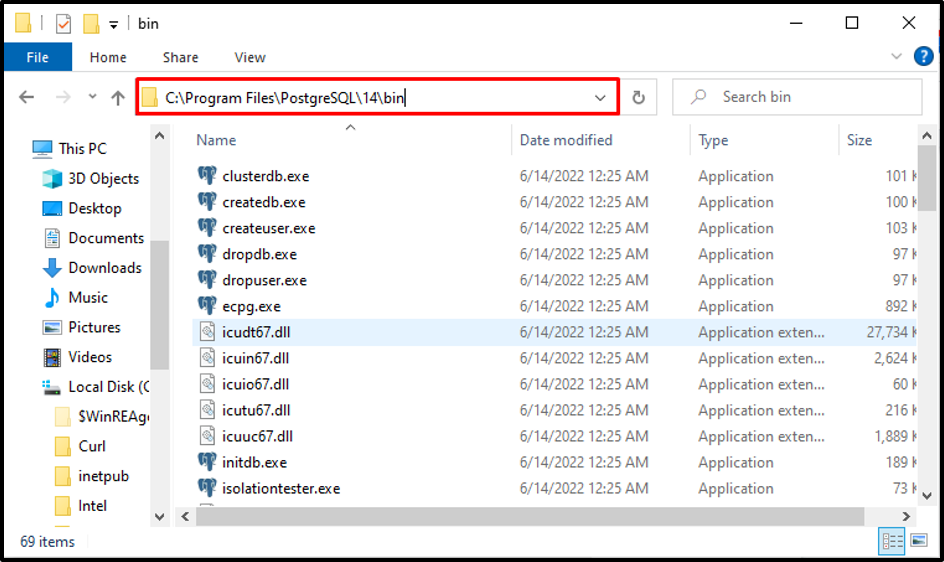
In order to use PostgreSQL on the command line, it is required to set the Path environment variable first. For this purpose, go to the directory where you have installed the PostgreSQL database, open the bin folder, then copy the path from the “Address” bar:
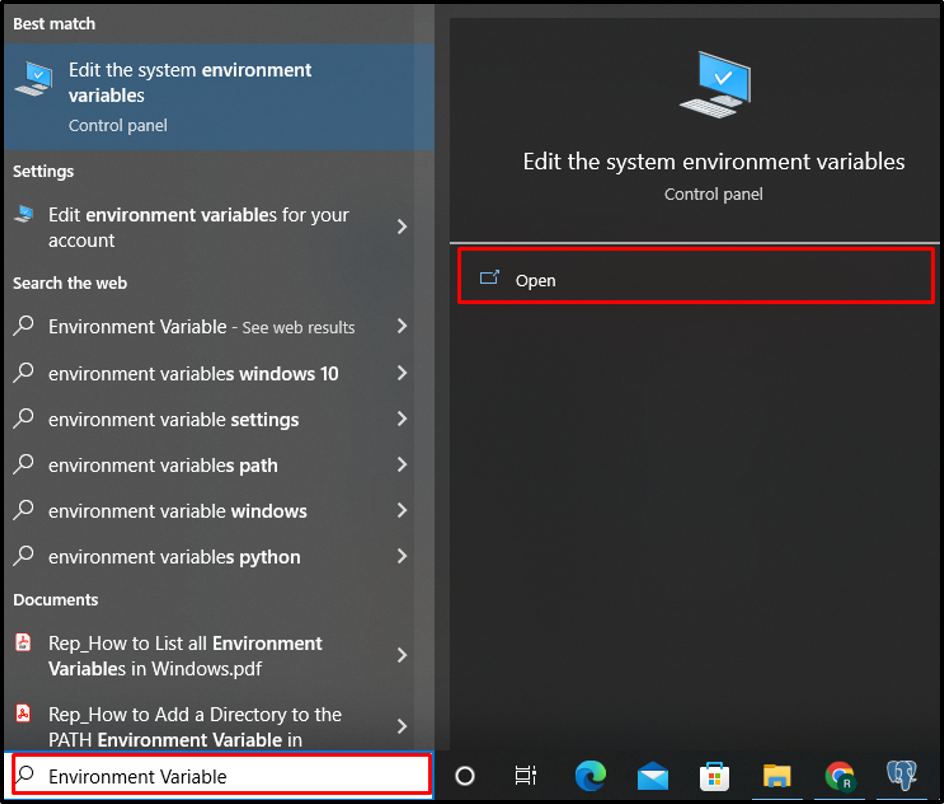
After that, search for “Environment Variables” in the “Startup” menu and open the “Edit the system environment variables” settings:
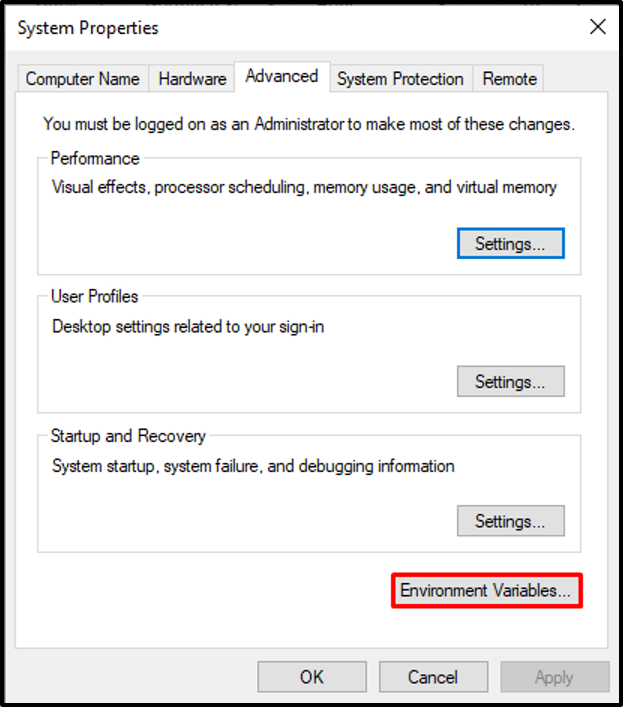
The “System Properties” Window will appear on the screen. Press the “Environment Variables” button:
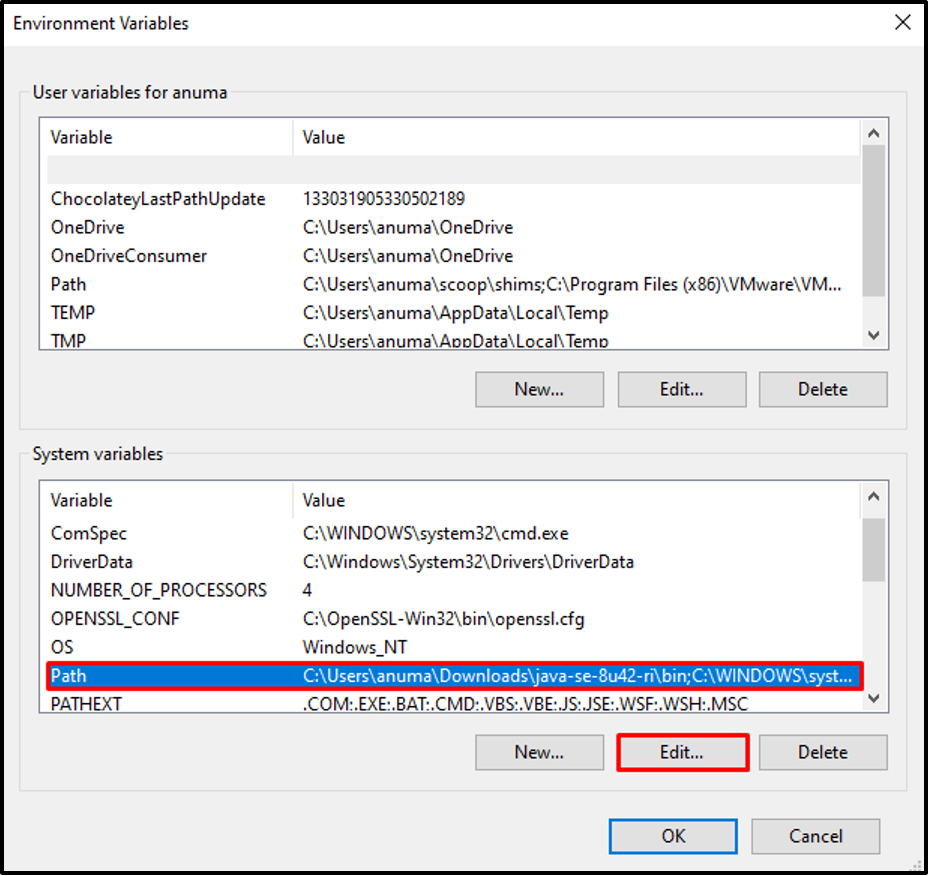
In the “System variables” section, select the “Path” option, and press the “Edit” button:
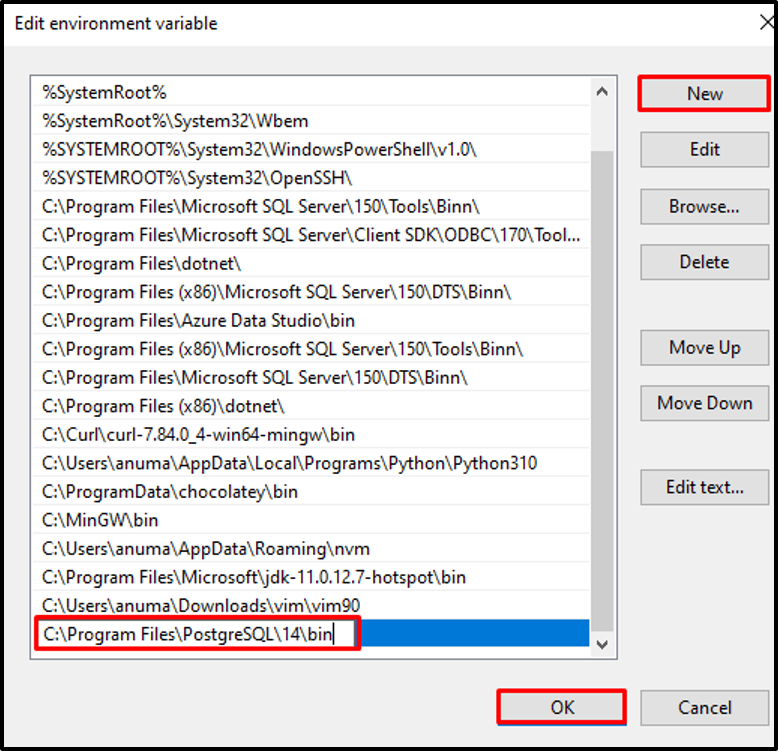
Press the “New” button, and paste the path here as shown below. After that, hit the “OK” button to save changes:
Step 2: Open Command Prompt
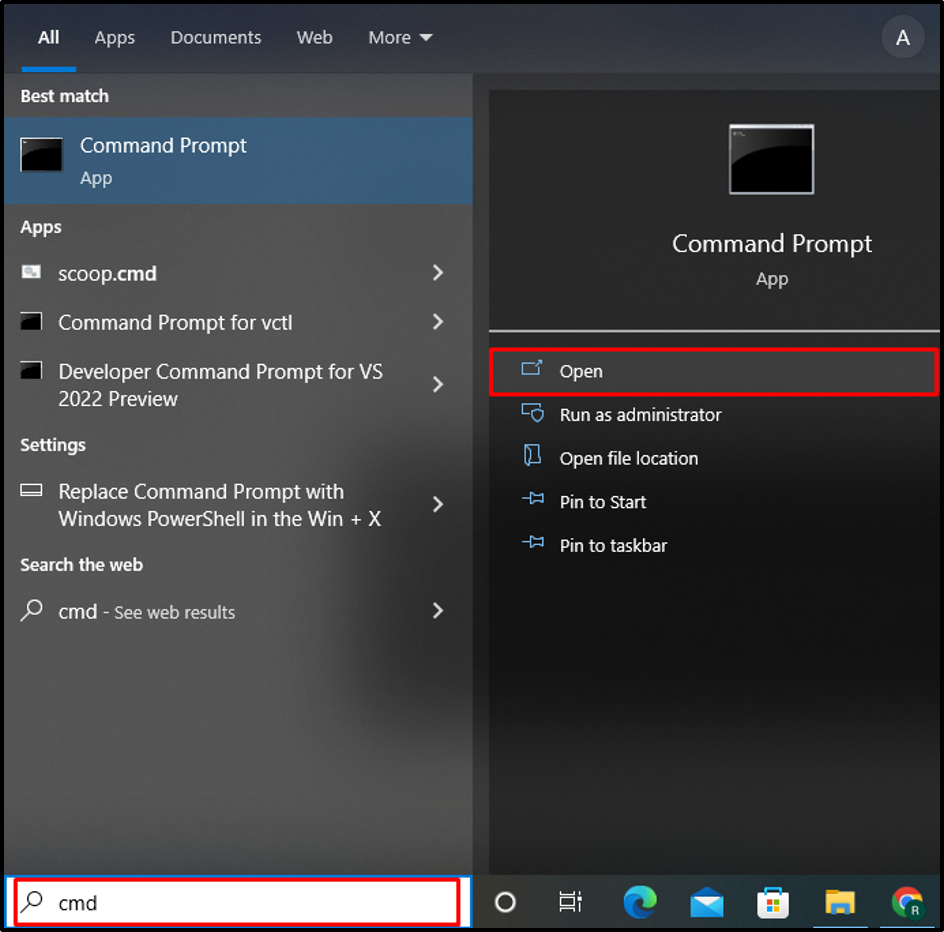
Firstly, go to the “Startup” menu, type “cmd” and open the Windows Command Prompt:
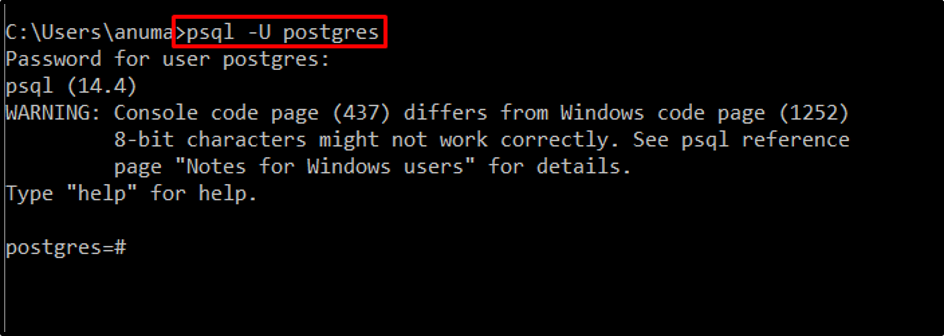
Step 3: Login to PostgreSQL
Login to the PostgreSQL as a default “postgres” user using the provided command and enter the password you have set during the Installation process:
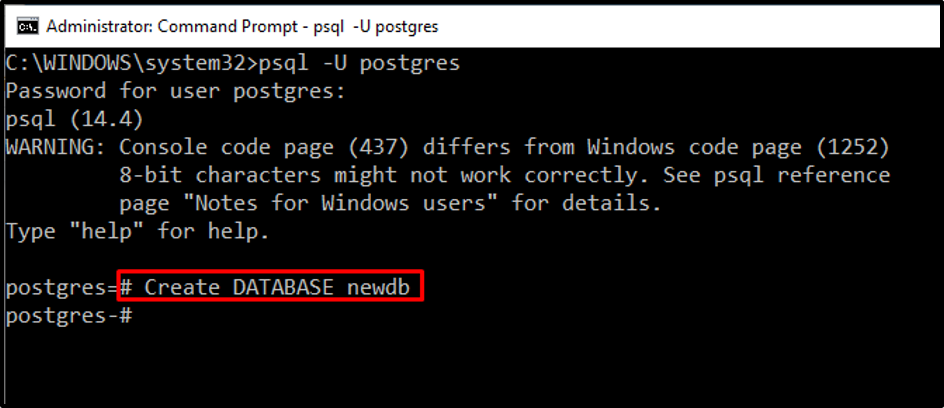
Step 4: Create New Database
Now, you can see that we have successfully logged into the PostgreSQL database. Create the new database using the below-provided query:
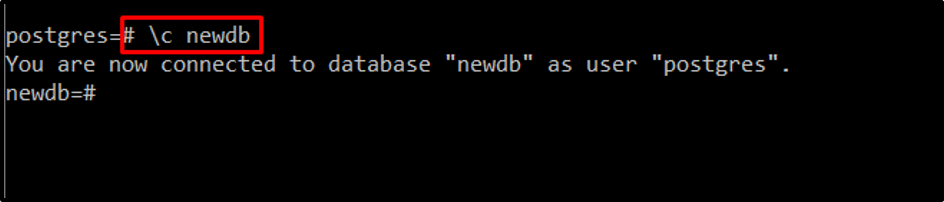
Step 4: Connect Database
To make a connection with the newly created database utilize “\c” and specify the database name:
Step 5: Exit PostgreSQL Database
Utilize the “\q” to exit PostgreSQL database:

We have effectively used PostgreSQL on Windows Command-line and Graphical User Interface.
How to Uninstall PostgreSQL From Windows?
In order to uninstall the PostgreSQL database from Windows, follow the provided instructions.
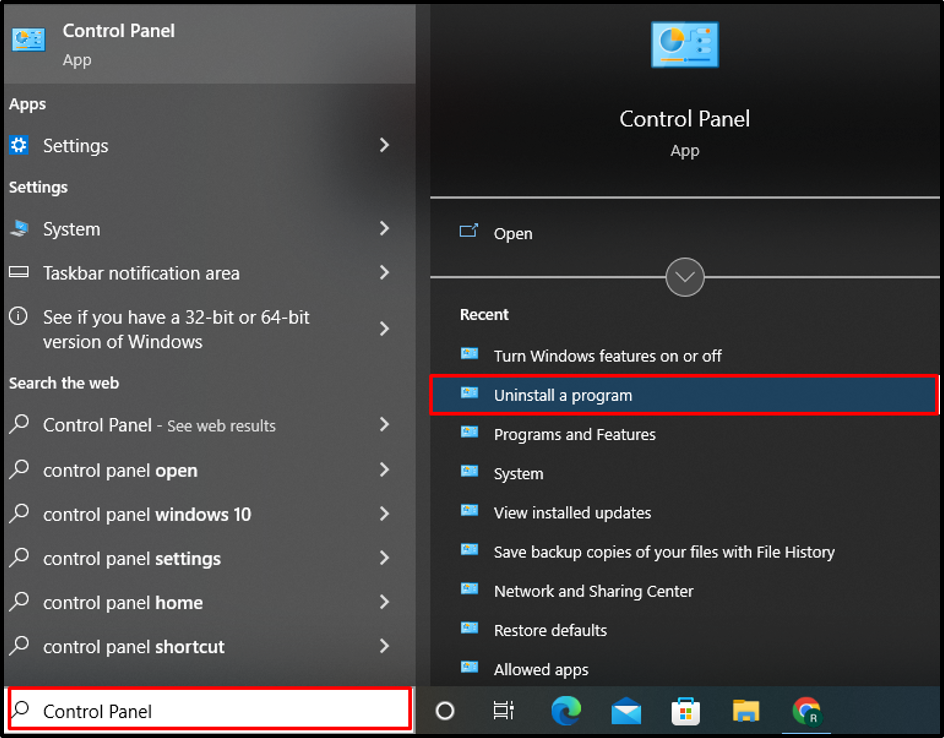
Step 1: Open Control Panel
Firstly, search for the Control Panel application in the “Startup” menu. Here, you will find “Uninstall a program” option as seen below:
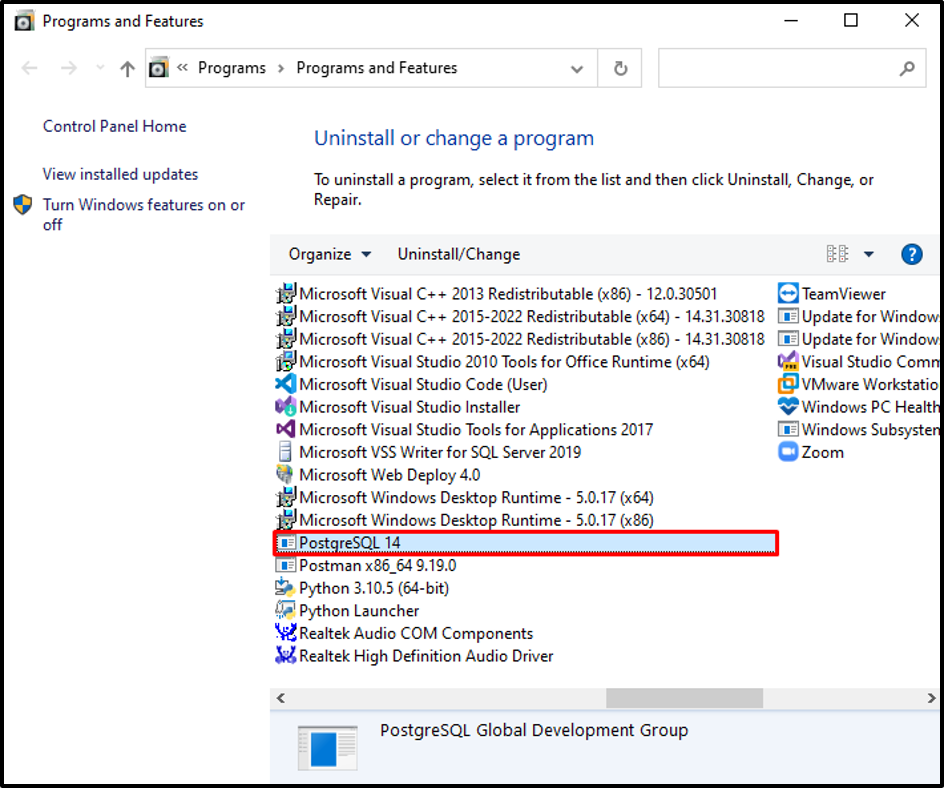
Step 2: Search PostgreSQL
Select the “PostgreSQL” version from the list of software. In our case, it is “PostgreSQL 14” as shown below:
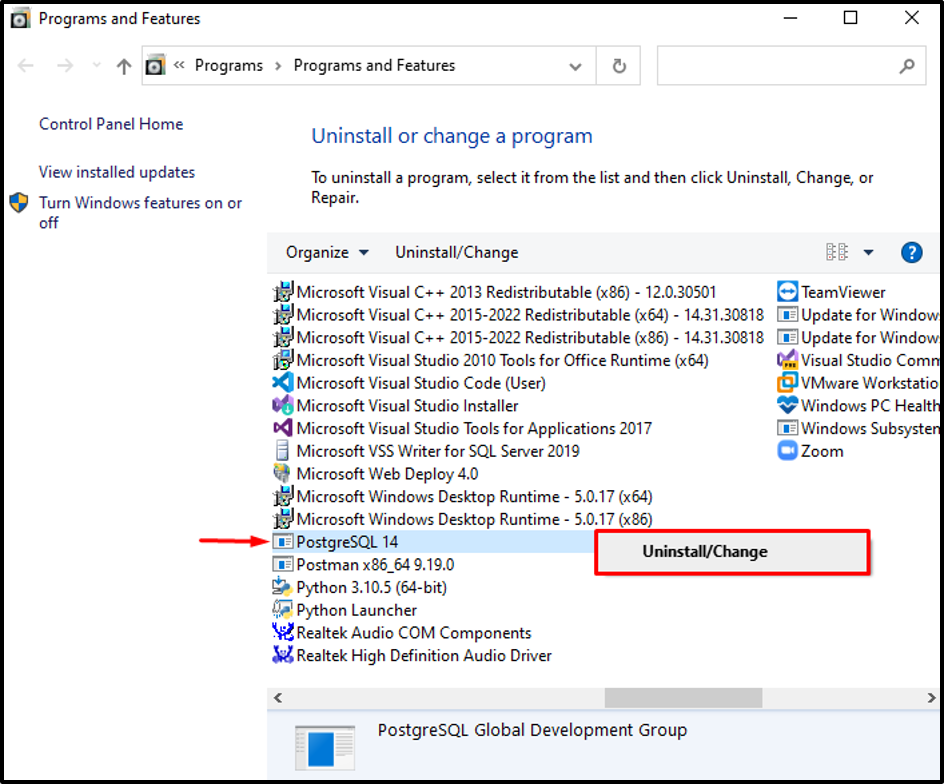
Step 3: Uninstall PostgreSQL
Right click on the selected “PostgreSQL 14” and select the “Uninstall/Change” option to uninstall the PostgreSQL database:
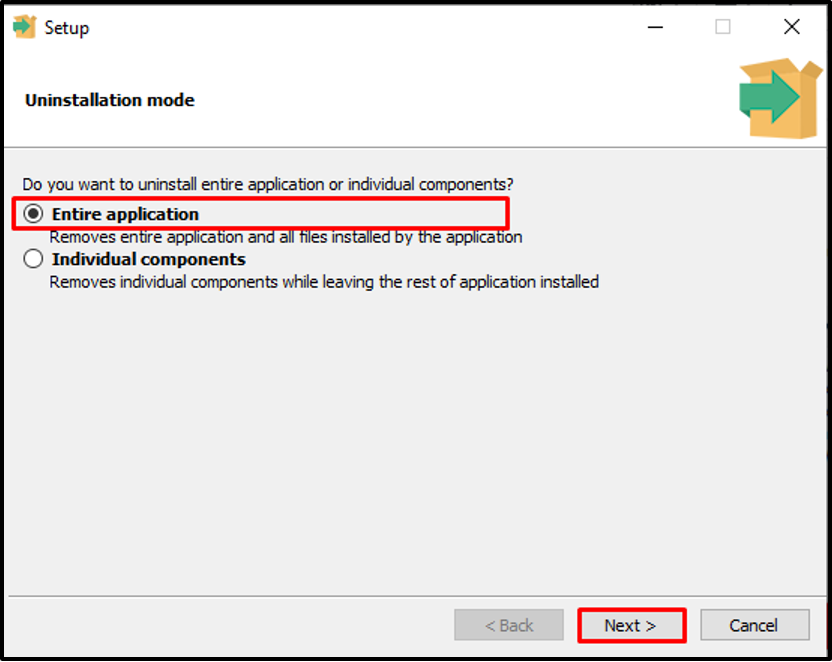
Upon doing so, the “Setup” wizard will display on the screen, select the “Entire application” option from the “Uninstallation mode” setting to uninstall the PostgreSQL completely from Windows:
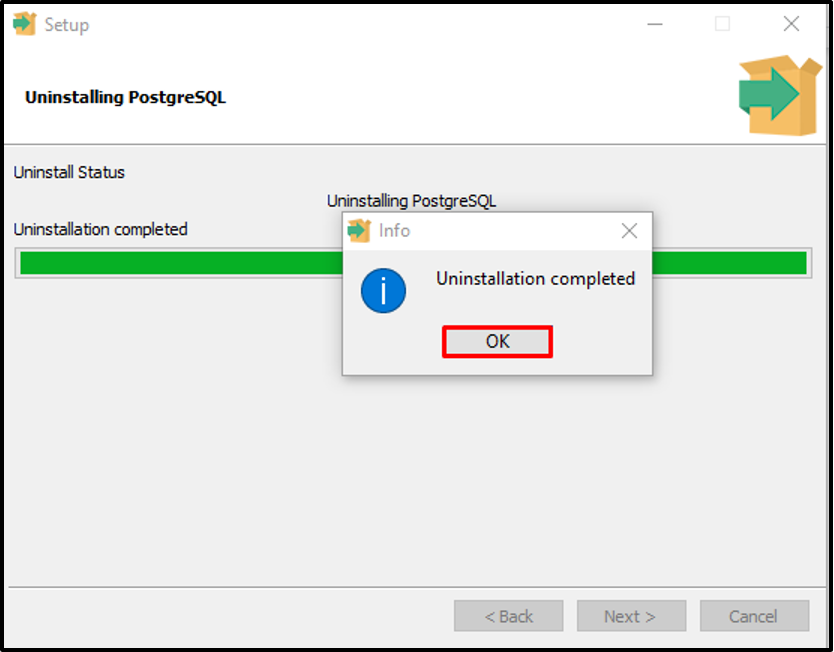
The below-given output indicates that we have successfully uninstalled the PostgreSQL from Windows:
We have effectively compiled the methods to install, use and uninstall PostgreSQL on Windows.
Conclusion
To install PostgreSQL on Windows, first, download the setup file and then execute the PostgreSQL installer to install it. In order to use PostgreSQL in Windows GUI, open the “pg Admin 4” application. However, you can use the PostgreSQL from the Command Prompt as well. Here, you have learned to install the PostgreSQL database management system. Additionally, you will also get the understanding of using the PostgreSQL on windows via GUI/CLI.