Python modules or packages are managed through the “pip” package manager. It primarily provides an easy method to set up a working environment. pip is also used to install Python’s supported packages. By default, it comes pre-installed with Python 3 and other latest versions. However, if you are using an older Python version on Windows, you must install pip by yourself.
We’ll show you how to install pip on Windows in this article:
- Using Python Installer
- Using Bootstrapping Script
Let’s get started!
Method 1: Install pip Using Python Installer on Windows
As mentioned earlier, the pip package manager comes pre-installed in the latest Python version. So to install Python’s latest version, follow the provided steps.
Step 1: Download Python Installer
In the first step, visit the below-mentioned link to select the installer file related to the latest version of Python:
![]()
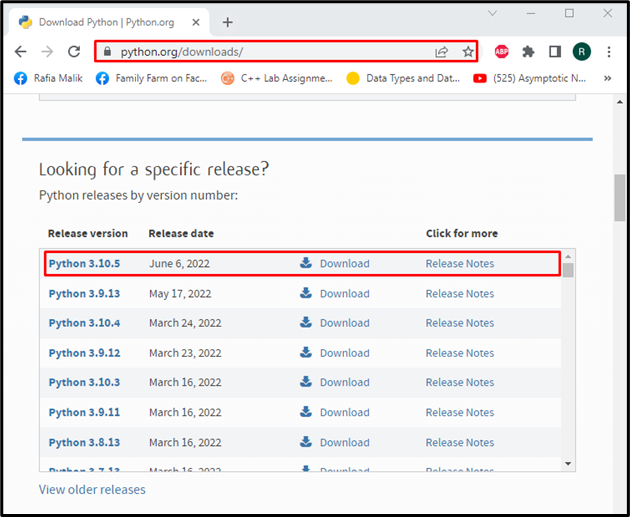
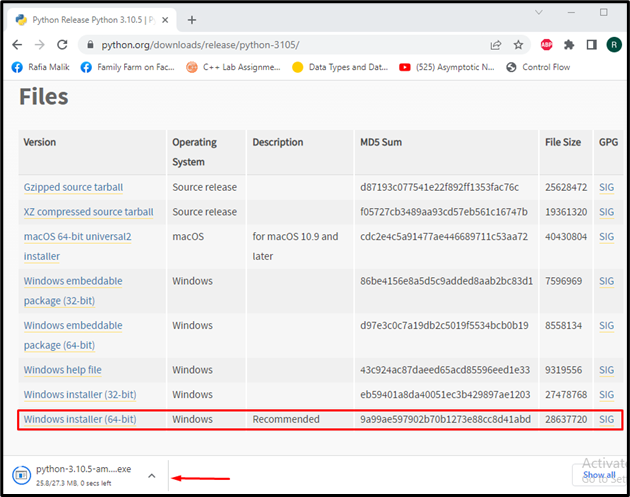
From the “Files” menu, select your system-compatible installer of Python and download it:
Step 2: Run Python Installer
In the next step, go to the “Downloads” folder and execute the downloaded Python installer file:

Step 3: Install Python
The Python setup wizard will now appear on the screen. Mark the highlighted checkboxes and click on the “Install Now” option:

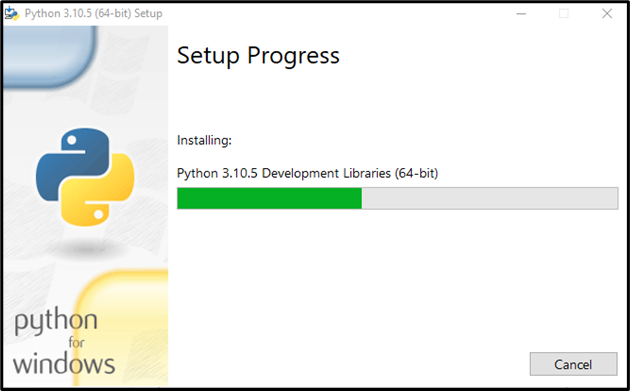
Wait for a few minutes as the installation of Python will take some time to complete:
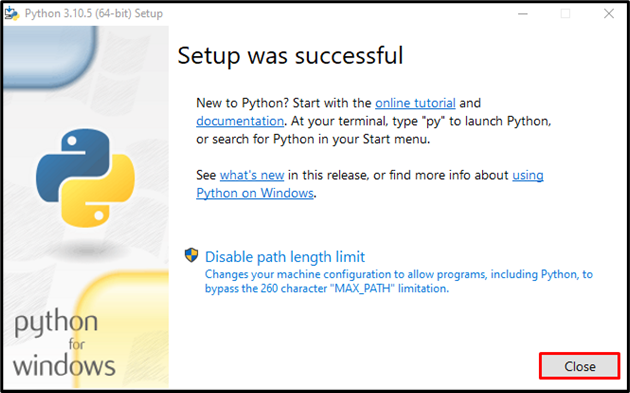
As you can see, we have successfully installed Python on Windows:
Step 4: Verify Python Installation
In the next step, we will verify Python installation by executing the below-given command on Windows Command Prompt:
The given output indicates that Python version “3.10.5” is now installed on our Windows system:

Step 5: Verify pip Installation
Run the provided command to verify pip installation by checking its version:
We have successfully installed pip version “22.0.4” on Windows:

Let’s move ahead to install pip on Windows using Bootstrapping script.
Method 2: Install pip Using Bootstrapping Script on Windows
To install pip using Bootstrapping script, follow the steps listed below:
Step 1: Download Bootstrapping Script
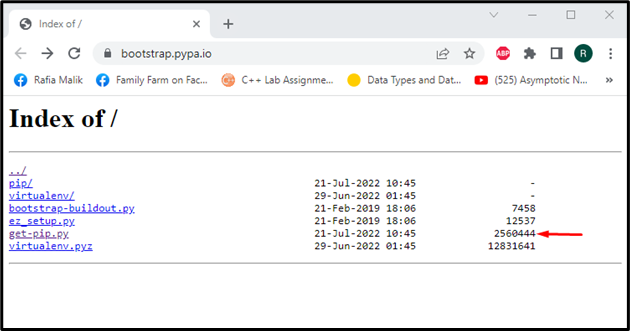
In the first step, download the “get-pip.py” script file by navigating to the following link:
Alternatively, download the “get-pip.py” script using the “curl” command on the Windows Command Prompt:

Step 2: Install pip
In this step, run the “get-pip.py” script to install pip on Windows:

Step 3: Verify pip Installation
Run the below-given command to verify pip installation by checking its version:
You can see that we have successfully installed pip version “22.2” on Windows:

Let’s check out the method to upgrade pip on Windows.
Update pip Version on Windows
To update the pip version on Windows, write the following command:
Our pip package manager is up to date:

Use pip on Windows
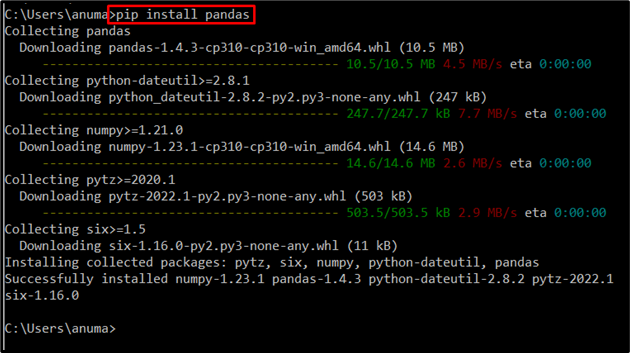
The primary usage of pip is to manage and install Python packages. Let’s install the Python package “pandas” using pip:
As you can see, pip is working perfectly fine on our Windows system:
We have effectively elaborated the methods to install, update, and use pip on Windows.
Conclusion
To install pip on Windows, you can use the latest Python installer or Bootstrapping script “get-pip.py”. In the first approach, navigate to the official website of Python, download the installer file, and execute the installer to Python and pip installation. In the second approach, download the “get-pip.py” script, and install it by executing the “python get-pip.py” command. This article has elaborated on installing, updating, and using pip on Windows.