Pinecone database is a cloud-based vector database designed to handle the large-scale vector searches. Vector search plays a crucial role in many machine-learning applications. Pinecone offers an efficient vector similarity search and the nearest neighbor search operations. Such technologies are useful in machine learning and AI applications such as recommendation systems, semantic search, natural language processing, anomaly detection, etc.
Unlike traditional databases that provide the indexing features using data structures such as B-trees and hashes, a vector database such as Pinecone offers indexing using techniques such as Approximate Nearest Neighbors which is very suitable for high-dimensional vectors. This makes it possible to search through billions of vectors quickly and accurately.
Pinecone provides various tools and methods of interacting with the Pinecone cluster. It provides SDKs for various programming languages such as Python, Go, Node.js, and more. It also exposes various operations using API endpoints which allows you to use the HTTP requests to make changes to the database.
This tutorial will show you how to quickly install and configure the Pinecone client for Python, including how to connect to your Pinecone project.
Requirements:
To follow along with this post, ensure that you have the following:
- Installed Python interpreter on your machine. Version 3.10 and above is recommended.
- Installed Pip package manager on your machine.
- A basic Pinecone cluster that is configured in the Pinecone cloud or any other supported cloud provider.
With the given requirements met, we can proceed to the installation process.
Installing the Pinecone Client for Python
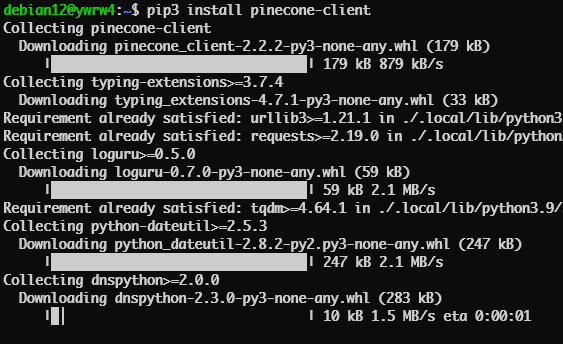
The first and most important method is installing the Pinecone client for Python. We can do this using the pip package manager as shown in the following command:
This should install the Pinecone client in your Python environment.
If you are using Pip version 3, you can run the following command:
Connecting to the Pinecone Server
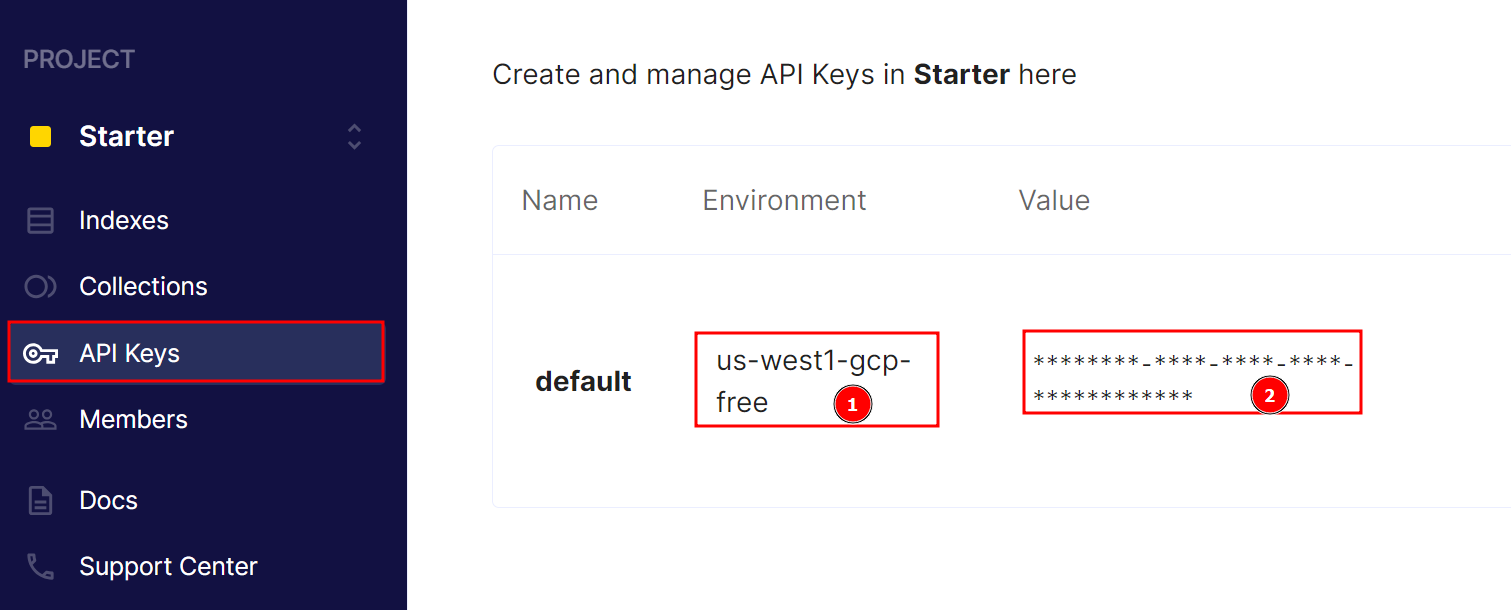
We can connect to the Pinecone server once you have the Pinecone client installed. After setting up your Pinecone project, open the Pinecone console and click the API Keys. This should display your environment information as well as your API key.
Note the API key and the environment, as we will need both values later.
Once you have your desired credentials, add the following in your Python script to initialize Pinecone with your credentials.
pinecone.init(api_key="YOUR_API_KEY", environment="YOUR_ENVIRONMENT")
Once we import Pinecone, we use the init() method to initialize the Pinecone configuration using the API key and environment value that we copied in the previous step.
This should allow us to execute the operations on the server such as creating indexes, adding data, performing searches, and more.
Conclusion
You learned how to install the Pinecone client for Python and use it to initialize the configuration to the Pinecone server which allows you to build the vector based applications using Python.