This article guides you in installing PHP Composer on Raspberry Pi.
Install PHP Composer on Raspberry Pi
You can install PHP Composer on Raspberry Pi through the following steps:
Step 1: Confirm PHP Installation
Before installing PHP Composer, ensure that PHP is installed on your Raspberry Pi system and you can confirm the PHP installation using the following command:
In case if it’s not, run the below-mentioned command:
Step 2: Download Composer Installer
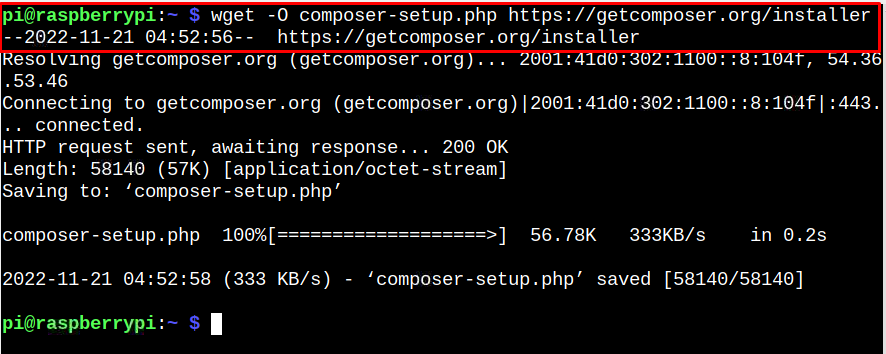
Now, you will need to download Composer installer file on Raspberry Pi system, which can be downloaded through the following command:
Step 3: Install Composer on Raspberry Pi
Next, you must install PHP Composer globally through the following command so that it can be available to use for all the users.
Step 4: Confirm the Installation
To ensure Composer is successfully installed, you can type in the following command:
Step 5: Remove Composer Installer File
You can remove the unnecessary Composer Installer file from your Raspberry Pi system through the following command:
Step 6: Update Composer
At any time, you can update Composer on Raspberry Pi through the following command:
Remove Composer from Raspberry Pi
You can remove Composer and the required Composer directories through the following command:
That’s it from this guide.
Conclusion
PHP Composer is a PHP dependency manager, which you can install on the Raspberry Pi system from the Composer Installer file. After the installation, you can use Composer to manage different PHP frameworks like Laravel, Symfony and more. You can even update the Composer at any time using the “self-update” command to ensure that you are using the latest version of Composer on your Raspberry Pi system.


