OpenSSL is a fully functional command line toolkit utilized for general-purpose cryptography and secure communication. According to a simple set of license terms, OpenSSL is available for free and can be used for both commercial and noncommercial purposes. OpenSSL Management Committee (OMC) and OpenSSL Technical Committee (OTC) handle the management of OpenSSL.
This article will demonstrate the method to install, configure, and uninstall OpenSSL on Windows.
How to Install OpenSSL in Windows?
To install OpenSSL in Windows, utilize the below provided steps.
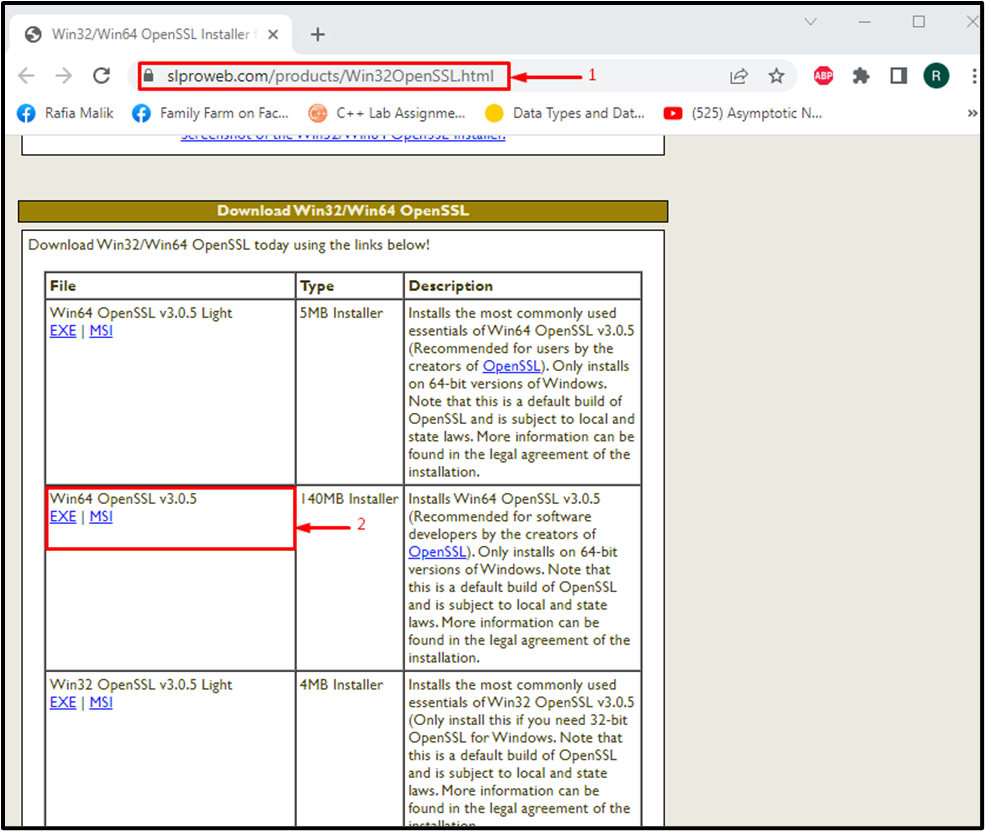
Step 1: Download OpenSSL Installer
Navigate to the below-provided link and download the OpenSSL latest installer file:
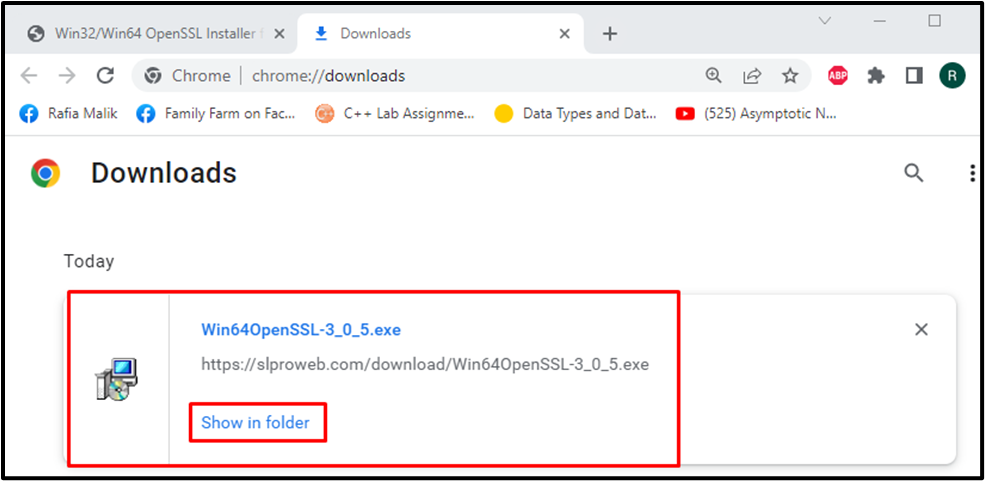
As you can see, the OpenSSL installer file is downloaded successfully. Now, click on the “Show in Folder” button to access its location:
Step 2: Run OpenSSL Installer
Double click on the OpenSSL setup file to begin installation:

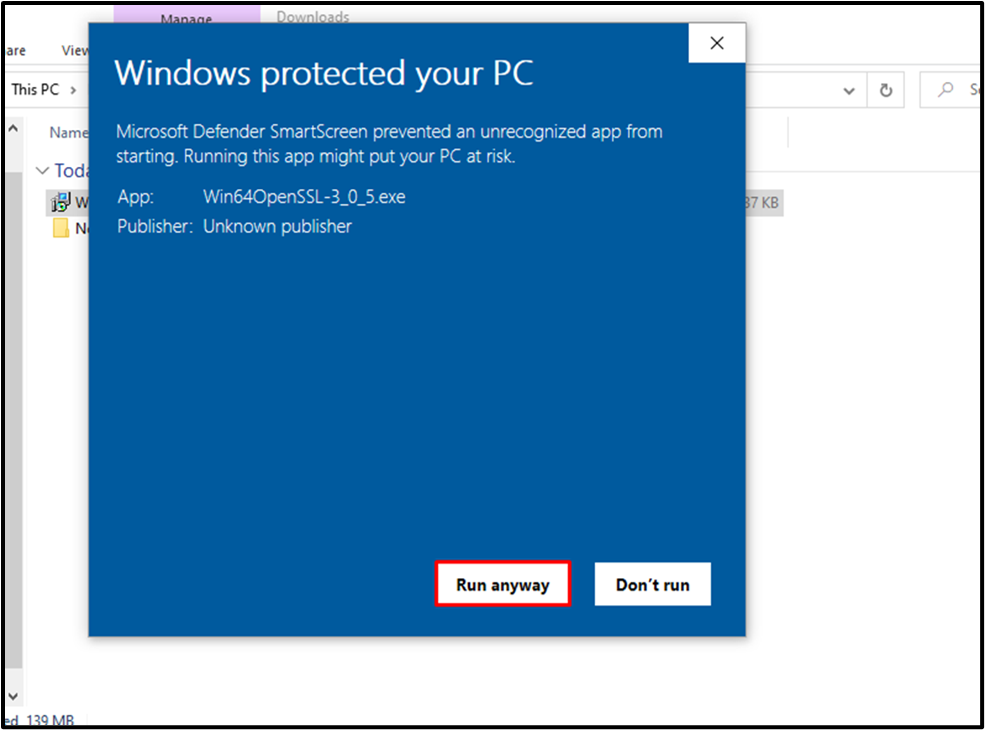
Step 3: Start OpenSSL Installation
Start the OpenSSL installation by clicking on the “Run anyway” button:
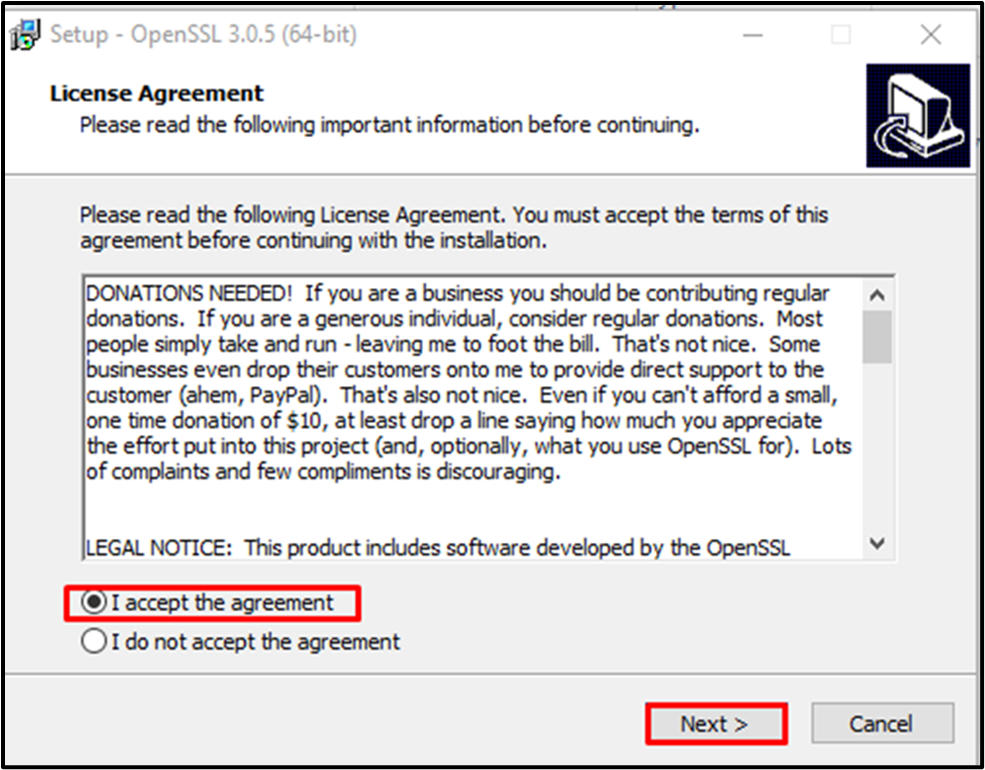
The “License Agreement” wizard will now appear on the screen. Accept the agreement and hit the “Next” button:
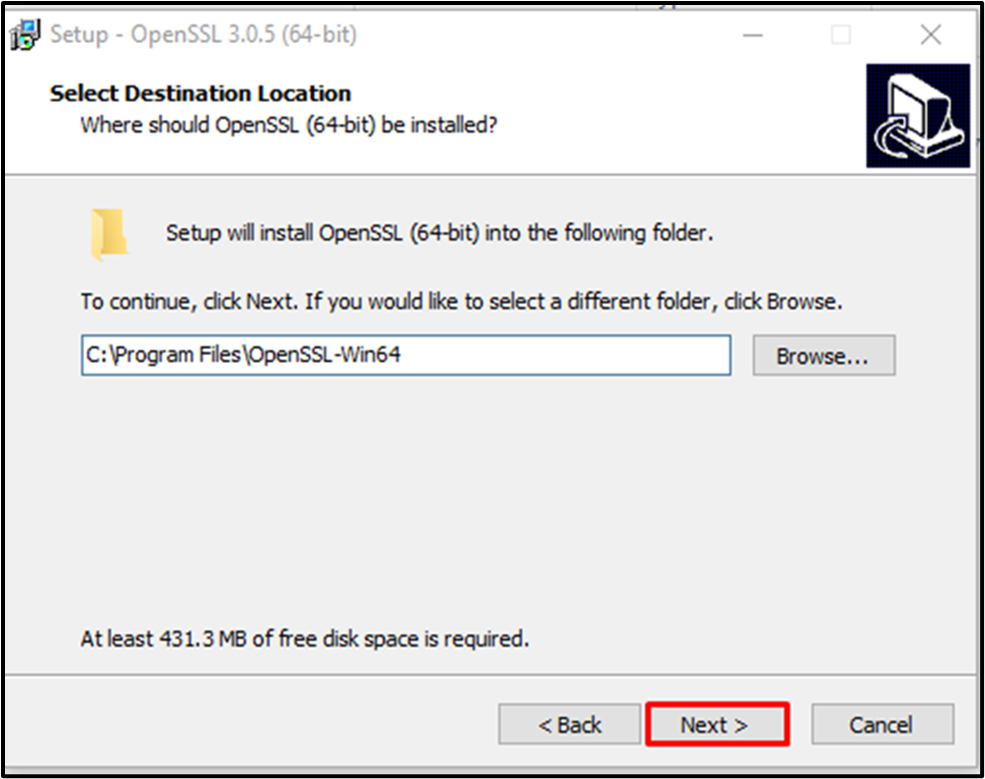
Select the location where the OpenSSL setup will be installed and press the “Next” button:
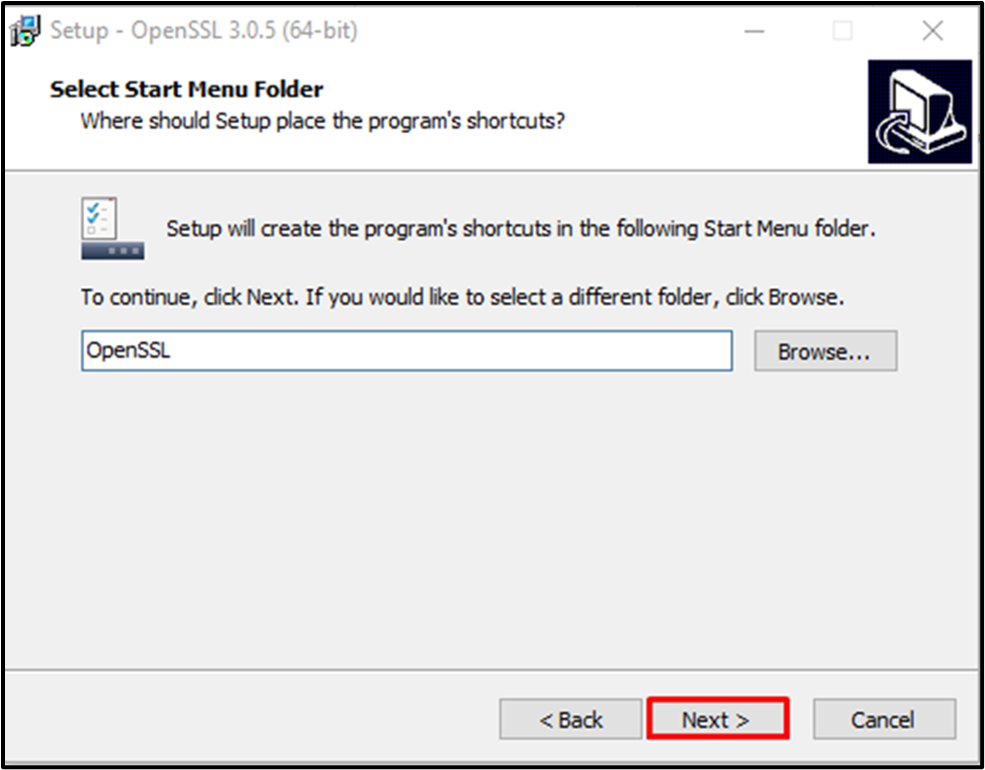
The setup will create a shortcut with the name “OpenSSL”. Select its location and hit “Next”:
Upon doing so, the “Select Additional Task” wizard will appear on the screen. Copy the OpenSSL DLLs according to your preferences and click on the “Next” button:

Lastly, click on the “Install” button:

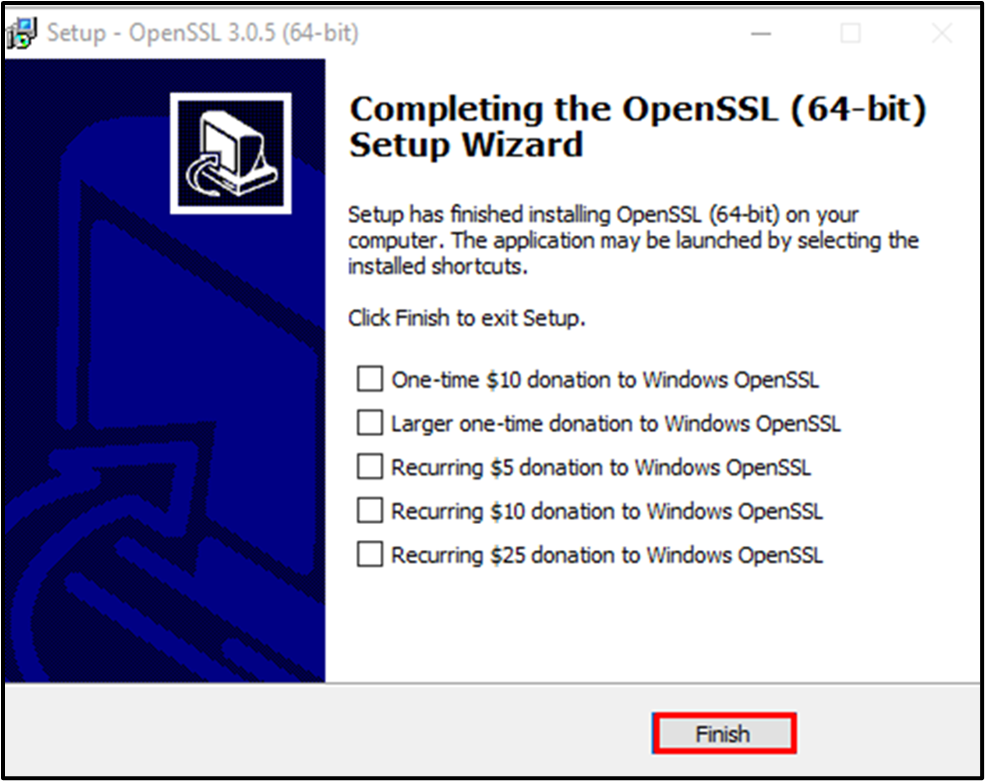
After successfully installing OpenSSL, click on the “Finish” button:
How to Configure OpenSSL in Windows?
After successfully installing OpenSSL, configure it on your Windows system so that it can run properly. To do so, check out the listed instructions.
Step 1: Set Environment Variables
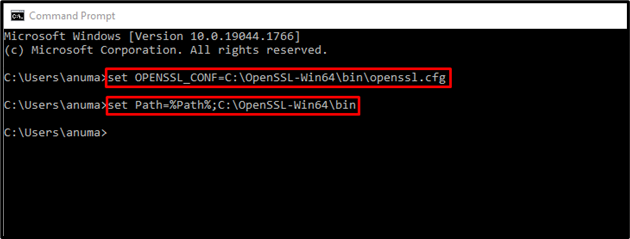
To set Environment variables, firstly, search for the “Command Prompt” in the Windows Startup menu and launch it:
Set below provided Environment Variable on the Command Prompt:
> set Path=%Path%;C:\OpenSSL-Win64\bin
Step 2: Open OpenSSL Command Prompt
Now, open the “Win65 OpenSSL Command Prompt” with the help of the Startup menu:
Step 3: Confirm OpenSSL Installation
Confirm the OpenSSL installation by checking its version:
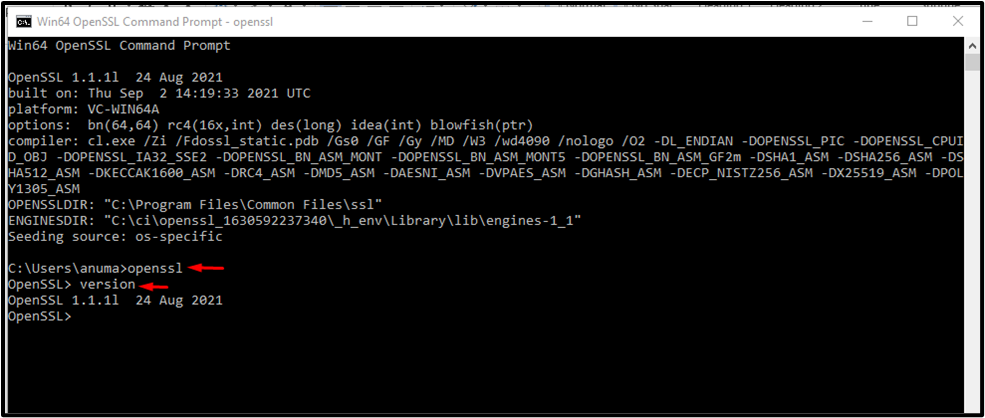
As you can see, we have successfully installed and configured the OpenSSL “1.1.1l” version on Windows. Let’s move towards its uninstallation procedure.
How to Uninstall OpenSSL From Windows?
To uninstall OpenSSL from Windows, follow the steps listed below.
Note: Make sure that the OpenSSL shell is not running while trying the uninstallation procedure.
Step 1: Open Control Panel
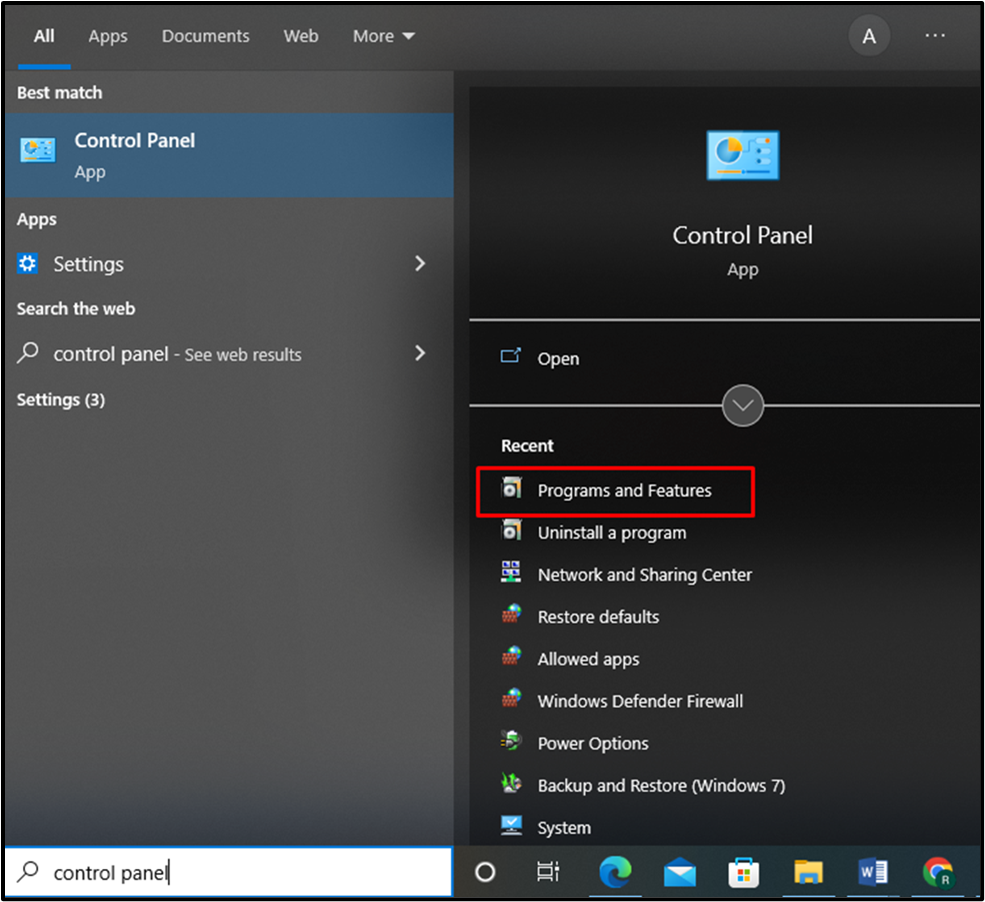
First, search for “Control Panel” in the “Startup” menu and select the “Programs and Features” from the displayed categories:
Step 2: Select OpenSSL
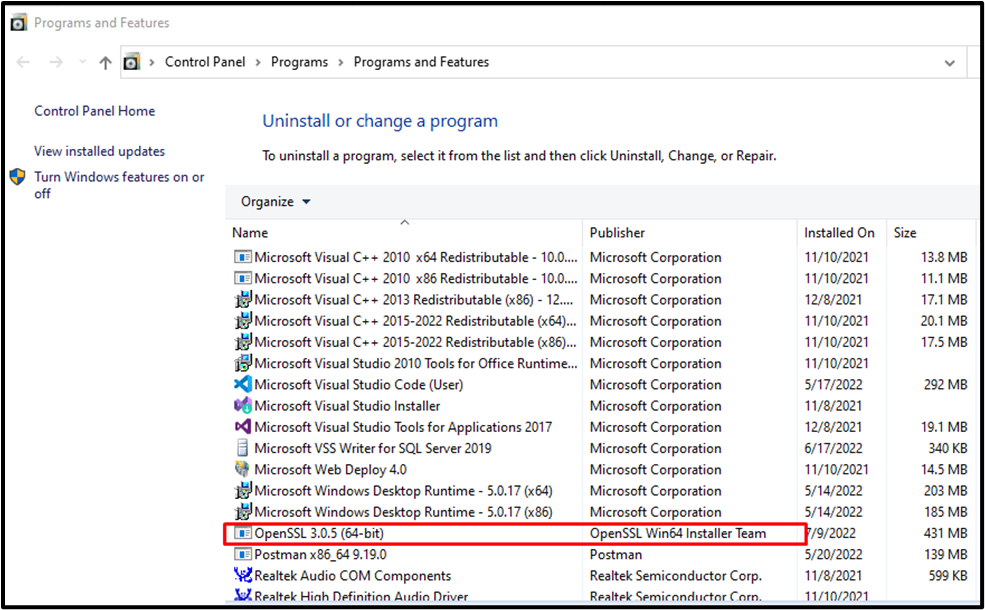
After that, select the Open SSL 3.0.5 installed file and right-click on it:
Step 3: Uninstall OpenSSL
Then, press the “Uninstall” button to uninstall OpenSSL from Windows:

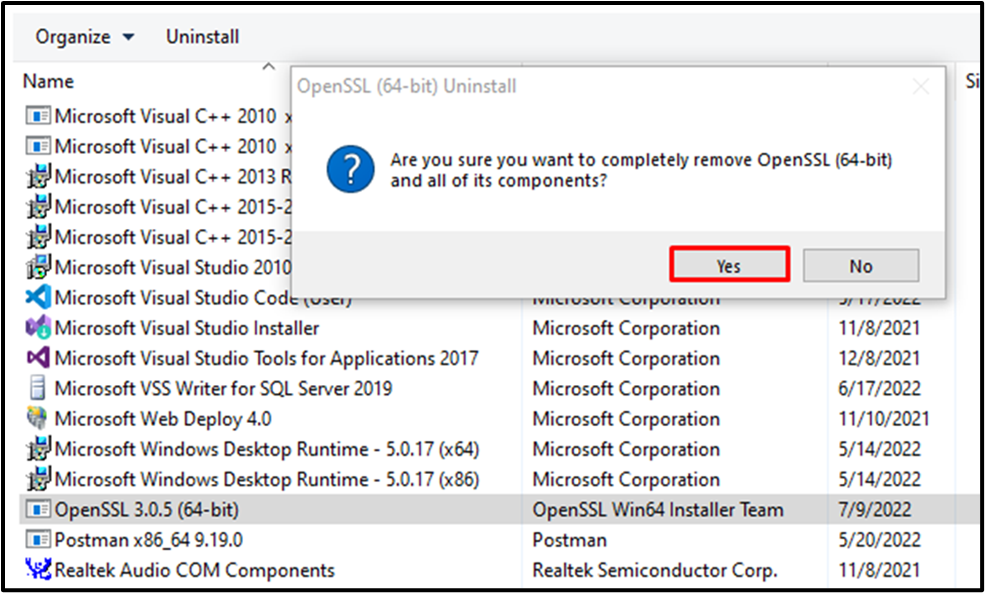
A confirmation dialog box will appear on the screen. Hit “Yes” to permit the OpenSSL uninstallation to continue:
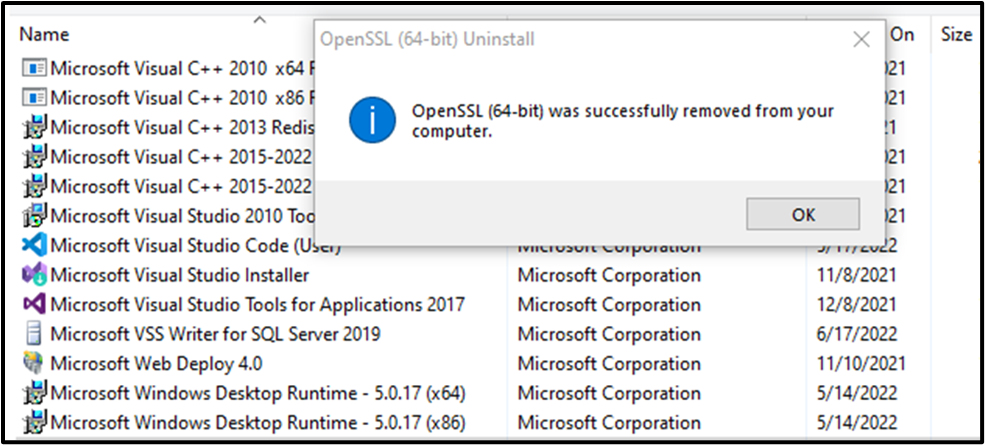
The following message box states that we have successfully removed OpenSSL from our Windows system:
We have discussed the procedure to install, configure, and uninstall OpenSSL on the Windows operating system.
Conclusion
To install OpenSSL on Windows first, download the latest OpenSSL installer file. Then, execute it to start OpenSSL installation, accept “License Agreement”, set OpenSSL installation location, and install OpenSSL on Windows. After that, set environment variables using the Command Prompt for OpenSSL configuration. This blog demonstrated the step-by-step procedure to install, configure, and uninstall OpenSSL in Windows.

