“nvm” is a “Node Version Manager” used to manage different Node.js versions. You can easily switch from one node version to another with the help of nvm. If you are sticking with only one node version, then it is not required to keep nvm on the system. However, if you are interested in switching between node versions and managing them with ease, then it is recommended to install nvm on your system.
We will demonstrate the method to install, set up, and uninstall nvm on Windows in this tutorial.
Install nvm on Windows
To install nvm on Windows, check out the following steps.
Step 1: Download nvm Setup File
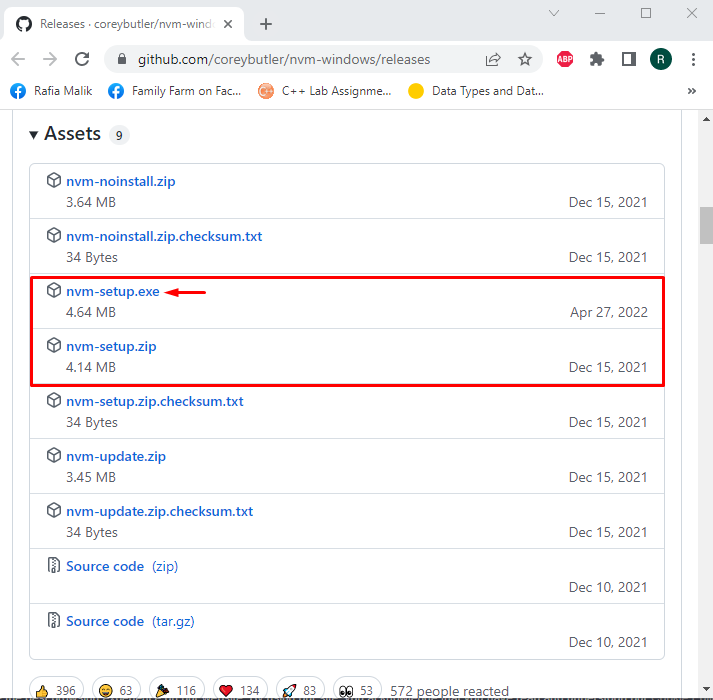
First, visit the below-provided link, scroll down through the “Assets” menu, then select and download the “nvm-setup.exe” or the “nvm-setup.zip” setup file. In our case, we will download the “nvm-setup.exe” file:
Step 2: Run nvm Setup File
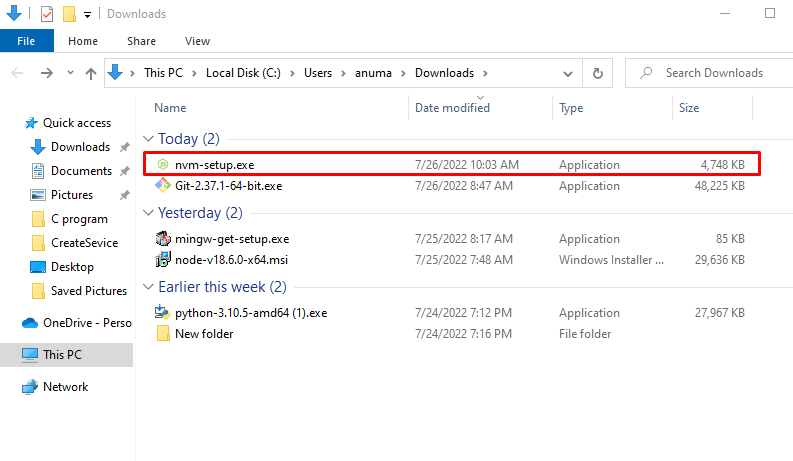
Open the “Downloads” directory, and run the “nvm-setup.exe” file to install nvm on Windows:
Step 3: Install nvm
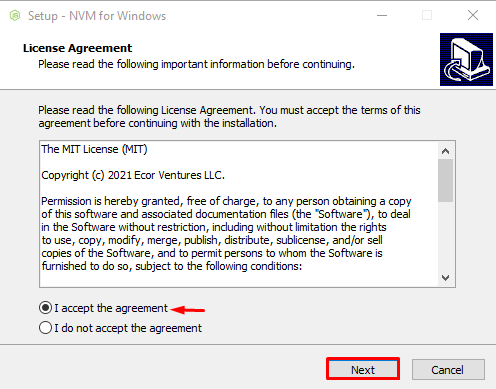
After executing the setup file, the nvm Setup wizard will appear on the screen. Accept the related License agreement and press the “Next” button:
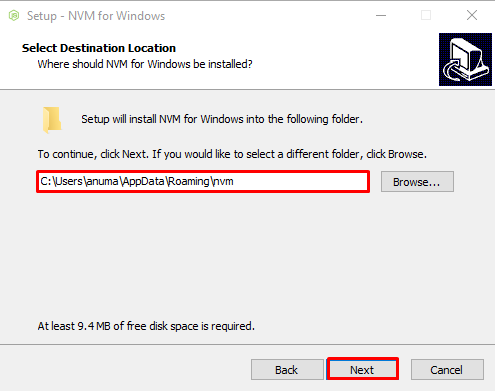
Select the location where you want to install the nvm setup and click “Next”:
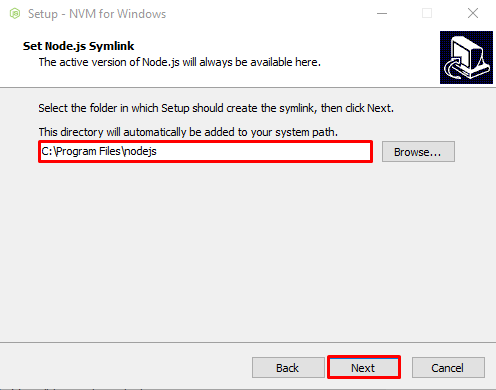
Choose the folder in which the Symbolic link will be created and click “Next”:
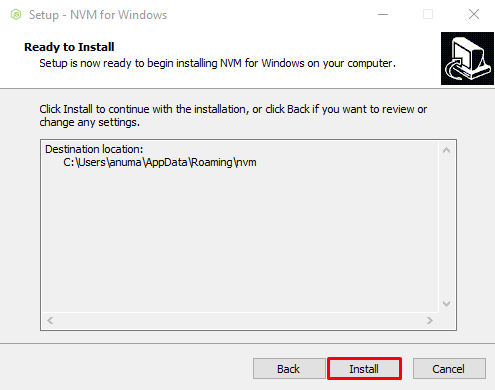
Finally, after fulfilling all requirements, hit the “Install” button:
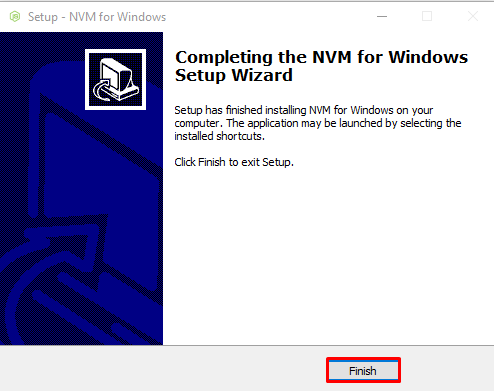
After completing the installation, click on the “Finish” button:
Let’s move forward to set up nvm on Windows.
Set Up nvm on Windows
To set up nvm on Windows, you must set the PATH environment variable. For this purpose, go through the below-given steps.
Step 1: Open nvm Folder
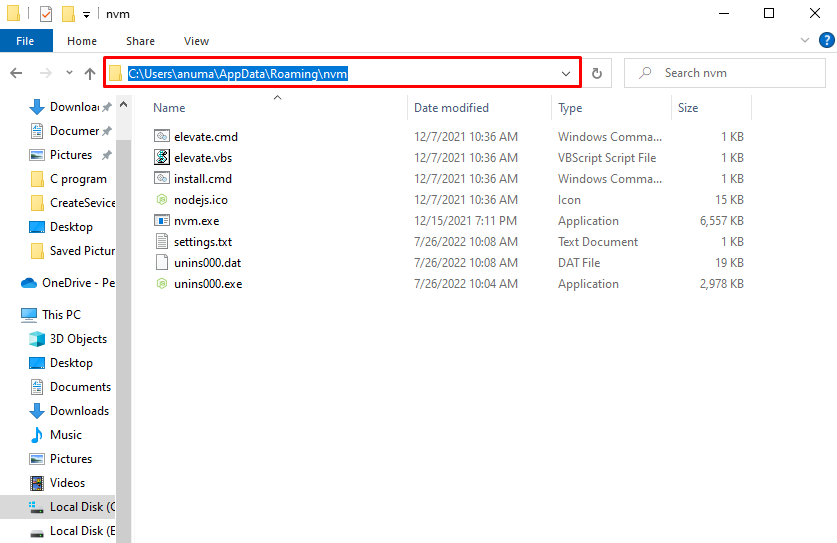
Open the folder where you have installed nvm during the installation process and copy the path from the “Address” bar:
Step 2: Open Command Prompt
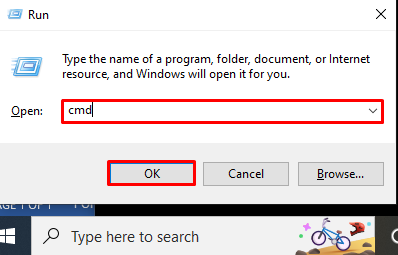
Press “Window+R”, type cmd in the “Open” drop-down menu, and hit the “OK” button to open Command Prompt:
Step 3: Set PATH Environment Variable
Utilize the below-provided command and specify the copied path to set the PATH environment variable:
Step 4: Verify nvm Installation
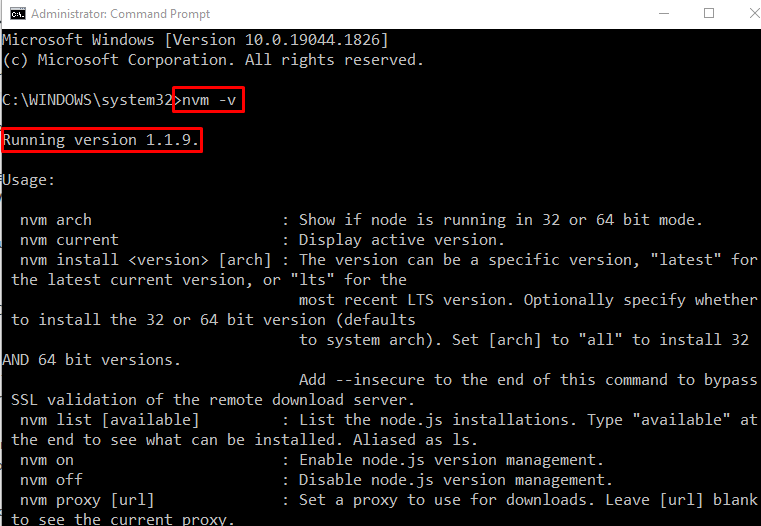
Verify nvm installation by checking its version:
We have successfully installed and set up nvm version “1.1.9” on Windows:
Let’s move ahead to remove nvm from Windows.
Remove nvm From Windows
To remove nvm from Windows, follow up on the below-given instructions.
Step 1: Open Control Panel
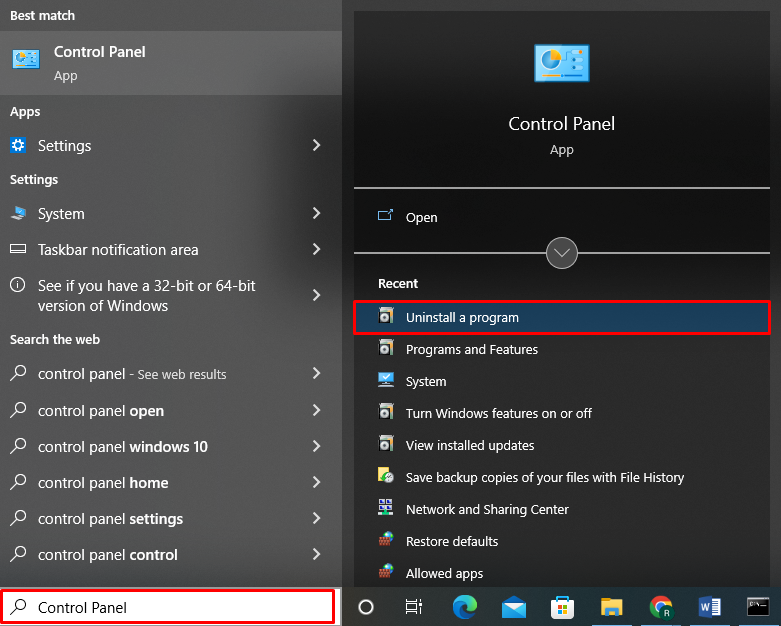
First, type the “Control Panel” in the “Startup” menu and open the Control Panel application:
Step 2: Select nvm
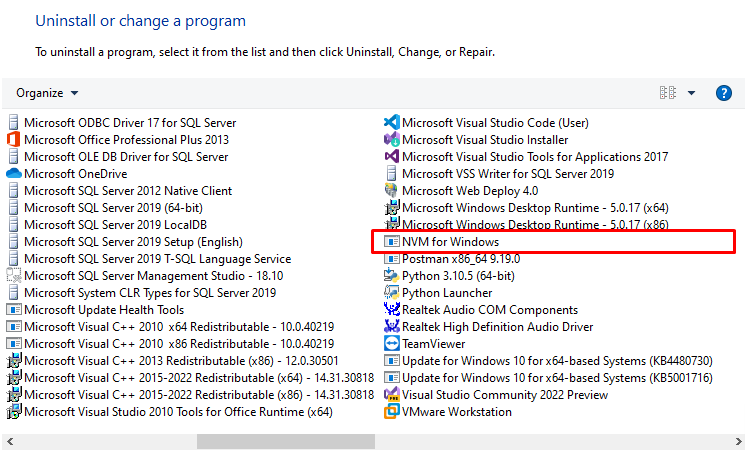
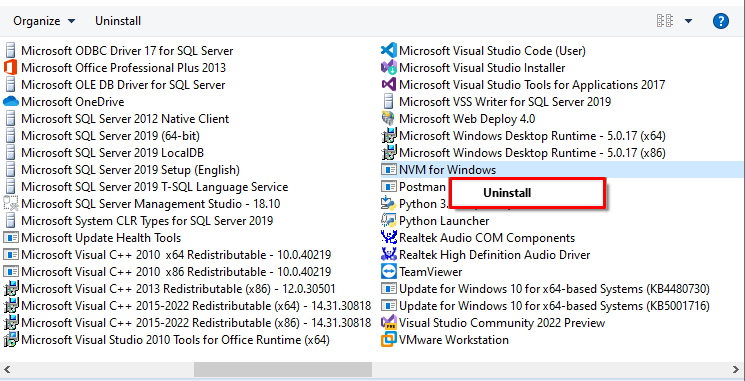
Select “NVM for Windows” from the list of programs and right-click on it:
Step 3: Uninstall nvm
Click on the “Uninstall” option to uninstall nvm from Windows:
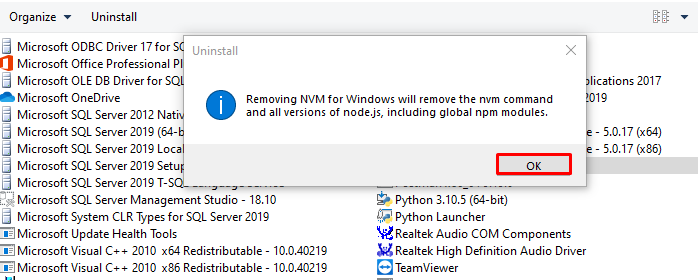
Upon doing so, an alert message will appear on the screen. Click on the “OK” button for the verification:
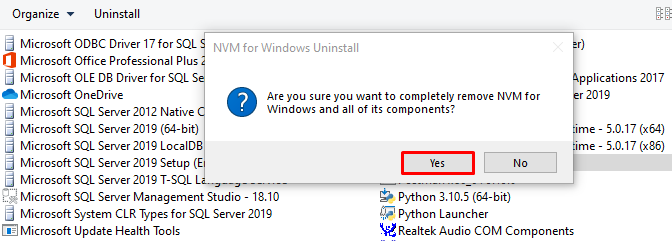
Then, the “NVM for Windows Uninstall” confirmation box will display on the screen. Click on the “Yes” button to uninstall nvm from Windows:
Step 4: Verify nvm Uninstallation
Confirm the nvm uninstallation by executing the below command:
The given output shows that we have successfully uninstalled nvm from Windows:
We have demonstrated the easiest method to install, set up, and remove nvm on Windows.
Conclusion
To install nvm on Windows, download the setup file from Github, then execute it to install nvm on Windows. In order to set up nvm on Windows, add the directory path into the environment variable. For this purpose, utilize the “Setx path “%PATH%;[nvm_folder_path]”” command. We have offered the easiest method to install, set up, and remove nvm on Windows.

