NodeJS is a well-known open-source JavaScript environment that runs on numerous platforms like macOS, Windows, Linux, and much more. Its main purpose is to execute the JavaScript outside the browser. It also helps in building scalable and fast server-side network applications with the help of JavaScript programming languages. As mentioned, it runs on various platforms, so the user can easily install it on them with the help of different package managers according to the environment.
This guide will explain how to install Node.js via package manager on Windows with the following outcomes:
- Using the “Winget” Package a
- Using the “Scoop” Package Manager
- Using the “Chocolatey” Package Manager
Let’s start with the “Winget” package manager.
Method 1: Install Node.js Using the “Winget” Package Manager
The “winget” is the command line tool that allows the users to install, upgrade, remove, and configure the applications on Windows 10 and 11. Here, it is used to install Node.js i.e. an open-source JavaScript environment.
Open the “cmd(command-line prompt)” of the PC and run the following command to install the NodeJS in the current system:
In the above command, the “LTS” denotes the “Long Term Support”:
It can be seen that Node.js has been successfully installed in the current Windows 10.
Uninstall Node.js Using the “Winget”
Once the NodeJS is installed, the user can also remove it with the help of the “winget” package manager via this command:
Now, Node.js has been successfully uninstalled/removed from the current Windows system.
Method 2: Install Node.js Using the “scoop” Package Manager
Another package manager used to install Node.js on Windows 10 is the “scoop”. The “scoop” package manager helps to install packages using the command line without popping up the permission window. For this scenario, it is used to install Node.js in Windows 10.
Prerequisites: Install “scoop” on Windows 10
Before using the “scoop”, the user first needs to install it in the Windows operating system. For this purpose follow the given instructions.
Step 1: Set the Execution Policy
Execute the below-stated command to set the execution key as “RemoteSigned” and limit its scope only to the “CurrentUser”:
Enter “Y” for “Yes to All” and continue the execution.
Step 2: Install “scoop”
Next, start the scope installation using this command:
It can be seen that the above command has successfully installed the “scoop” in the current Windows 10 OS.
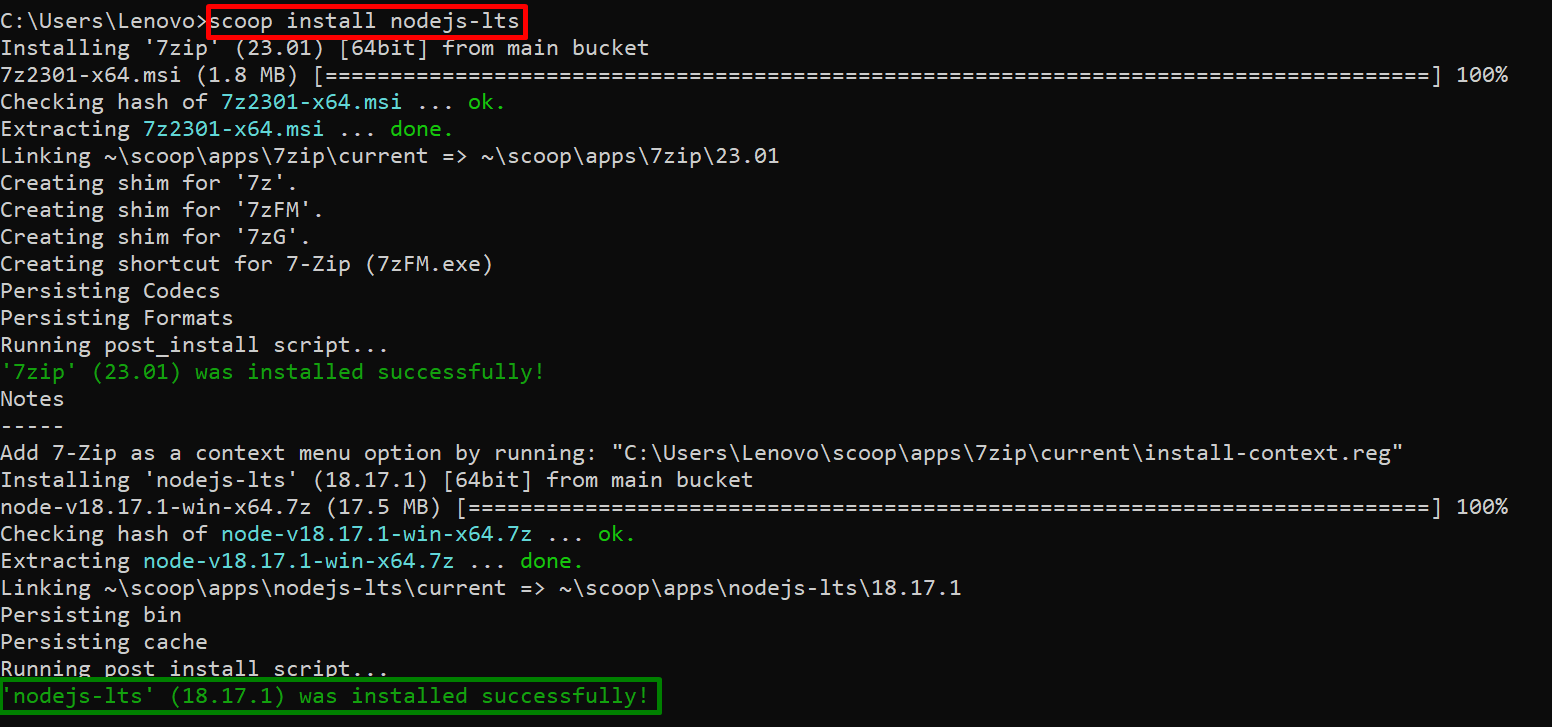
Now, use the “scoop” package manager to install the “Node.js” by executing the given command:
The “lts” version of Node.js has successfully been installed in Windows 10 through the “scoop” package manager.
Uninstall Node.js Using the “Scoop”
The “scoop” package manager can also be used to uninstall the Node.js through below command:
The cmd shows that “nodejs-lts” has been removed from the current Windows 10 OS.
Method 3: Install Node.js Using the “Chocolatey” Package Manager
Chocolatey is the widely used package manager that acts as an installer for software on Windows. By default, it is installed in the “C:\ProgramData\Chocolatey” local directory of the local system.
Note: If Chocolatey is not already installed on Windows, open the PowerShell with administrative privileges and install the package through below command:
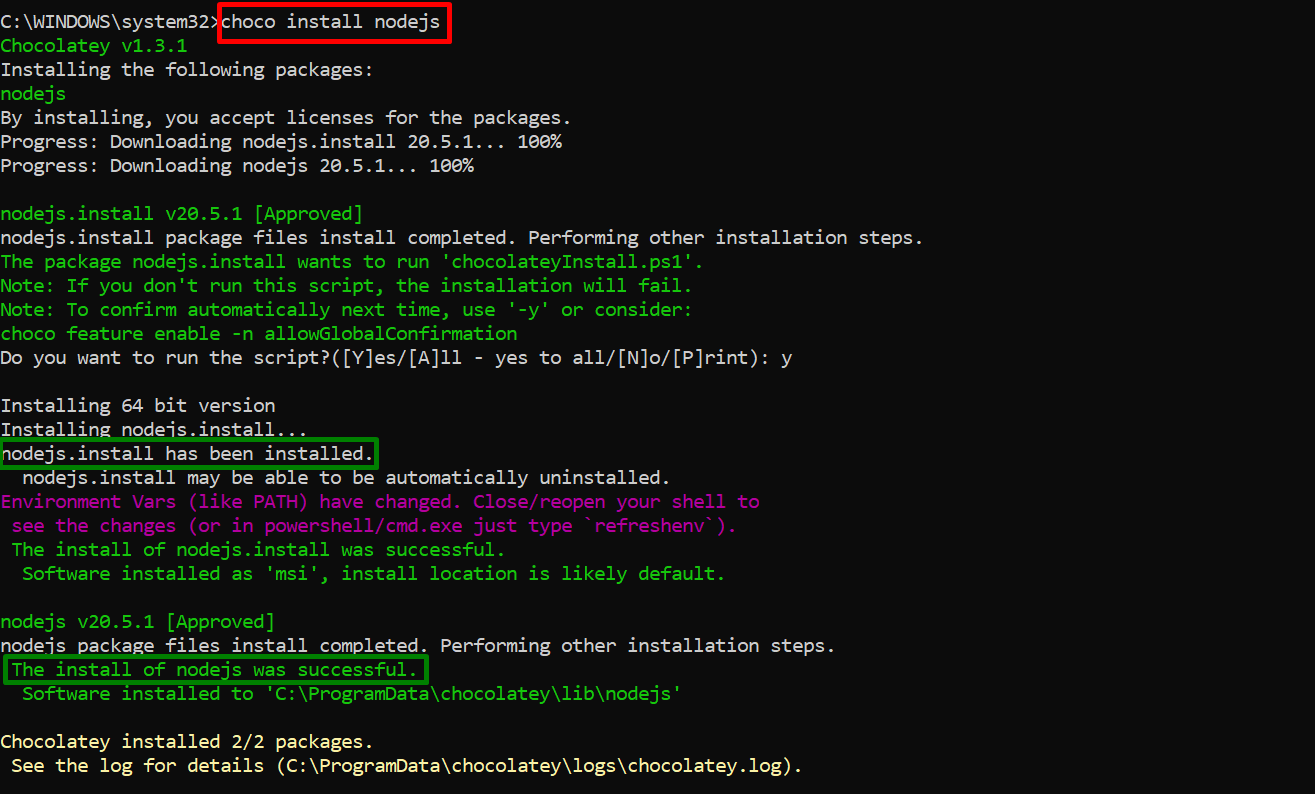
In this scenario, it is utilized to install Node.js on Windows 10 by executing the below-provided command:
In the above command, the “choco” keyword represents the “chocolatey” package manager:
It can be observed that the “Node.js” has been installed using the “chocolatey”.
Uninstall Node.js Using the “chocolatey”
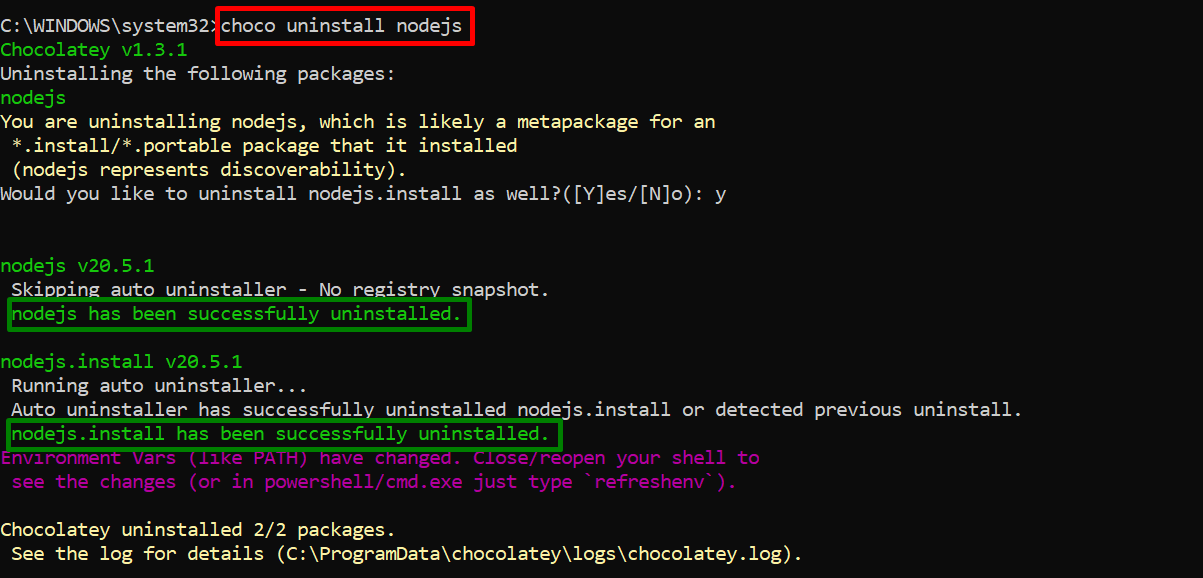
The “chocolatey” package manager is now used to uninstall Node.js from Windows 10:
The output shows that the installed Node.js has now been removed from the current Windows 10 system.
That’s all about installing Node.js via the package manager on Windows.
Conclusion
To install Node.js on Windows use the “winget”, “scoop” or the “chocolatey” package managers. All these package managers are installed by default on the Windows system except the “scoop”. The user is required to first install it in the system and then use it for the installation of “Node.js”. This guide has practically explained all possible methods to install Node.js via the package manager on Windows.


