If we discuss the specification of Midori then we will say that it is a light, fast, and secure web browser. The Midori browser comes from different operating systems including Windows, Linux, and macOS, but in this guide we will install Midori on the Raspberry Pi operating system.
How to install Midori on the Raspberry Pi operating system
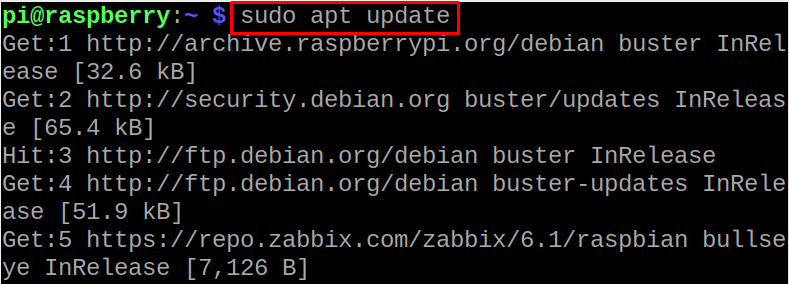
Update the Repository using the command:
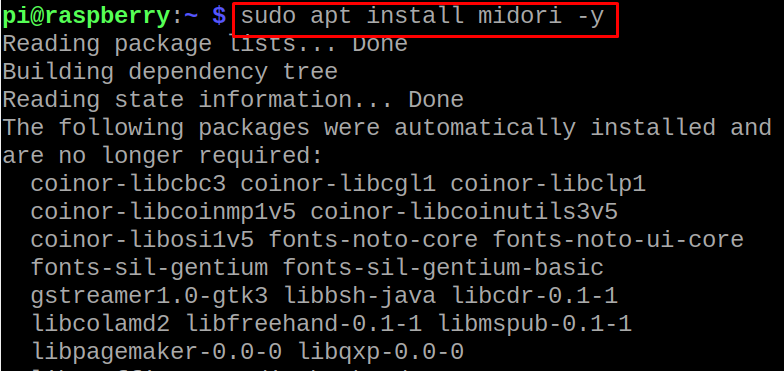
After updating the packages, we will use the apt package manager to install Midori on the Raspberry Pi operating system:
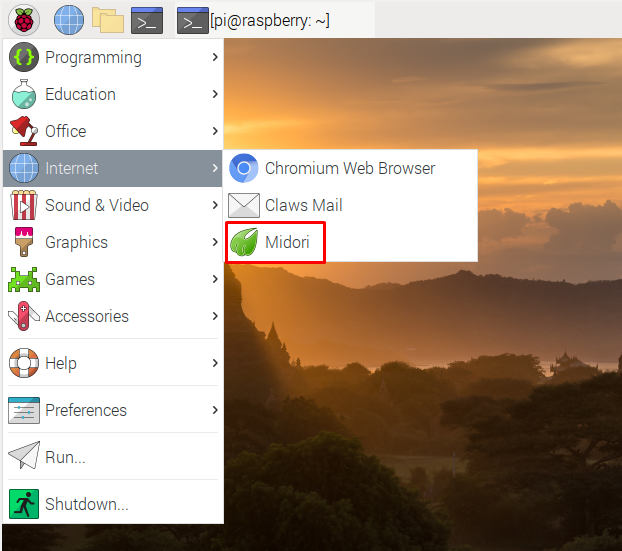
When the installation is complete, we will launch it by clicking on the Application’s menu, then on the “Internet”, and in the next dropdown menu click on the “Midori”:
Now, Midori browser is ready to use:
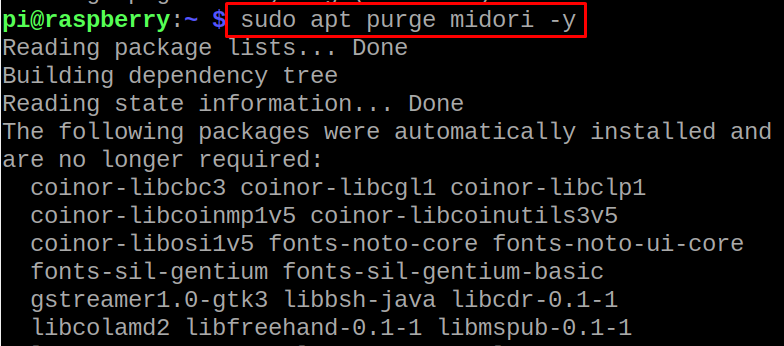
To delete the Midori on Raspberry Pi, use the command:
Conclusion
One of the key features of Midori browser is that it is fast, and comes with a simple interface that can be understood by every user, moreover, you can manage the privacy settings of the browser according to your ease. In this guide, the installation of the Midori browser has been discussed on the Raspberry Pi operating system using the command-line interface.


