Memcached is an open-source general-purpose memory caching system widely used for increasing the speed and performance of dynamic database-driven websites. It reduces the load on databases by storing the data objects in dynamic memory.
Since Raspberry Pi is highly utilized for database management, installing Memcached on the system helps to improve the performance of different web-based applications. You can follow this article to install Memcached on Raspberry Pi.
How to Install Memcached on Raspberry Pi
There are two methods to install Memcached on Raspberry Pi which are:
Let’s get into each of these methods in detail.
Method 1: Through the Official Raspberry Pi Repository
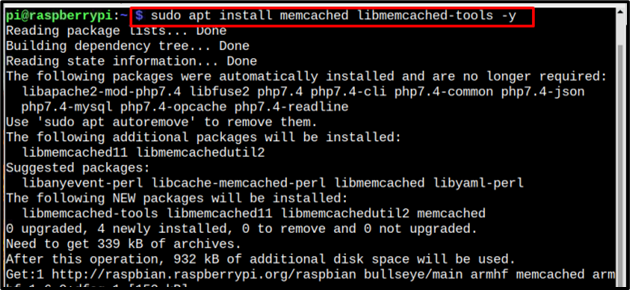
You can directly install Memcached with the required tools from the Raspberry Pi official repository using the below-mentioned command:
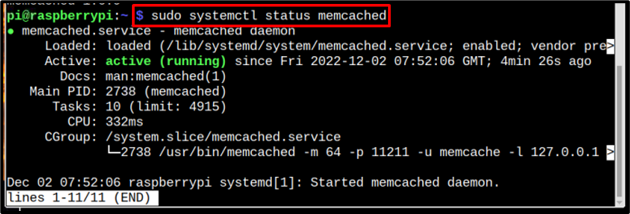
Once the installation is done, use the below-given command to check the status of Memcached:
The status of Memcached can be observed clearly in the below image, which states that the Memcached is actively running.
From the above method, you will manage to install an old version of Memcached, which you can verify by using the below-mentioned command:
In the below screenshot the version of Memcached is shown which is not the latest version.
Remove Memcached from Raspberry Pi
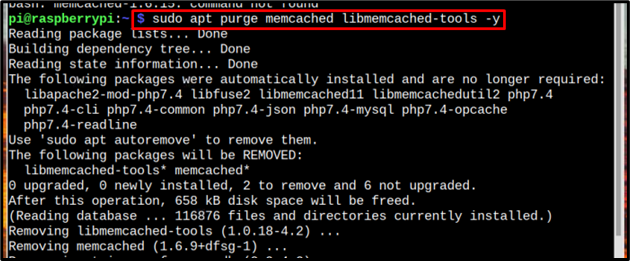
If you want to remove Memcached from Raspberry Pi, you can use the below-given command:
This method was the easiest method to directly install Memcached, however, the only drawback is that the installed version is very old.
Method 2: Through tar.gz file
To install the latest version of Memcached on Raspberry Pi, you can follow this method, which comprises of the following steps:
Step 1: Download the tar.gz File
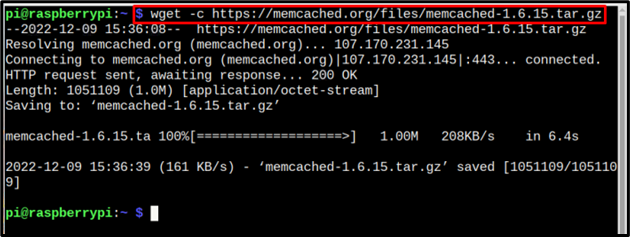
First, download the latest stable tar.gz file for Memcached from the official website using the below-mentioned command:
Step 2: Extract the Memcached Contents
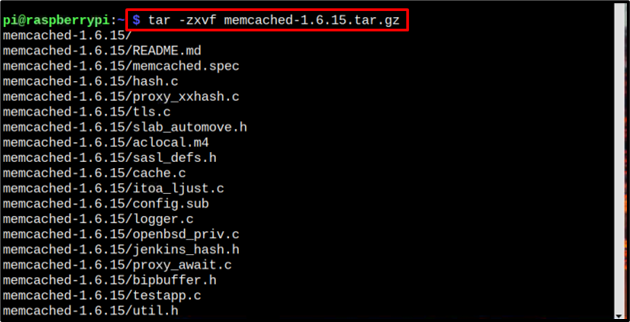
Once Memcached tar.gz file is downloaded, you can extract its contents from the below-mentioned command:
Step 3: Navigate to Memcached Directory
Now, to perform the installation process, you must open the Memcached directory using the below-mentioned command:
Step 4: Installing Libevent Dependency
Memcached requires a libivent-dev dependency to run on Raspberry Pi and you can install it from the following command:
Step 5: Configuring, Compiling, and Installing File
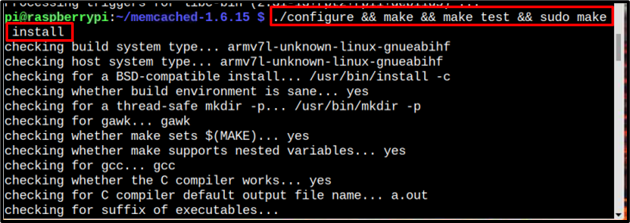
In this step, using the make command, we will configure and compile all the files present in the Memcached directory and install them on Raspberry Pi:
Step 6: Configuring Memcached to the IP
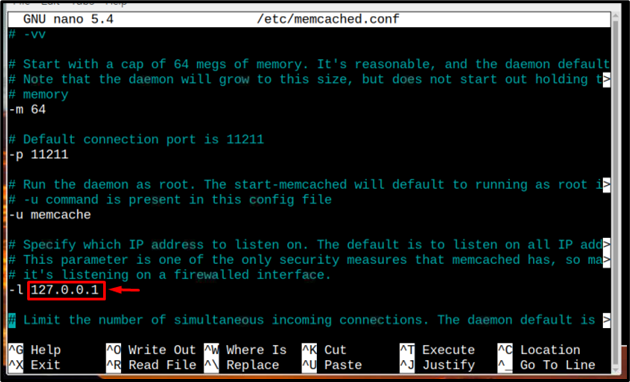
To configure Memcached to a required IP, you must open the configuration file using the following command:
Within this file, scroll up and find the line with address “127.0.0.1”.
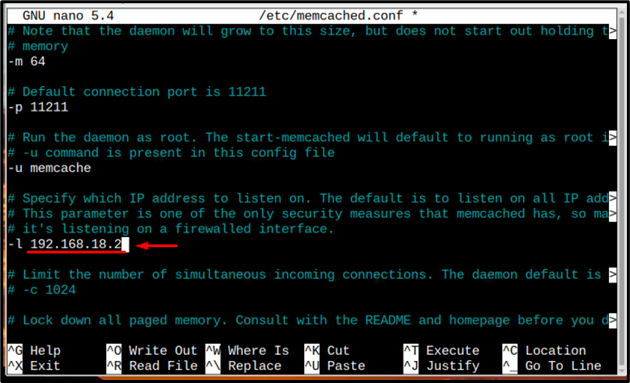
And replace the already written IP with server network IP.
Save this file using “Ctrl+X”.
Step 7: Start / Enable Memcached Service
Once the configuration is completed, you can start the Memcached service from the following command:
You should also enable the Memcached service on Raspberry Pi from the following command:
That’s all for this method.
Optional: Memcached for Python and PHP-Based Applications
Memcached can also be connected as a cache database for Python or PHP-based applications. Below- mentioned commands can be used for that purpose:
For Python-based applications
For PHP-based applications
Conclusion
Memcached can be installed on Raspberry Pi from two methods. The easiest method to install Memcached in a single command is by installing it through the official repository of Raspberry Pi using the “sudo apt” command. However, for installing the latest stable version of Memcached, you have to follow the tar.gz method. You can also install Memcached for Python-based applications using the “pip” command or PHP-based application from “apt” command.

