
Eclipse is the most popular and commonly used IDE (Integrated Development Environment) among computer scientists, IT specialists, and software developers, to develop the Java-based program. It includes tons of plugins and extensions to make your programming experience smooth by providing all the necessary tools for building and testing Java programs. You can install this application either by using a system graphical user interface or a built-in tool known as a terminal, you can follow any of these methods that suits you the most. But before that you need to install the Java Runtime Environment (JRE) that is required to run the Java-based application:
How to install Java JRE in Linux Mint
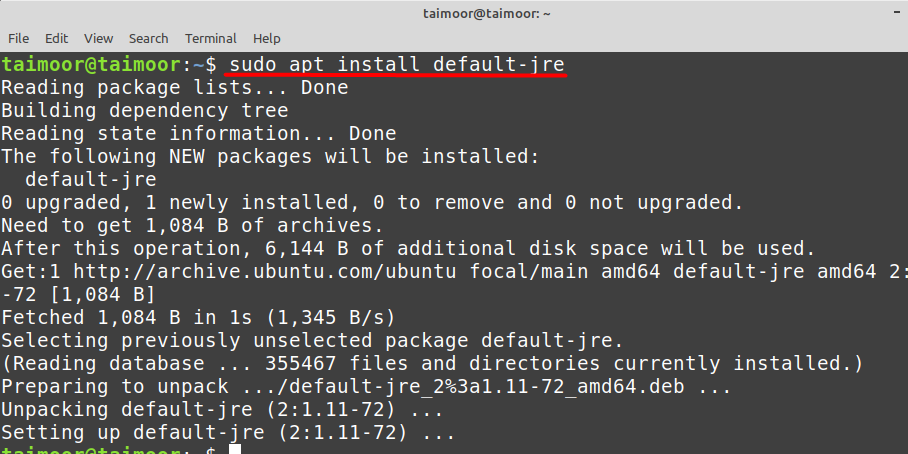
Java has always been a solid choice for developers due to its widespread use in the software industry. Having Java is a requirement, to install Java on Linux Mint use:
How to install Eclipse IDE on Linux Mint through the official website
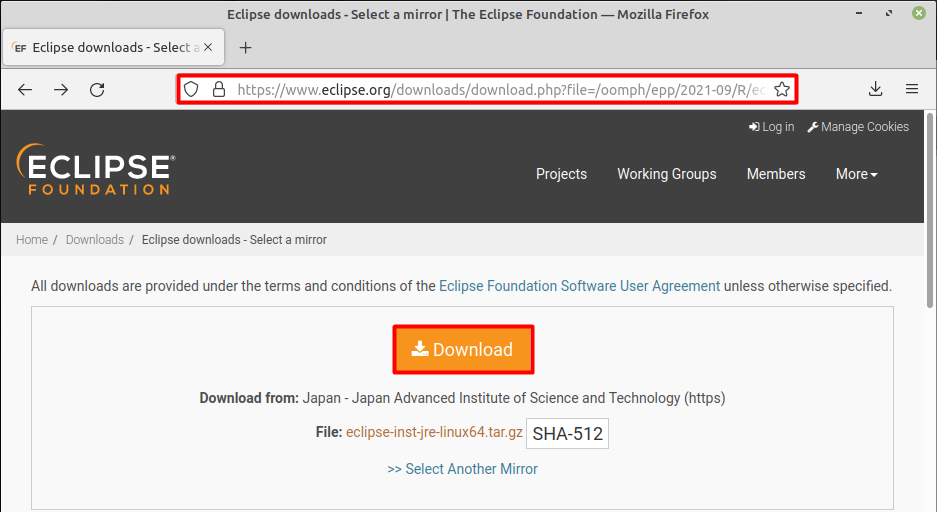
To install Eclipse visit Eclipse’s Official Website and then click on the download button as shown below:
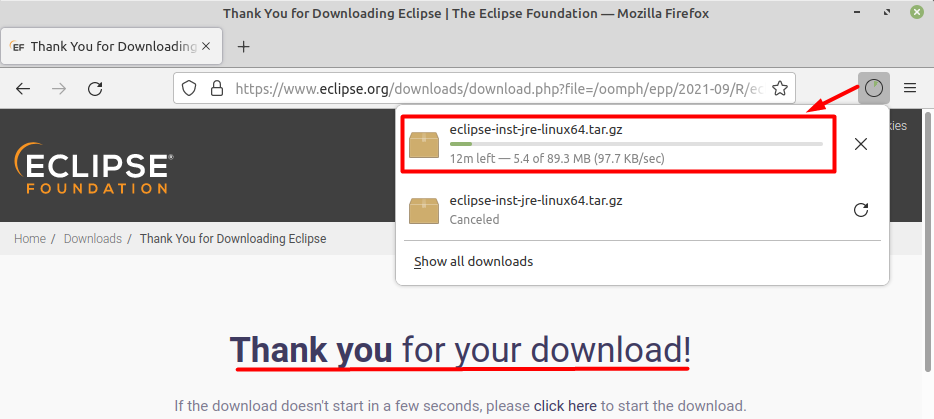
This will start the downloading process that you can verify by clicking on the download tab which is available on the top right side of the browser.
The downloaded file is available in the .tar format, which needs to be extracted later and you can do that by right-clicking the file and choosing the extract option.

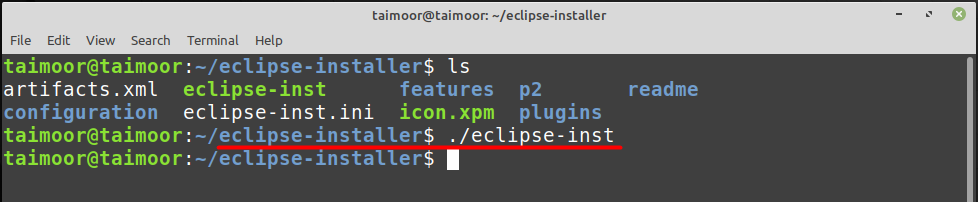
The second way of extracting this file is by using a terminal this will create a new directory from where you can see the extracted content:

You can install this application by using the file that you have extracted while downloading by directly opening the eclipse-inst file.

Or install this application using a terminal by typing:
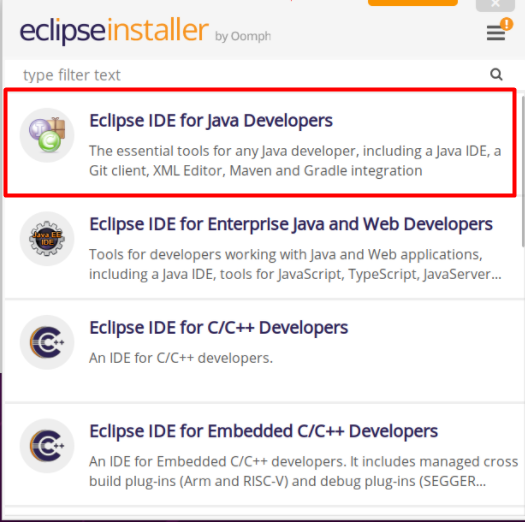
This will launch its main user interface where you will see multiple options for installation. In our case we are going to use the first option which is “Eclipse IDE for Java Developers”:
How to install Eclipse IDE on Linux Mint using Software Manager
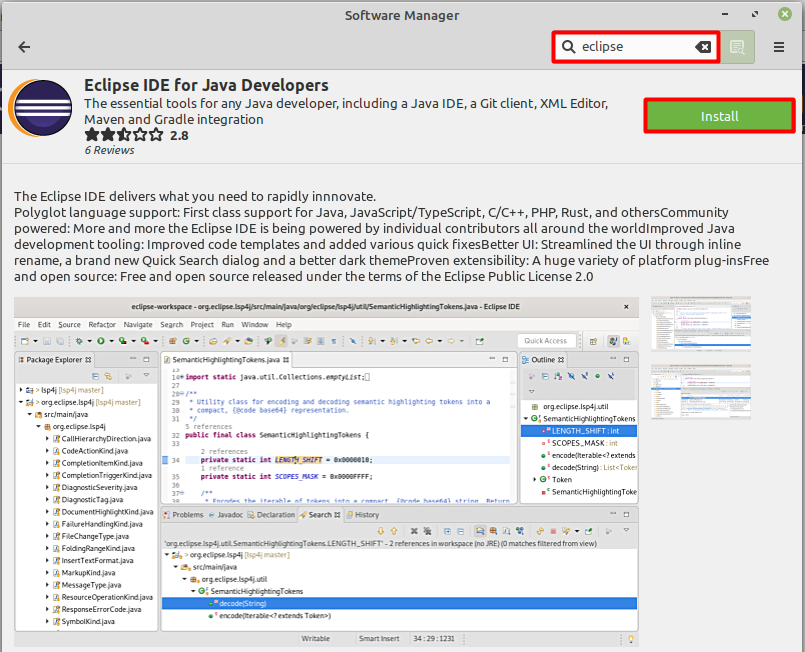
Installing Eclipse IDE using application manager is a simple task to do as you need to open the Software Manager search for this application by typing Eclipse IDE, open this application and then click on the Install button as shown below:
How to install the Eclipse IDE in Linux Mint using a snap manager
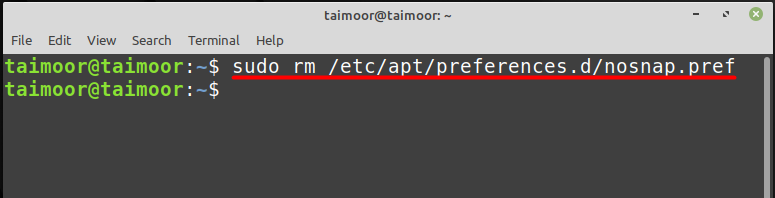
You can also install the Eclipse IDE using a snap manager on Linux Mint. Before installing the snap package, you need to remove the nosnap.pref file, otherwise you won’t be able to install the snap package:
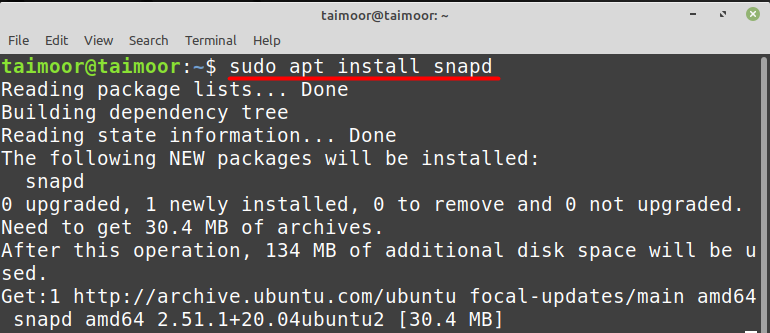
After that you should be able to install the snap daemon by typing:
The next step is to install the Eclipse IDE that you can do that by typing:

This will install the Eclipse IDE package and later you can verify it by typing:
After launching Eclipse, you need to select the directory for your workspace and click on launch to start this application:
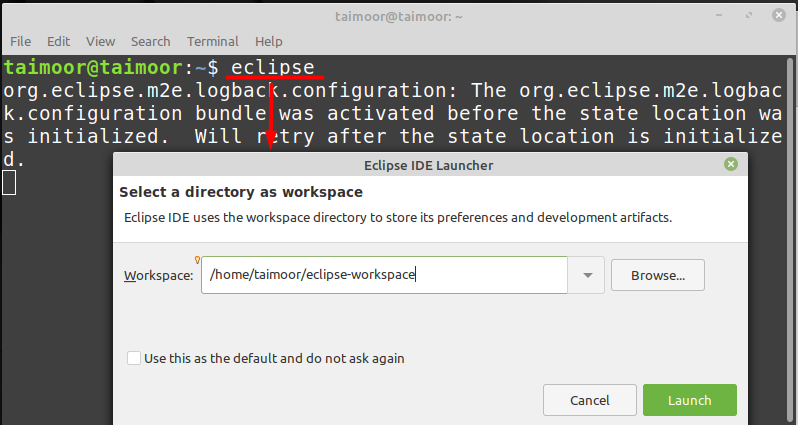
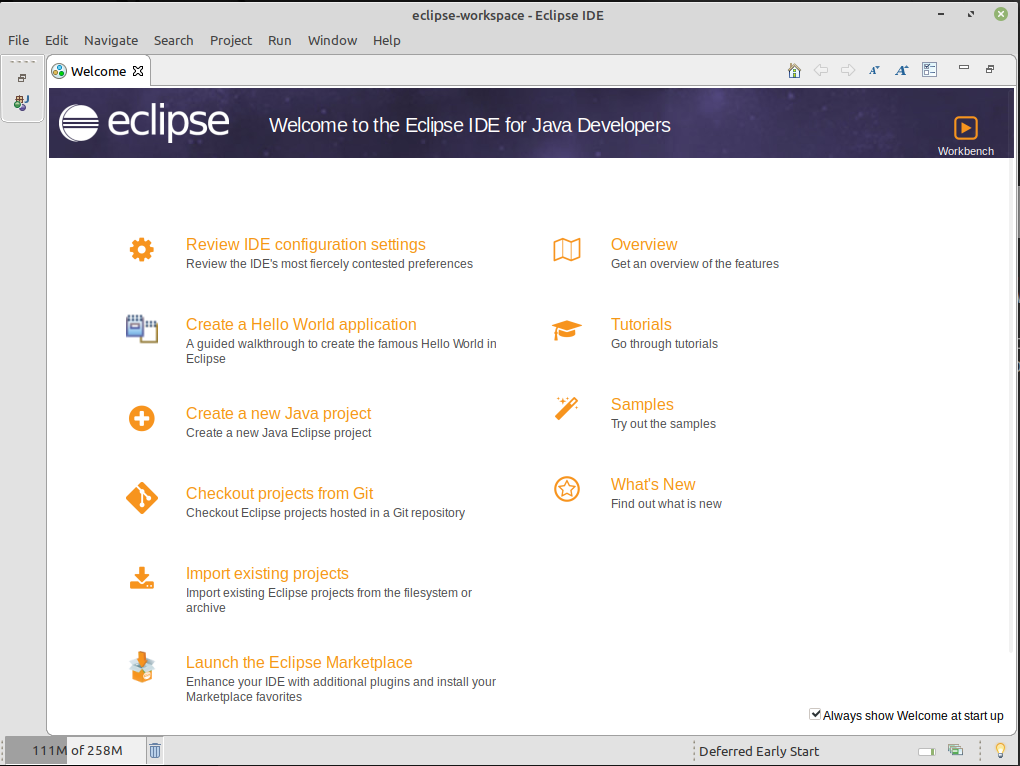
Later you need to select the desired directory for the working and click on the launch button that will open its main interface as shown below:
Conclusion
The Eclipse IDE is a well-known tool for developing Java-based applications. It includes a plethora of tools and plugins to make your programming experience more helpful. We’ve gone through three distinct approaches for installing the Eclipse IDE on Linux Mint in this post. The first is to download the package from the official website, using software manager, and using snap manager. You can install this program by following any method.