Bower is an open-source package manager used to manage and install client-side packages/libraries. Bowers enables users to install, upgrade and remove packages such as jQuery, Bootstrap, and so on. It is like Node Package manager; the difference is that NPM is used to manage backend dependencies and packages. However, bower manages front-end packages and components.
In this blog, we are going to talk about the method to install Bower on Windows.
So, let’s start!
Prerequisite: Install Node Package Manager (NPM)
Node package manager (NPM) is used to manage, install, and update packages. The Bower is installed through NPM. Therefore, to install Bower on Windows we need to install NPM first.
NPM is installed automatically with NodeJS. The following steps will guide you to install NodeJS on windows which will resultantly install NPM.
Step 1: Download NodeJS Installer
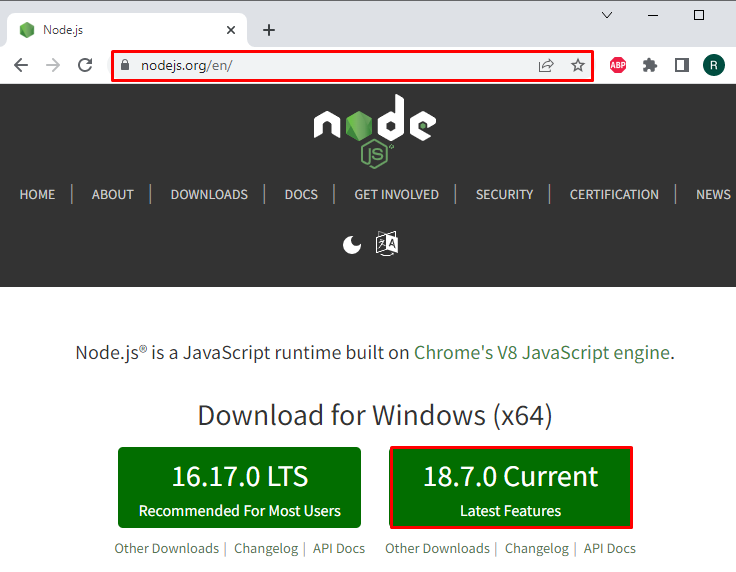
To install Nodejs and npm latest version on Windows, navigate to the below-mentioned link and install the Node.js installer for Windows:
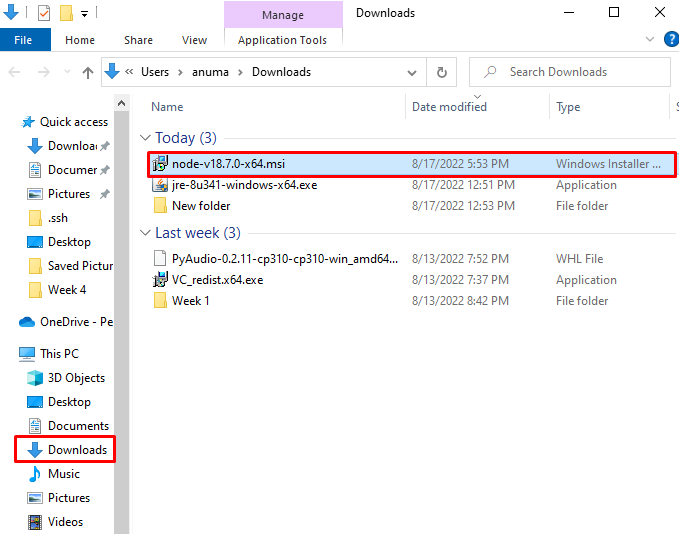
The Node.js installer will save in the Downloads folder.
Step 2: Execute Nodejs Installer
Go to the Downloads folder, and double click on the Nodejs installer to begin Nodejs installation:
Step 3: Install Nodejs
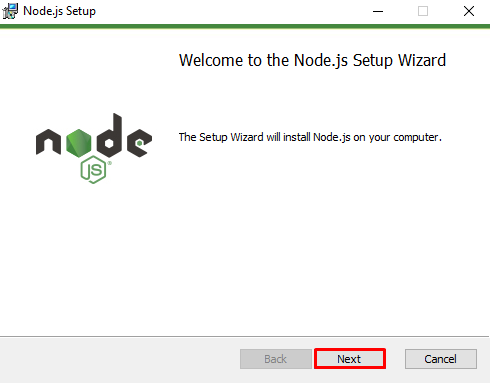
Node.js setup wizard will display on the screen. Click the “Next” button to start the Nodejs installation process:
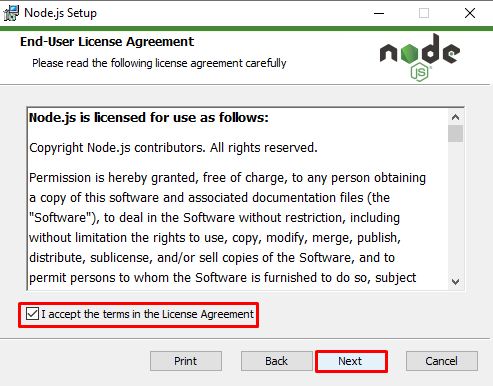
Accept all license agreements by marking the check box and hitting the “Next” button:
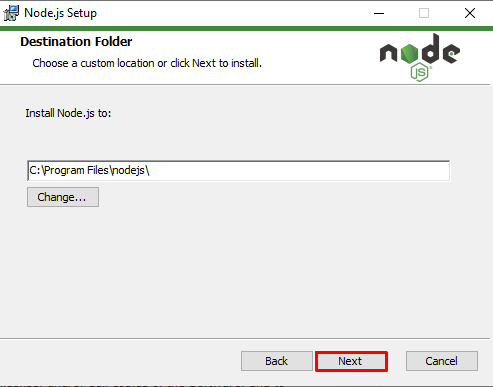
Choose the Node.js installation location or continue with the default suggested location by pressing the “Next”:
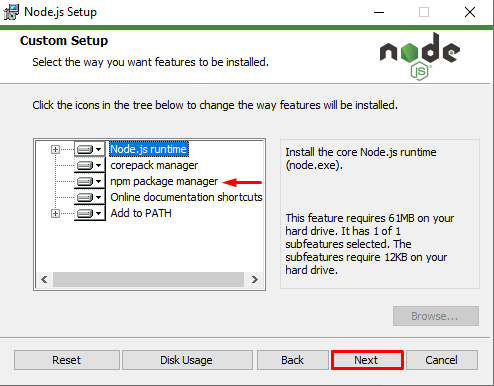
There, you can see NPM Package manager will automatically install with Nodejs. Click on the “Next” button:
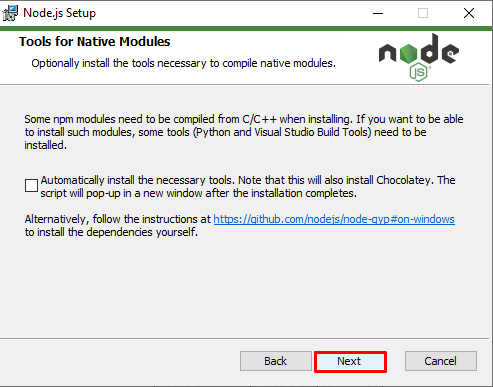
As we only need the npm package manager, therefore, leave the checkbox unmarked and proceed with the “Next” button:
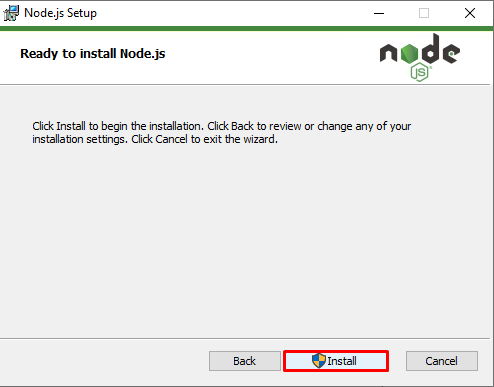
Lastly, click on the “Install” button to install NodeJS:
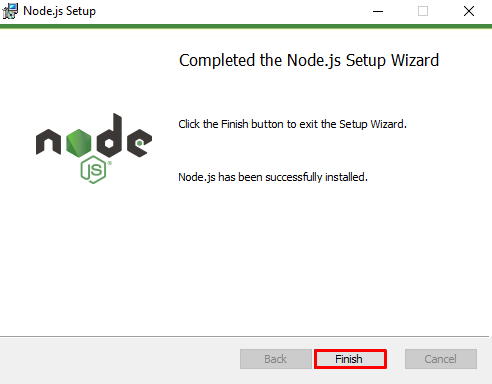
Now, you can see that we have completed the NodeJS installation process successfully:
Step 4: Verify the Installation of NPM
Let’s verify the NPM package manager installation by validating the NPM version:
How to Install Bower on Windows 10?
Bower package manager manages front-end packages that are used to develop web applications. On Windows, to install Bower after installing NPM, follow the listed steps.
Step 1: Install Bower
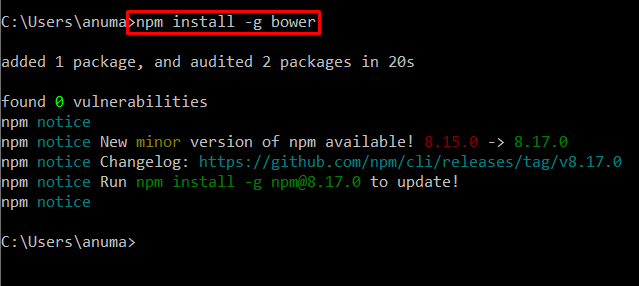
As we elaborated that NPM is used to install Bower. Utilize the NPM package manager to install Bower on Windows:
Step 2: Verify Bower Installation
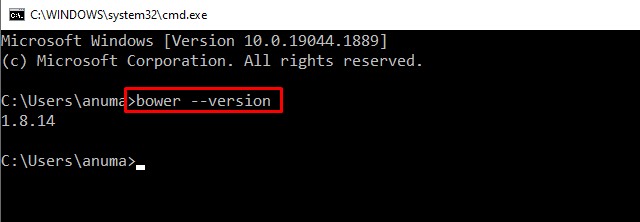
Confirm the Bower installation by verifying Bower’s version:
Bonus Tip: Using Bower on Windows
The Bower is mostly used to install and manage the front-end packages, libraries, and utilities for web development such as jQuery, bootstrap, chart.js and so on.
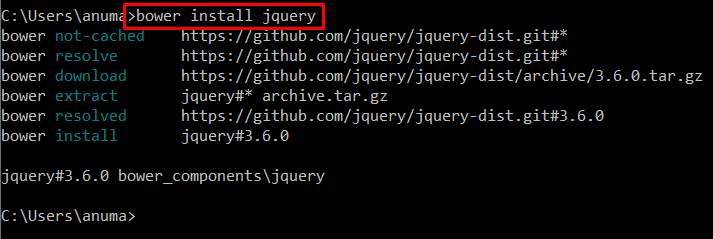
Let’s verify the working of the Bower package manager by installing the “jQuery” package via the following command:
That’s all. You are capable to install Bower now on Windows. Additionally, you have learned to install packages using Bower.
Conclusion
To install Bower on Windows, you are required to install NPM (Node Package Manager) first. Using NPM, we can easily install the Bower front-end package manager. If you have installed NPM on windows, you can use the “npm install -g bower” command in the command prompt to install Bower on windows. Moreover, you can use the syntax “bower install <package name>” to install any package using Bower. Here, you have learned to install as well as use Bower on windows.

