Both Auto-GPT and BabyAGI use the ChatGPT capabilities via the OpenAI API to carry out their work. Conceptually, BabyAGI works with a flow chart as follows:
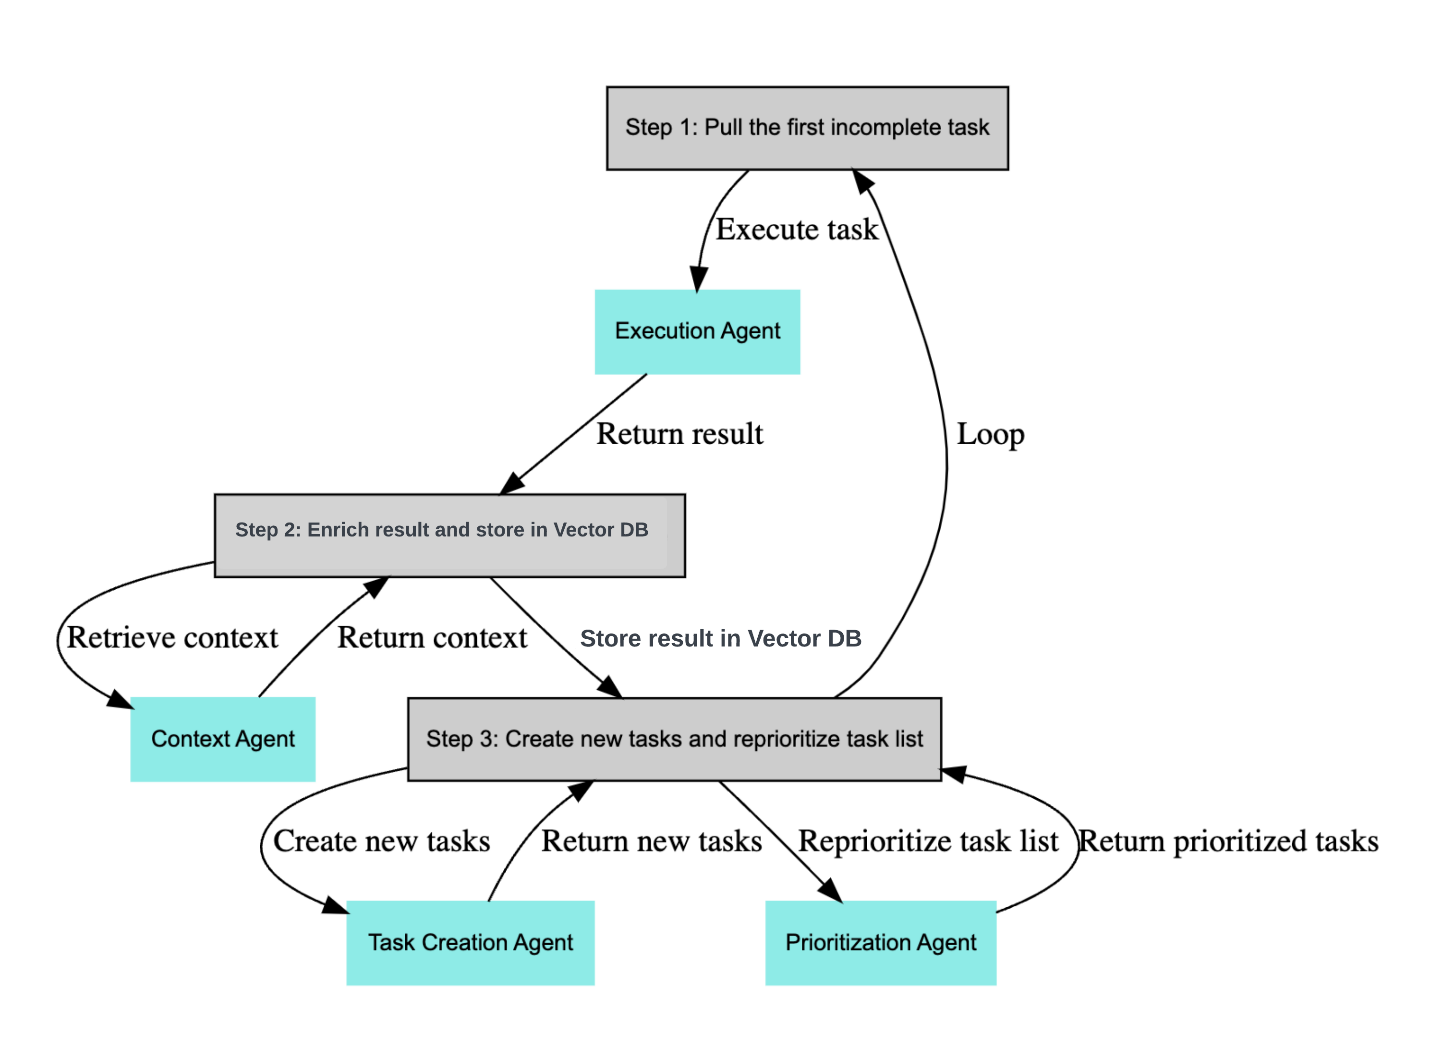
BabyAGI is an autonomous agent. Instead of ordering each step in doing something, BabyAGI is able to develop a procedural step in completing a task by studying a given objective.
BabyAGI was developed by Yohei Nakajima using the Python programming language by utilizing OpenAI’s API GPT 3.5 and GPT 4. You need to know that using the free version of OpenAI’s API is only limited to 3 requests per minute (RPM). Whereas, BabyAGI needs more than that to run properly. So, it is recommended to use OpenAI’s API with the right pricing plan. Also, BabyAGI uses the vector DB as output and system memory which requires a vector database server named “Pinecone”. Make sure that you have at least a free Pinecone account.
We will install BabyAGI on a Kali Linux machine. There is no fundamental difference wherever you install it as long as you have Python and Git installed on your computer. This tutorial applies to all operating systems.
Preparation
1. Obtain the OpenAI API Key
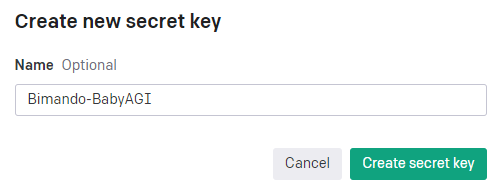
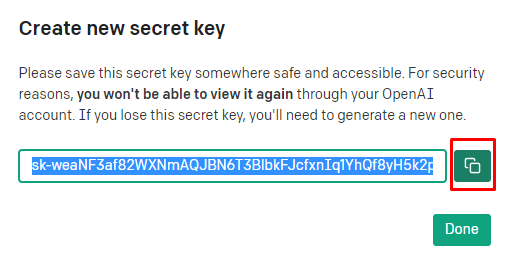
Go to https://platform.openai.com/account/api-keys. Create a new secret key and copy the OpenAI key value.
2. Obtain the PineCone API Key and Its Environment Value
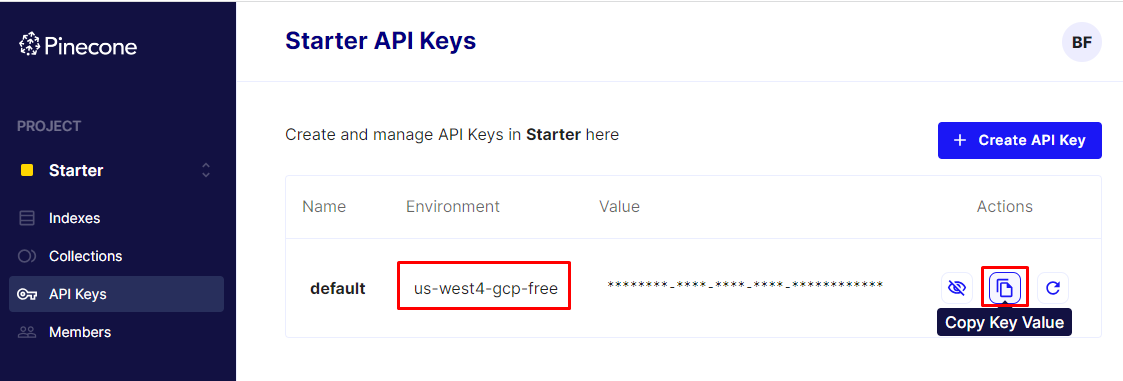
Log in to https://www.pinecone.io/ and go ahead to the “API Keys” page. Copy the key value and the environment value.
Install and Setup BabyAGI
Open your Terminal (Linux & MAC) or PowerShell (Windows), and do the following steps:
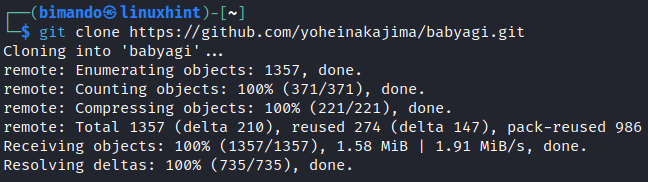
Clone the BabyAGI Project on GitHub.
To prevent any error along the installation process, it is highly recommended that you should update your system first. Run the following code:
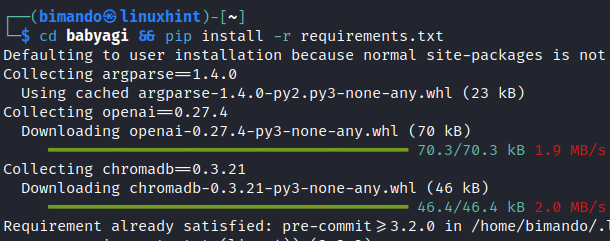
Change the working directory to the BabyAGI folder and install all Python dependency packages.
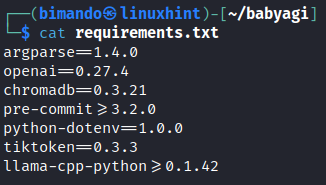
If you are wondering what the required dependencies are, these are the following:
Copy the default env template and rename it to just an “env” file.

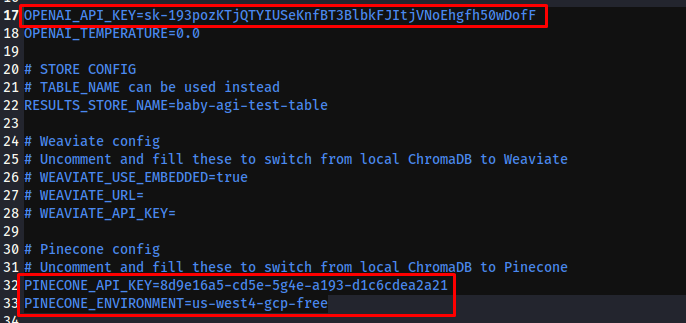
Open the “env” file with any text editor and insert the OpenAI API key, Pinecone API key, and Pinecone environment value.
PINECONE_API_KEY=
PINECONE_ENVIRONMENT=
In the same “env” file, give BabyAGI the job description.
Scroll down and find a section called RUN CONFIG. Set an OBJECTIVE and the INITIAL_TASK. The OBJECTIVE should be what you want to accomplish and the INITIAL_TASK should be the first task to start with.

Save and close the file.
Run BabyAGI.
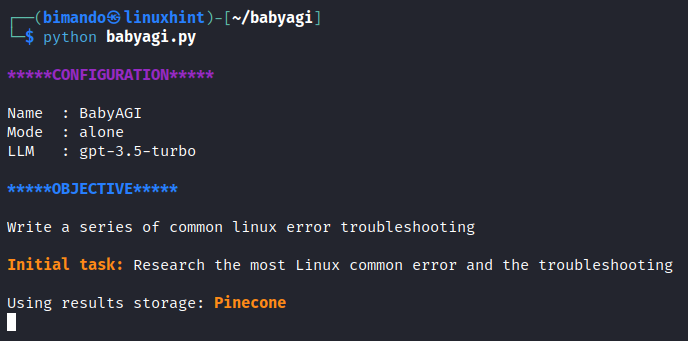
The default LLM model is GPT 3.5, you can change the model to GPT 4 in your “env” file. Monitor the process and terminate the program if something unnecessary happens. Don’t leave your desk; you don’t want the BabyAGI to ruin your OpenAI bills in the end.
Conclusion
BabyAGI is an AI-driven system that is designed to streamline and automate the brainstorming and task management process. Its main objective is to produce creative ideas, organize them into tasks, and prioritize them based on goals and past task performance. Operating in a continuous loop, the system retrieves tasks from a list, executes them, improves outcomes, and generates new tasks. BabyAGI harnesses the power of OpenAI and Pinecone APIs, taking inspiration from a human cognitive development.