This post demonstrates the method for Apache installation on windows.
Install Apache on Windows
Apache is a famously used web server over an HTTP protocol. We will compile sequential steps to install Apache on windows:
Step 1: Download Apache Zip Setup
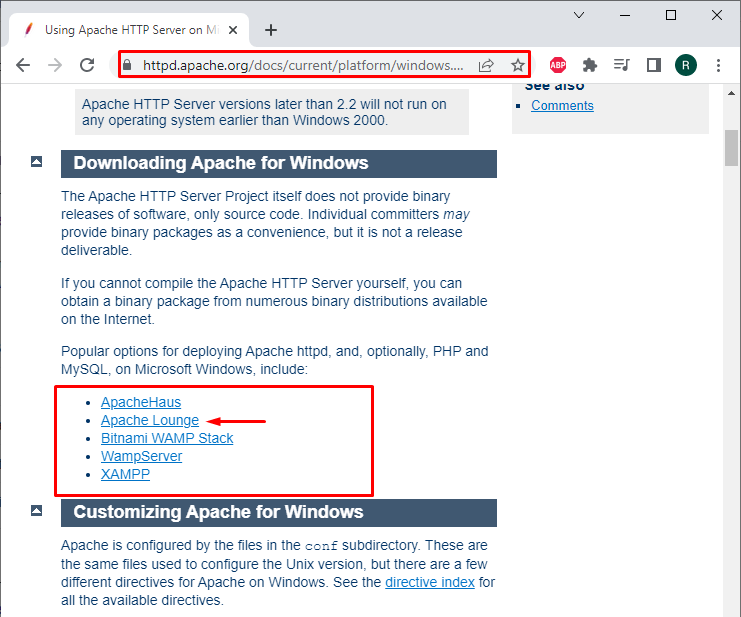
To download the Apache server setup for Windows, click the following link. Here, you can find different Apache servers supported by the windows operating system. You can download any of them. We are going to install “Apache Lounge” on Windows:
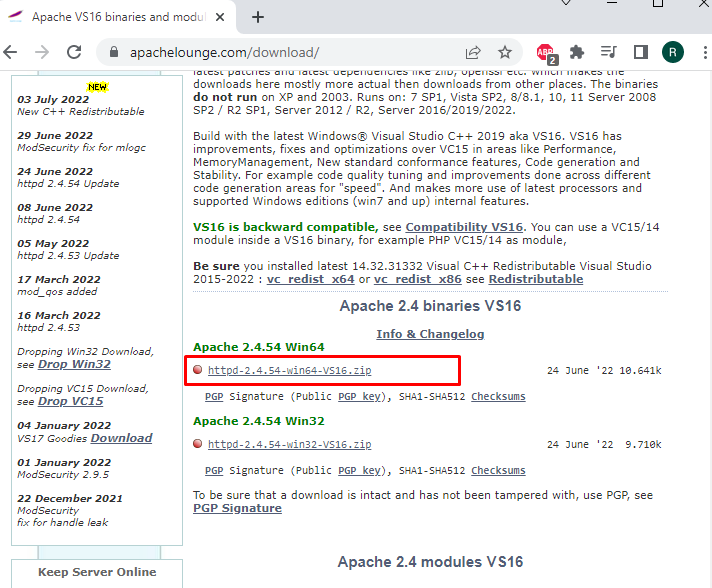
Get the Windows 64-bit Apache setup if your system supports it. Otherwise, download the 32-bit setup:
Step 2: Extract the Apache Setup
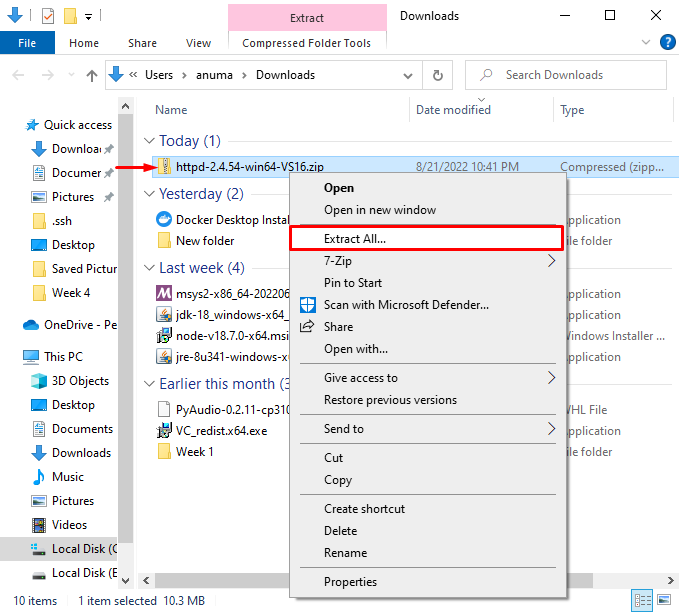
Visit the Downloads directory. Right-click on the Apache zip setup, then, select “Extract All” from the display options to extract it:
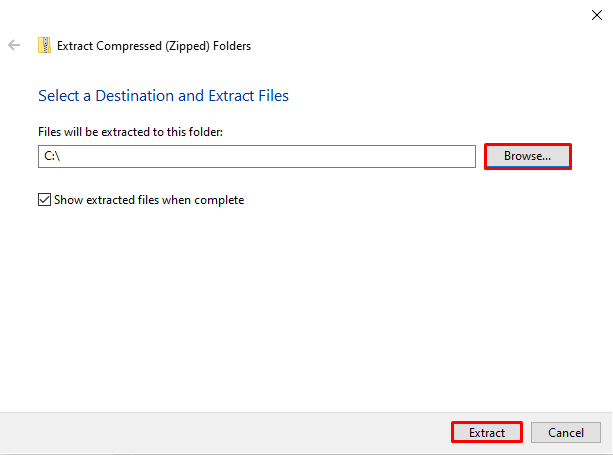
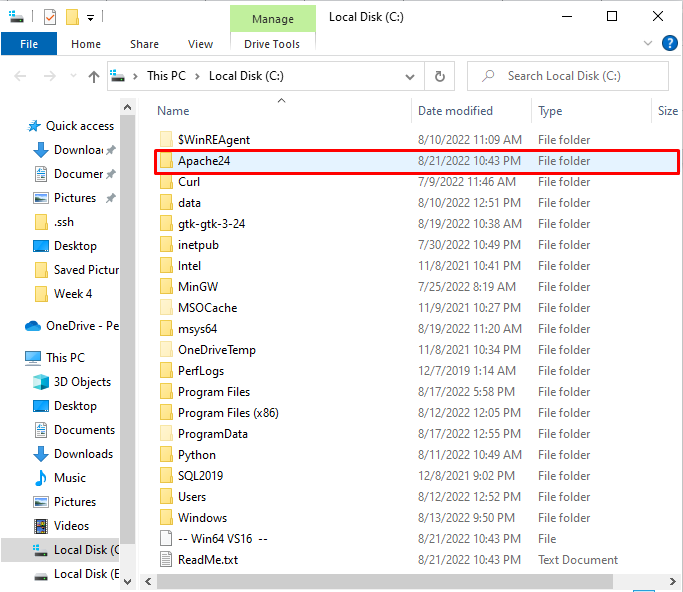
Specify the location where you want to extract Apache. We are extracting Apache in the “C” drive:
Here, you can see that we have extracted the Apache in C drive:
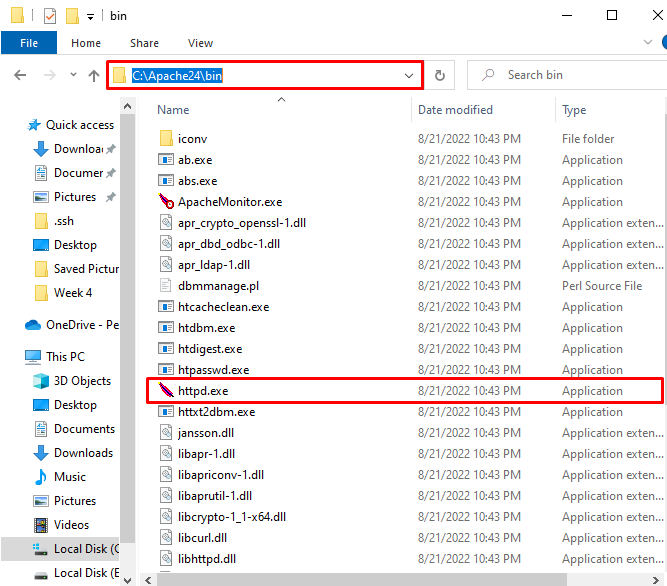
Step 3: Copy the Apache Bin Path
Open the Apache folder and go to the “bin” directory. You can find the “httpd.exe” file. It is primarily used to install and run Apache Server on the browser. Copy the bin path from the “Address” bar:
Step 4: Open Command Prompt
From the Start menu, open the Windows Command Prompt. To run Command Prompt as an admin user, type “CMD” in the “Startup” menu:

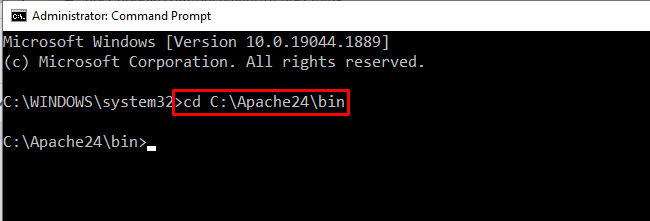
Step 5: Install Apache Server
Open the Apache bin directory. For this purpose, use the “cd” command and paste the copied path:
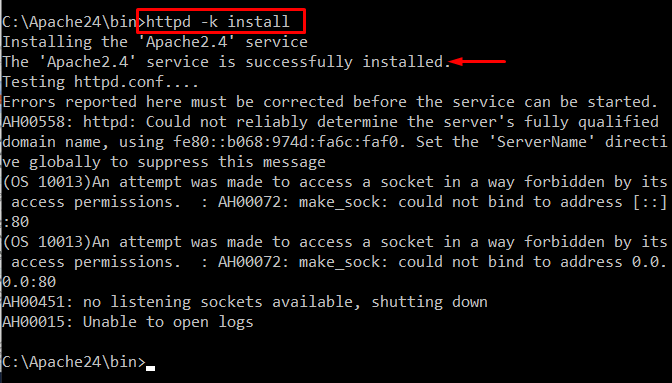
Install the Apache server using provided command:
Step 6: Start Apache Service
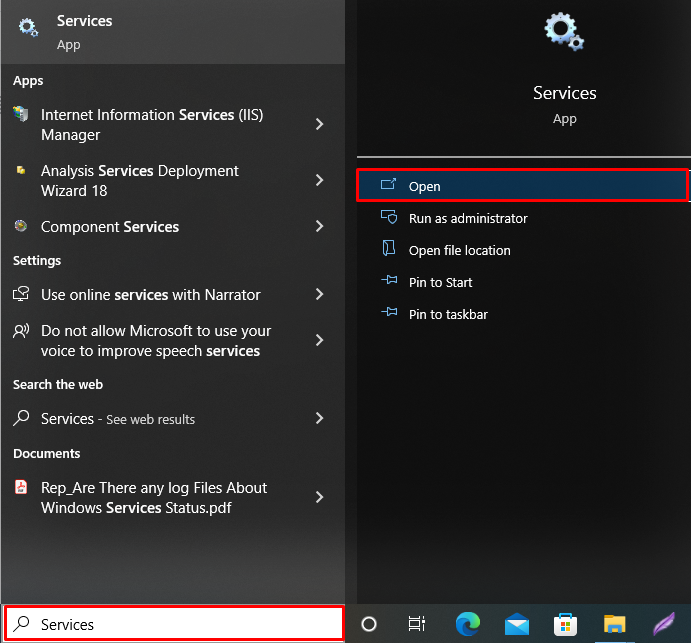
By installing Apache on Windows, Apache service is automatically installed. To start the Apache service, open the Services App by searching it in the “Startup” menu:
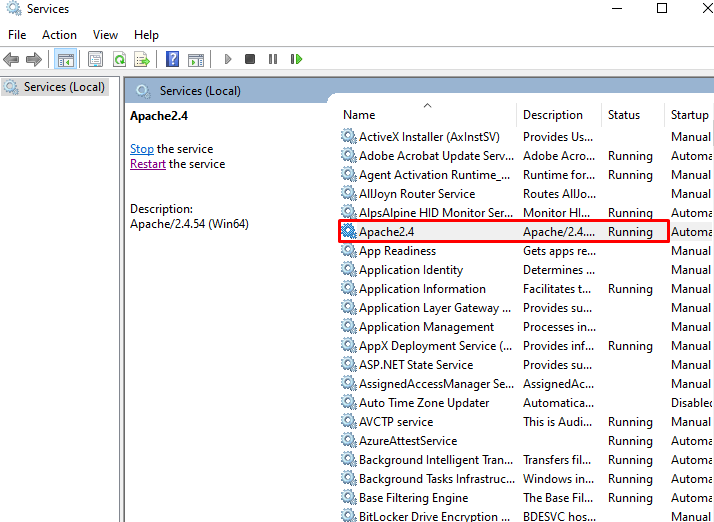
You can see that the Apache service is already installed. Right-click the Apache service and choose “Start” displayed options:

The Apache service is running successfully:
Step 7: Verify Apache Server Installation
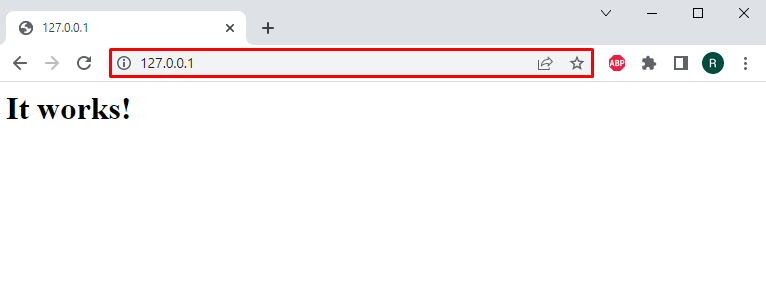
Let’s verify whether the Apache server is working or not by running the Apache service on the local host. To do so, use the “127.0.0.1” IP address for the local host on the browser. Every time we attempt to start a local host on the server, it immediately redirects to the “index.html” page, which is saved in the htdocs folder:
You can set up and use the Apache web server on windows.
Conclusion
To install Apache on Windows, navigate the Apache site and download the Apache zip setup. After that, go to the Apache bin directory using the “cd” command in CMD and utilize the “httpd -k install” command to install Apache. You can verify the installation by starting the Apache service and then run it on the local host. In this post, you have learned the way for Apache web-server installation on windows.