Installing Alacritty on Linux Mint 21
The main reason that makes it beneficial is that it uses a minimalistic design, which helps to reduce the amount of memory and CPU usage required to run the terminal so to get this emulator on Linux Mint there are two ways and those are:
Through PPA Repository
This terminal emulator has cross-platform compatibility due to which it can run on Windows, Linux, and macOS, and it uses the same configuration file across all platforms. Since this application is not present on default package manager by default so to install it, one needs to add its repository and for that execute:
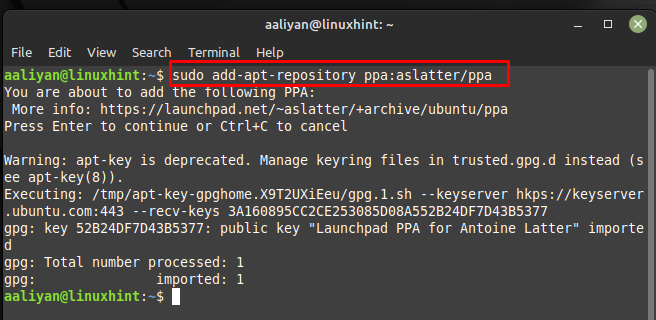
Next update the packages list so that the repository should be successfully updated and afterwards install it on Linux Mint by using:
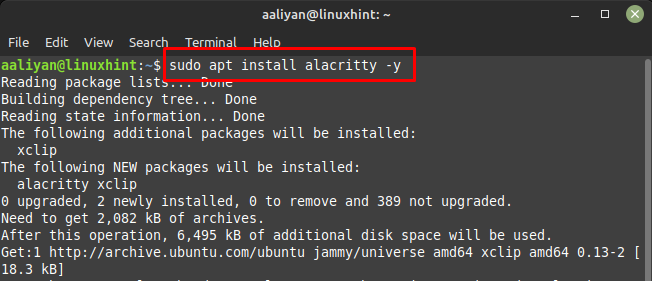
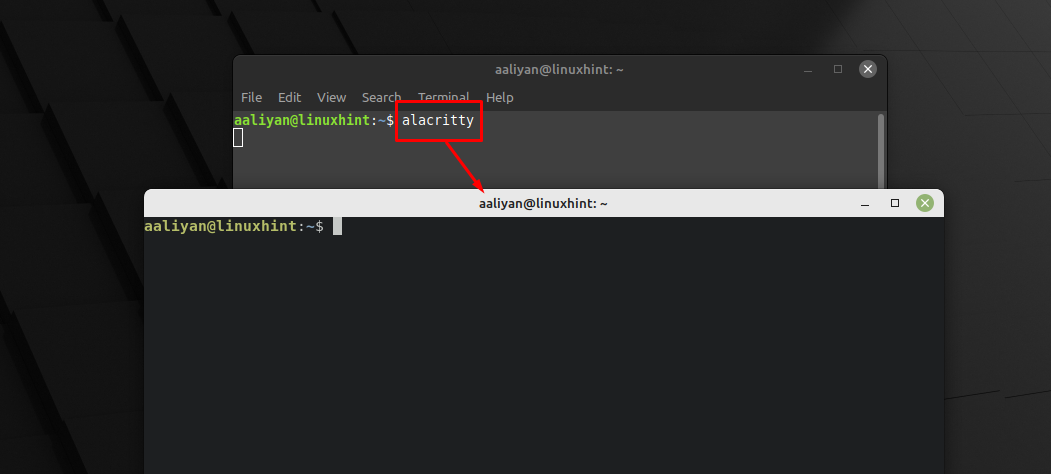
Now once the application is installed run it through Linux Mint terminal by executing alacritty command and get started with this terminal emulator:
Now to remove this application from Linux Mint if you are no longer to use it then execute the below command in case you installed it through PPA:
Through Snap Store
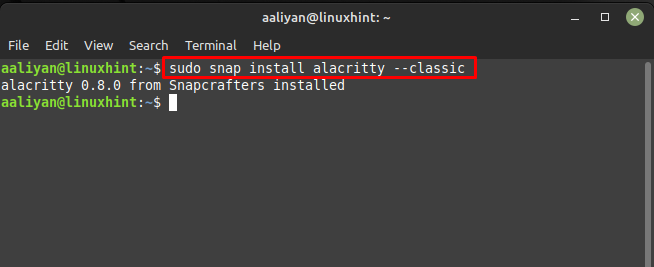
Another way to get this emulator on Linux Mint is by using the Snap store and for you need to install it on Linux Mint and if you already have it on Linux Mint then execute:
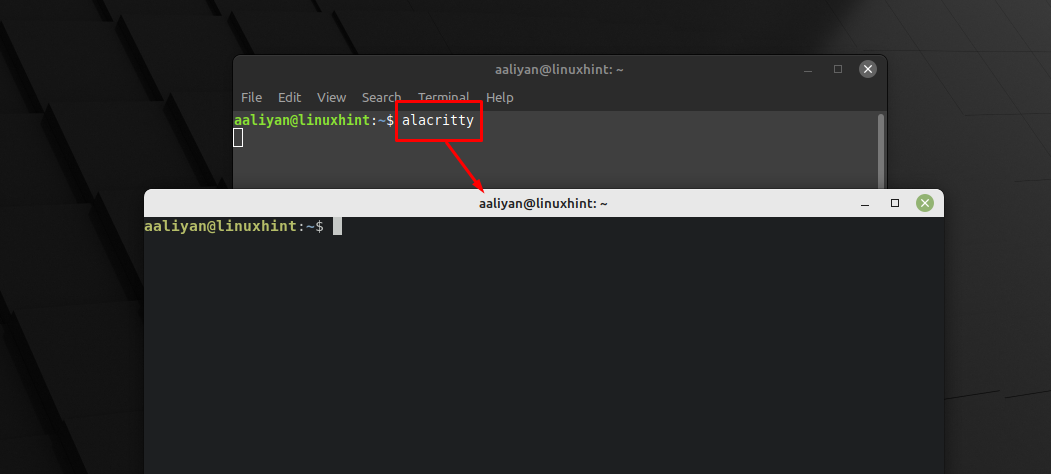
Now the application is installed run it through Linux Mint terminal by executing alacritty command and get started with this terminal emulator:
Now to remove this application from Linux Mint if you are no longer to use it then execute the below mentioned command in case you installed it through snap:
Through Source File
If you don’t like adding repository or in short looking for another way to install this terminal emulator then you can install it by getting its source file, so here are some steps that one should perform:
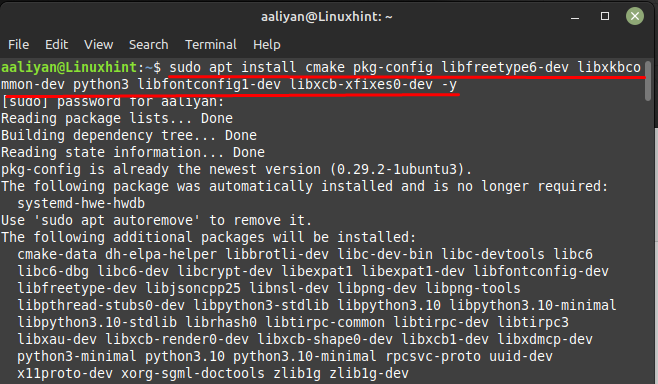
Step 1: To get this application running successfully there are some dependencies that are needed to be installed so for that purpose execute:
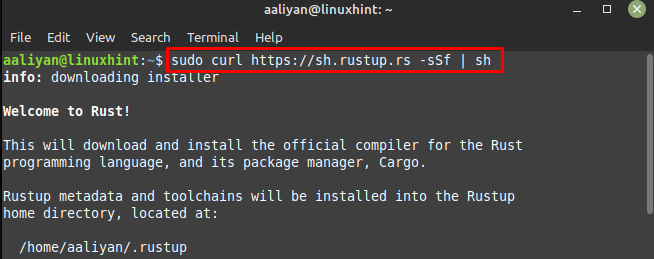
Next, install the rust programing language as this emulator is based on this language so for that purpose execute:
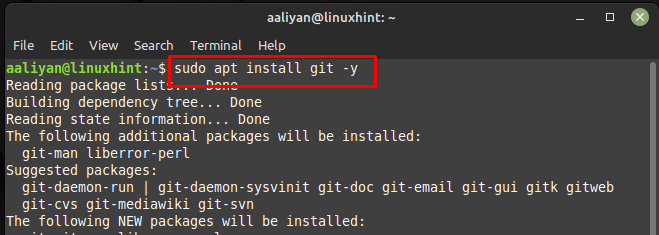
Step 2: Since we have to get the source file from GitHub so in order to do that Git needs to be installed on Linux Mint and for that execute:
Next, clone the source code of Alacritty from GitHub using:
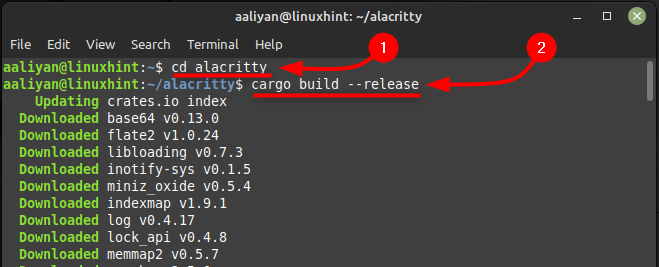
Step 3: Once you have got the source code now just move to the directory and create the binary packages using cargo build like this:
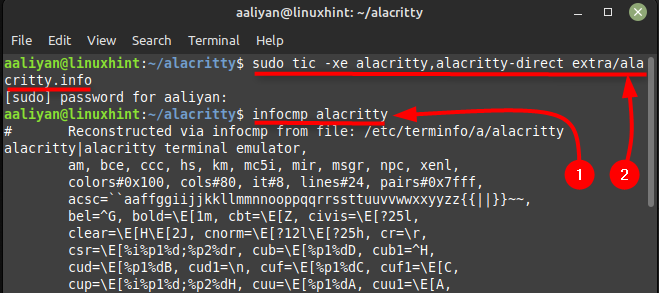
Next to see if the Alacritty is installed correctly check it by executing the following two commands and if there are no errors then it is a sign that the installation is successful:
Now run the below mentioned command to get the information about the application to check for any errors and warnings:
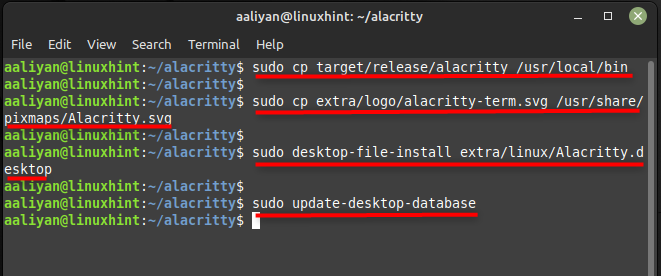
Step 4: Now to make the desktop shortcut for this terminal emulator simply execute the below given commands one by one:
First copy the alacritty folder in the bin directory and for that execute:
Next, add the logo of alacrity to its desktop application and for that purpose execute:
Now it’s time to install the desktop file on Linux Mint and for that purpose execute:
Once you have executed the above commands successfully now update the database of Linux Mint desktop and for that execute:
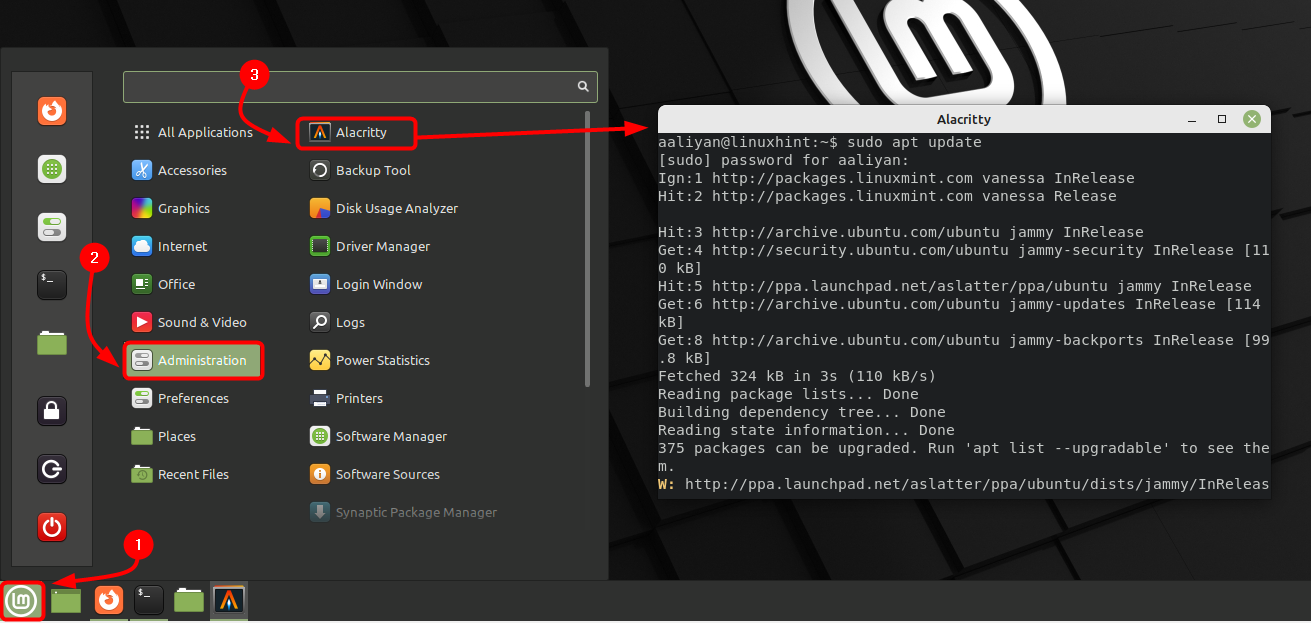
Once you are done installing this application run it through the Linux Mint application menu and get started using this terminal emulator:
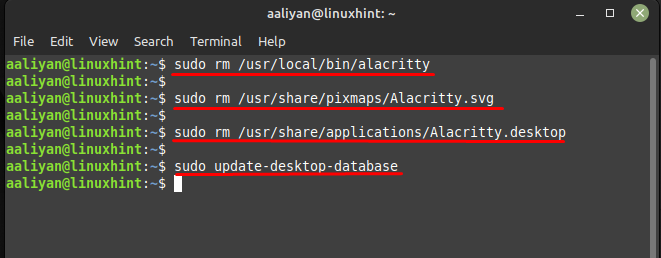
Now to remove this application from Linux Mint if you are no longer to use it then execute the below command in case you installed it through its source file then execute the below given commands:
First remove the application file from the bin directory and for that purpose execute:
Next, remove the desktop icon image and for that purpose execute:
No remove the application file for desktop of alacritty and for that execute:
Once you have executed the above commands successfully now update the database of Linux Mint desktop and for that execute:
Conclusion
Alacritty is a high-performance terminal emulator that uses the GPU to accelerate rendering, making it one of the fastest terminals available. It is open-source, cross-platform and written in Rust and it can be easily installed on Linux Mint 21 by installing Rust and using cargo. Overall, Alacritty is a good option for those who are looking for a fast and efficient terminal emulator on Linux Mint 21 and it’s worth giving it a try. To install it on Linux Mint 21 there are three ways one is through PPA repository, second is through Snap store and third is by using its source file from GitHub.

