
In this guide, we’ll have a look at one of the coolest features of Ubuntu – The Workspaces.
Ubuntu Workspaces
According to the official Ubuntu documentation, a workspace is a group of multiple windows on the desktop. Grouping windows is an efficient way of reducing clutter and navigating through the system.
Ubuntu comes with the GNOME desktop by default, so this guide will focus on it. Don’t worry, as this feature is also available on other desktop environments, such as Xfce, MATE, LXDE, and more. While the technical details will vary, the fundamental concept will remain the same.
Accessing the Workspaces
From the Ubuntu desktop, open the “Activities” menu:
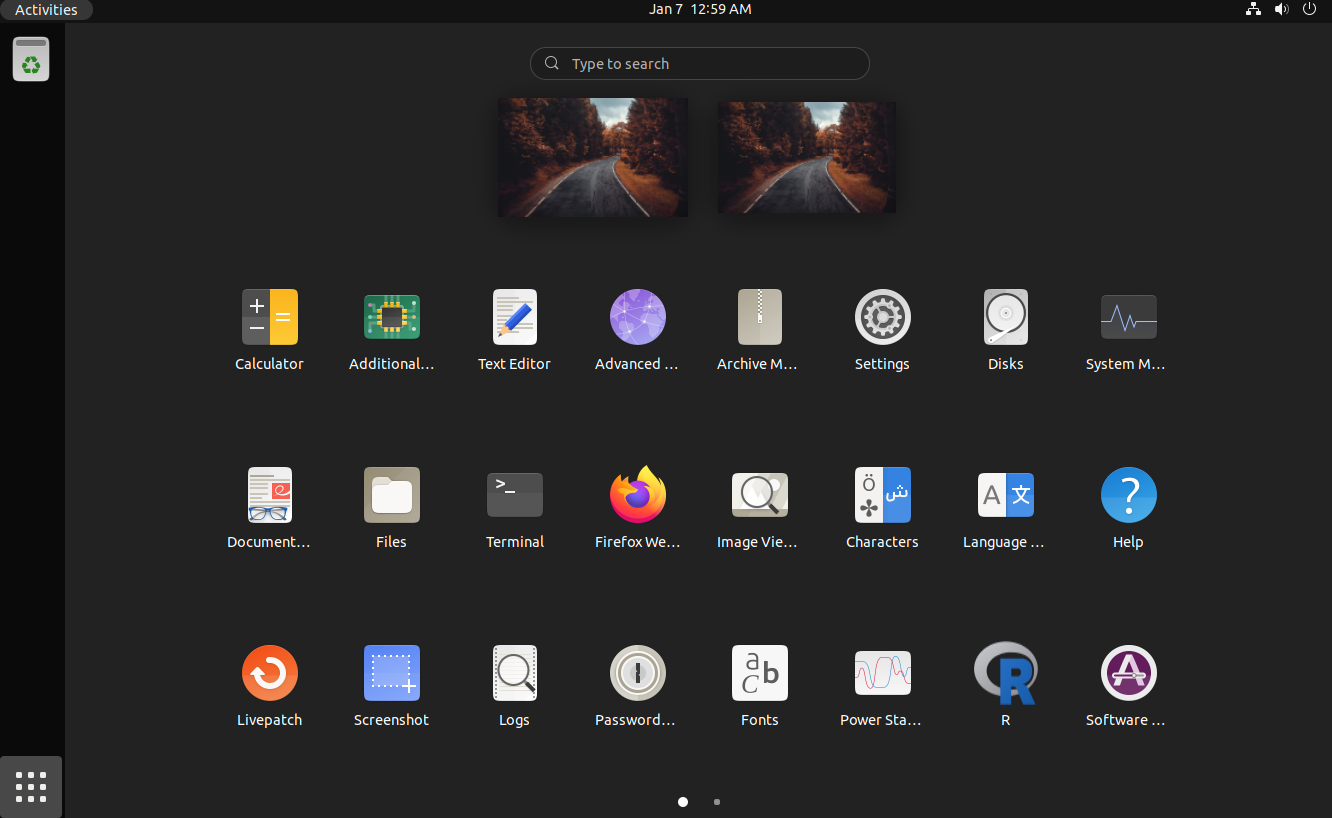
Underneath the search bar, it will show all the currently available workspaces. There will always be at least one workspace.
Another way is to press the “Super” key. It will open the “Activities” menu but default to the workspace view. It’s the recommended way of managing your workspaces:
Switching Workspaces
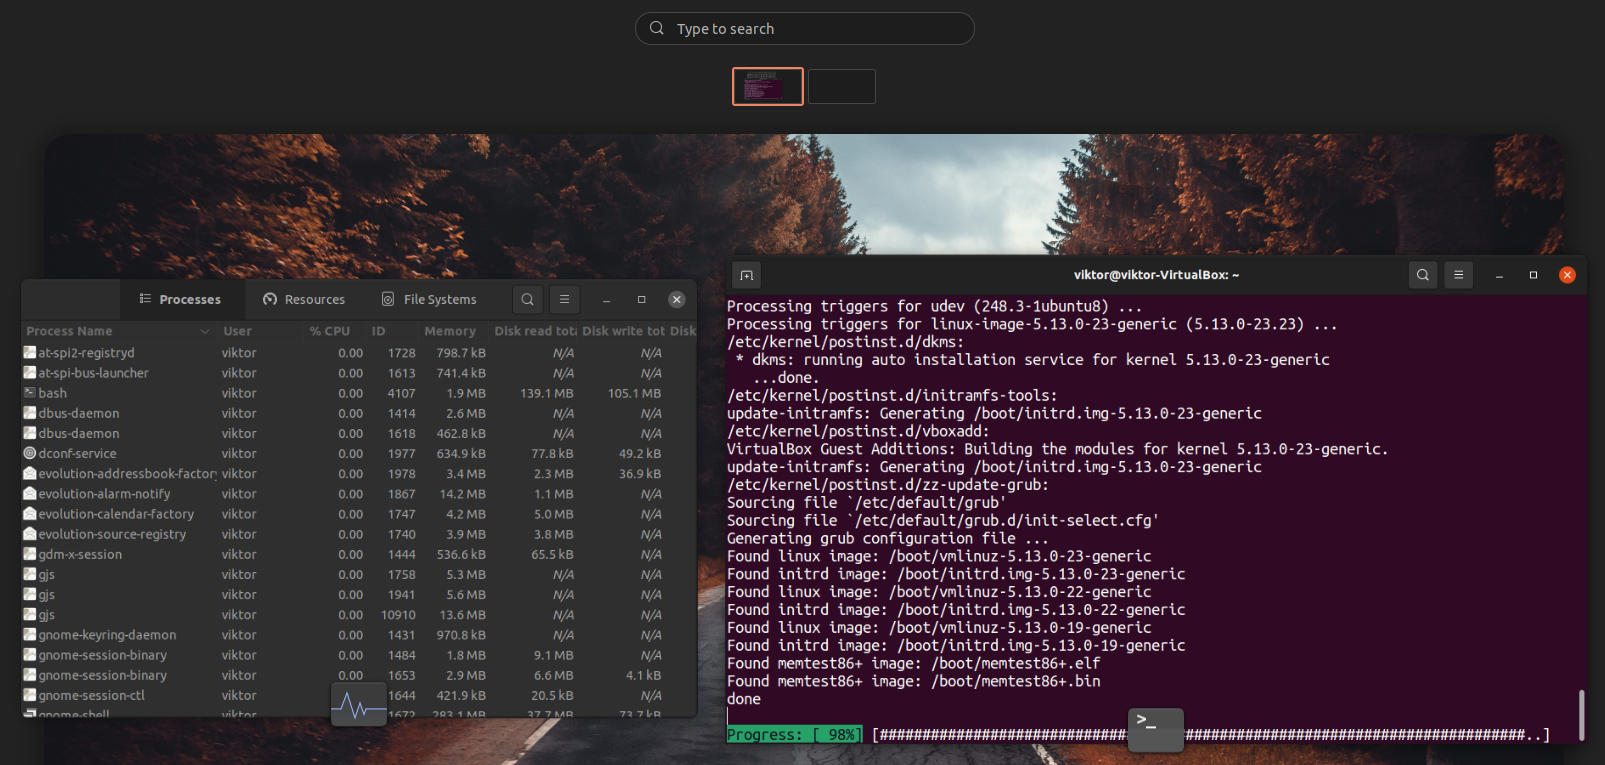
Do you need to switch to a different workspace? Press the “Super” key and select a different workspace. In the following example, one workspace has several windows open, while the second one has none.

Click the second one to switch to it.
Creating Additional Workspaces
By default, GNOME will present only two workspaces. If you need more, all you need to do is to drag an existing window from an existing workspace to an empty workspace (on the workspace list).
Press “Super” to open up the workspace view:

Drag an existing window to the blank one on the workspace list (marked in red):
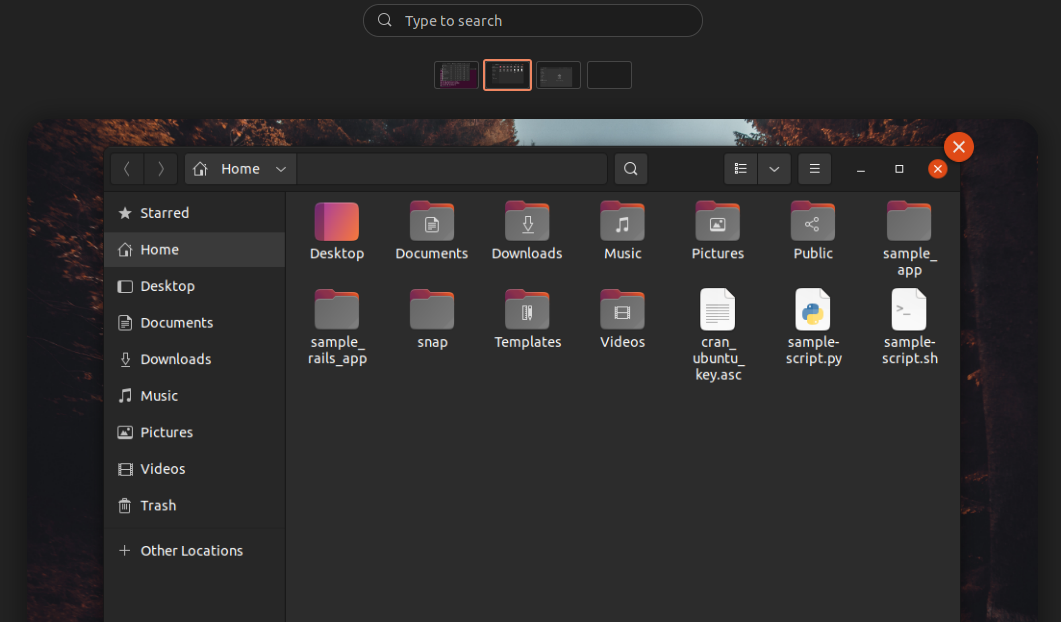
Voila! A new workspace is created successfully!
Closing a Workspace
A workspace will remain functional as long as there’s at least one window in it. If there’s none, the workspace is closed automatically. However, this rule doesn’t apply to the last workspace, as Ubuntu always adds one at the end for convenience.
Cycling Through Workspaces
Choosing the workspace manually from the “Activities” menu is quite handy. However, manual switching may become quite daunting when working with numerous workspaces.
Thankfully, we can use the keyboard shortcut to cycle through the workspaces in a horizontal list.
Ctrl + Alt + Left Arrow / Right Arrow

Additional Keyboard Shortcuts
There are more keyboard shortcuts to speed up working with workspaces. Here’s a short list of various workspace keyboard shortcuts:
- Switch to the workspace on the left: Super + Page Up
- Switch to the workspace on the right: Super + Page Down
- Move the current window one monitor down: Shift + Super + Down
- Move the current window one monitor up: Shift + Super + Up
- Move the current window one monitor right: Shift + Super + Right
- Move the current window one monitor left: Shift + Super + Left
- Move the current window to the left workspace: Shift + Super + Page Up
- Move the current window to the right workspace: Shift + Super + Page Down
- Move the current window to the last workspace: Shift + Super + End
- Move the current window to workspace 1: Shift + Super + End
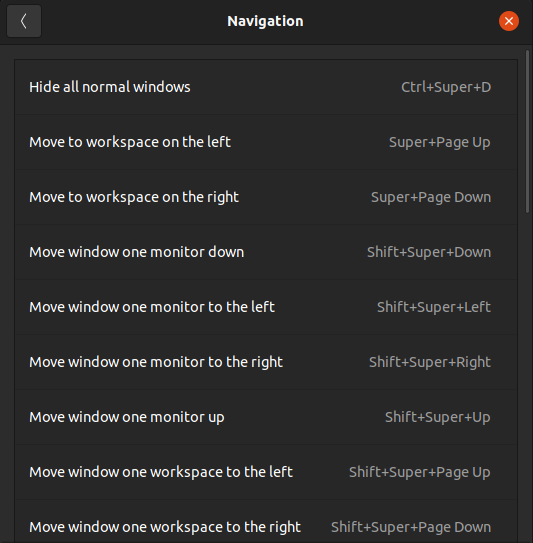
All these keyboard shortcuts are customizable. To customize, go to “Settings” >> “Keyboard” >> “Customize Shortcuts”:
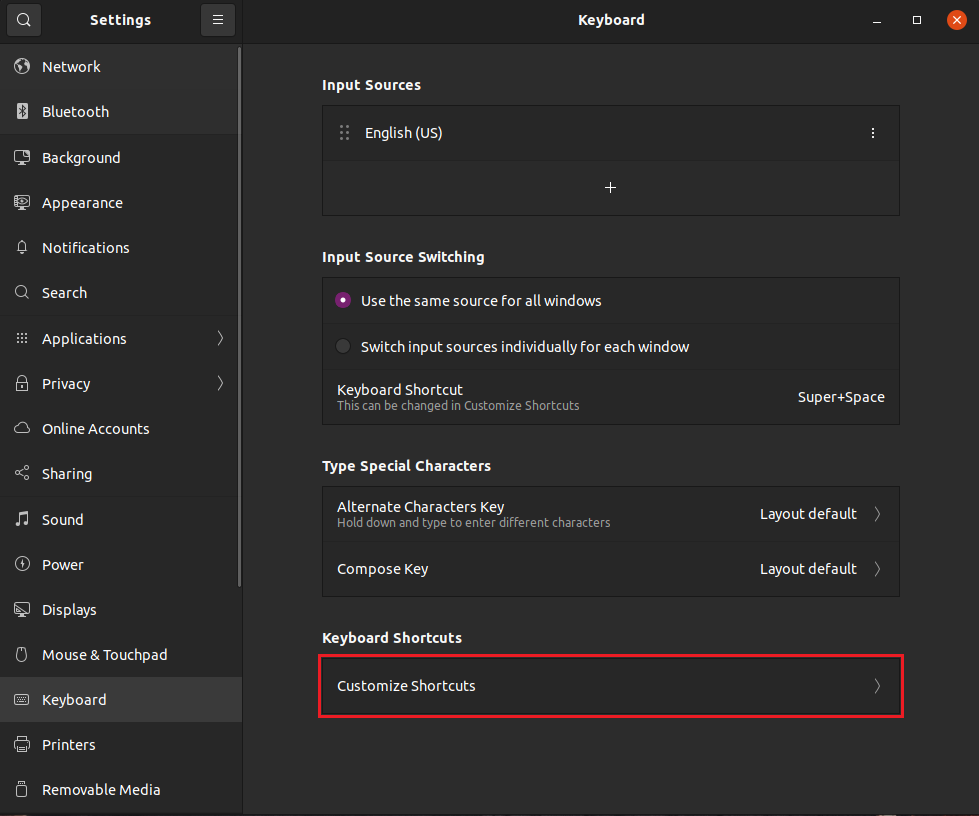

Here, you can tweak all the supported keyboard shortcuts. Go to the “Navigation” section to tweak shortcuts related to workspaces:
Conclusion
The functionality of the Ubuntu workspace is simple yet powerful. It tremendously helps organize your desktop and make the most out of it. This guide showcases how to use workspaces on Ubuntu and manage them. We also listed ways to improve your workspace experience, for example, using various keyboard shortcuts.
If you’re using Ubuntu, keyboard shortcuts are one of the best ways of spicing up your user experience. These shortcuts are fun, and they also can save a lot of time. We hope you found this article helpful. Check out more Linux Hint articles for tips and information, such as useful Ubuntu and GNOME 3 keyboard shortcuts.