This post will discuss the procedure to disable/enable Encryption Oracle Remediation within Windows 10:
Method 1: Using the Local Group Policy Editor
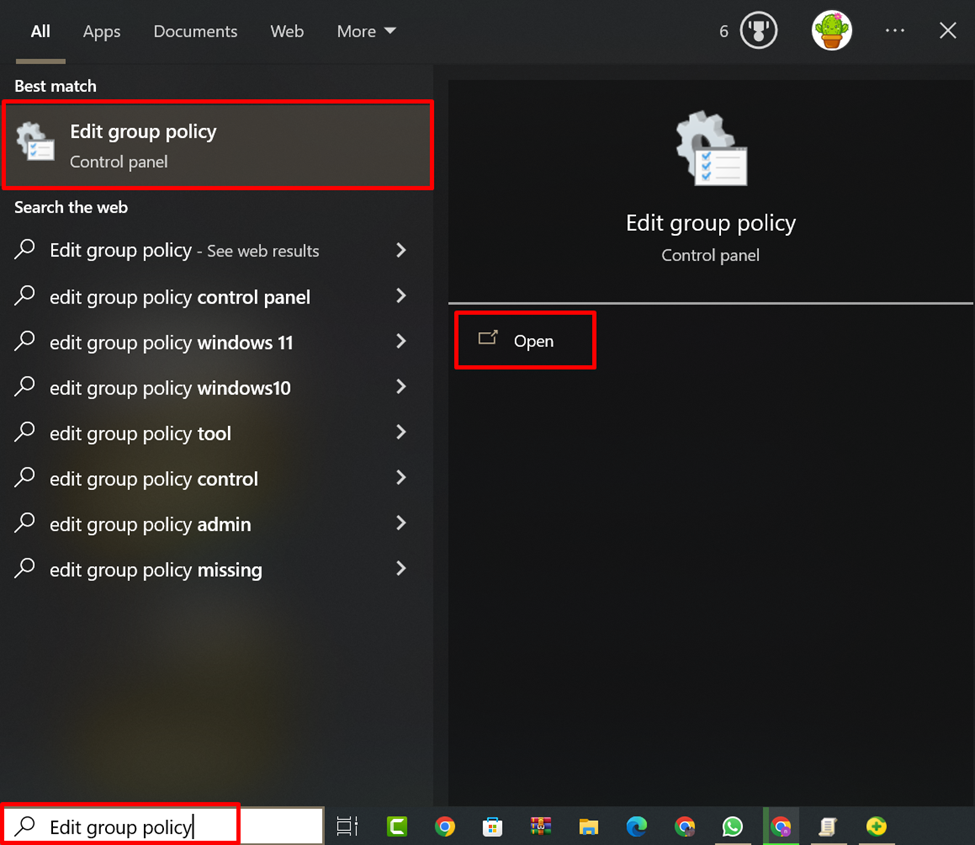
To enable/disable Encryption Oracle Remediation, search “Edit group policy” in the Start menu and open it:
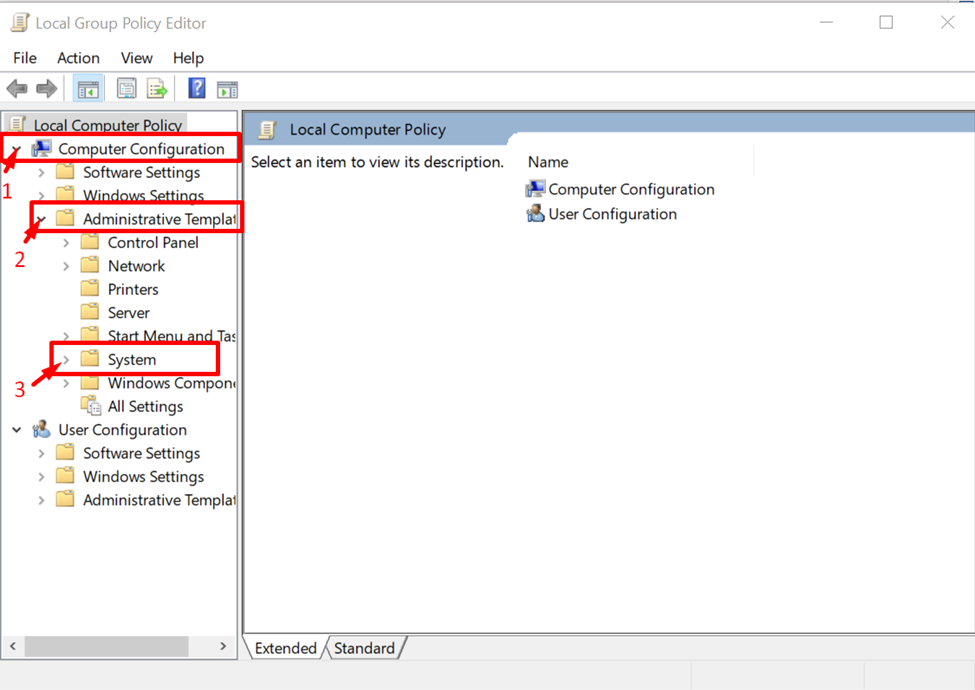
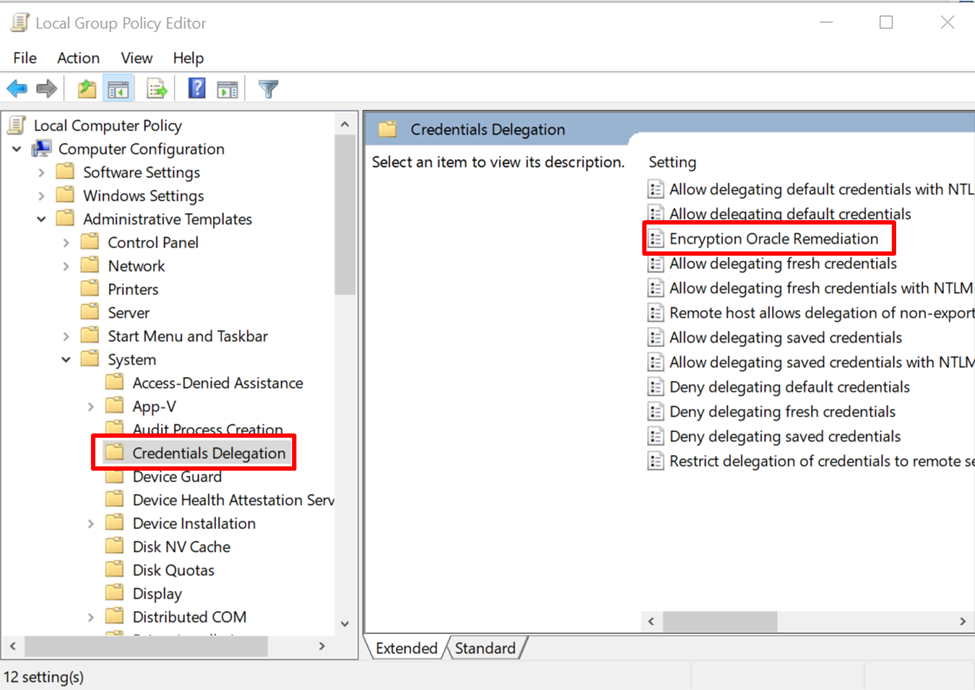
Expand the “Computer Configuration” and then the “Administrative Templates” directory. Now locate the “System” folder:
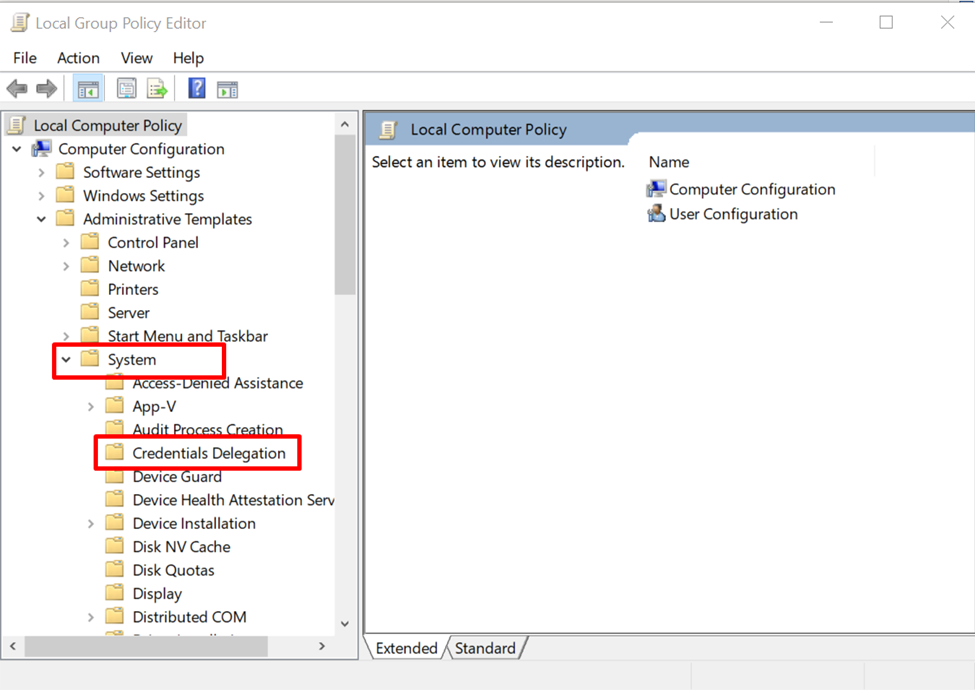
Expand the “System” folder and double-click on “Credentials Delegation” to open it:
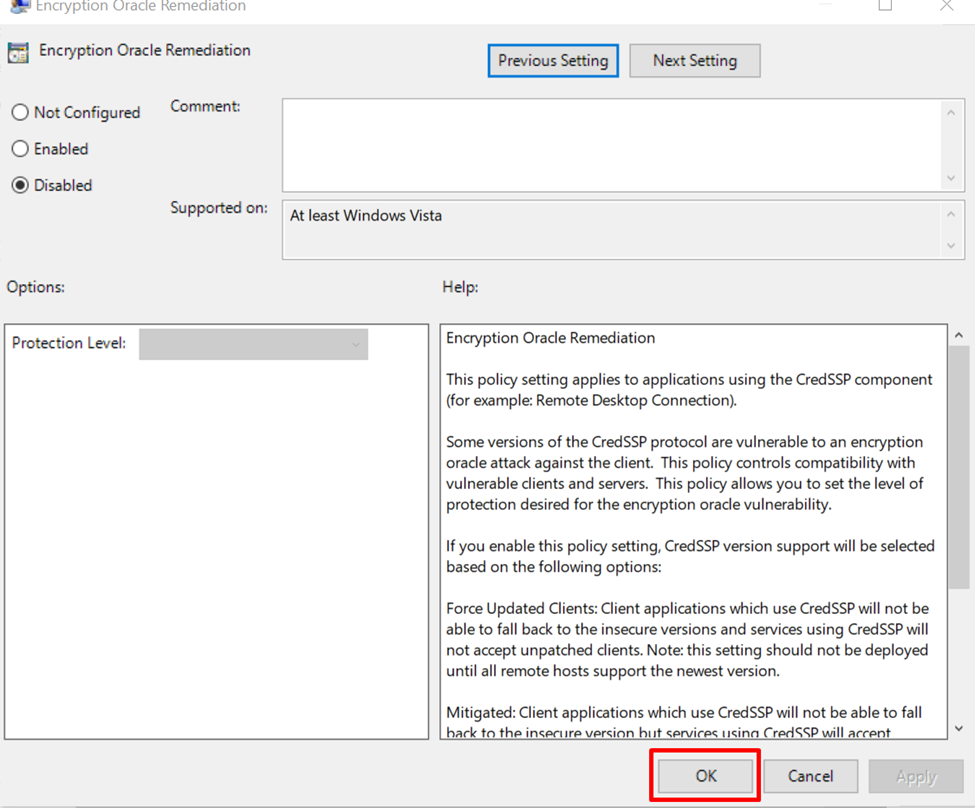
Some setting options will appear in the right panel, select, and open the “Encryption Oracle Remediation” setting:
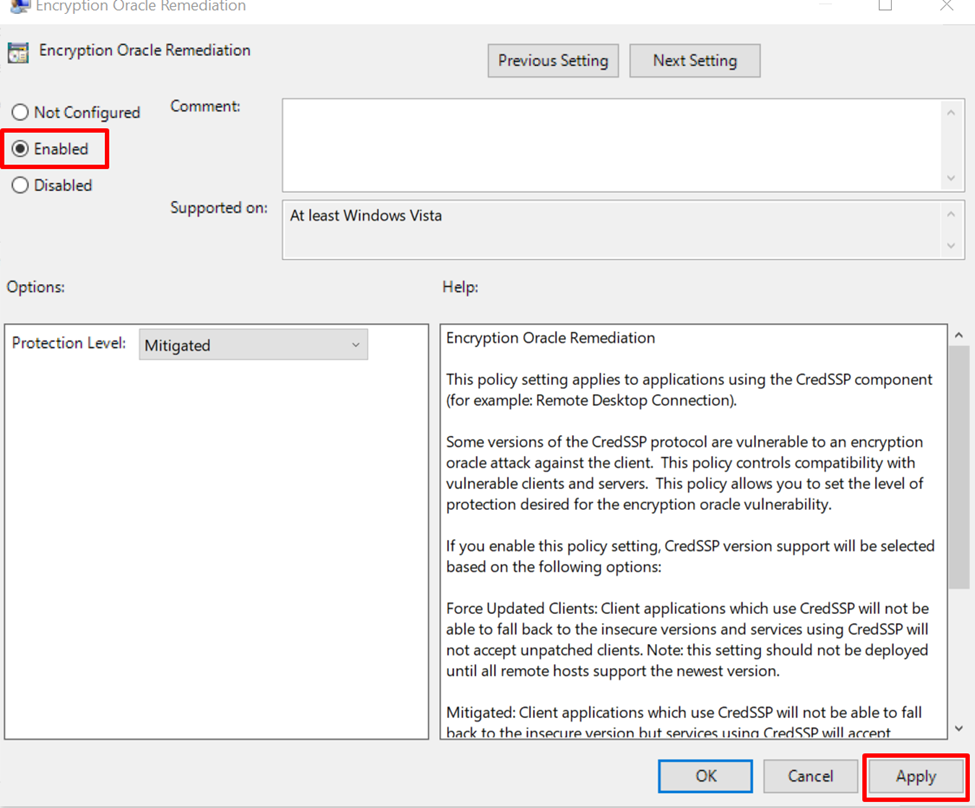
It is enabled by default if you want to enable it, choose “Enabled” and click on the “Apply” button:
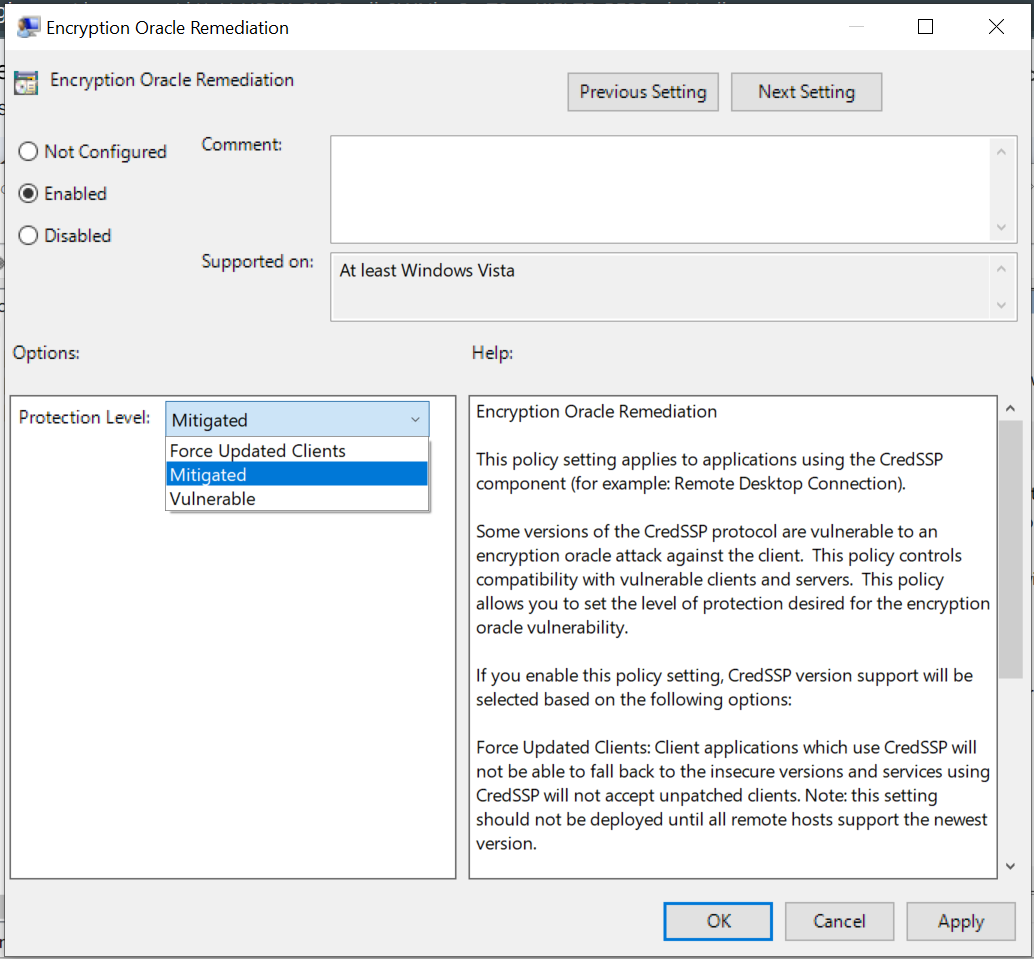
To customize the protection level, open the “Mitigated” drop-down list and choose any option from “Vulnerable“, “Mitigated“, or “Force updated clients“:
However, if you want to disable it, choose “Disabled” and click on the “Apply” button:
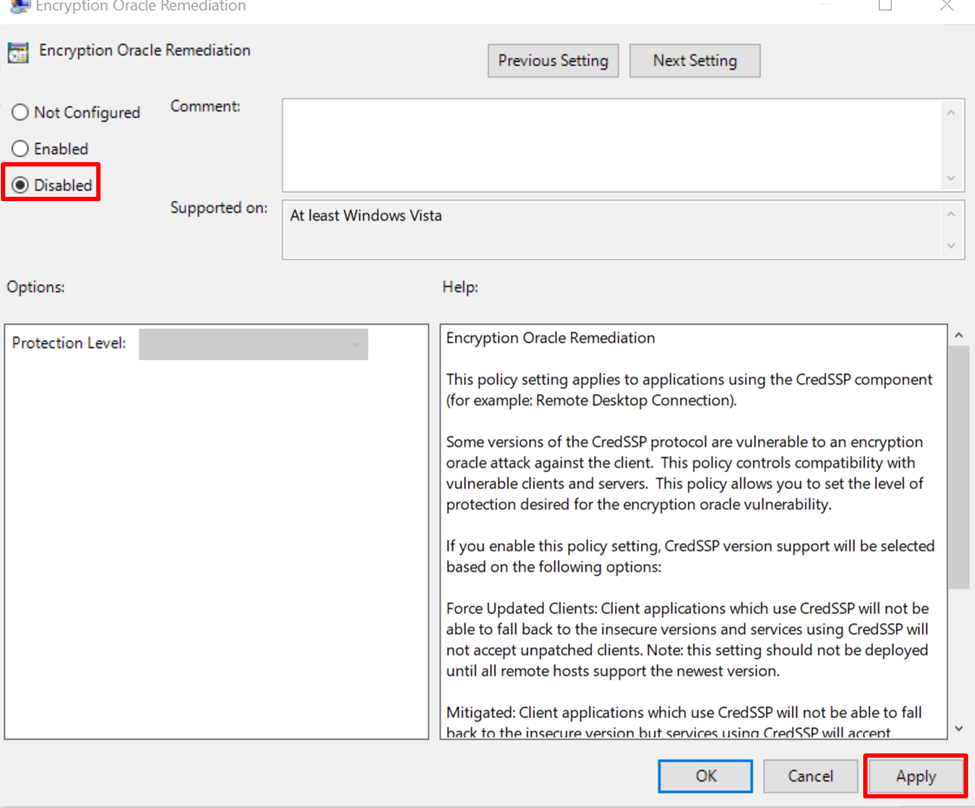
After the selected option is applied, click on the “OK” button:
The Encryption Oracle Remediation is disabled successfully using the Local Group Policy Editor in Windows 10.
Method 2: Using the Registry Editor in Windows 10
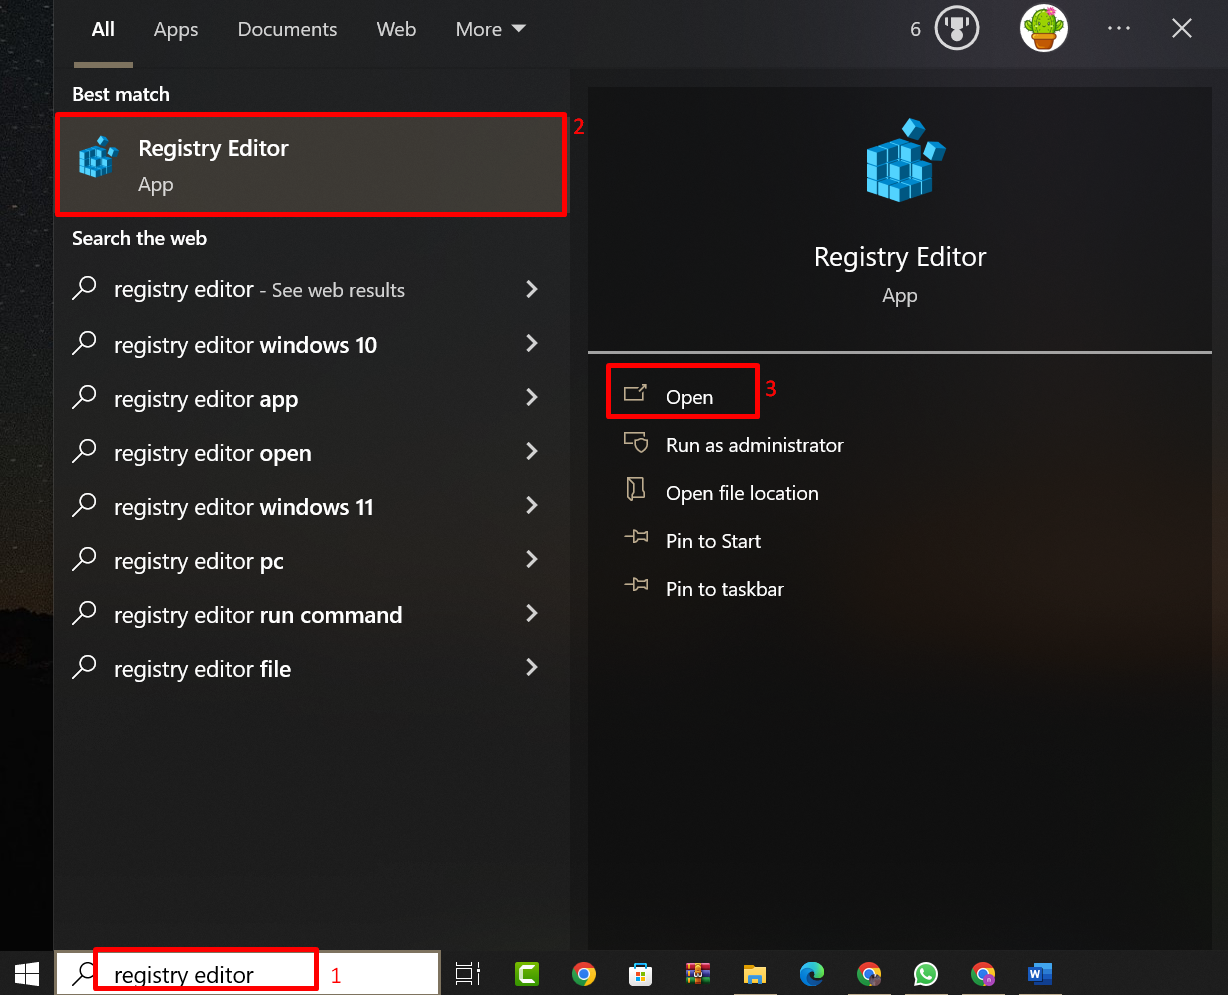
The user can also disable/enable Encryption Oracle Remediation using the Registry Editor in Windows 10. For that purpose, search and open “Registry Editor” from the Start menu:
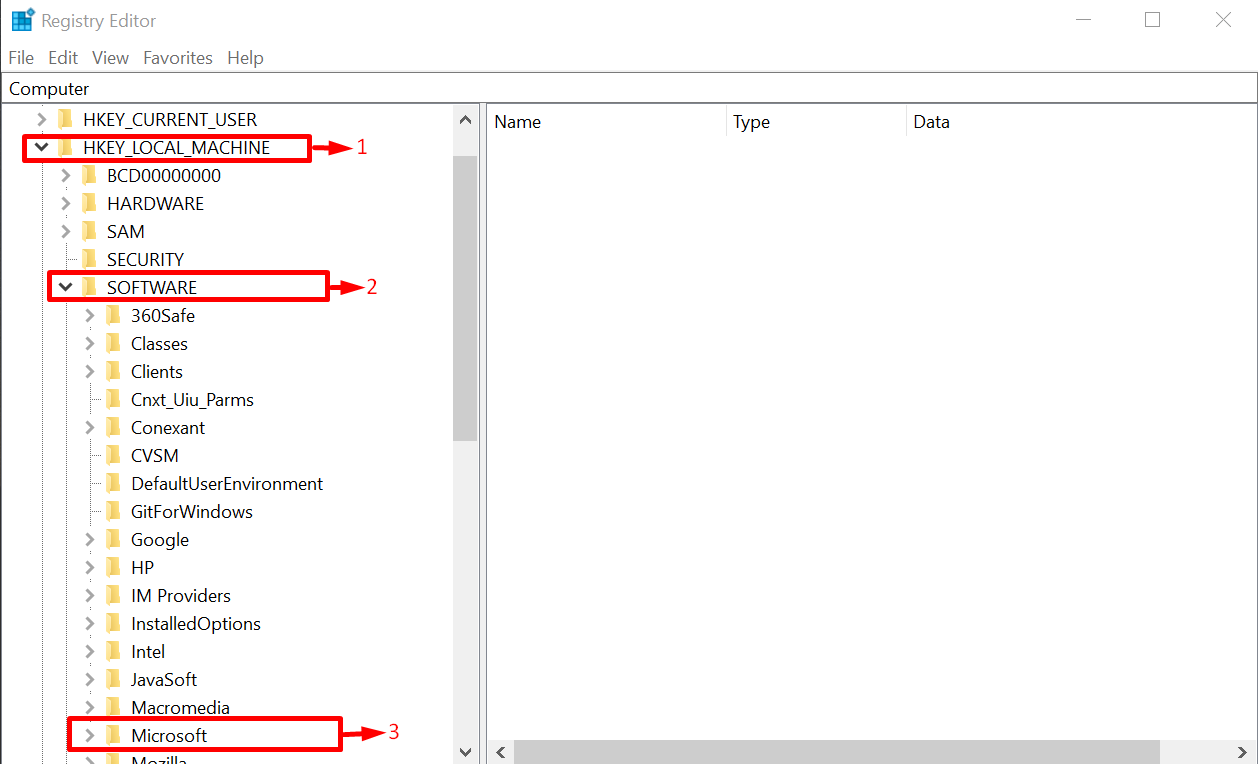
Expand the directory “HKEY_LOCAL_MACHINE”, “SOFTWARE” and “Microsoft” in a sequence manner:
The next step is to locate and expand the “Windows” and then the “CurrentVersion” directory:
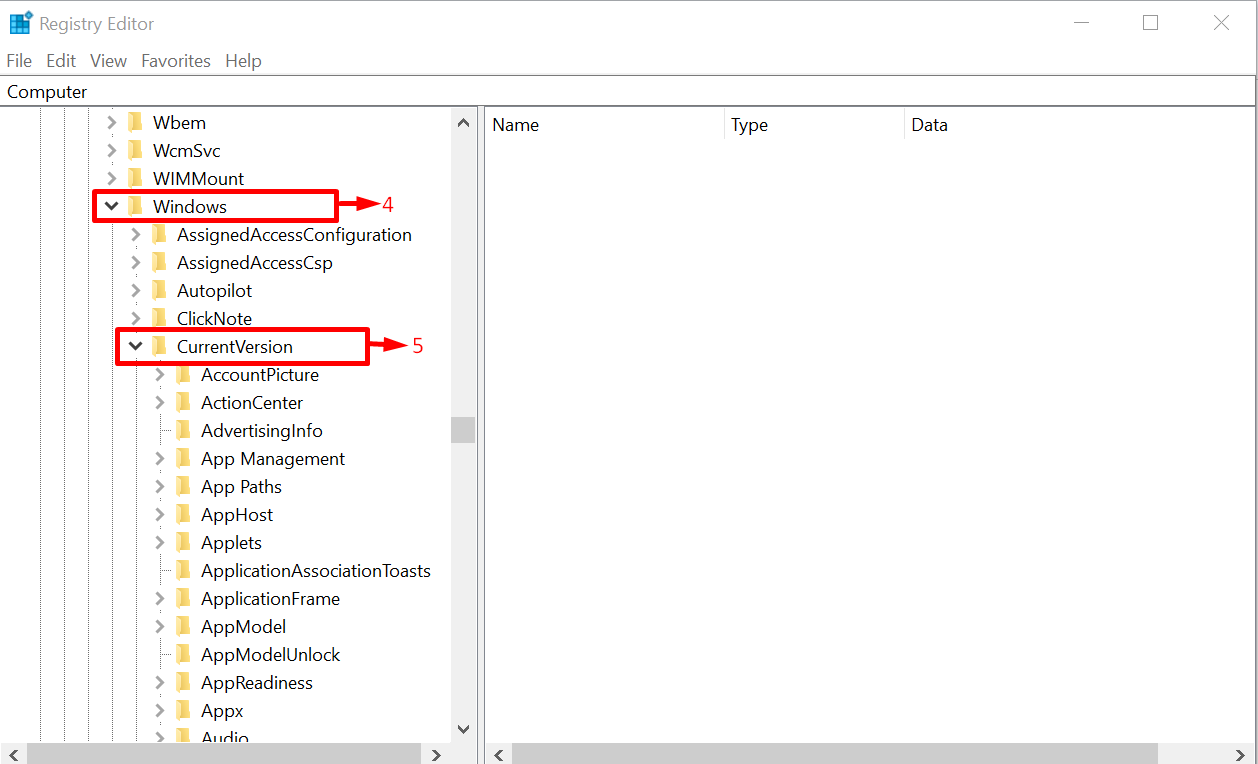
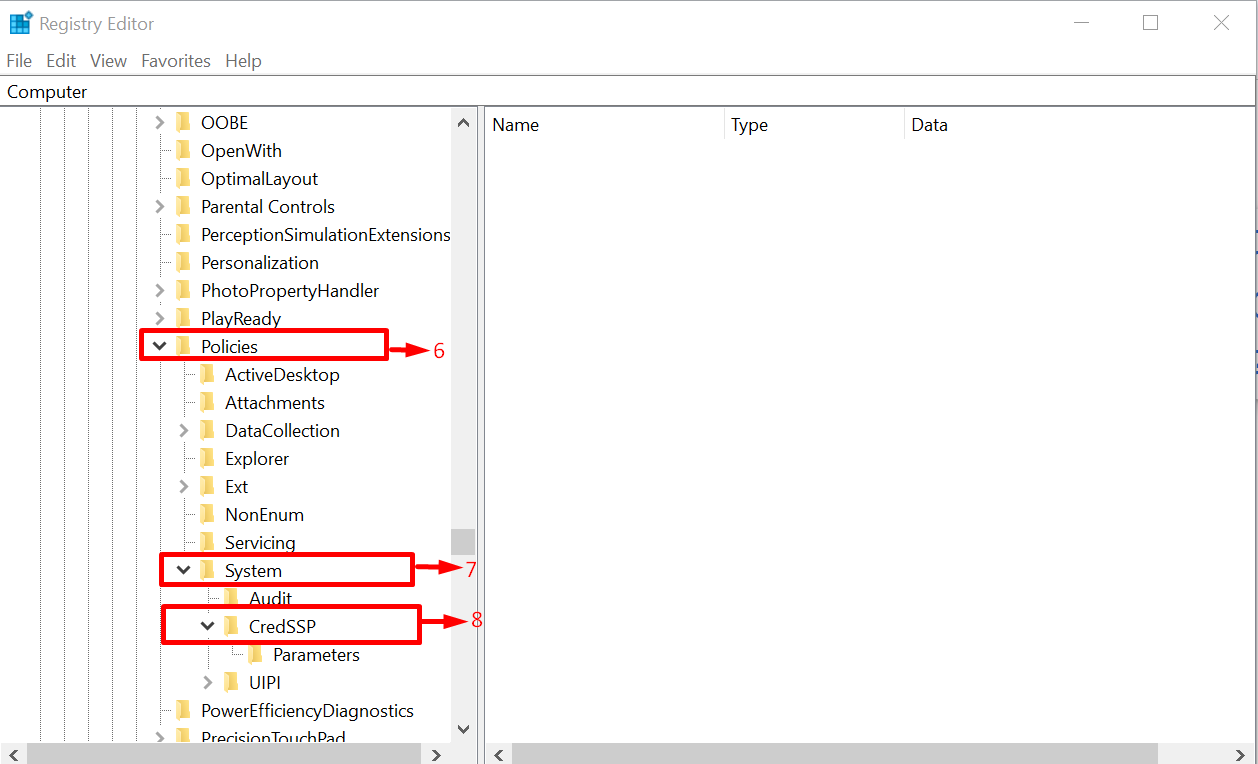
Inside the “CurrentVersion” directory, search for “Policies” and expand it. After that, it is time to expand the “System” and then the “CredSSP” directory:
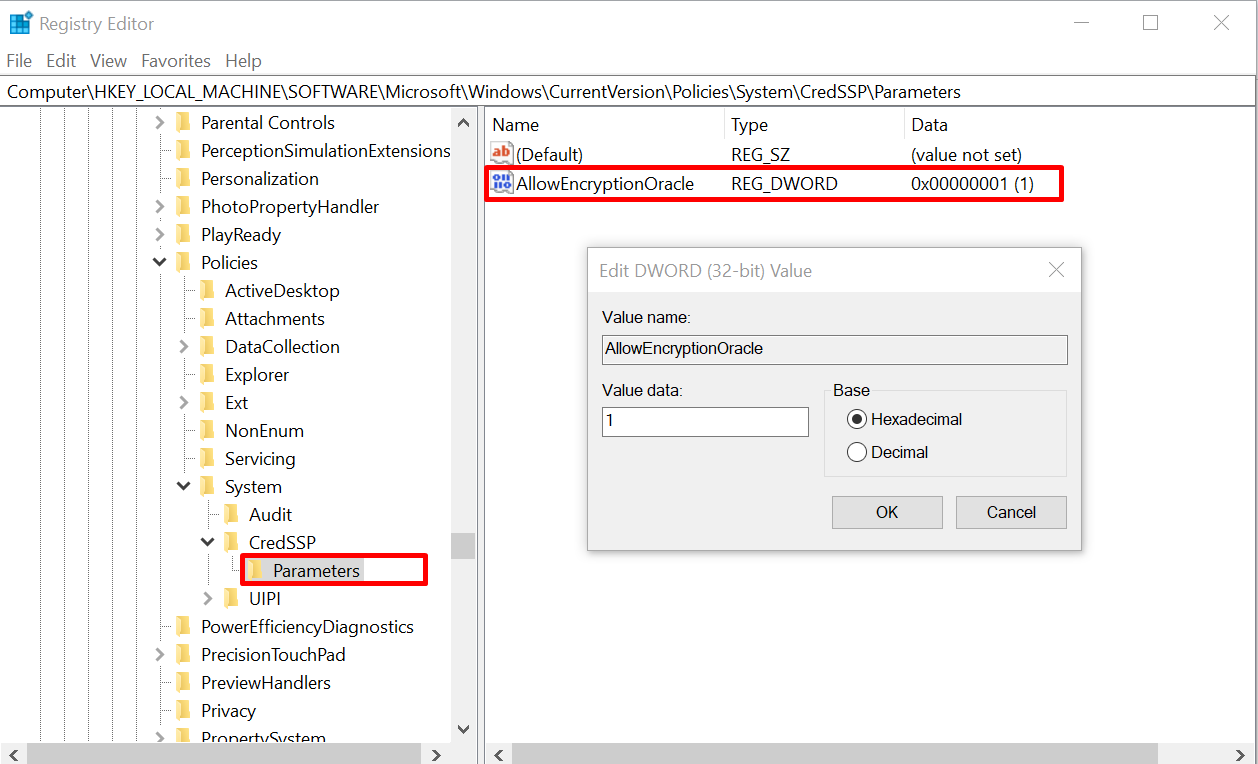
Double-click on the “Parameters” folder and open the “AllowEncryptionOracle” file from the right panel. A new prompt will appear with the “Value data” as “1” because we disabled Encryption Oracle Remediation using the method provided above. Here the “1” means disabled:
Now to enable the Encryption Oracle Remediation, type the “Value data” as “2” and click on the “OK” button:
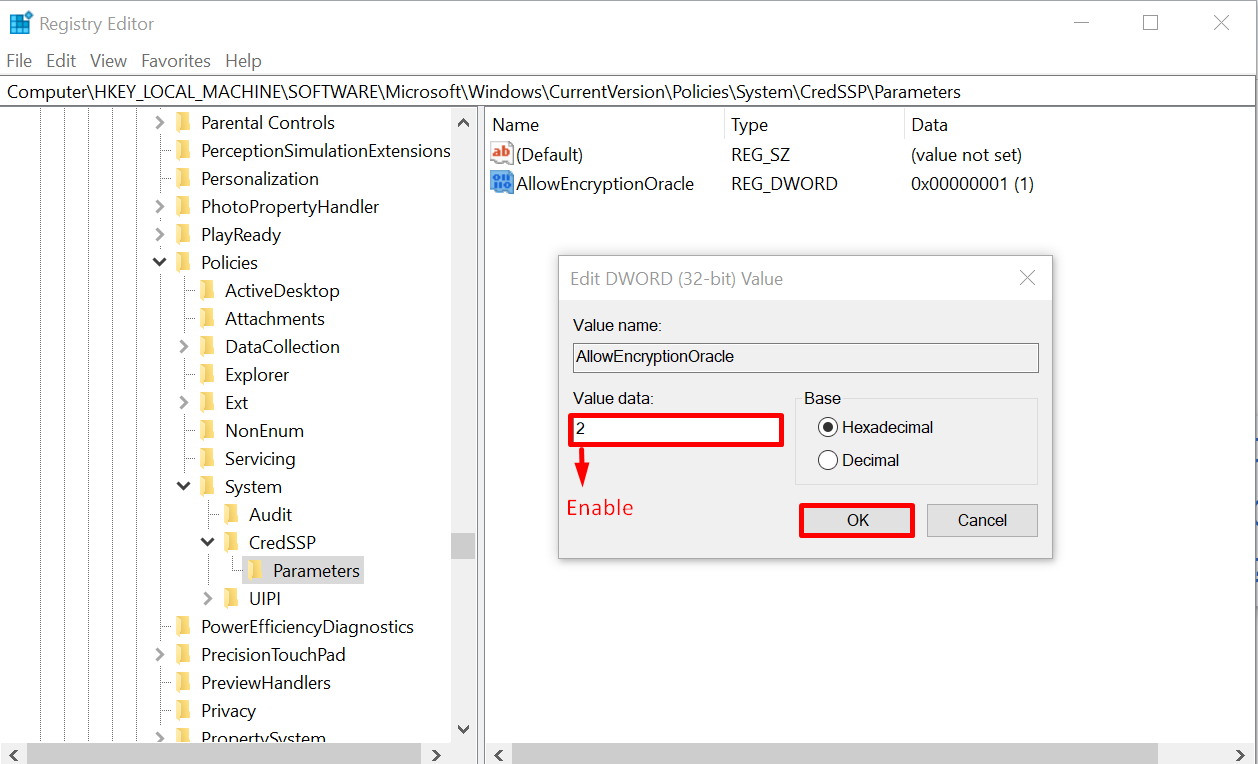
The Encryption Oracle Remediation feature is enabled successfully using Registry Editor in Windows 10.
Conclusion
In Local Group Policy Editor, go to Configuration > Administrative Templates > System > Credentials Delegation and enable/disable Encryption Oracle Remediation. However, in the Registry Editor, go to HKEY_LOCAL_MACHINE > SOFTWARE > Microsoft > Windows > CurrentVersion > Policies > System > CredSSP > Parameters. Double-click on Parameters, change the value “1” to disable and “2” to enable, and click on “OK”.