This article will provide instructions regarding services in Windows using the following outlines:
How to Add a Service in Windows 10, 8, or 7?
A user may want a software program to run in the background. For that, the user must add that program as a service in Windows. This is done by executing a command in Windows PowerShell CLI. Follow the steps demonstrated below to add a new service in Windows.
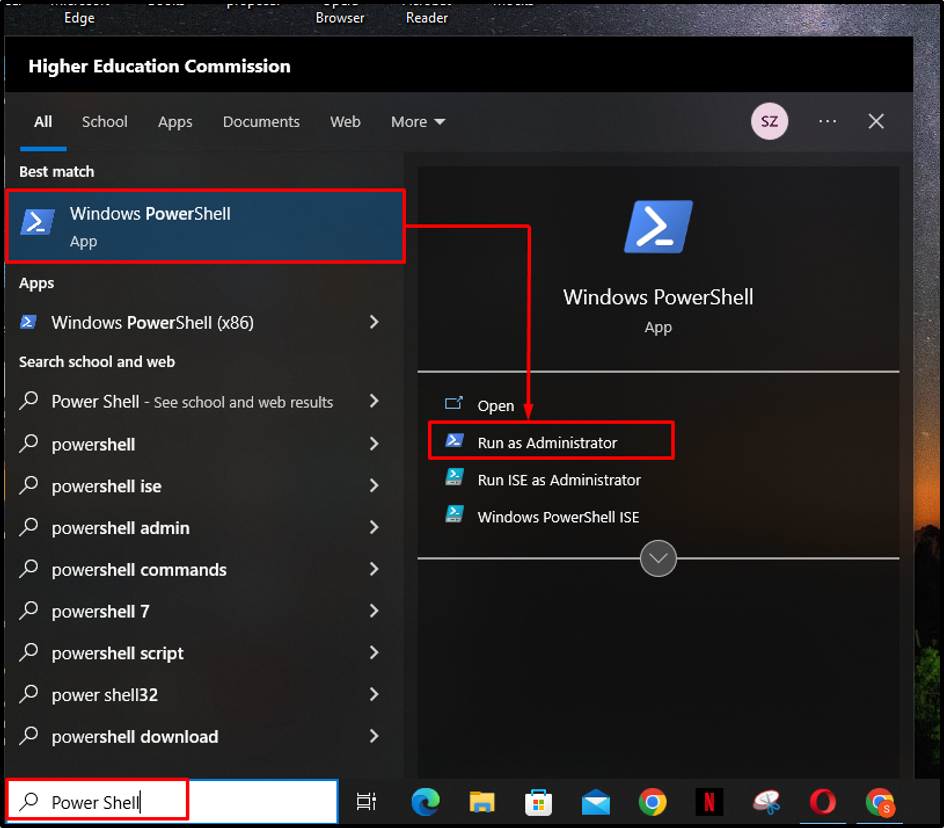
Step 1: Open Windows PowerShell
In the Start menu, type in and search for “PowerShell”. Then, open Windows PowerShell as an administrator:
Step 2: Insert the Command
Once the PowerShell is opened, a new service can be added with the below-given command:
When entering this command, replace the “SERVICENAME” with the name of the service, and the “PATH TO SERVICE” with the path to the program’s executable file that you want to add as a service. Also, the space after “binpath=” is necessary.
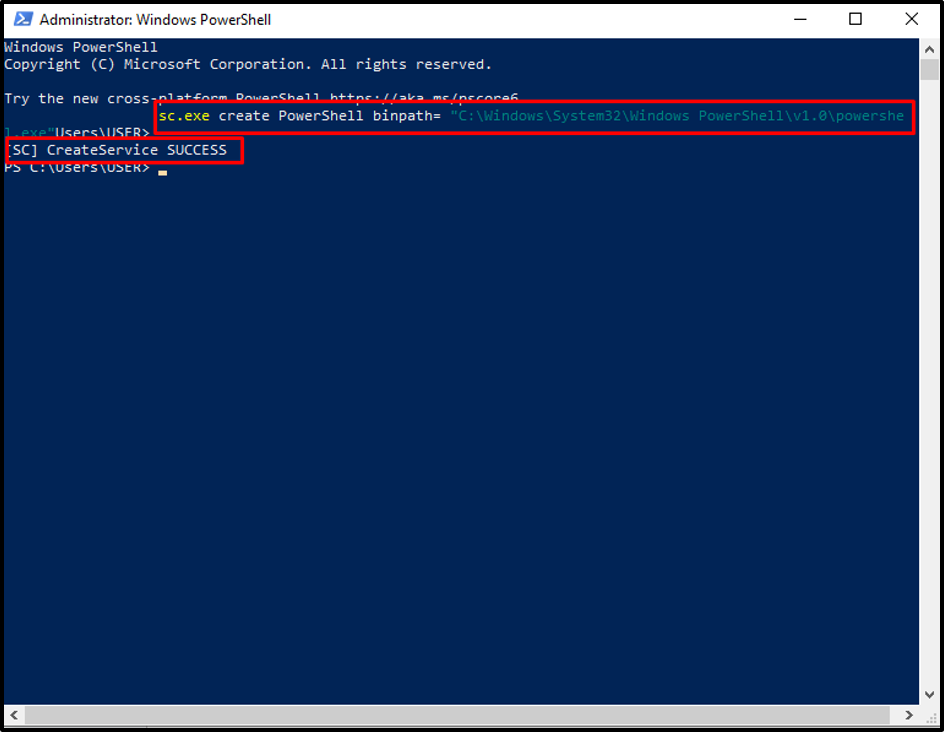
For example, let’s create a PowerShell service. For that, we have to insert the below-given command in the PowerShell:
After executing the stated command, the user will receive a success message, as shown in the following screenshot:
Step 3: Open Registry Editor
Now, let’s verify whether the newly added service has been successfully registered in the registry. After that, edit some values to make sure that the service points to the right executable file which in our case is “powershell.exe”. Otherwise, the service will stop right after it starts and show the “The service name failed to start” error. For that, first, hit the “Windows + R” shortcut on the keyboard to launch the RUN dialog box. Next, type “regedit” and press the “OK” button:

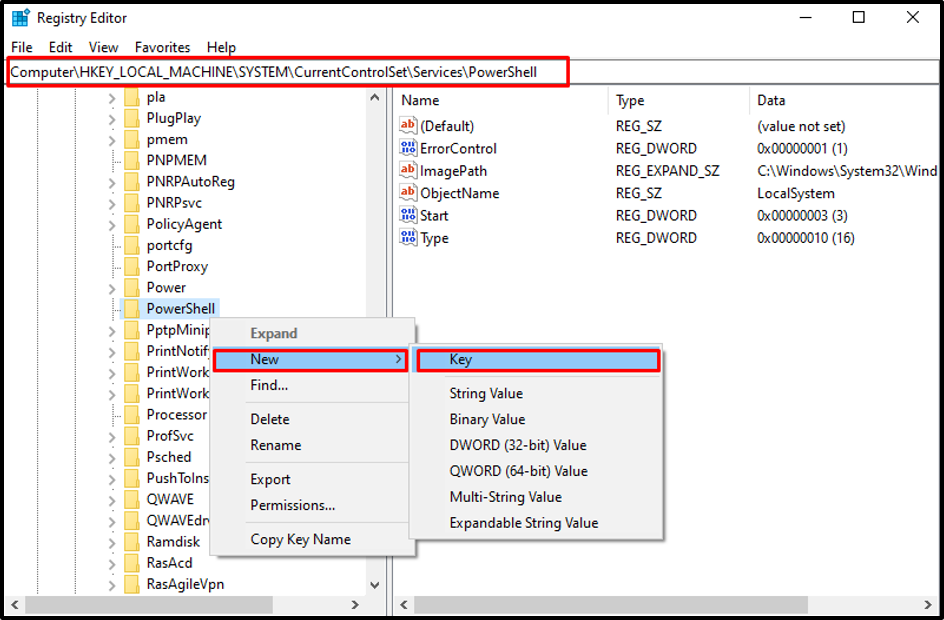
Step 4: Add a New Key
Open the “HKEY_LOCAL_MACHINE > SYSTEM > CurrentControlSet > Services > PowerShell” route to edit the newly added service. After that, create a new key by right-clicking on the “PowerShell” and selecting “New > Key”:
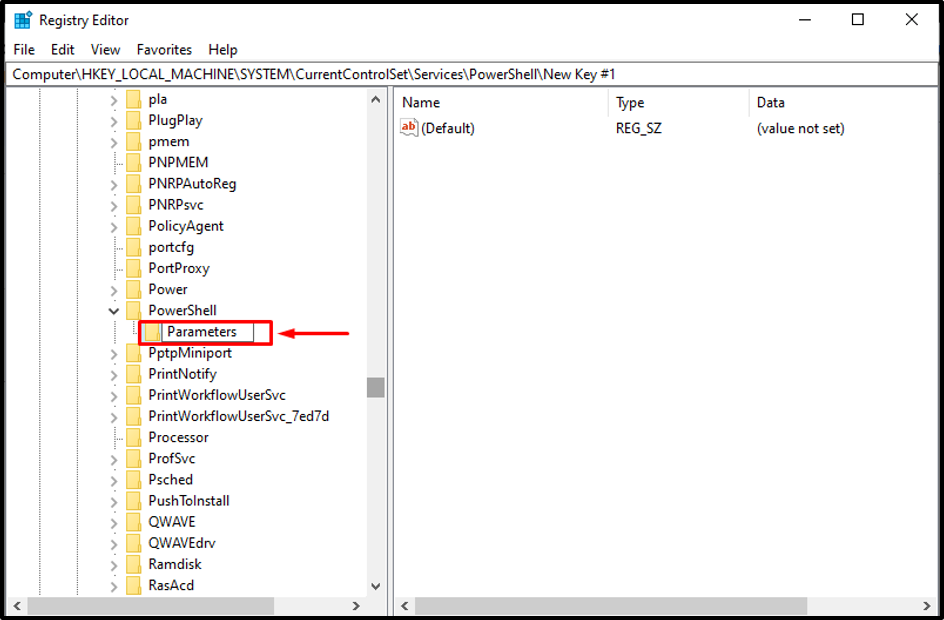
Upon doing so, the user will be prompted to enter the name for the key. Write “Parameters” and hit enter:
Step 5: Add a String Value
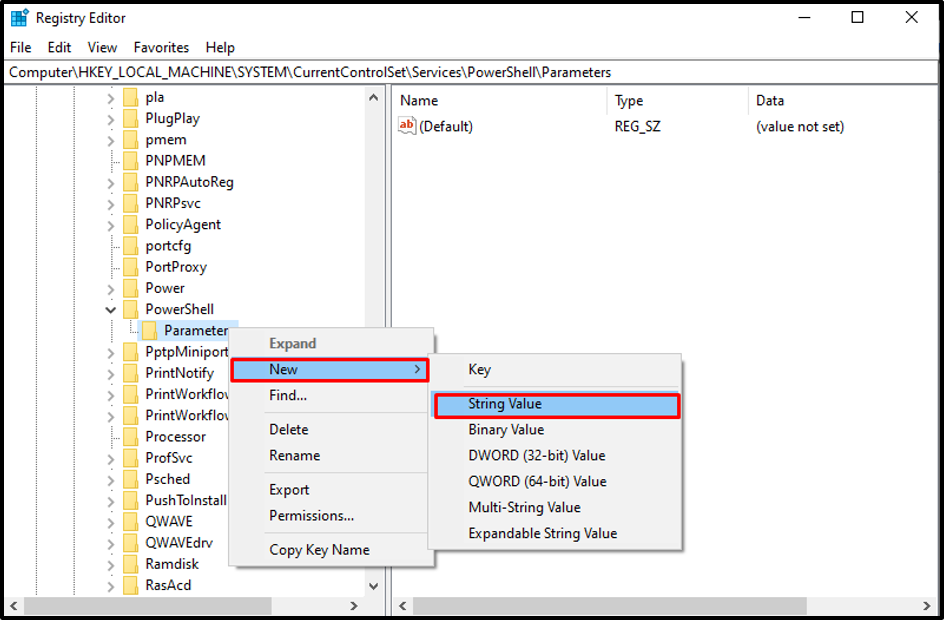
Now, right-click on the “Parameters” key, and select “New > String Value”:
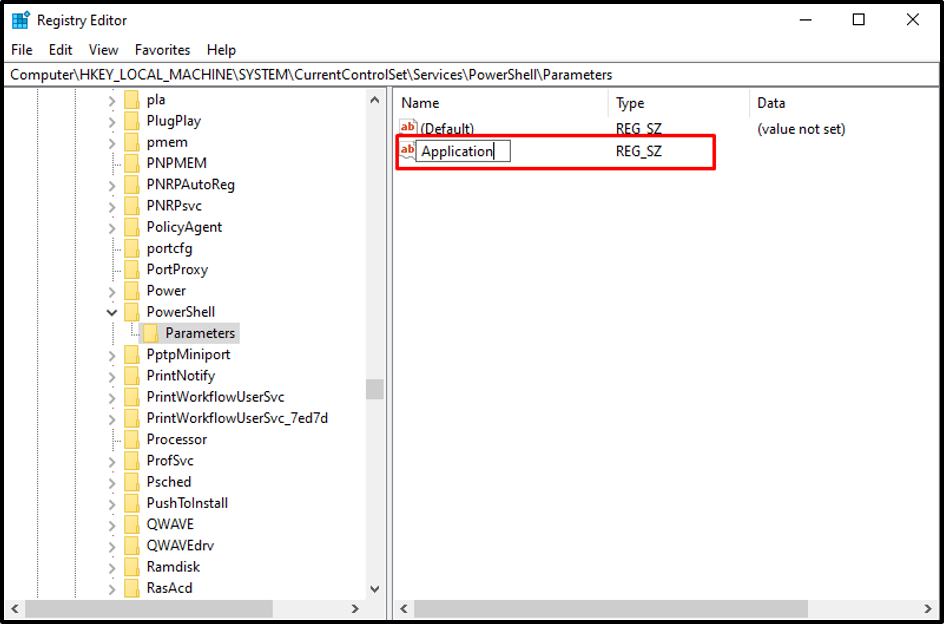
Name this newly created string value as “Application”:
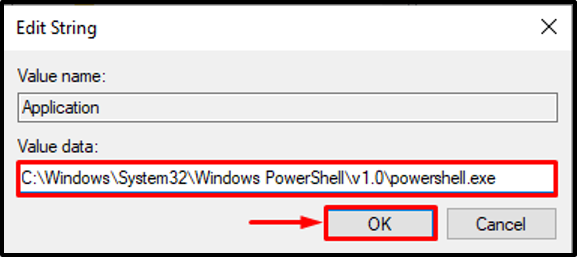
Step 6: Set Value Data
Double-click on the newly created “Application” String Value, and put the PowerShell path i.e. “C:\Windows\System32\Windows PowerShell\v1.0\powershell.exe” in the value data input field and then hit “OK”:
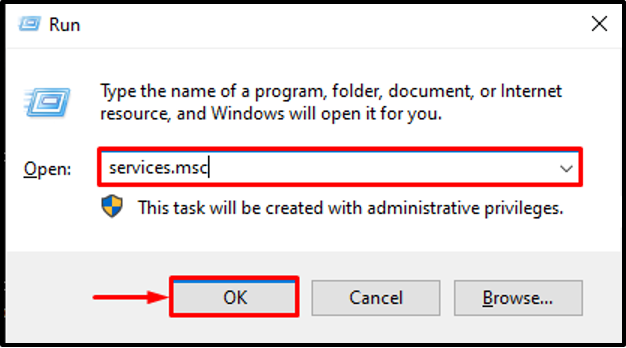
Step 7: Change Enable/Disable Automatic Execution
To see the newly created service, hit the “Windows + R” shortcut on the keyboard to start the RUN dialog box. Then, type “services.msc” in the text box and press “OK”:
Once the services window opens, scroll down and verify the presence of “PowerShell” service in the list:
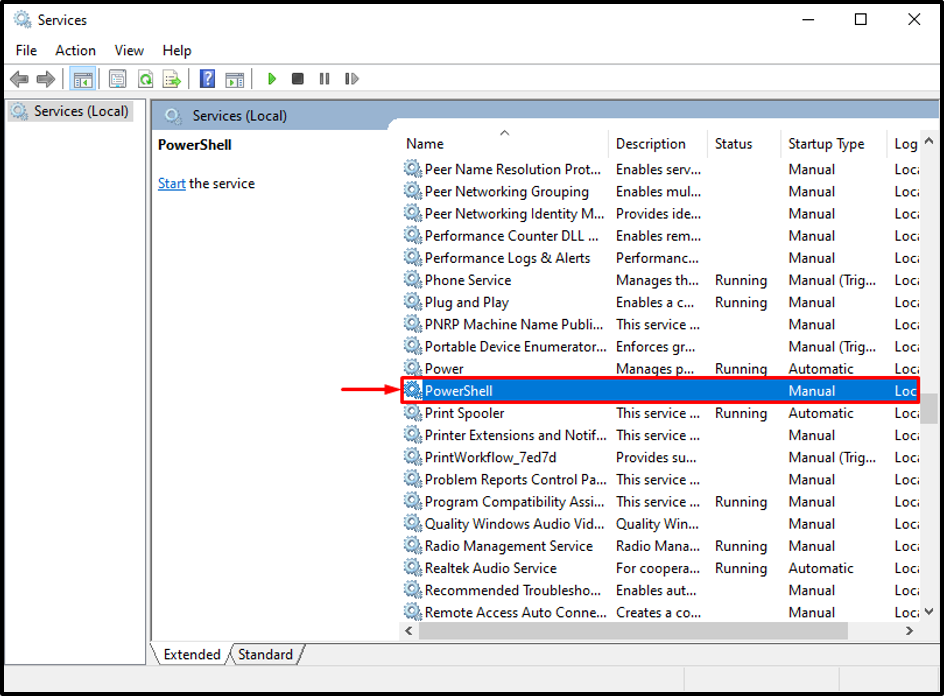
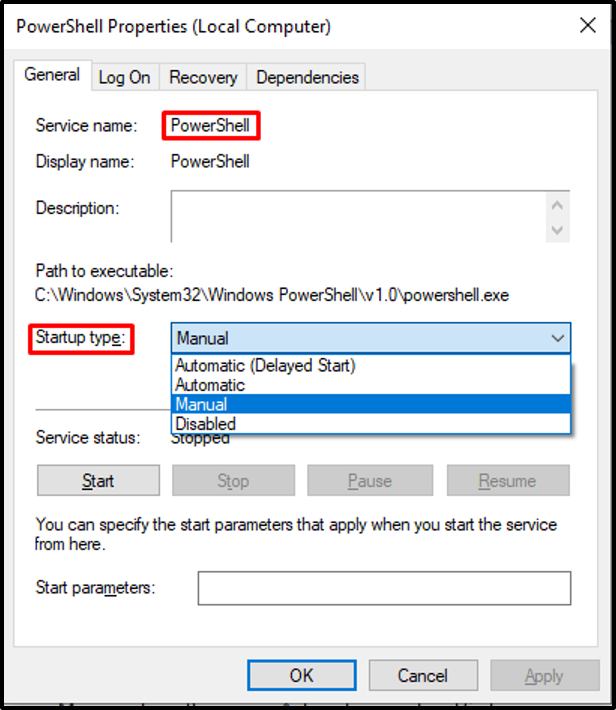
Next, double-click on the “PowerShell” service to edit the service settings. It can also be set to startup automatically using the “Startup Type” drop-down menu:
How to Delete a Service in Windows 10, 8, or 7?
A user can no doubt delete a service, but it is important to note that the user must not delete a default Windows service, because that will cause problems in the normal functioning of the Windows operation. However, sometimes a service for third-party software stays behind even after the software is uninstalled. In that case, it can be deleted using two methods.
- Using Command Prompt
- Using Registry Editor
Using Command Prompt to Delete a Windows Service
Follow the steps described below to delete a service from Windows using Command Prompt.
Step 1: Note the Service Name
First, use the “Windows + R” shortcut, and launch the RUN dialog box. Next, search for “services.msc” and hit the “OK” button:

Double-click on the service that you want to delete and note the “Service Name”. For instance, let’s delete the “PowerShell” service that we added in the above section for demonstration:
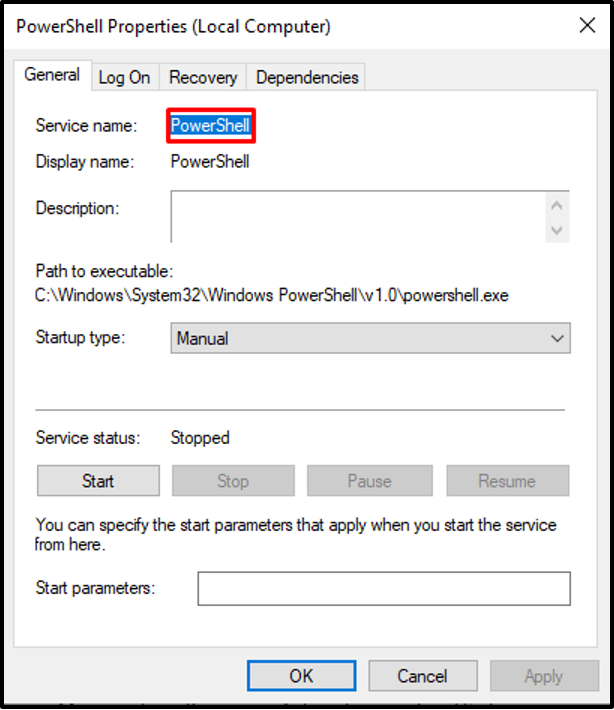
Note that the Display name and Service name can be different for a service. For deleting a service, the “Service name” is needed.
Step 2: Open Command Prompt
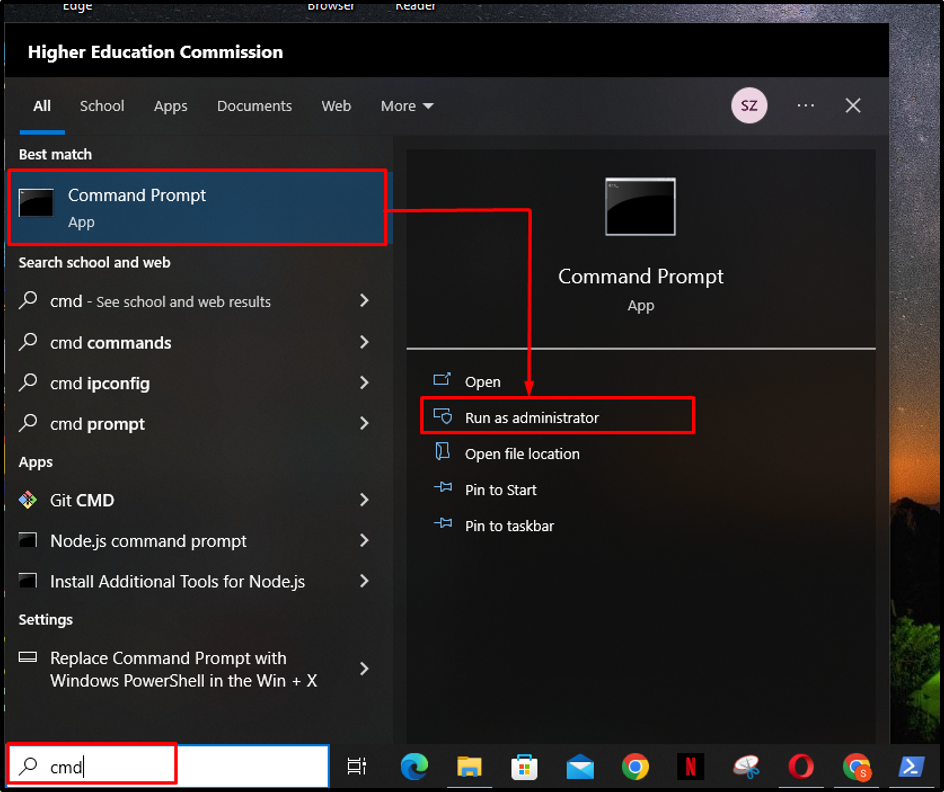
In the Start menu, type “CMD” and open the “Command Prompt” application as an administrator:
Step 3: Insert the Command
In the command prompt window, type in the following command and press Enter:
In our case, the “Service Name” will be replaced by “PowerShell”.
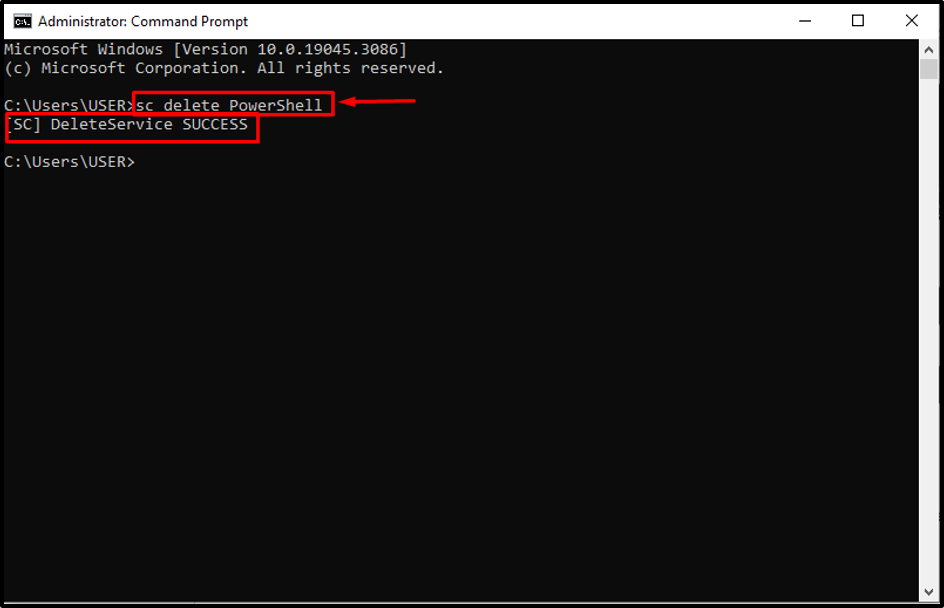
Upon entering the command, it will show the success message that the service is successfully deleted.
Using Registry Editor to Delete a Windows Service
Registry Editor is a database that contains all the settings that are necessary for the normal operation of Windows. These settings can be changed using the “Registry Editor” tool. Follow the steps shown below to delete a service in Windows using Registry Editor.
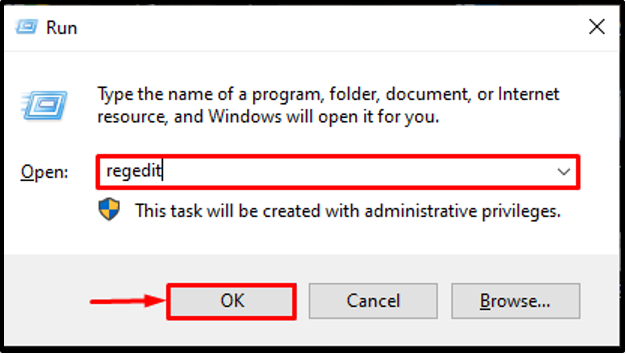
Step 1: Open Registry Editor
To open Registry Editor, first, launch the RUN dialog box using the “Windows + R” shortcut. Next, type in “regedit” and press the “OK” button:
Step 2: Delete the Service
Once the Registry Editor tool is opened, follow the “HKEY_LOCAL_MACHINE > SYSTEM > CurrentControlSet > Services” route. Find the service that you want to delete (which in our case is “PowerShell”) and right-click on it to delete the service:

Upon doing so, the “PowerShell” service will be deleted from Windows. That is all about deleting a service from Windows 10, 8, or 7.
Conclusion
To add a service in Windows 10, 8, or 7, open Windows PowerShell as an administrator from the start menu. Next, enter the sc.exe create SERVICENAME binpath= “PATH TO SERVICE” command. Where the name of the service and the path to the executable program will replace the “SERVICENAME” and “PATH TO SERVICE” respectively in the command. Next, open the “services.msc” to verify the presence of the newly added service in the list. This article has provided complete instructions on adding or deleting a service in Windows 10, 8, or 7.