This article will show you how to create a Ubuntu Server 20.04 LTS virtual machine on your Synology NAS and install the official Minecraft server on the virtual machine. So, let’s get started.
Table of Contents
- Pre-requisites
- Creating a Ubuntu Server 20.04 LTS Virtual Machine
- Accessing the Virtual Machine via SSH
- Setting Up a Static IP Address
- Installing JDK on the Virtual Machine
- Installing the Official Minecraft Server
- Testing the Minecraft Server
- Starting the Minecraft Server on Startup
- Conclusion
- References
Pre-requisites
Before you get started, you must have the Virtual Machine Manager app installed on your Synology NAS. Read the article How to Setup Virtualization on Synology NAS. If you need any assistance installing the Virtual Machine Manager app on your Synology NAS; read the article How to Setup Virtualization on Synology NAS?
Creating a Ubuntu Server 20.04 LTS Virtual Machine
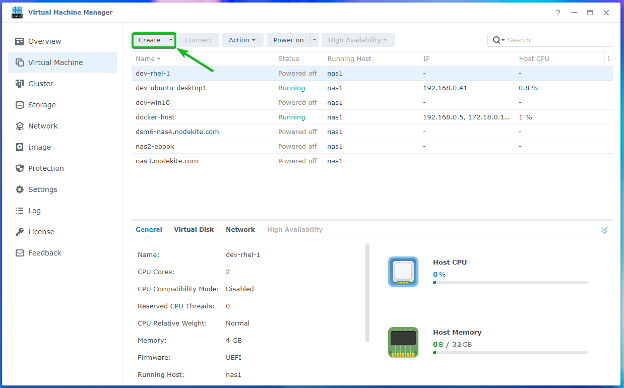
Open the Virtual Machine Manager app and click on Create from the Virtual Machine section as marked in the screenshot below to create a new virtual machine.
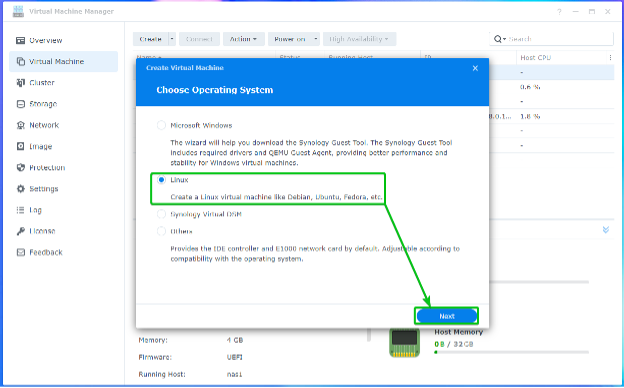
Select Linux and click on Next.
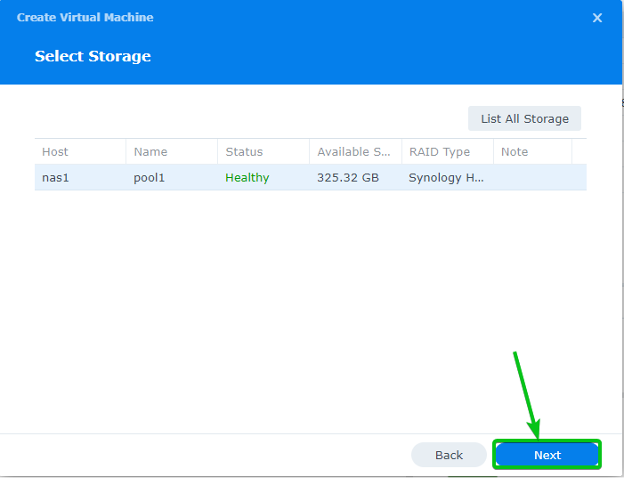
Select a storage pool (where you want to store the virtual machine) from the list and click on Next.
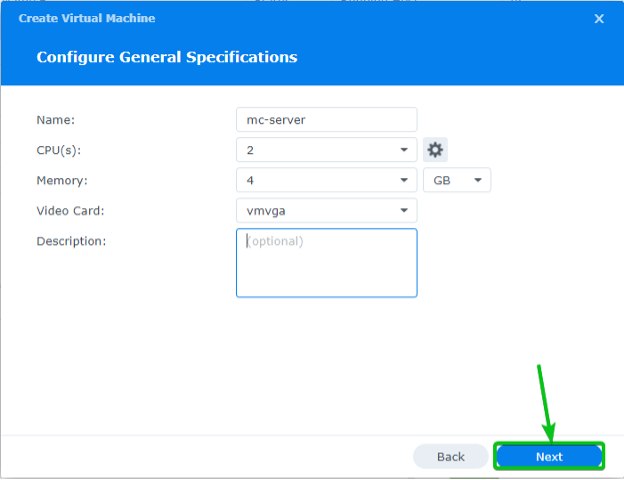
Type in a Name (mc-server, let’s say) for the virtual machine, select at least 2 CPU cores and 4 GB of Memory.
Once you’re done, click on Next.
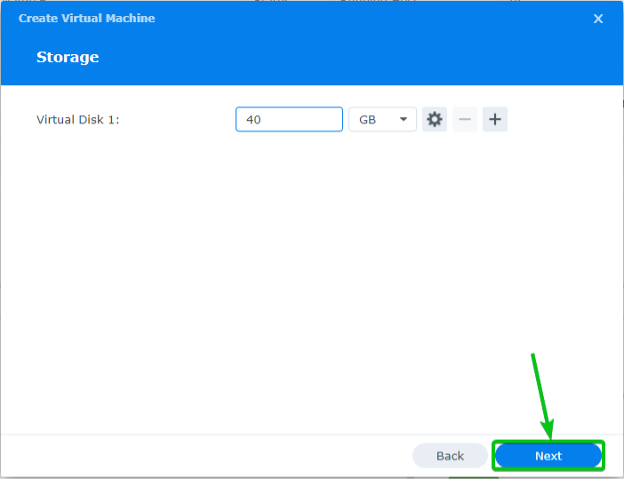
Type in your desired size for the virtual hard disk and click on Next.
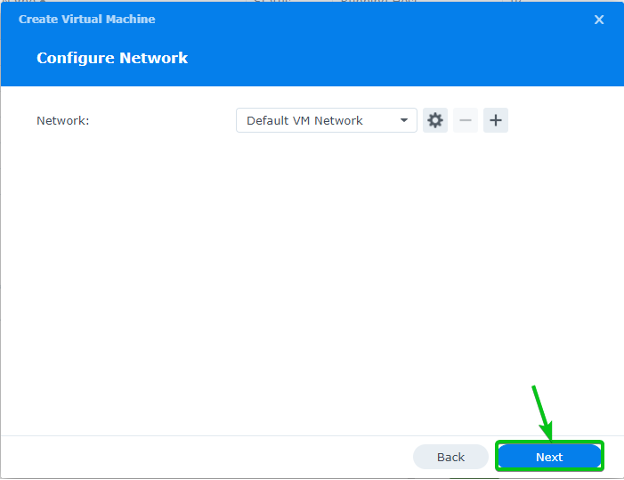
Click on Next.
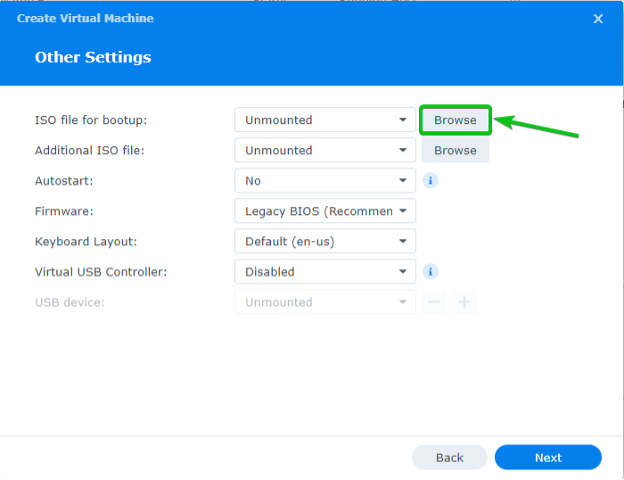
You have to select an ISO image of Ubuntu Server 20.04 LTS. To do that, click on Browse.
NOTE: To download an ISO image of Ubuntu Server 20.04 LTS, visit the official Ubuntu Server download page.
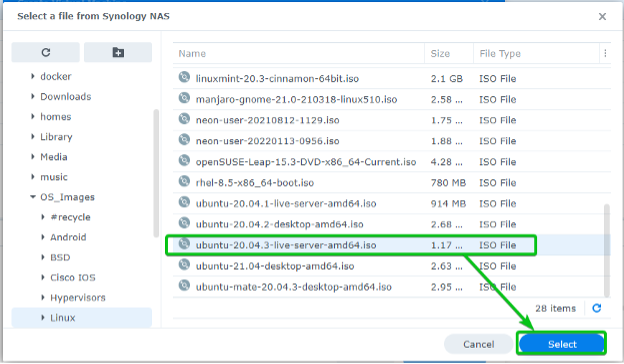
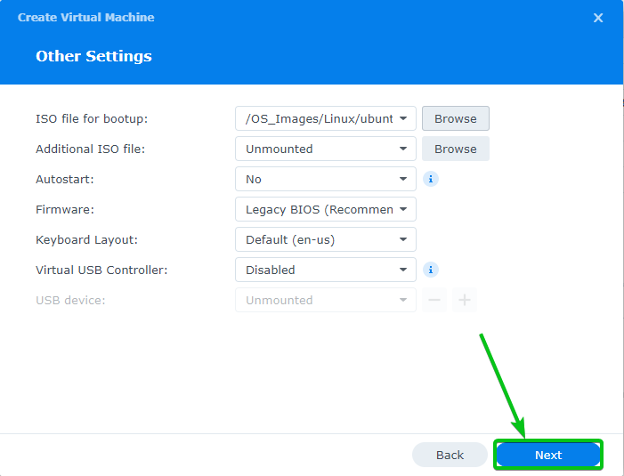
Select an ISO image of Ubuntu Server 20.04 LTS from your Synology NAS and click on Select.
Click on Next.
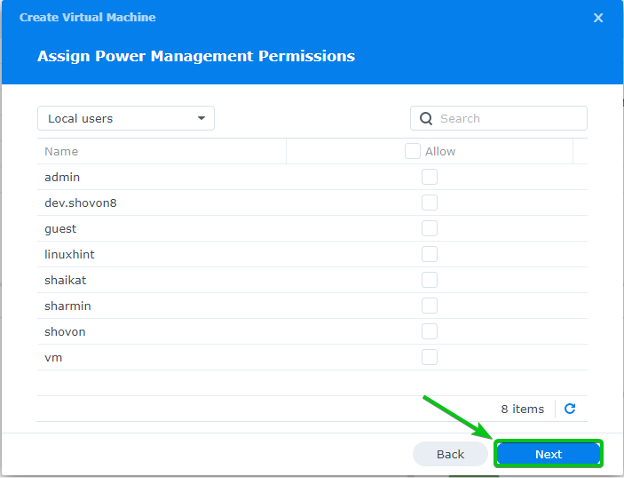
Click on Next.
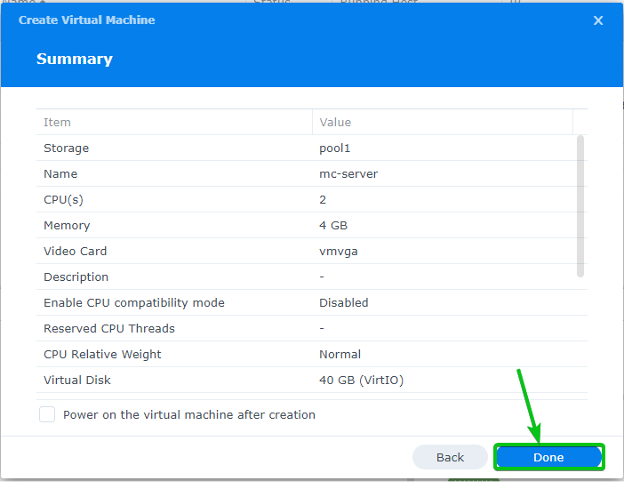
Click on Done.
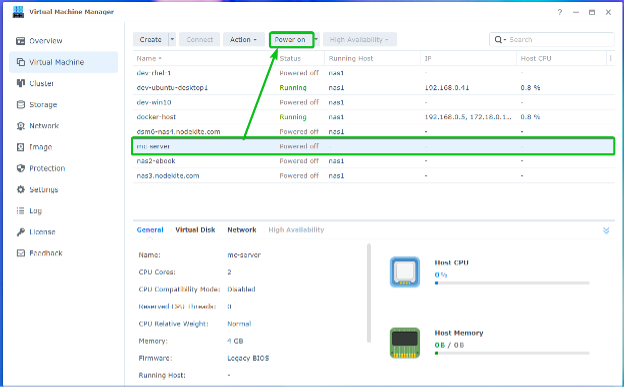
A new virtual machine mc-server should be created.
Select it and click on Power on to power on the virtual machine.
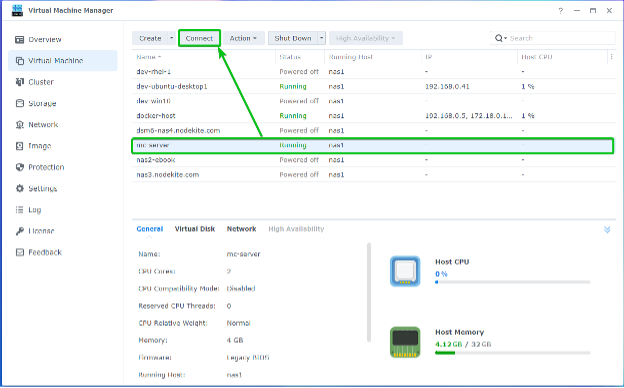
Once the virtual machine is running, select it and click on Connect.
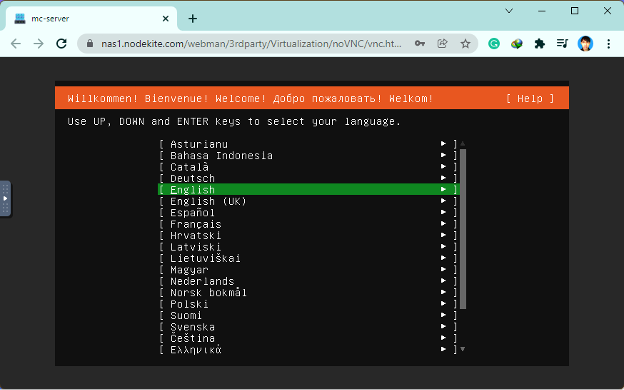
Ubuntu Server 20.04 LTS installer should be displayed in a new browser tab. You can install Ubuntu Server 20.04 LTS on the virtual machine from here.
NOTE: In this article, I won’t show you how to partition the disk of your virtual machine. To learn how to partition disks and install Ubuntu Server 20.04 LTS on the virtual machine, read the article Installing Ubuntu Server 20.04 LTS.
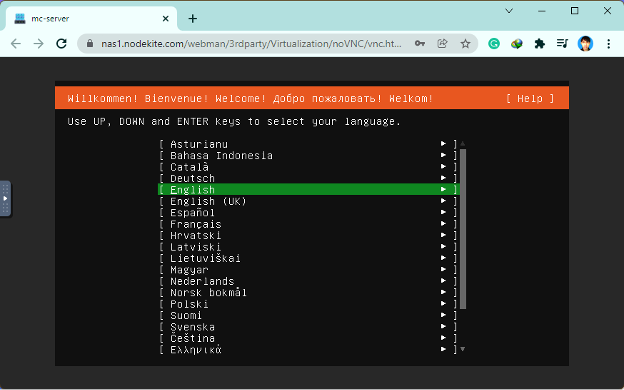
Select your language and press <Enter>.
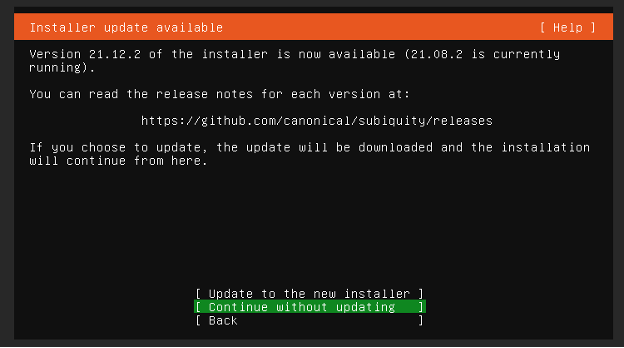
Press <Enter>.
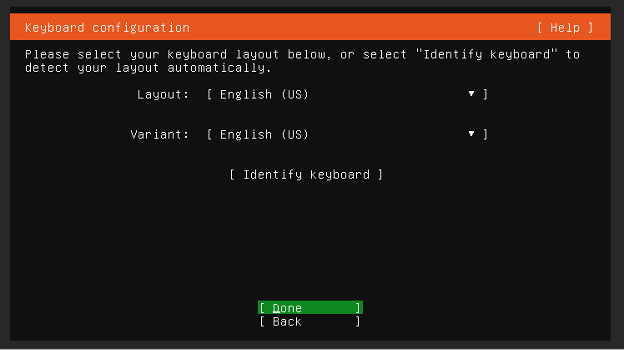
Select your keyboard layout. Then, press <Tab> a few times to select Done and press <Enter>.
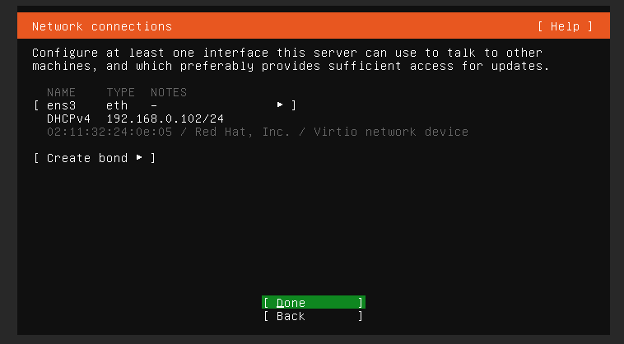
Select Done and press <Enter>.
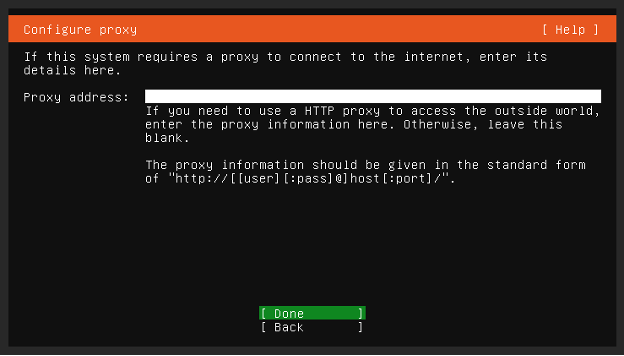
Select Done and press <Enter>.
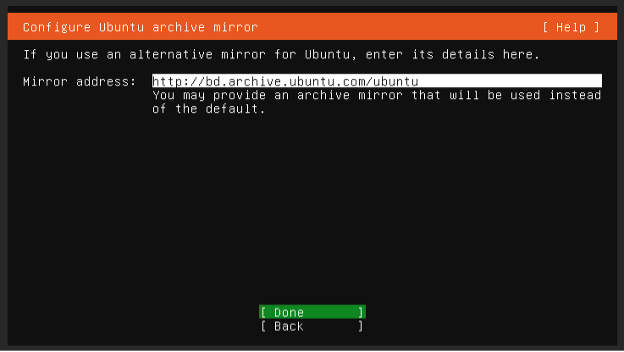
Select Done and press <Enter>.
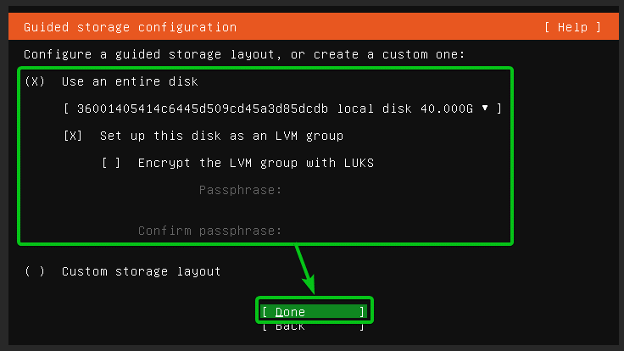
Select Use an entire disk and press <Enter>.
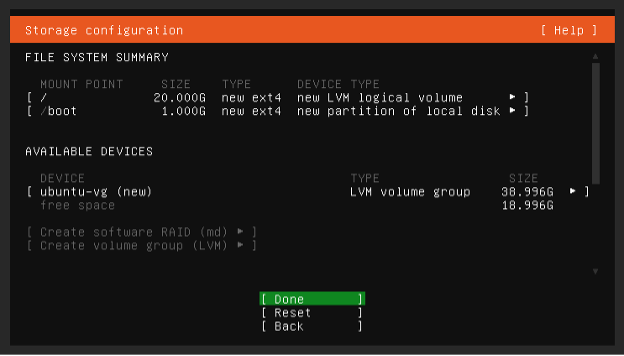
Press <Enter>.
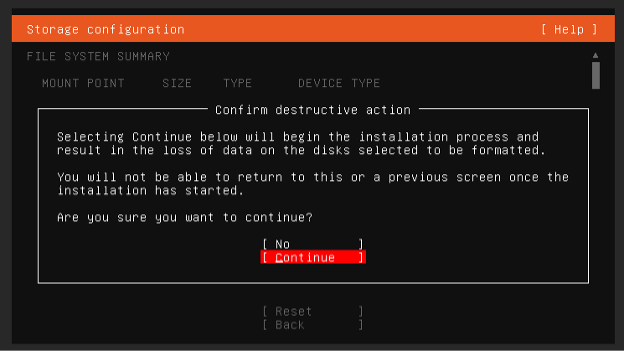
Select Continue and press <Enter>.
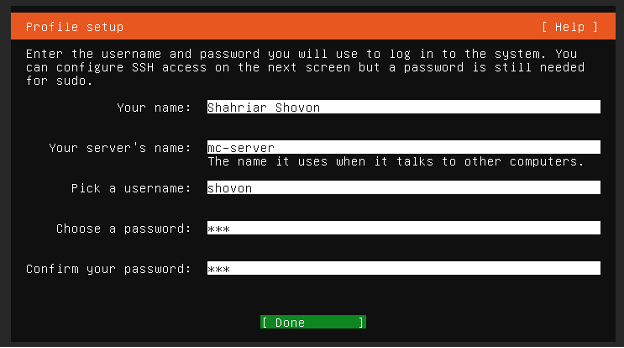
Type in the required personal details. Then, navigate to Done and press <Enter>.
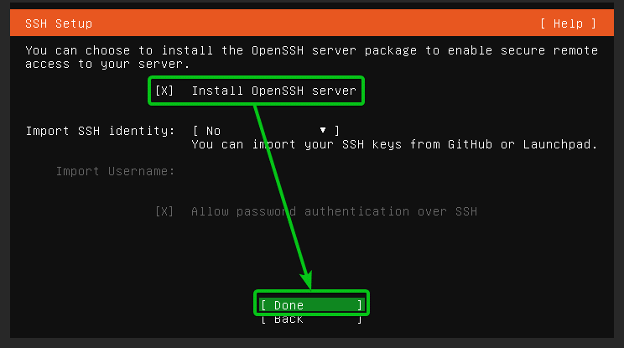
Check Install OpenSSH server, navigate to Done, and press <Enter>.
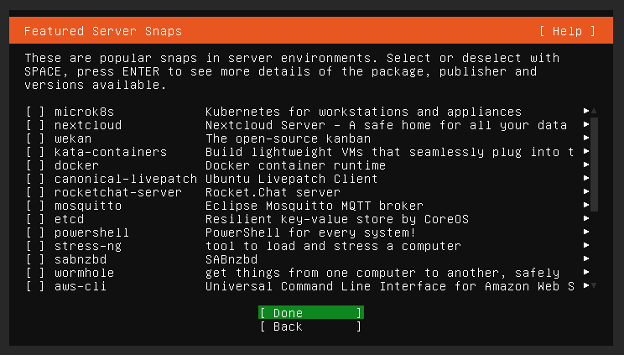
Navigate to Done and press <Enter>.
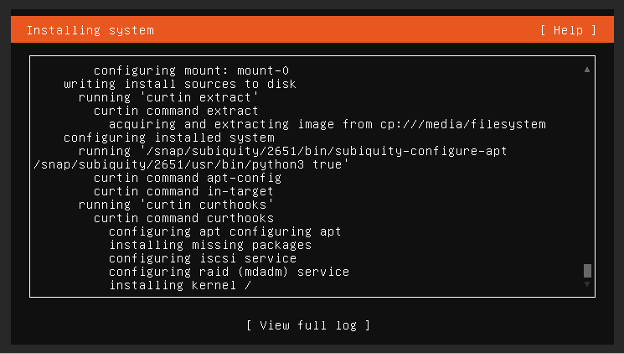
The installer should start installing Ubuntu Server on the virtual machine. This will take a while to complete.
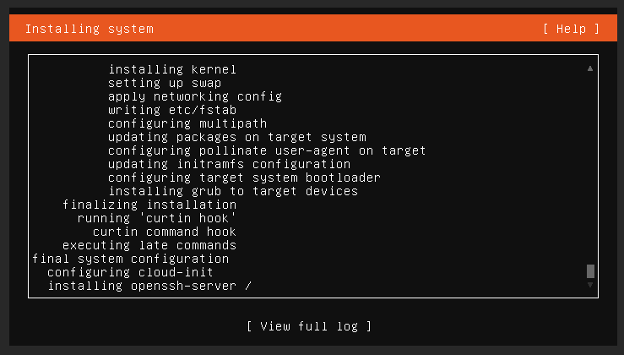
Ubuntu Server is being installed on the virtual machine.
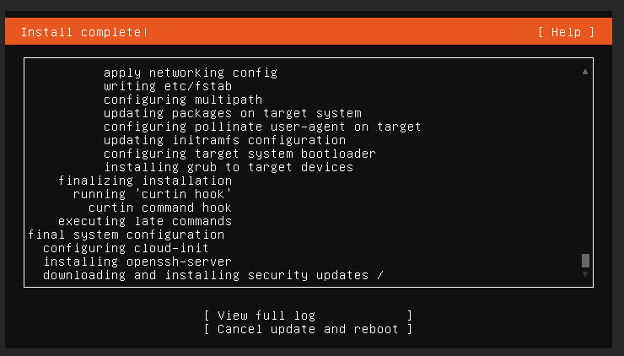
The available software updates will also be installed once the installation is complete. This will take a while to complete.
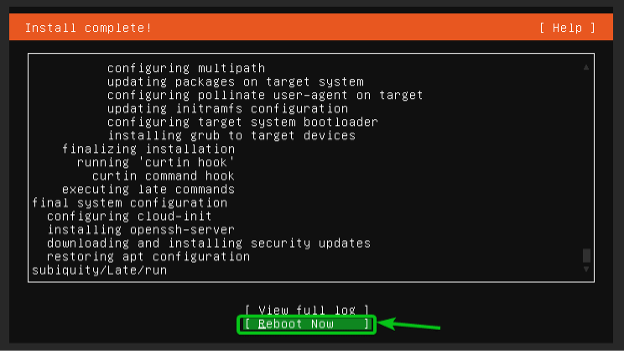
Once the updates are installed, navigate to Reboot Now and press <Enter>.
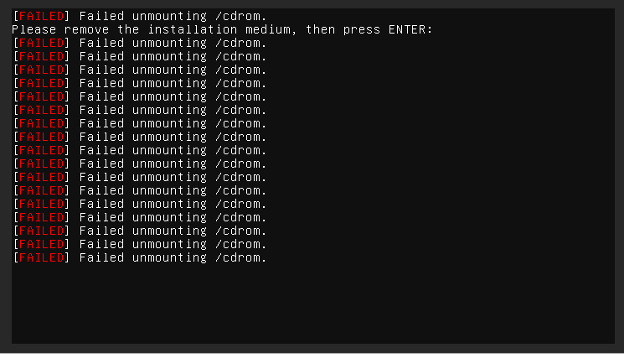
Press <Enter>.
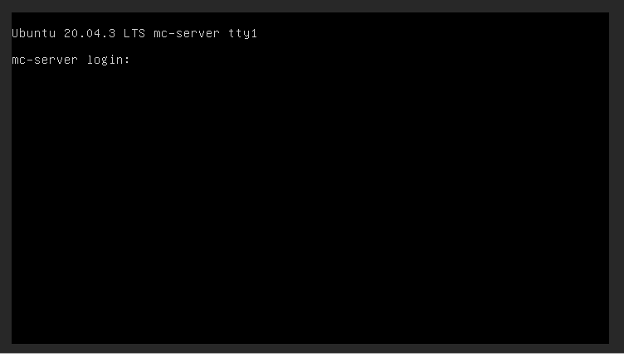
The virtual machine should boot Ubuntu Server from the virtual disk of the virtual machine.
You can log in with the username and password you’ve set up during the installation.
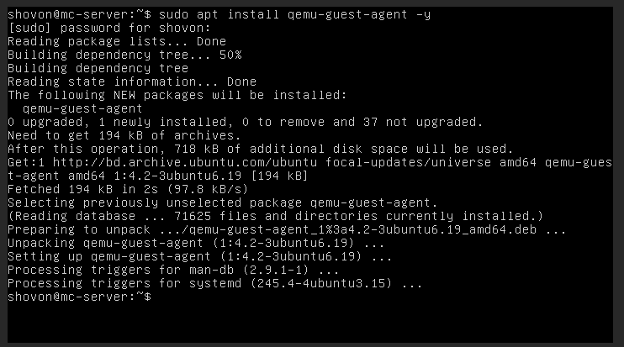
Now, install the qemu-guest-agent package on the virtual machine with the following command:
qemu-guest-agent should be installed.
Now, start the qemu-guest-agent service with the following command:
qemu-guest-agent service should be started.
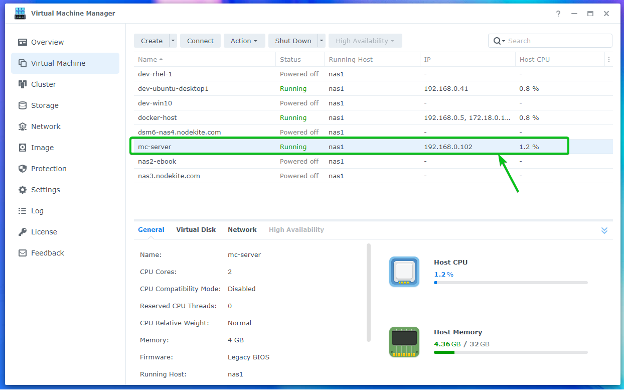
Once you have the qemu-guest-agent service running, the Virtual Machine Manager app will show the IP address of the mc-server virtual machine, as you can see in the screenshot below.
NOTE: You will need to know the IP address of the virtual machine to connect to the virtual machine via SSH and connect to the Minecraft Server that you will be running on this virtual machine.
Accessing the Virtual Machine via SSH
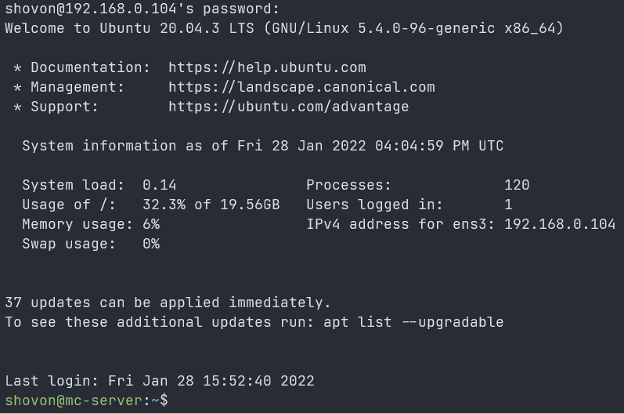
To access the virtual machine via SSH, open a terminal app and run the following command:
NOTE: Here, <username> and <ip-addr> are the username and IP address of the virtual machine respectively. Replace them with your own from now on.
Type in yes and press <Enter>.
Type in the password of the virtual machine and press <Enter>.
You should be logged in to the virtual machine.
Setting Up a Static IP Address
If the IP address of your mc-server virtual machine changes frequently, you will have a hard time playing Minecraft with your friends. So, the first thing you should do is set up a static IP address on your mc-server virtual machine.
To learn how to set up a static IP address on your mc-server virtual machine, read the Setting Up Static IP on Ubuntu Server 20.04 LTS section of the article Setting Up Static IP Address on Ubuntu 20.04 LTS.
Installing JDK on the Virtual Machine
Minecraft Server is written with the Java programming language. So, you must have Java installed on the Ubuntu Server virtual machine for Minecraft Server to work.
Java Development Kit (JDK) is available in the official package repository of Ubuntu Server 20.04 LTS. So, it is easy to install.
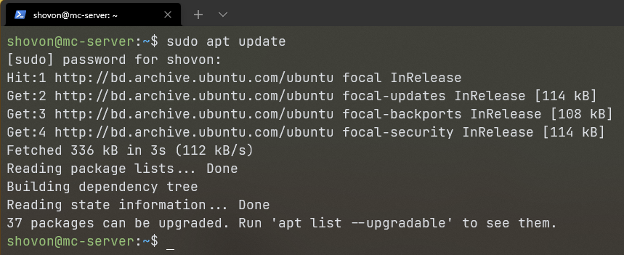
First, update the APT package repository cache with the following command:
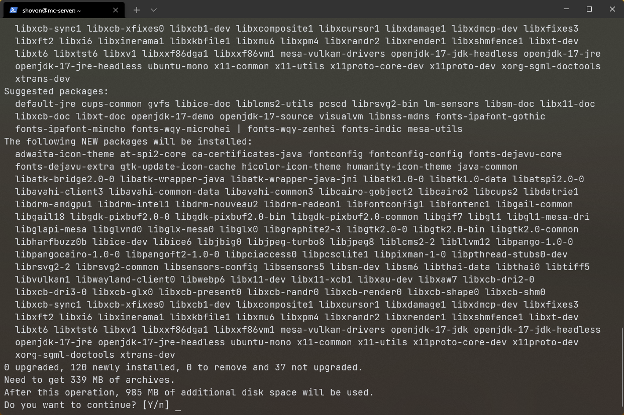
To install JDK, run the following command:
To confirm the installation, press Y and then press <Enter>.
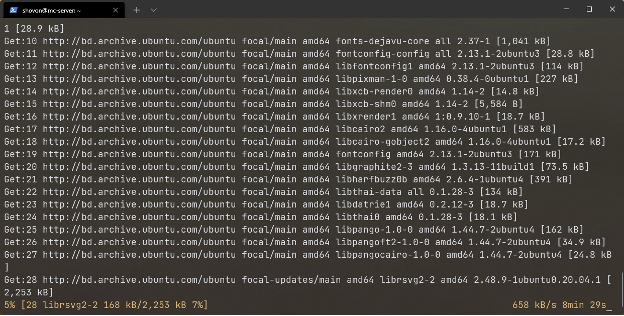
The APT package manager will download and install all the required packages from the internet. It will take a while to complete.
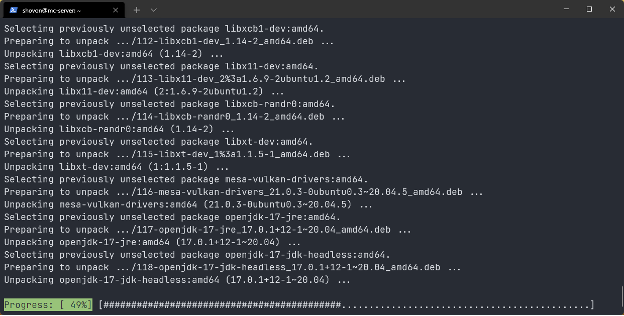
Once the packages are downloaded, they will be installed one by one. It will take a while to complete.
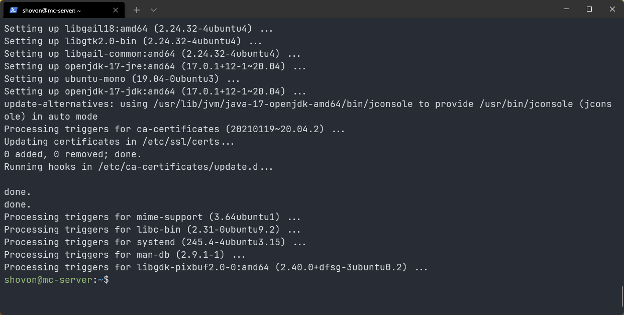
At this point, JDK should be installed.
Once JDK is installed, run the following command to check whether the java command is accessible from the command line and working correctly.
Installing the Official Minecraft Server
In this section, I will show you how to install the latest version of the official Minecraft Server on the Ubuntu Server 20.04 LTS virtual machine running on your Synology NAS.
First, create a new directory ~/mc-server with the following command:
Navigate to the ~/mc-server directory as follows:
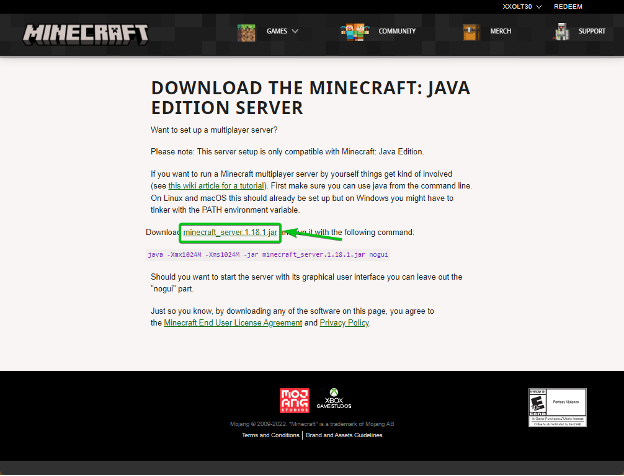
Now, visit the official Minecraft Server download page from your favorite web browser. The download link of the latest version of the Minecraft Server is marked in the screenshot below.
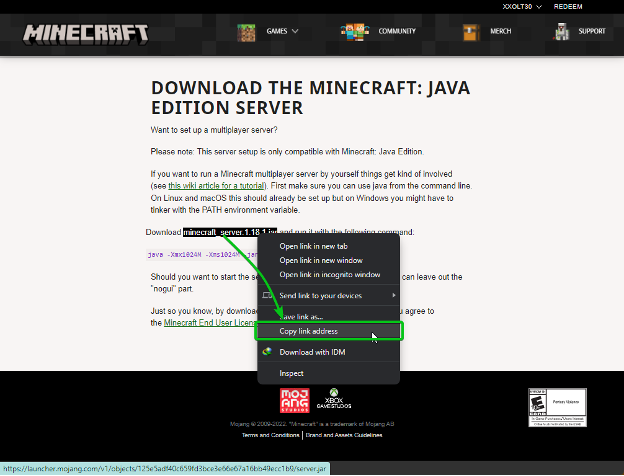
Right-click (RMB) on the Minecraft Server download link and click on the Copy link address to copy the download link. You will need it to download the Minecraft Server on the virtual machine with wget.
To download the Minecraft Server from the official website of Minecraft, use the wget program as follows:
NOTE: The Minecraft Server download link will be different for you. So, make sure to replace it with yours from now on.
wget should start downloading the Minecraft Server. It will take a while to complete.
At this point, Minecraft Server should be downloaded.
Once the Minecraft Server is downloaded, a new file server.jar should be created in the ~/mc-server directory, as shown in the screenshot below.
Testing the Minecraft Server
To start the Minecraft Server, run the following command:
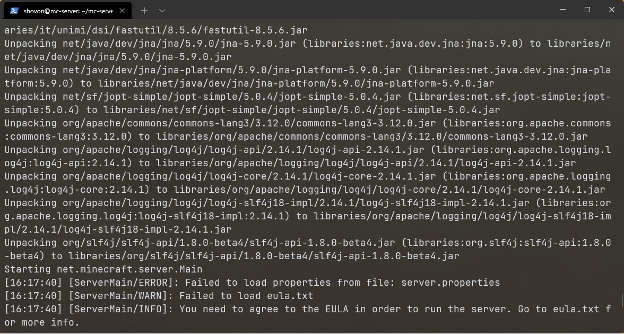
The first time you try to run the Minecraft Server, you will see the following error message. This is because you did not accept the EULA of Mojang Studios (the company behind Minecraft).
A new file eula.txt should be created.
Open the eula.txt file with the nano text editor as follows:
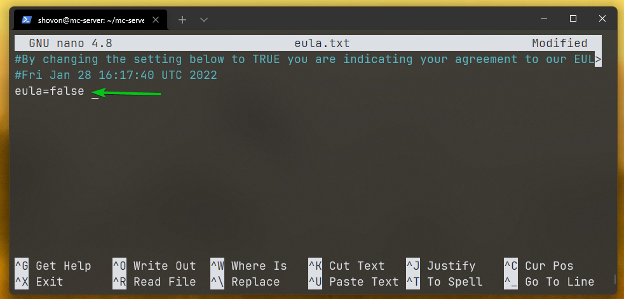
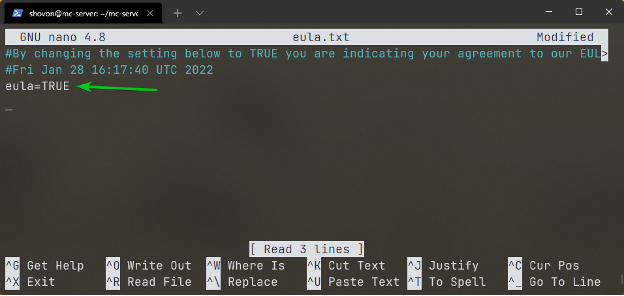
You should see the line eula=false as marked in the screenshot below.
Change the line to eula=TRUE, as shown in the screenshot below.
Once you’re done, press <Ctrl> + X followed by Y and <Enter> to save the eula.txt file.
Now, start the Minecraft Server again with the following command:
It will take a while for the Minecraft Server to start.
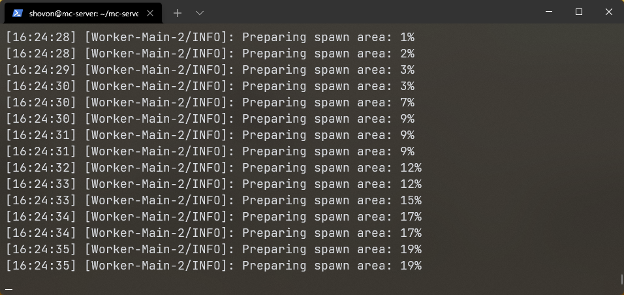
Minecraft Server should start generating a world. It will take a while to complete.
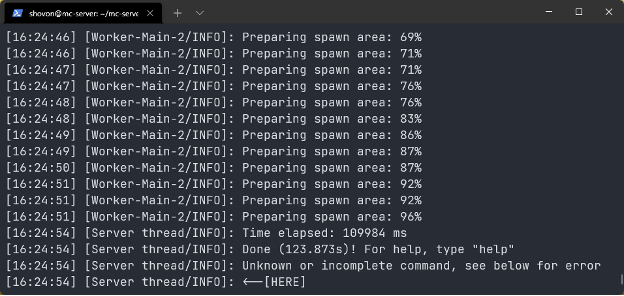
At this point, the world should be generated.
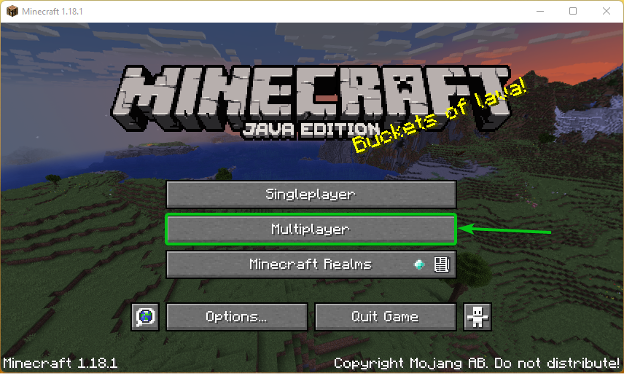
To connect to your Minecraft Server and play Minecraft, start Minecraft and click on Multiplayer as marked in the screenshot below.
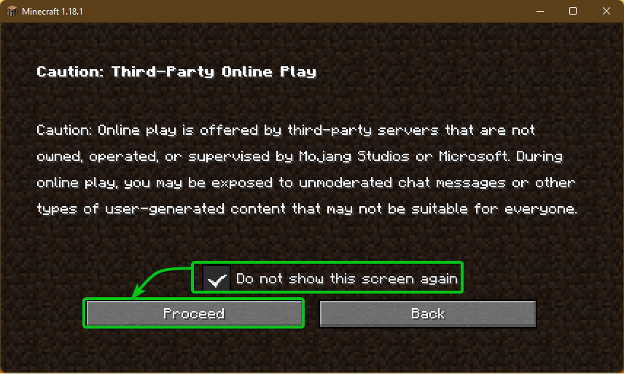
Check Do not show this screen again and click on Proceed.
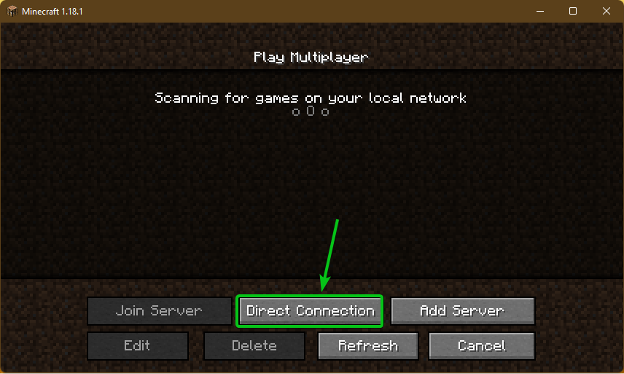
Click on Direct Connection.
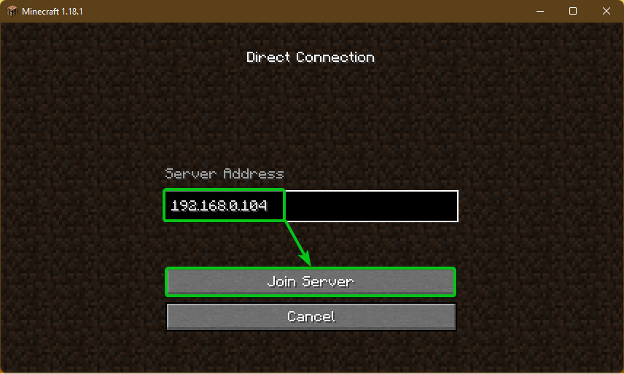
Type in the IP address of your Minecraft Server virtual machine running on your Synology NAS and click on Join Server.
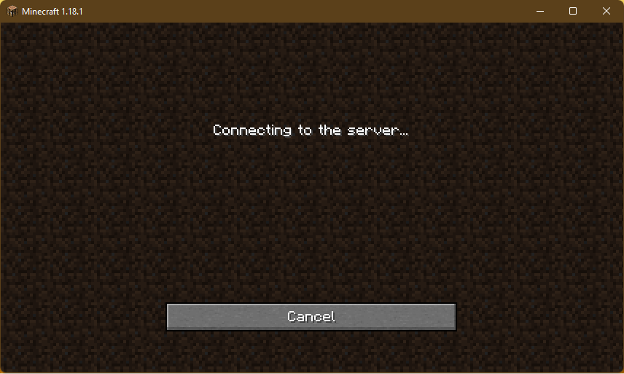
You’re being connected to your Minecraft Server. It may take a few seconds to complete.
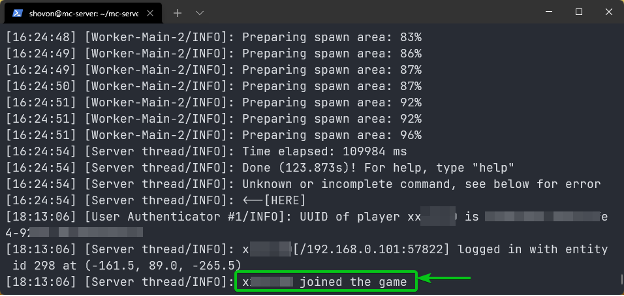
Once you’re connected to your Minecraft Server, you should see a message that your player joined the game in the terminal.
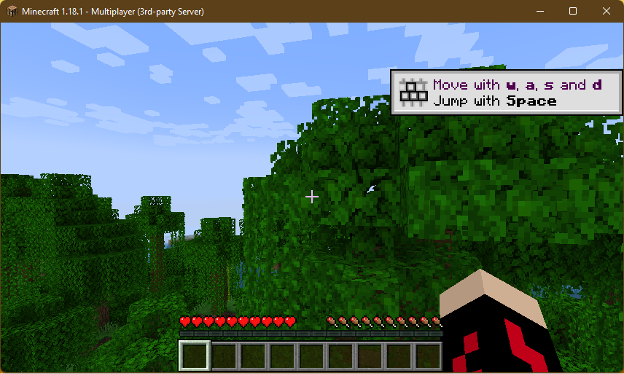
Once your player joins the Minecraft Server, you can play Minecraft on your own server. You can also invite your friends to play Minecraft with you.
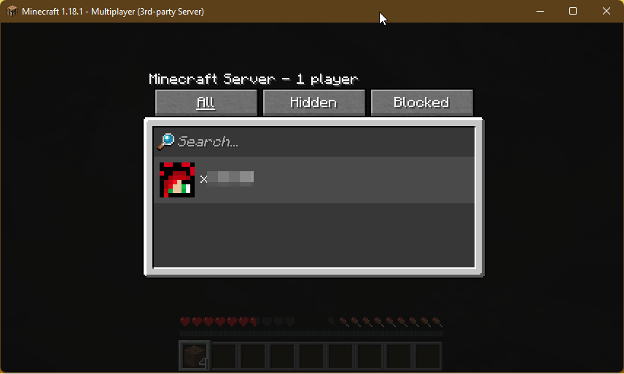
You can press P to list all the players connected to your Minecraft Server.
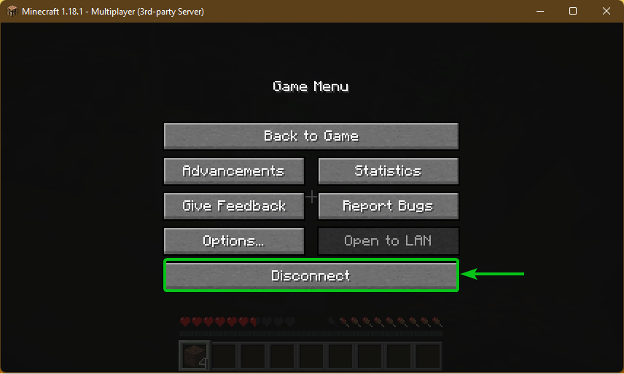
To disconnect from the Minecraft Server, press <Esc> and click on Disconnect as marked in the screenshot below.
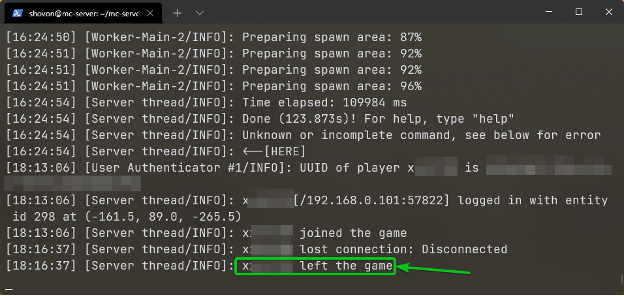
Once you’re disconnected from the Minecraft Server, you should see a message in the terminal that your player left the game as marked in the screenshot below.
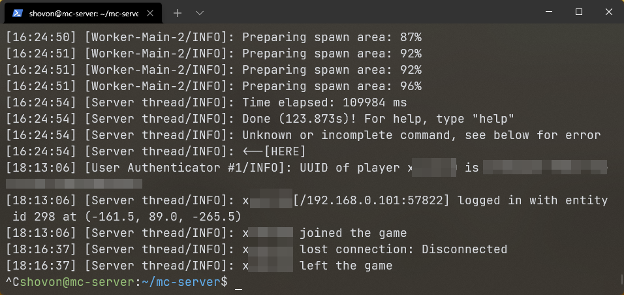
To stop the Minecraft Server, press <Ctrl> + X.
Starting the Minecraft Server on Startup
Once you’ve tested the Minecraft Server and everything is working, it’s time to create a systemd service file for Minecraft so that it starts automatically when the Ubuntu virtual machine boots.
First, you need to know the full path of the directory where you have downloaded the Minecraft server. In my case, it is /home/shovon/mc-server. It will be different for you. So, make sure to replace it with yours from now on.
Now, create a systemd service file minecraft-server.service in the /etc/systemd/system directory as follows:
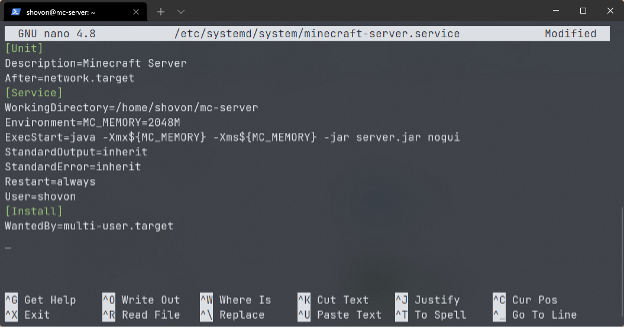
Type in the following lines in the minecraft-server.service systemd file.
Description=Minecraft Server
After=network.target
[Service]
WorkingDirectory=/home/shovon/mc-server
Environment=MC_MEMORY=2048M
ExecStart=java -Xmx${MC_MEMORY} -Xms${MC_MEMORY} -jar server.jar nogui
StandardOutput=inherit
StandardError=inherit
Restart=always
User=shovon
[Install]
WantedBy=multi-user.target
Here, set WorkingDirectory to the directory where you have downloaded the Minecraft Server with wget.
Set User to your virtual machines login username.
You can also change the MC_MEMORY environment variable to set the amount of memory you want to allocate for your Minecraft server.
Once you are done, press <Ctrl> + X followed by Y and <Enter> to save the minecraft-server.service file.
Now, run the following command to reload the systemd daemons for the changes to take effect.
Start the minecraft-server systemd service with the following command:
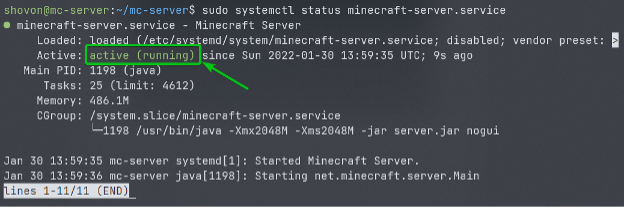
The minecraft-server systemd service should be active/running, as shown in the screenshot below. So, the minecraft-server systemd service is working just fine.
Run the following command to add the minecraft-server systemd service to the system startup so that it starts automatically when the virtual machine boots.
You should also configure the mc-server virtual machine to start when your Synology NAS boots automatically.
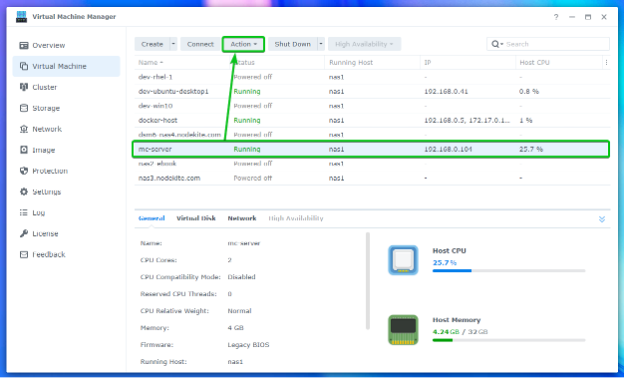
To do that, select the mc-server virtual machine from the Virtual Machine Manager app of your Synology NAS and click on Action.
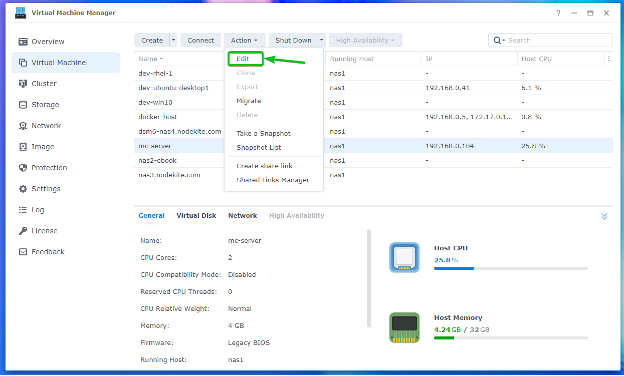
Click on Edit.
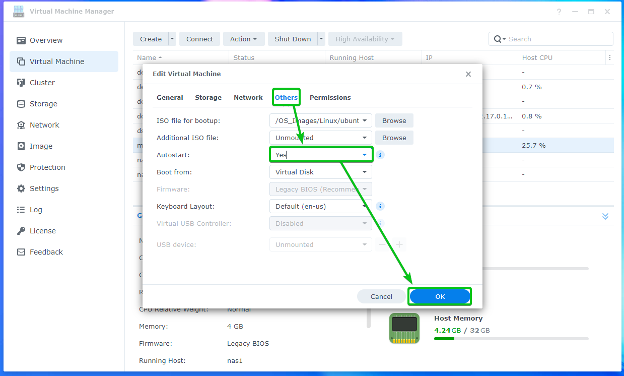
From the Others tab, set Autostart to Yes, and click on OK.
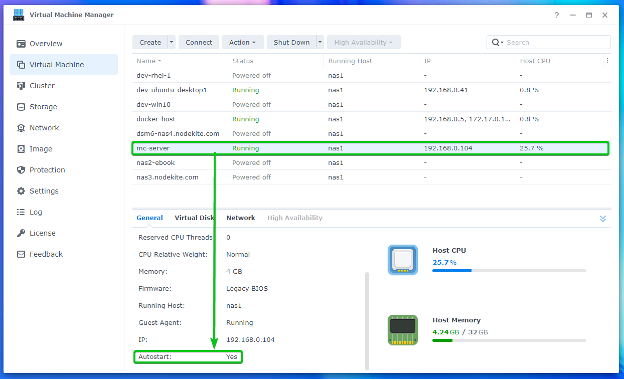
The mc-server virtual machine should start automatically when your Synology NAS boots from now on.
Conclusion
In this article, I have shown you how to create a Ubuntu Server 20.04 LTS virtual machine on your Synology NAS and install the qemu-guest-agent on it so that you can find its IP address easily from the Virtual Machine Manager app. I have also shown you how to install JDK on the Ubuntu virtual machine. I have shown you how to install the official Minecraft Server on the Ubuntu virtual machine, test the Minecraft Server, and start the Minecraft Server automatically on system boot as well. Finally, I have shown you how to automatically start the Ubuntu virtual machine when your Synology NAS boots.

