This write-up will observe several approaches to repair the specified error.
How to Resolve the “HDMI Port Not Working” Problem?
The mentioned error can be fixed by adopting the below approaches:
- Reconnect HDMI cable
- Change display settings
- Replace HDMI cable
- Update graphics driver
- Reinstall graphics driver
- Roll back graphics driver
- Run hardware troubleshooter
Fix 1: Reconnect HDMI Cable
The first approach to fix the “HDMI port not working” problem is reconnecting the HDMI cable. If the cable is not connected properly, it eventually results in no display on the screen. So, unplug the HDMI cable from its port, clean it with some air blower and then re-plug it back into its port.
Now, examine whether the problem is resolved.
Fix 2: Change Display Settings
After connecting the HDMI cable to the PC, ensure “PC screen only” is not selected as the PROJECT type. If it is chosen, then the monitor will not display output. In that case, set the second monitor to “Duplicate” or “Extended” mode.
For that reason, press the “Windows+P” button to open the “PROJECT” menu and select “Duplicate”:

Fix 3: Replace HDMI Cable
Check your HDMI cable for broken wires or cracks and the related cable terminals. Moreover, replace the damaged cable with the new one.
Fix 4: Update the Graphics Driver
The “HDMI port not working” problem can be rectified by updating the graphics driver.
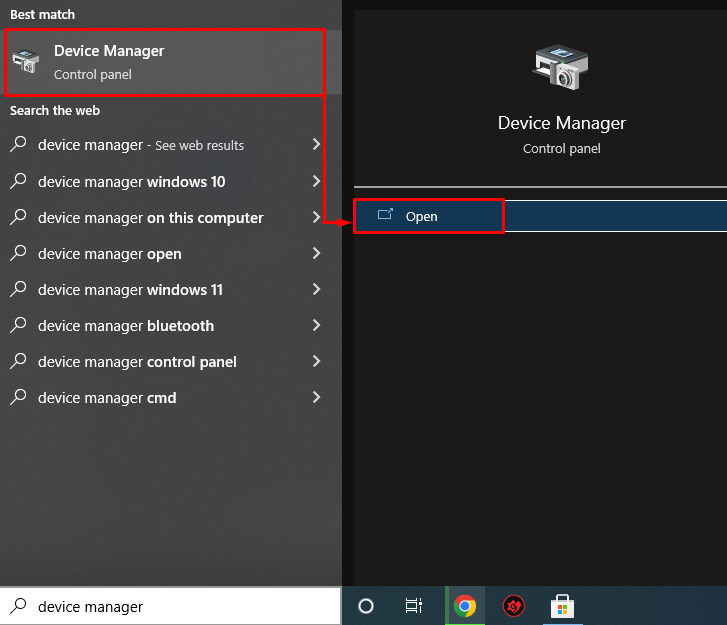
Step 1: Launch Device Manager
First, search and open “Device Manager” with the help of the Windows Start menu:
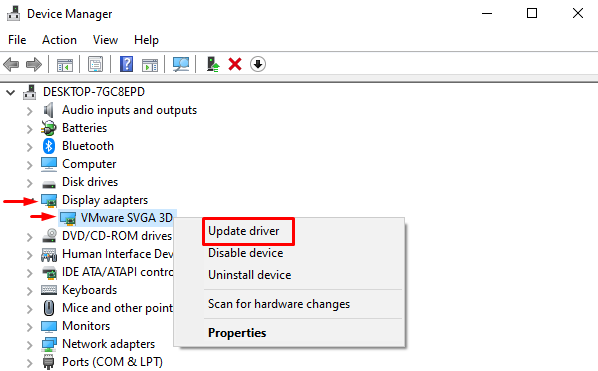
Step 2: Update Graphics Driver
Extend the “Display adapters” segment. Look for the display driver, right-click on it and select “Update driver”:
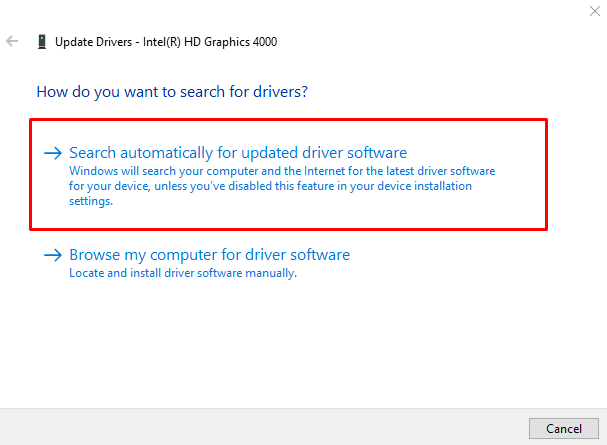
Click on the highlighted option from the on-screen wizard:
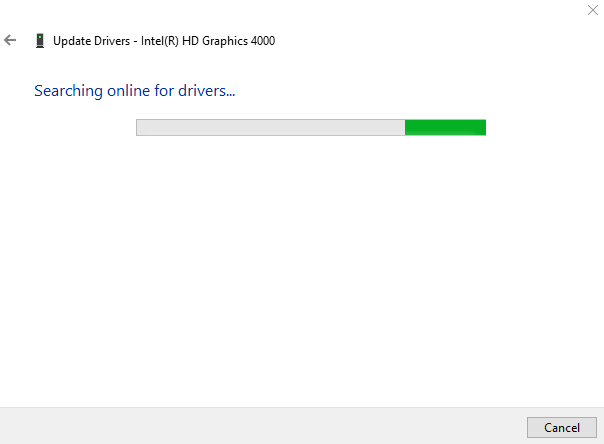
The Device manager has started to check for updates:
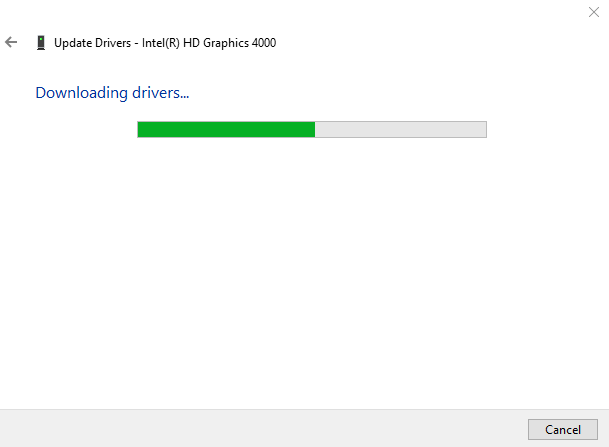
Now, the graphics driver has begun to update:
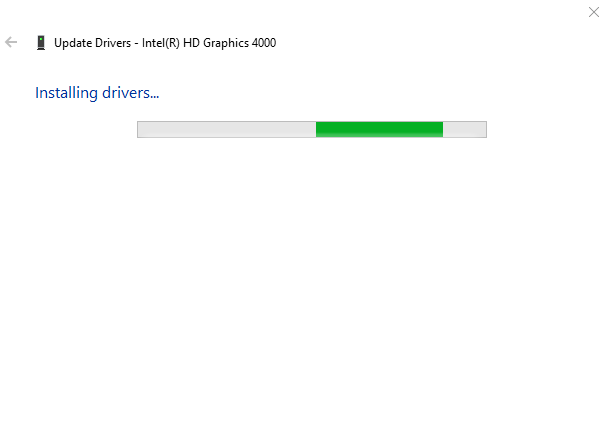
It will lead to installing the best available graphics driver for your system:
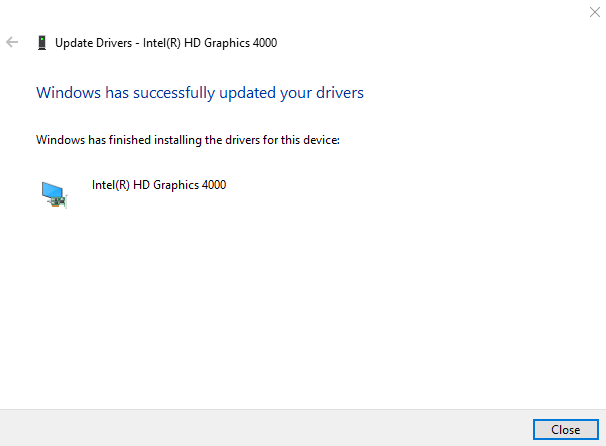
It can be observed that the graphics driver has been updated successfully:
Now, examine whether the problem is rectified or not.
Fix 5: Reinstall Graphics Driver
The “HDMI port not working” problem can also occur due to obsolete or incompatible graphics drivers. Therefore, reinstalling the graphics driver will fix the stated error.
Step 1: Uninstall the Graphics Driver
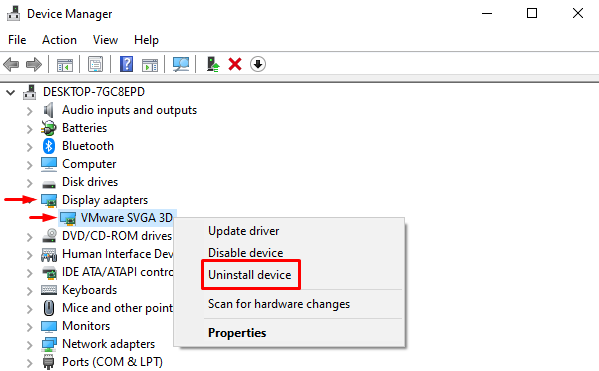
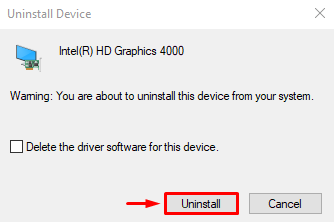
First of all, launch “Device manager” via the Start menu. Extend the “Display adapters” section, right-click on the display adapter driver, and click “Uninstall device” to remove the display driver:
Trigger “Uninstall” option:
Step 2: Reinstall the Graphics Driver
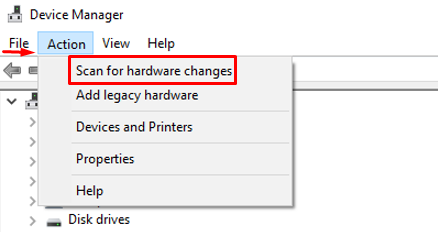
Click on the “Action” option and click on the “Scan for hardware changes”:
This will reinstall the graphics driver and also assist in resolving the error.
Fix 6: Roll Back Graphics Driver
The roll back feature can be utilized to uninstall the existing installed driver and then re-install the previous version of the driver. Rolling back the graphics driver can also fix the stated error.
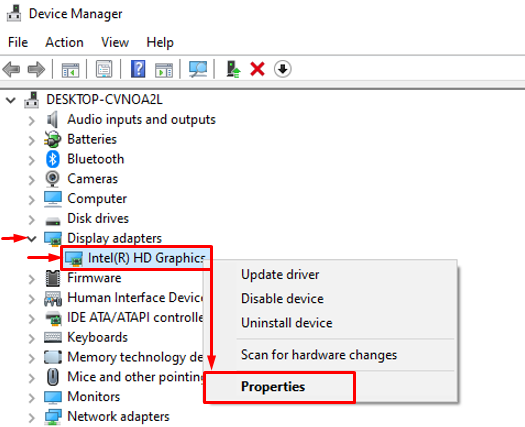
For that purpose, first, extend the “Display adapters” list and right-click on the graphics driver, and select “Properties”:
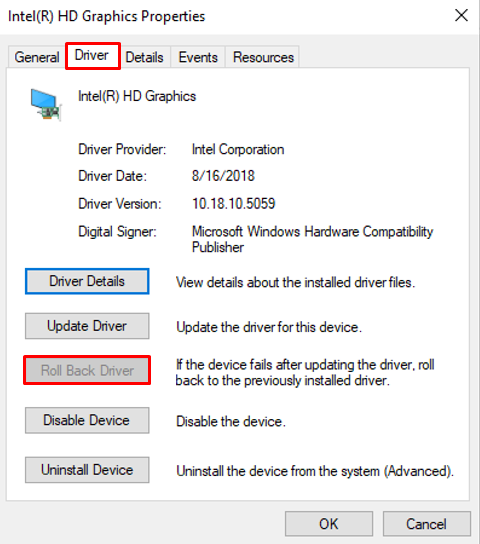
Navigate to the “Driver” section. Trigger the “Roll Back Driver” button to load the older version. If the roll-back driver button is grayed out, it means the older version of the driver is not backed-up:
Fix 7: Run Hardware Troubleshooter
If all the above approaches fail to fix the stated error, then run the hardware troubleshooter.
Step 1: Launch Run
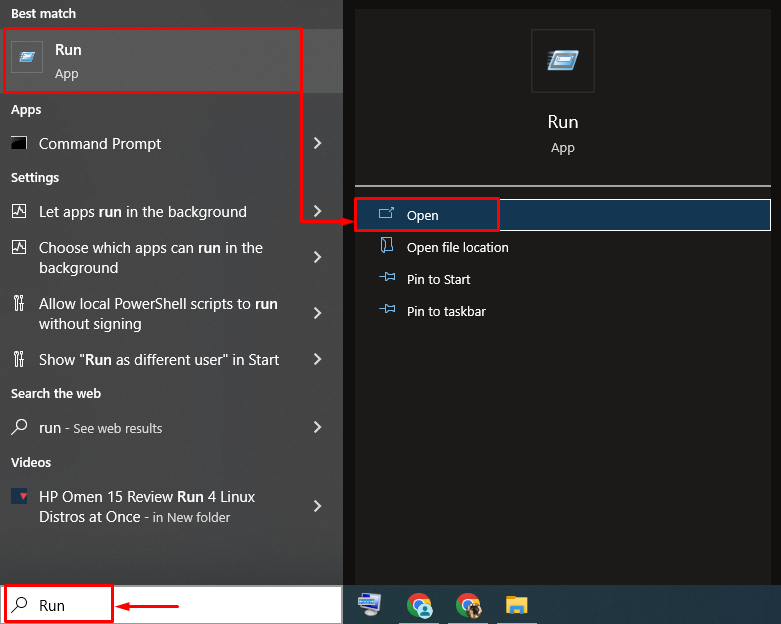
First, open “Run” via the Windows Start menu:
Step 2: Launch Hardware and Devices
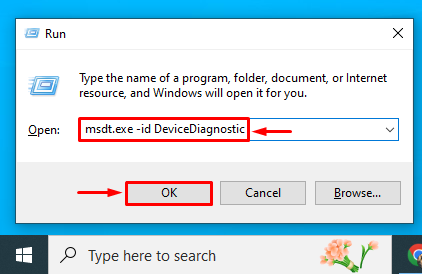
Write “msdt.exe -id DeviceDiagnostic” in the Run box and click on the “OK” button:
Step 3: Run Troubleshooter
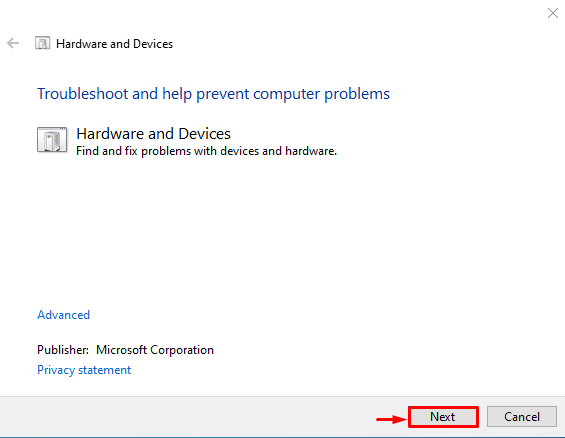
Hit the “Next” button:
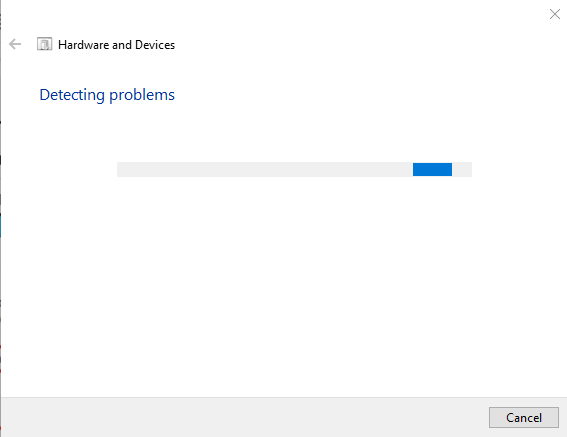
The troubleshooting has just started:
When troubleshooting is finished, reboot the system, and assure that the problem is repaired or not.
Conclusion
The “HDMI port not working” error can be rectified using several approaches, which include reconnecting the HDMI cable, changing display settings, replacing the HDMI cable, updating the graphics driver, reinstalling the graphics driver, rolling back the graphics driver, or running the hardware troubleshooter. This blog has covered all the aspects to repair the mentioned issue.

