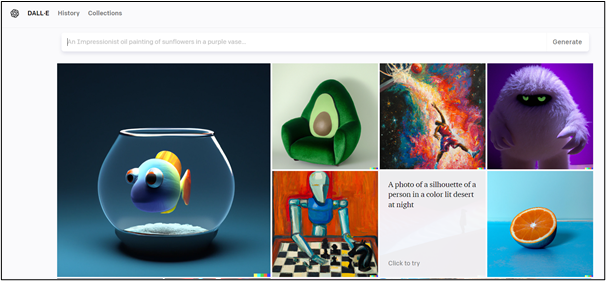
The biggest image created by DALL-E would be 1024 pixels which is 1 Megapixel. Fortunately, OpenAI has also addressed this issue and has provided a new feature known as “Outpainting” in DALL-E 2.
This article provides a step-by-step tutorial to expand the width of images using DALL E 2.
Why is the Image Created by DALL-E 2 Small?
Before diving deep into the concept of Outpainting and its practical application, let’s first explore why the images generated by these AI systems are so small. Such systems create images by using Latent Diffusion.
They take the input and map it on the trained data and slowly influence it until it looks like the image the user had in mind. Therefore, expanding the output image increases computation costs and requires a higher generation process. To be cost-effective while offering this service, these AI systems are limited to generating smaller images. Images exceeding this prescribed limit will be computationally expensive.
Now, let’s explore how we can expand the width of our images using DALL-E 2.
How to EXPAND the Width of Images Using DALL-E 2?
Outpainting is a built-in feature of DALL-E 2 introduced by its creators OpenAI. It allows users to expand the original image and hence resulting in creating larger images in any aspect ratio. It is another feature of DALL-E 2 that falls under the Editing category.
Outpainting does not compromise the quality and resolution of the image. Outpainting extends the image by adding new frames to the editing canvas that blends perfectly with the colors of the picture. To explore this feature, visit the official website of DALL-E 2. For easy sign-up and login, refer to this article as a guide “How To Sign Up And Login To OpenAI Dalle 2 ?”.
Here is a step-by-step demonstration of extending the width of an image by using DALL-E 2:
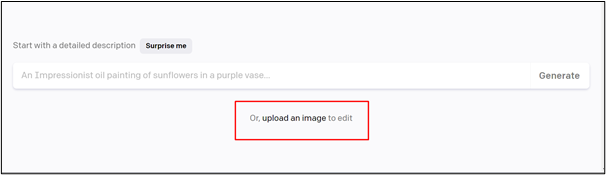
Step 1: Upload an Image to Edit
To upload an image, click on the “upload an image” button. Select an image from your device and upload it:
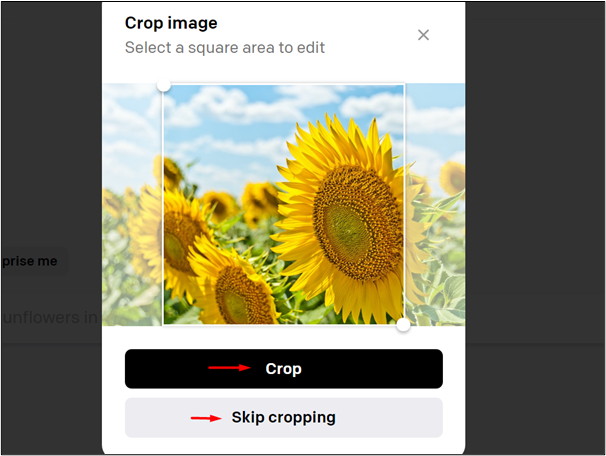
Step 2: Crop Image
While uploading the image, DALL-E gives the option of either cropping the image to the required ratio or skipping cropping the image:
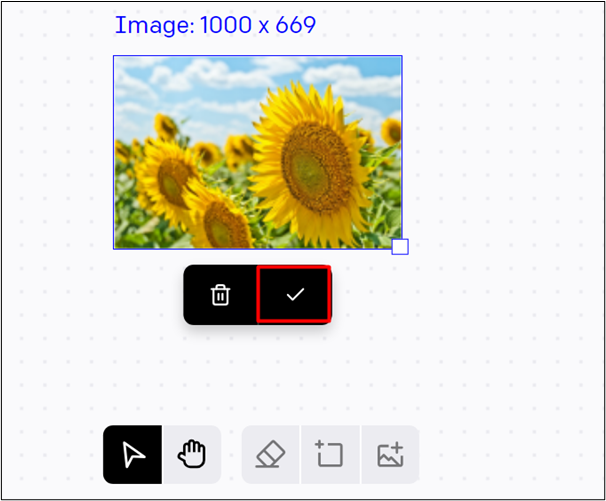
Step 3: Confirm Uploading
Click on the “check” option as highlighted to confirm the uploading of the image:
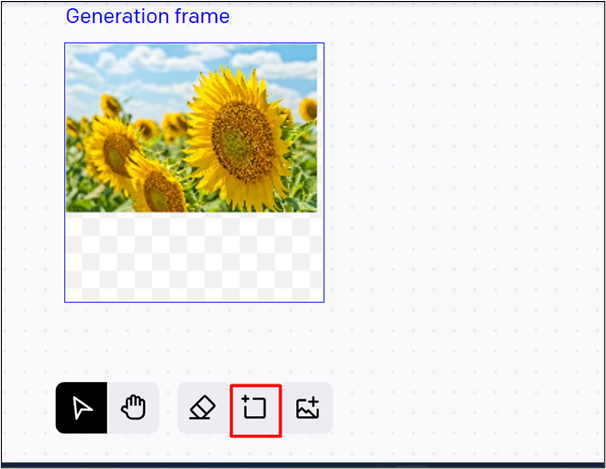
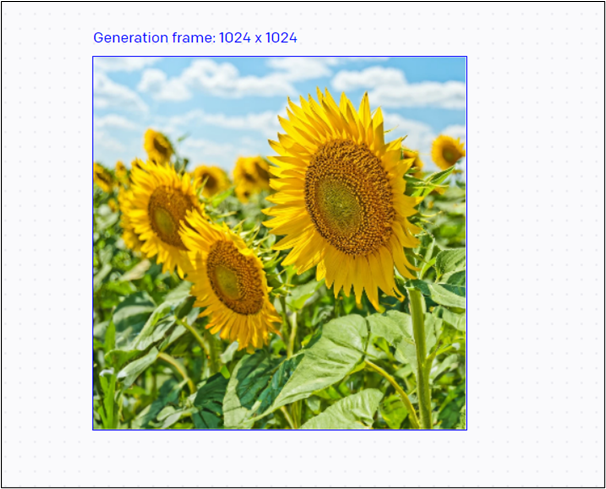
Step 4: Add Generation Frame
Click on “Add Generation Frame” to add additional frames. These additional frames will increase the width of the images by adding more frames:
Step 5: Editing Canvas
After clicking on “Add Generation Frame” it will create a frame that you can place where you want to increase the width of the image:

Step 6: Provide a Prompt
DALL-E 2 works on the input prompt. While outpainting, you are required to provide a prompt for these additional frames. DALL-E 2 will create an image similar to the uploaded image. The more precise you are the better the output will be. After providing the prompt, click on the “Generate” button:

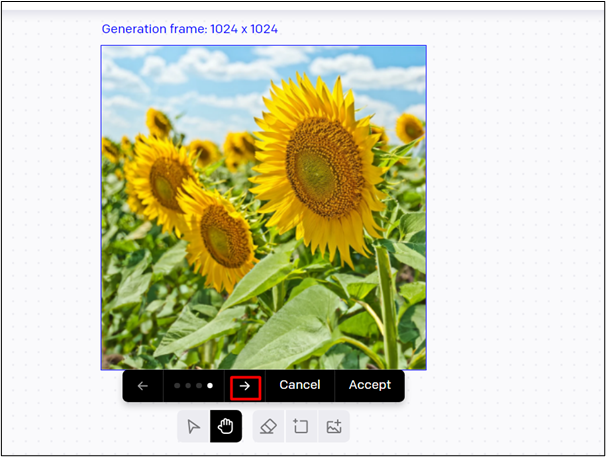
Step 7: Select Different Generated Images
DALL-E 2 will create different images based on the prompt. Below given the highlighted button will allow the users to select different frames generated by DALL-E that best match your picture:
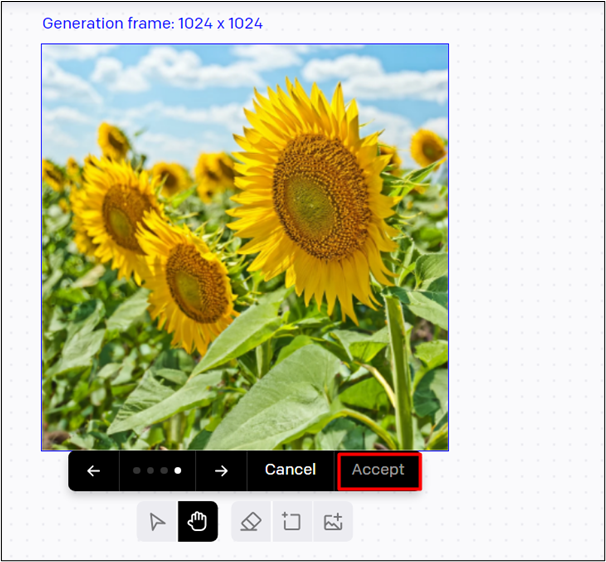
After selecting the frame, click on the “Accept” button:
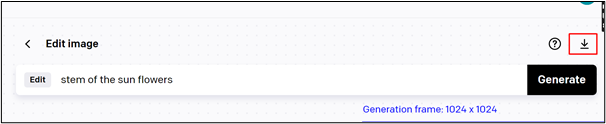
Step 8: Download the Image
To download this image, click on the “download” icon given above the “Generate” button:
Final Image
Here, the extended image is given below:
This is all from the guide for expanding the width of the image using DALL-E 2.
Conclusion
Outpainting is a useful tool that allows its users to expand the width of the image by adding additional frames and providing a prompt to match the image perfectly. DALL-E 2 is an incredible art generator with the features like outpainting, inpainting, etc enabling its users to expand their imaginations without compromising on image resolution, size, or quality. This article provides a comprehensive guide to expanding the image width using DALL-E 2.